Crochet C2C Moss Stitch Tutorial (with video)
Last Updated on August 24, 2025
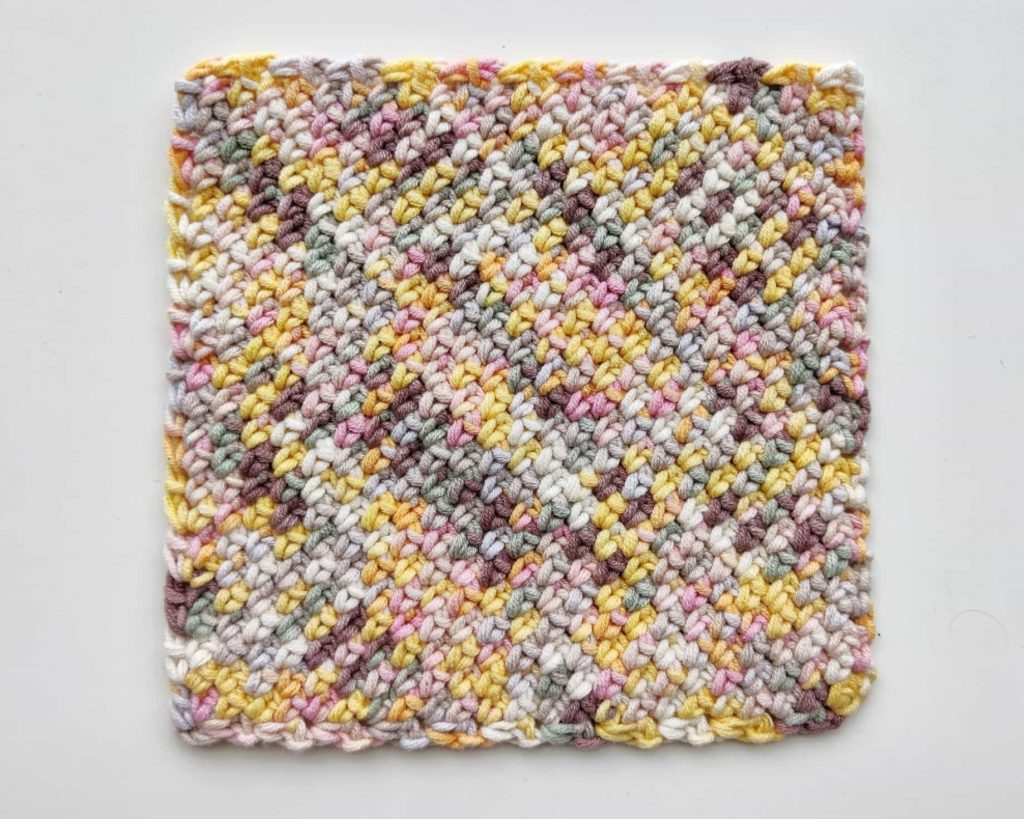
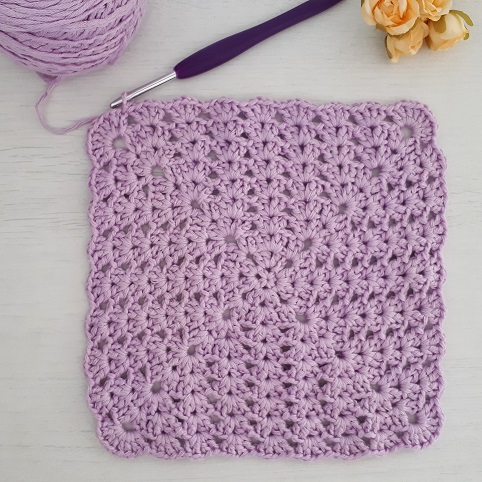
I love working different crochet stitches from corner to corner. The C2C Moss stitch is one of my very favorite stitches, and my go-to stitch when I’m looking for a simple make. That’s why I decided to make this detailed photo tutorial and video tutorial.
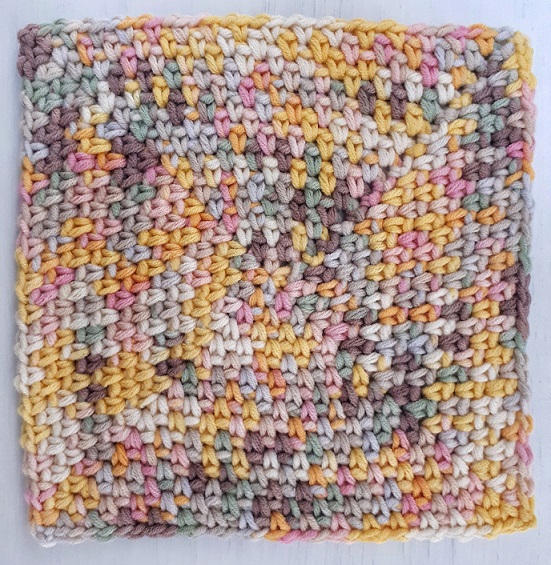
In this tutorial, we will make a washcloth, but you can use it to make a blanket.
I’m sure you will enjoy working this stitch even if you are a beginner or an experienced crocheter. The C2C Moss stitch is a fun and easy stitch, which you can work mindlessly.
Some of the links in this post may include affiliate links. Making a purchase through one of these links pays me a small referral fee at no added cost to you. These small fees add up and help me keep the blog running. For more details, view our disclosure and privacy policy.
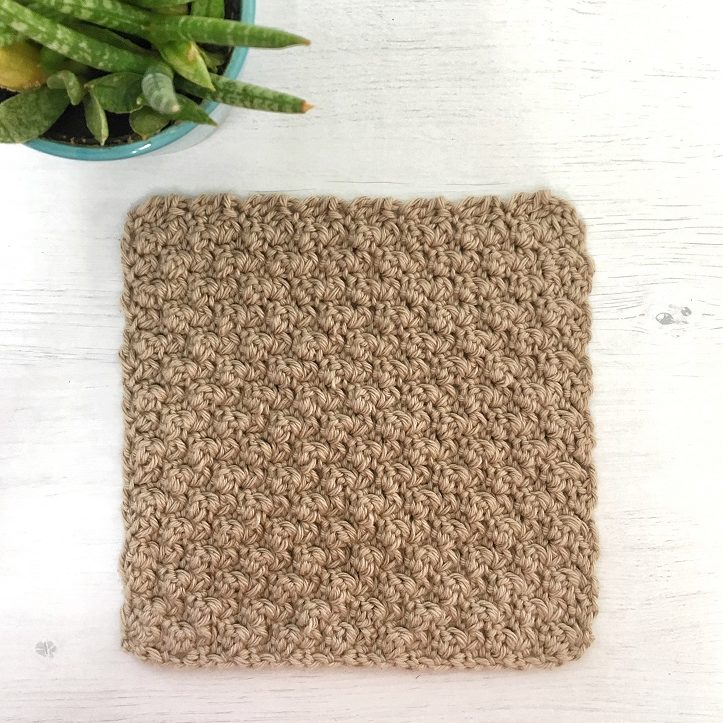
The crochet Moss stitch is super easy, it consists of alternating single crochet and chains, while the single crochet is worked into the chain space.
You will see how easy it is to work the C2C Moss stitch but following the tutorial I made: You start from one corner, increasing every row until you reach the desired length of your square, and then start decreasing until you reach the other corner.
Want to learn more about the Corner to Corner method? Check out my Guide to How to Crochet Corner to Corner!
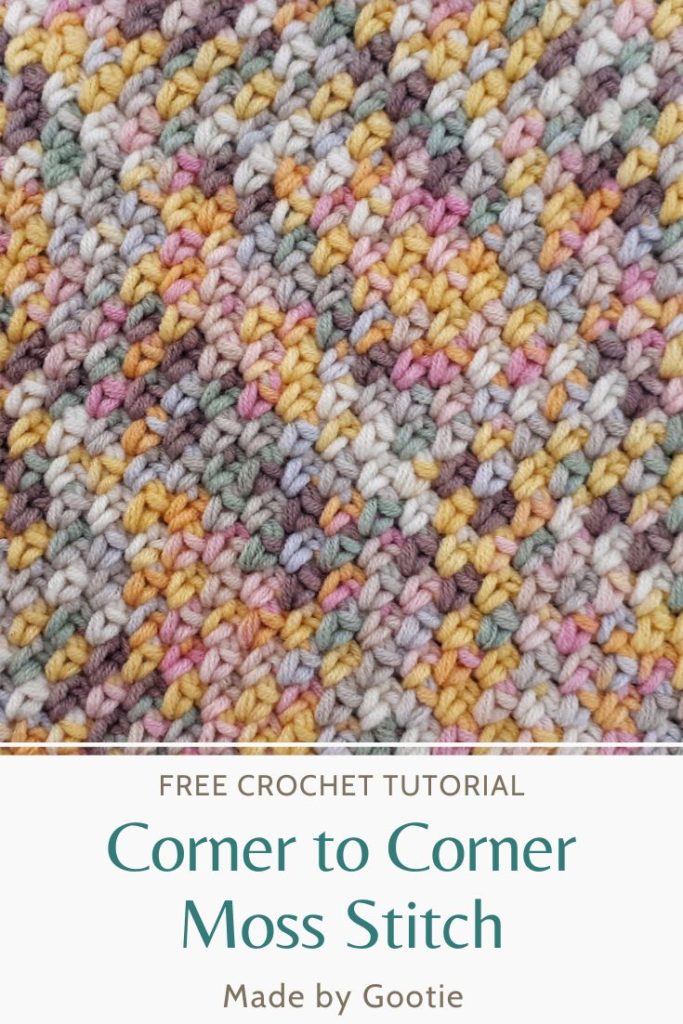
Want to save this post for later? Go ahead and PIN it!
How to Use This Tutorial to Make a C2C Moss Stitch Blanket
Making a blanket using the corner to corner Moss stitch is very simple.
By simply following the tutorial I made, after you start the increase, repeat the same increase row, until reaching the desired width of your blanket, then start decreasing.
The basic pattern creates a square-shaped blanket. You can also work the C2C Moss stitch as a rectangle, you can find the rectangle version in the Premium PDF pattern on Ravelry or Etsy.
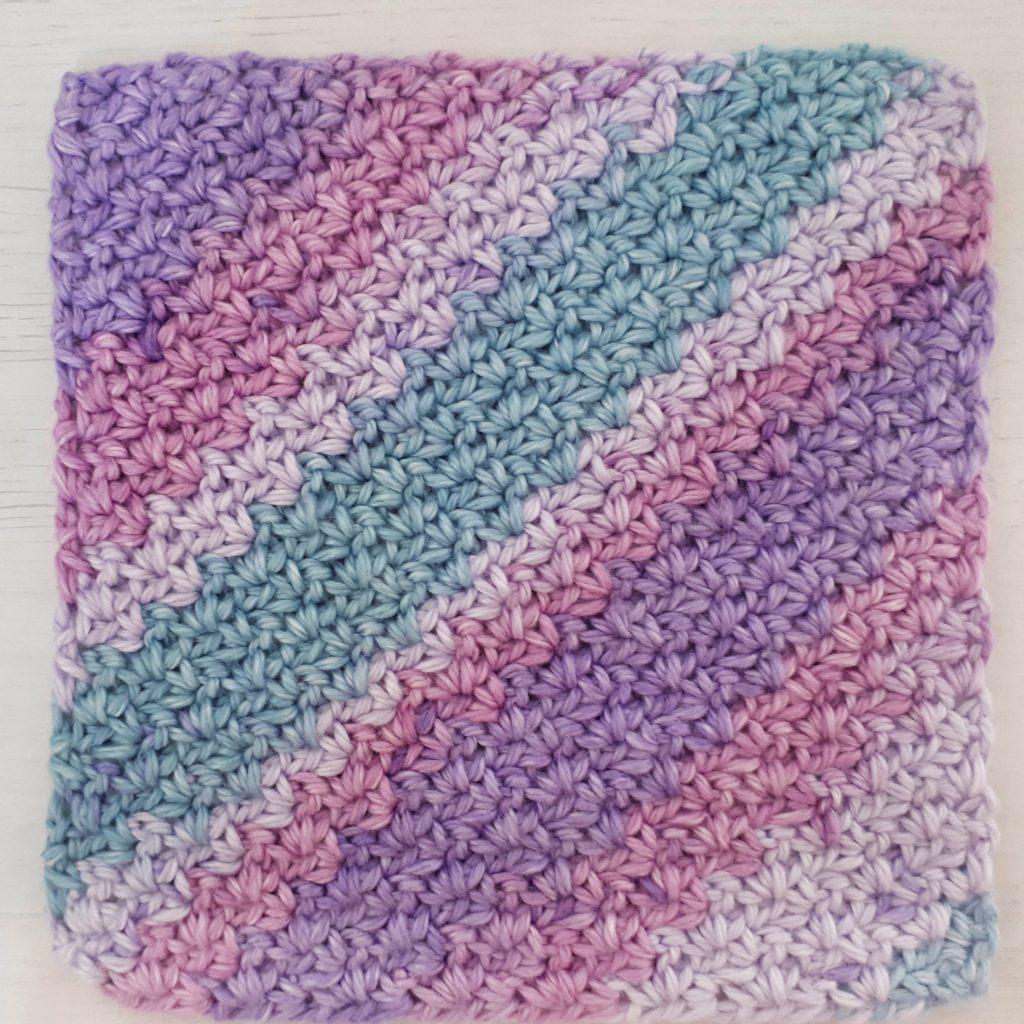
The Yarn I Used to Make My Washcloth
Since releasing this post, I have had many questions about the yarn I used in the washcloth you see in my photos.
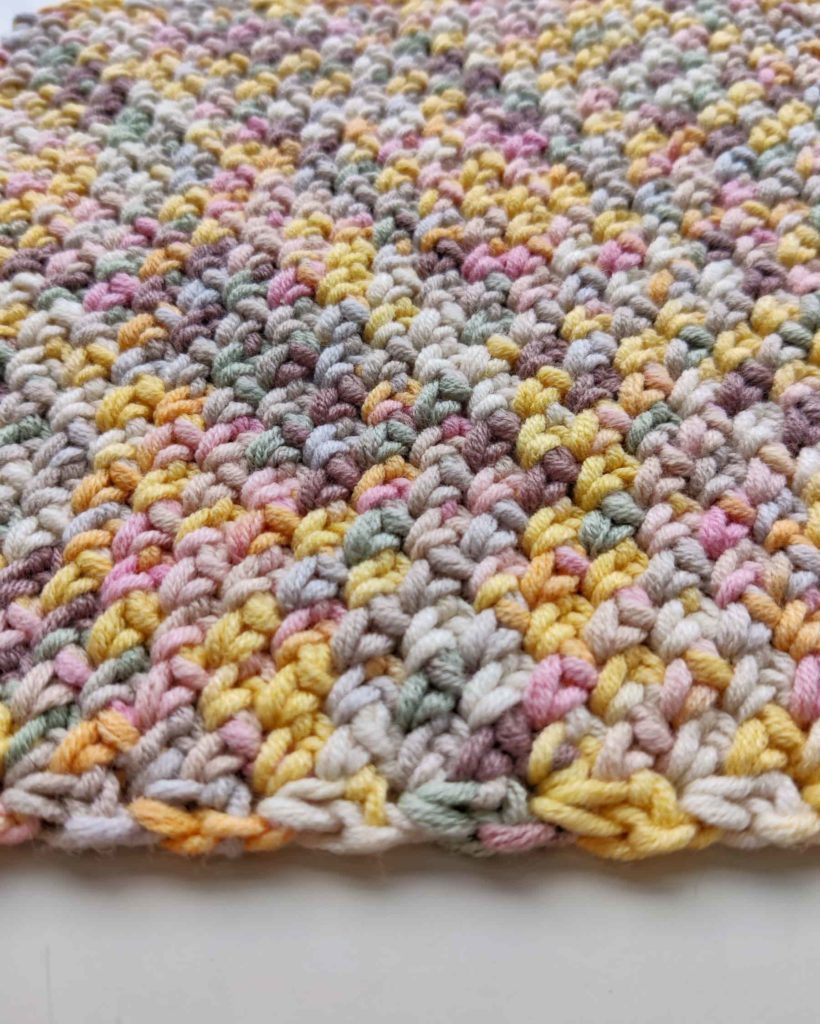
I used Alize Cotton Gold Plus Multi Color – color 52175, which is a Worsted (#4) weight yarn.
More great yarn options for this project will be:
Knit Picks – Dishie
Lily Sugar n’ Cream
Premier Home Cotton Blend
How to Crochet the C2C Moss Stitch
Materials I used for this tutorial
– Crochet hook: 4.5 mm (I love Tulip Etimo and Clover hooks).
– For this pattern, I used Worsted (#4) yarn cotton yarn, ( I used Cotton Gold Plus Multi Color – color 52175)
Total amount of yarn needed: 30gr/60m/66yds
Skill Level – Easy
Abbreviations (US)
ch – chain
sc – single crochet
Finished Size – 6.5×6.5 in (16.5×16.5 cm) – but you can make it as big as you’d like.
C2C Moss Stitch Video Tutorial
Crochet Corner to Corner Moss Stitch Instructions
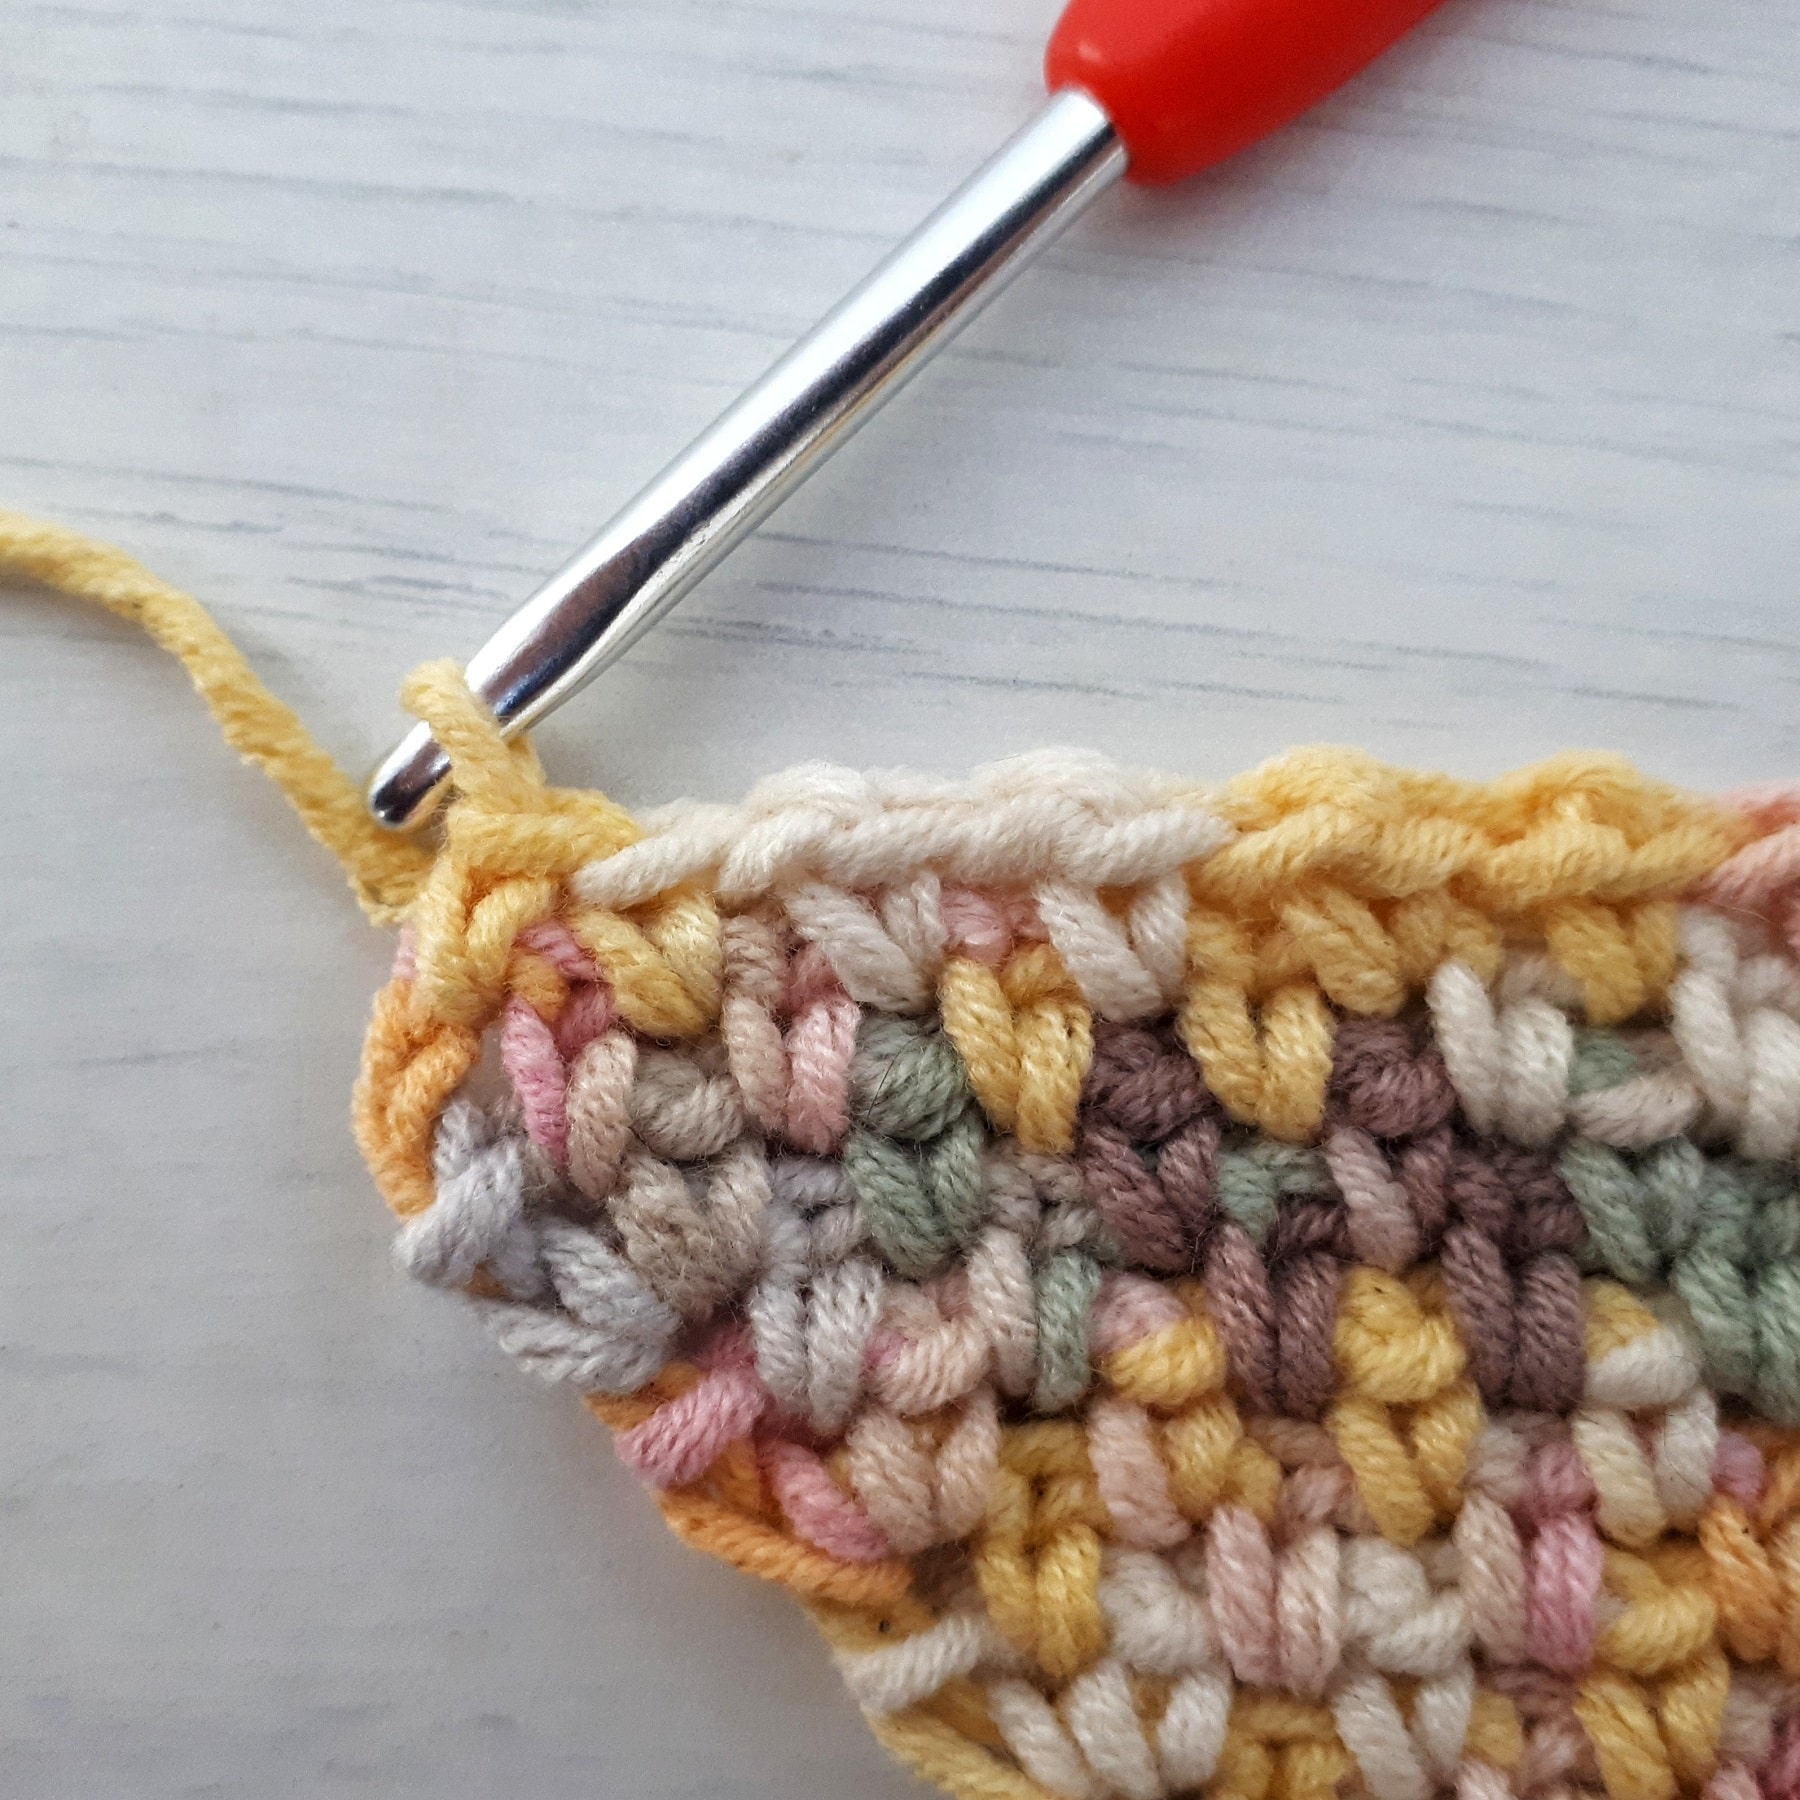
C2C Moss Stitch – Increase
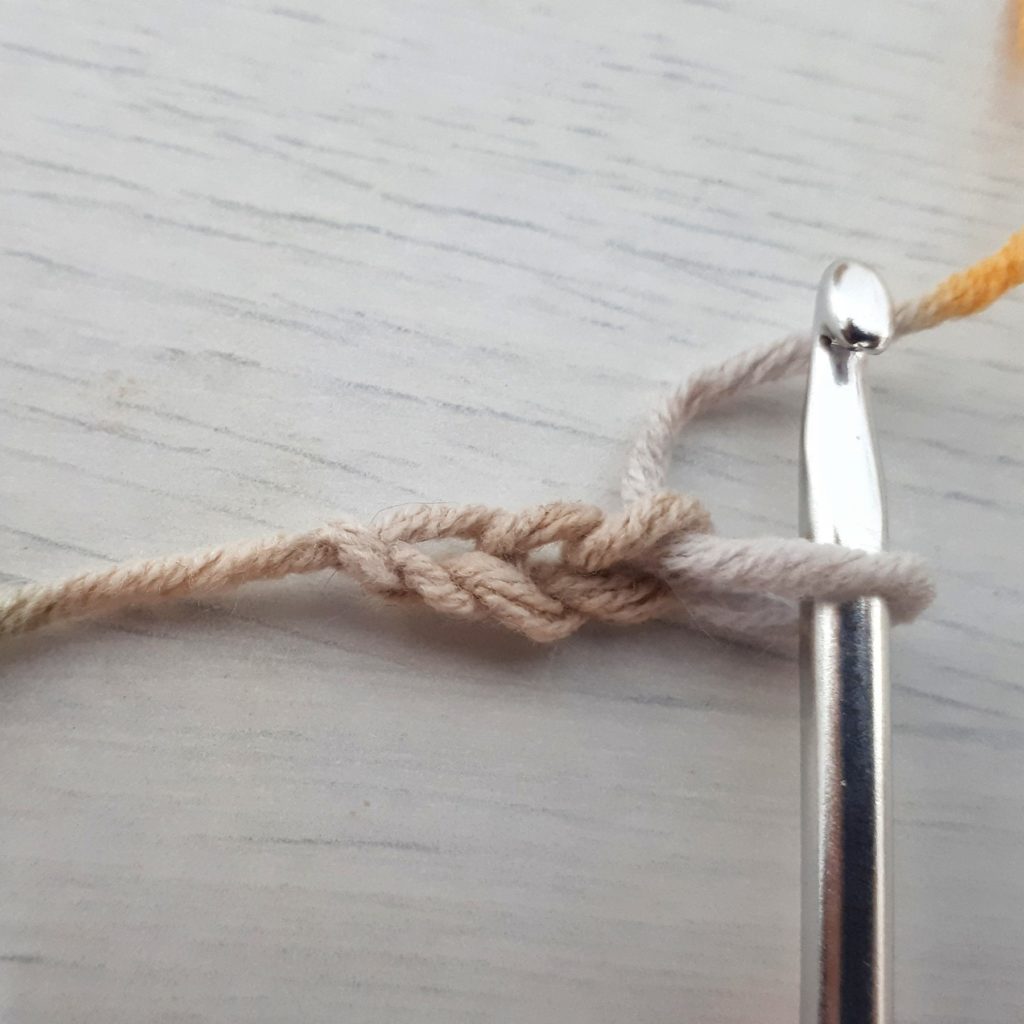
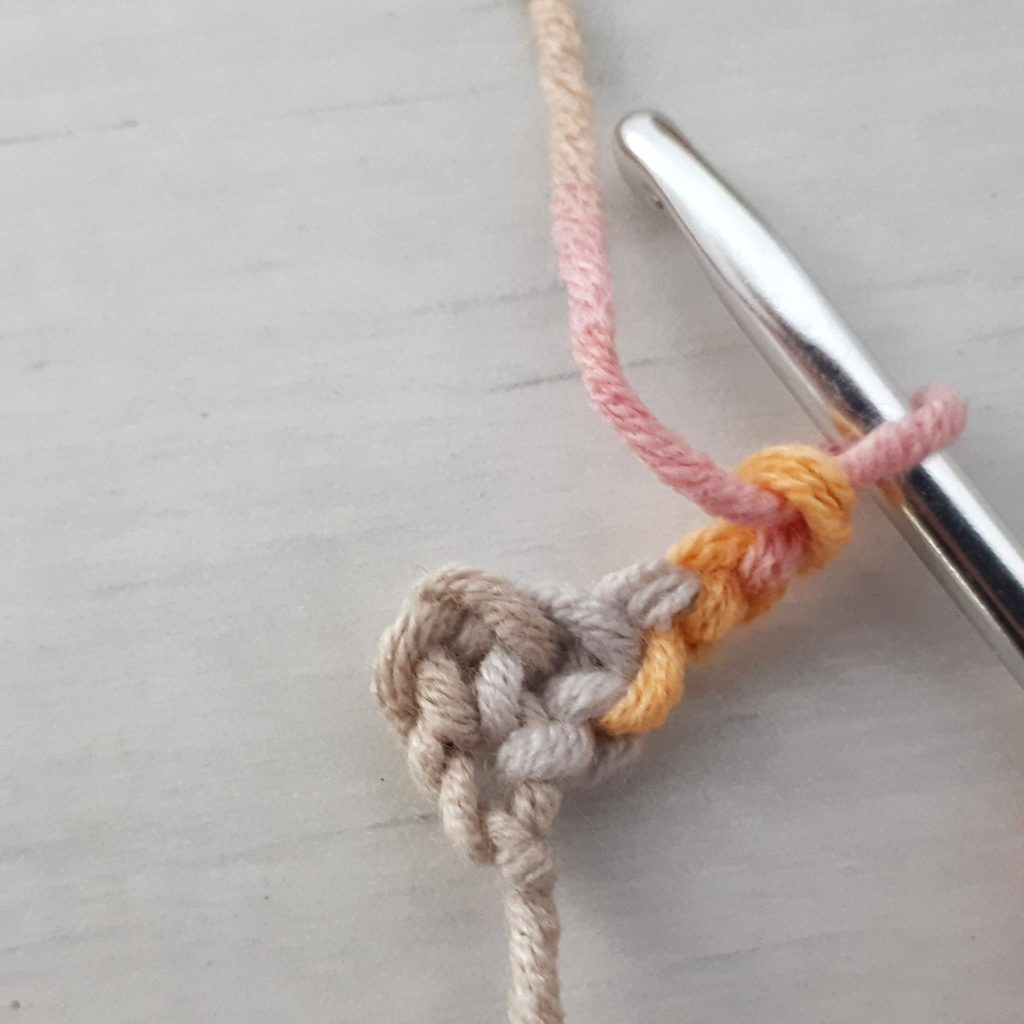
ch3
Row 1: sc in 3rd chain from hook (the first ch), turn.
Row 2: ch 3, (sc, ch 1, sc) in ch-3 sp of previous row, turn.
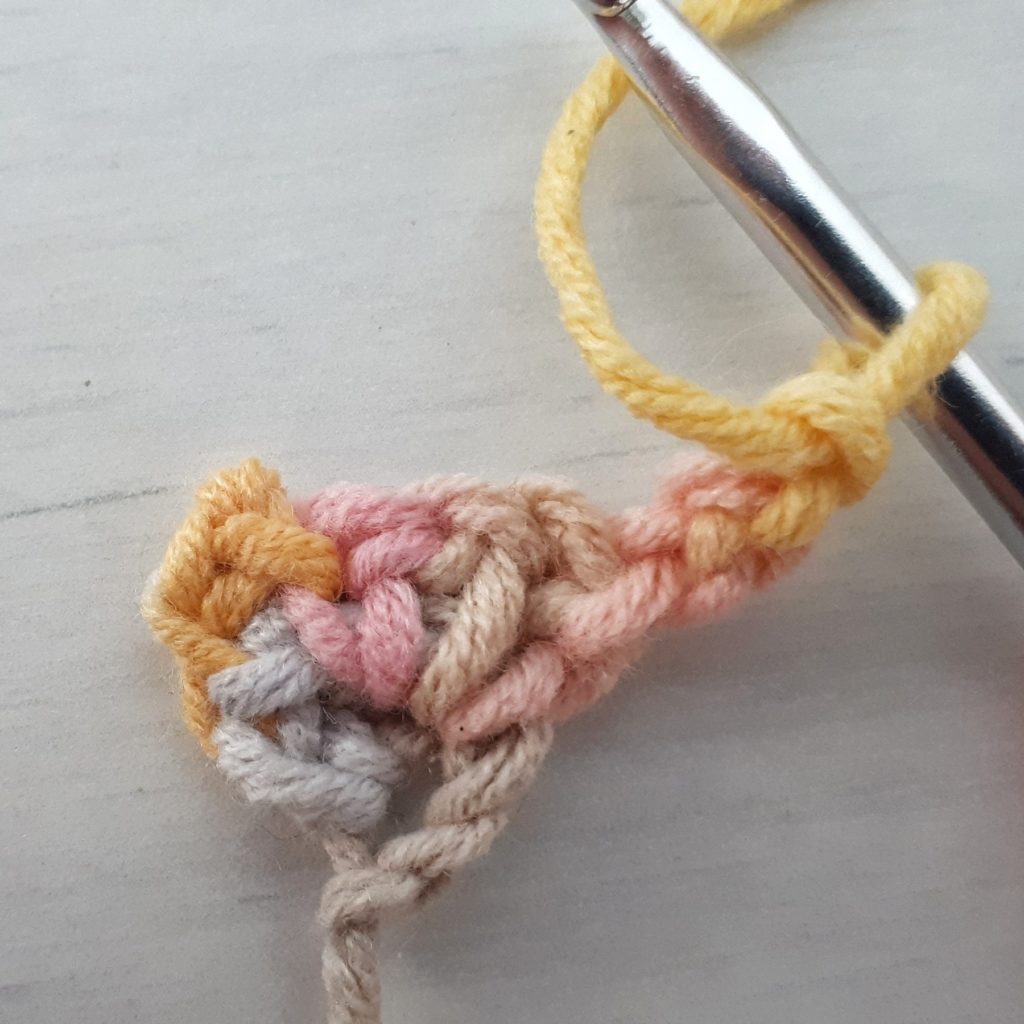
Row 3: ch 3, * skip sc, sc in next ch-1 sp, ch1; repeat from * to last sc. (sc, ch 1, sc) in ch-3 sp of previous row. Turn.
Repeat row-3 until the side of the triangle measures 6.5” (16.5 cm), or until your desired width.
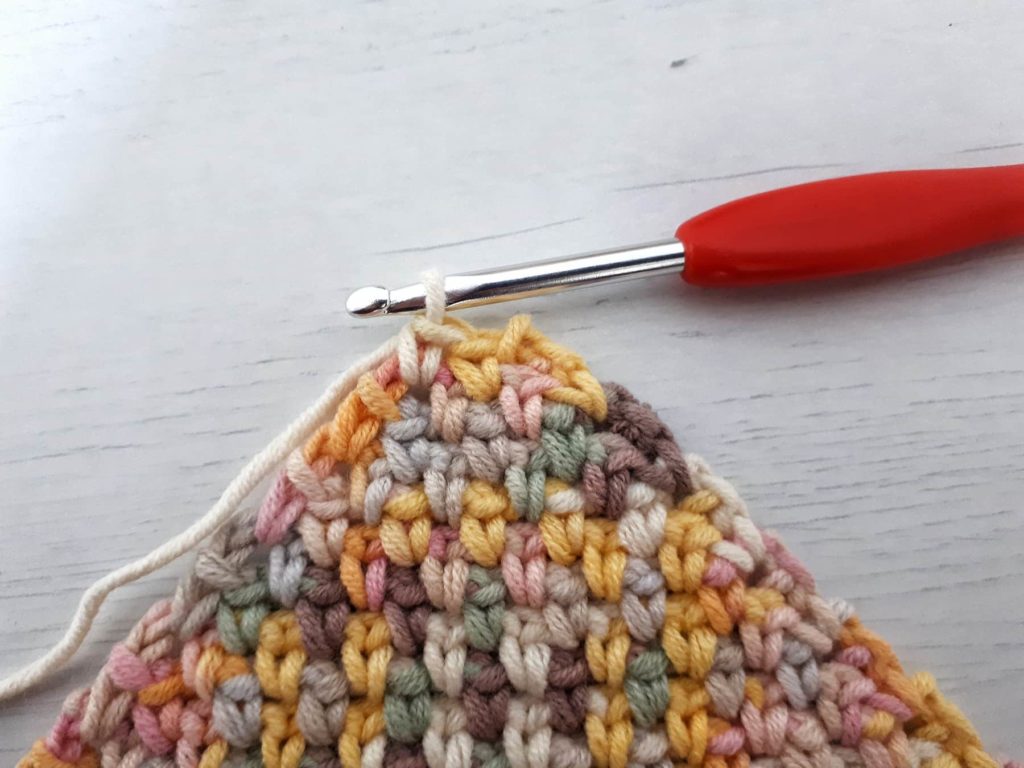
C2C Moss Stitch – Decrease
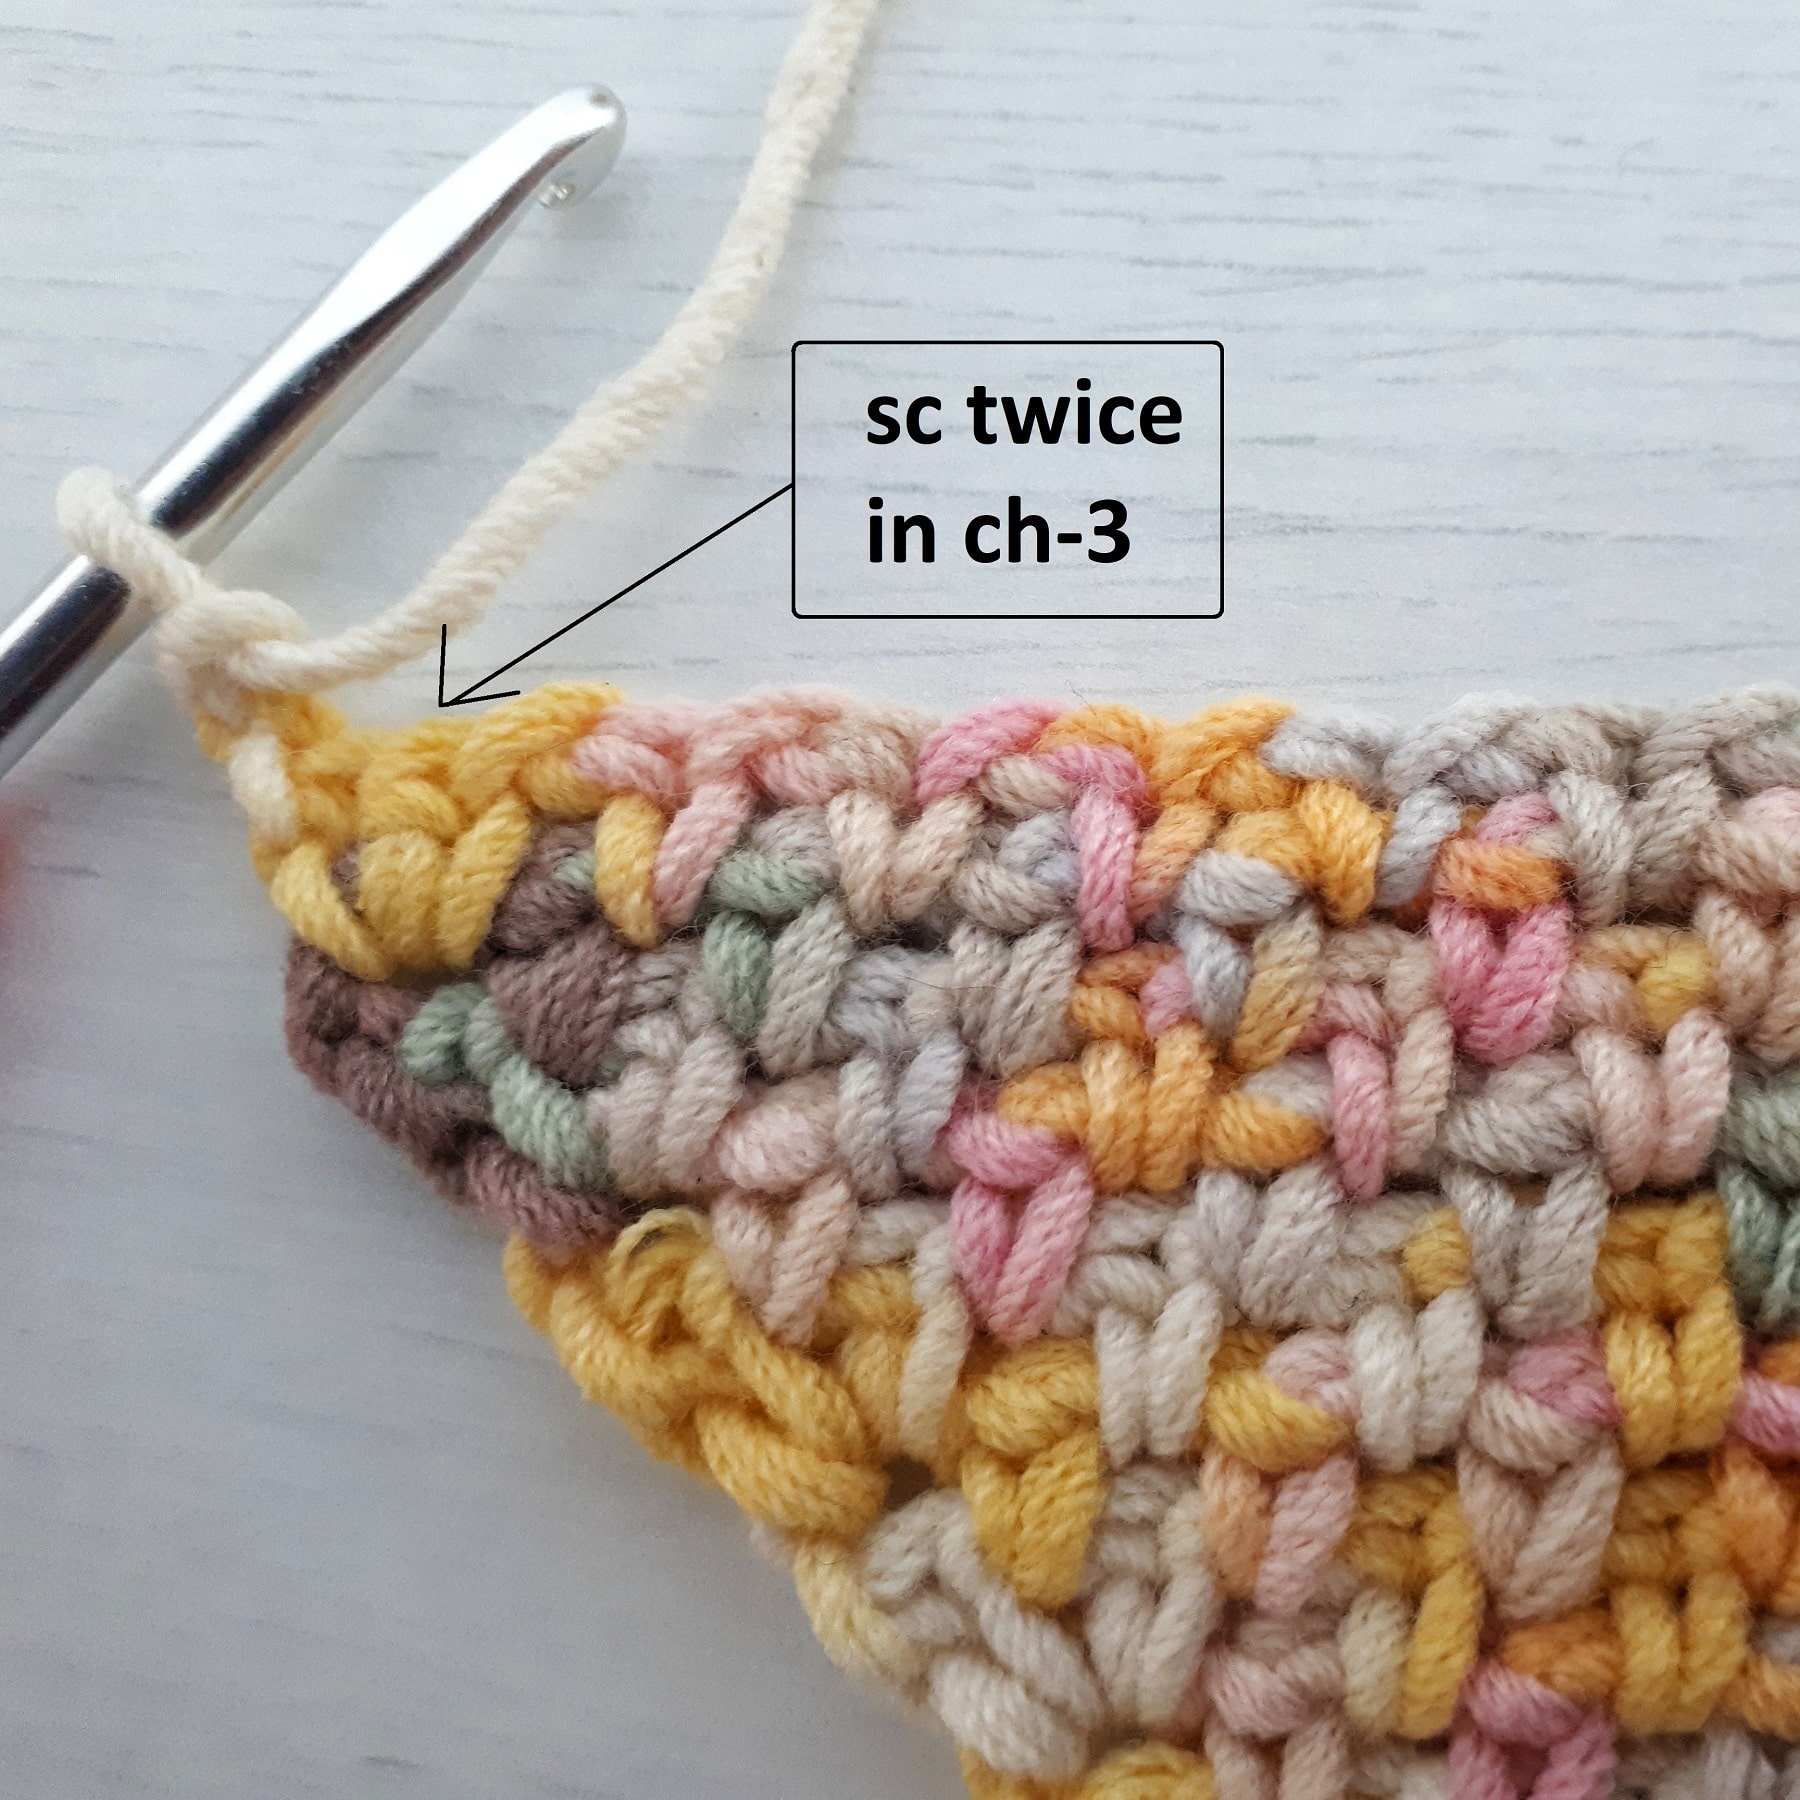
Row 4: ch 3, * skip sc, sc in next ch-1 sp, ch 1; repeat from * to last sc. sc twice in ch-3 sp of previous row, turn.
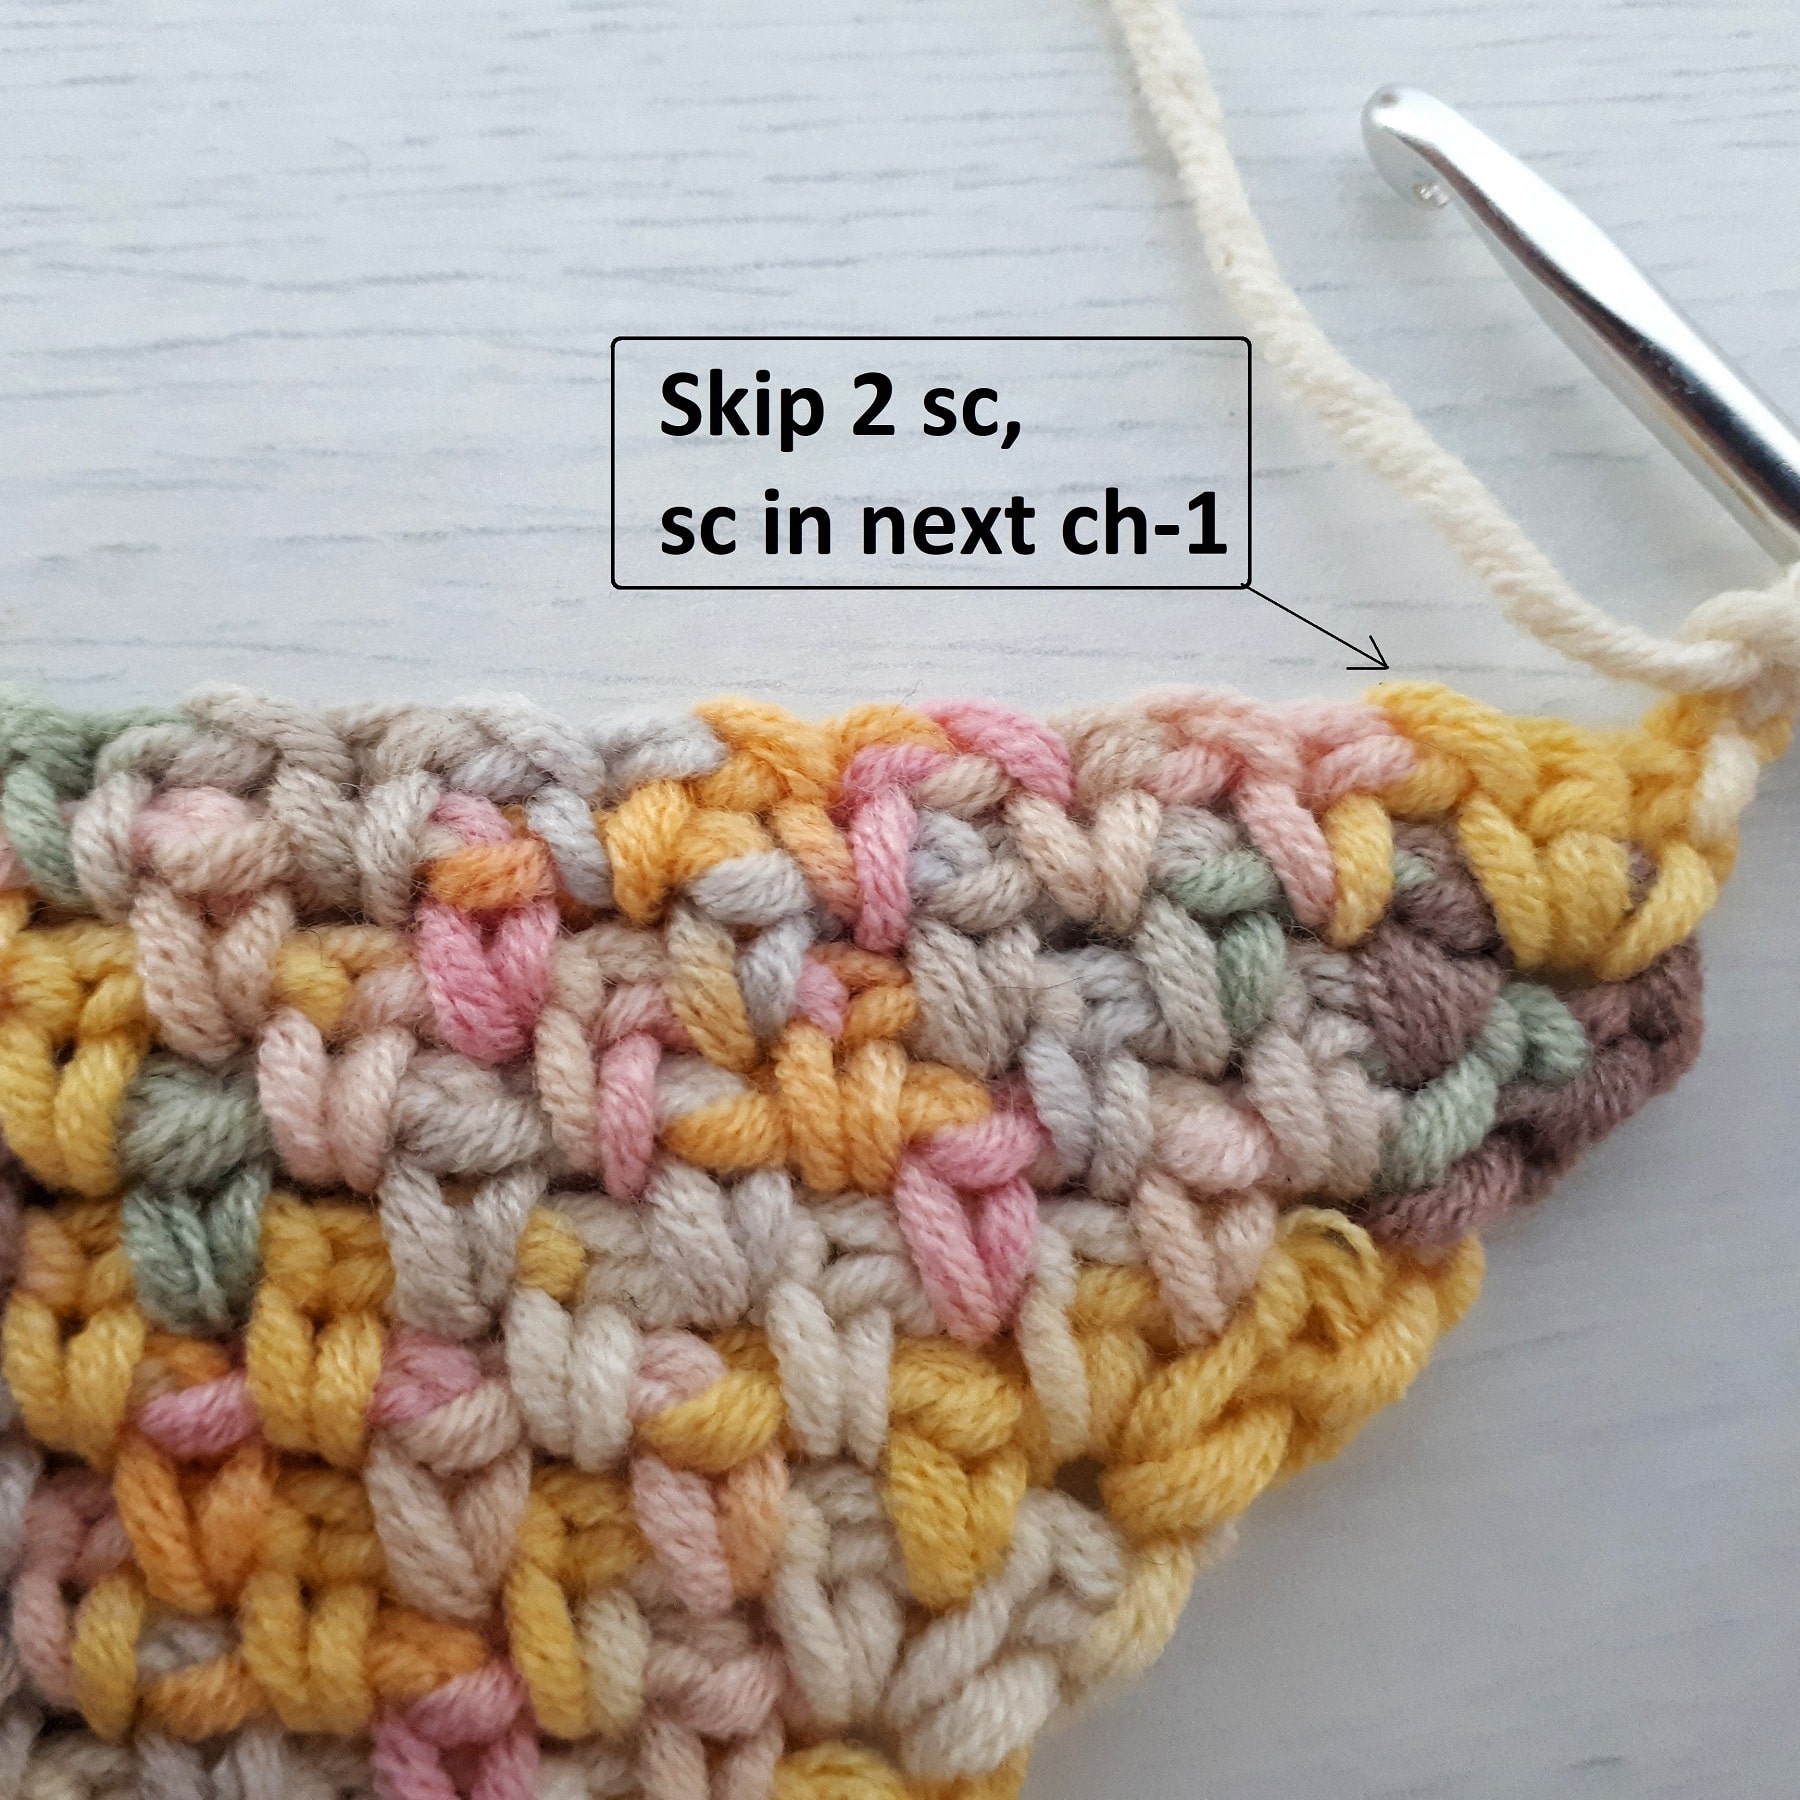
Row 5: ch 2, skip 2 sc, sc in next ch-1 sp. * skip sc, ch 1, sc in next ch-1 sp; repeat from * to last sc. sc in ch-3 sp of previous row (don’t ch1 before sc), turn.
Row 6: ch 2, skip 2 sc, sc in next ch-1 sp. * skip sc, ch 1, sc in next ch-1 sp; repeat from * to last sc. sc in ch-2 sp of previous row (don’t ch1 before sc), turn.
Repeat row 6 until only you have only 2 sc.
Row 7: ch 1, sc in ch-2 sp of previous row. Fasten off and weave in the ends.
Did you try this out? Share your project!
– Let me know how it went and leave a comment below
– Tag me @madebygootie
– Join and share in our FB Community
Want to save this post for later? Go ahead and PIN it!
Looking for more stitch tutorials? Check out these other free patterns on the blog:
Hello. I’m a beginner and want to learn the moss stitch Can’t find the video. Please help!
Thanking you in advance.
Hi Jan,
This is the link to the video tutorial: https://youtu.be/UOUkK8hINwo
what brand and color is the yarn. it is exquisite.
Hi Linda,
The yarn is Alize Cotton Gold Plus Multi Color – color 52175
I love this C2C pattern. I’m making blankets for twins, and chose yarns that are the same color family but different overall colors. I’m using moss stitch in a rectangle for the first blanket, but wanted something related, yet slightly different for the second. This C2C moss stitch will be perfect for the second one. With the pattern and having watched your presentation in the crochet blanket summit, I have no doubts this will turn out wonderfully. Thank you so much!
I’m so glad you enjoyed the presentation in the summit!
I love the idea of using the same stitch with different methods, I’m sure both blankets will turn out beautifully!