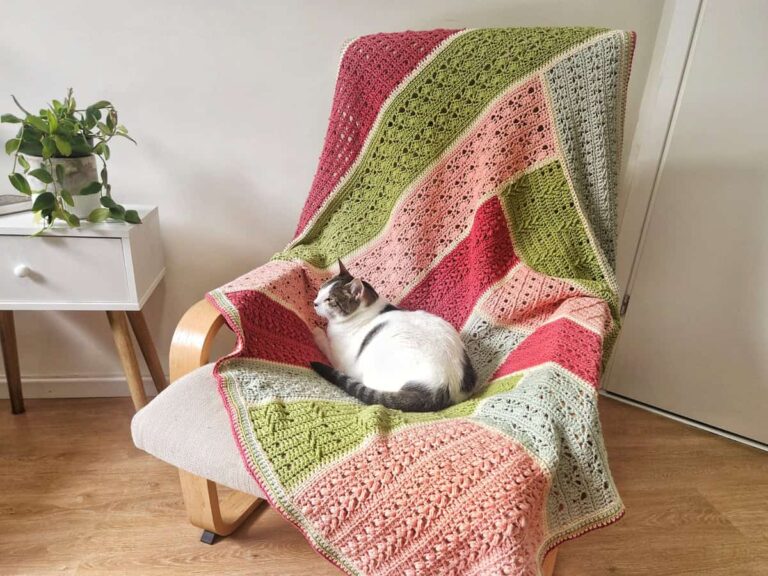
Springtime Journey Blanket – Transition Rows for Sections 1, 3, 5, 7, 8 & 11
The Springtime Journey Blanket consists of 12 sections, each is separated by 2 rows to enhance each section’s texture.
In this post, you will find the instructions for the transition rows that come after sections 1, 3, 5, 7, 8, and 11.
Use the Transition Rows instructions below for the specific blanket section you just finished. Use the Table of Contents below to jump to the relevant transition rows you need!
Terminology – All the instructions in this post and the linked tutorials are using US terminology.
- Ch – chain
- Sc – single crochet – How to Place a Border on Single Crochet
- Hdc – half double crochet – How to Place a Border on Half Double Crochet
- Dc – double crochet – How to Place a Border on Double Crochet
- STsc – stacked single crochet – How to Place a Border on Stacked Single Crochet
- Ehdc – extended half double crochet – (use How to Place a Border on Double Crochet for tutorial, putting stitches
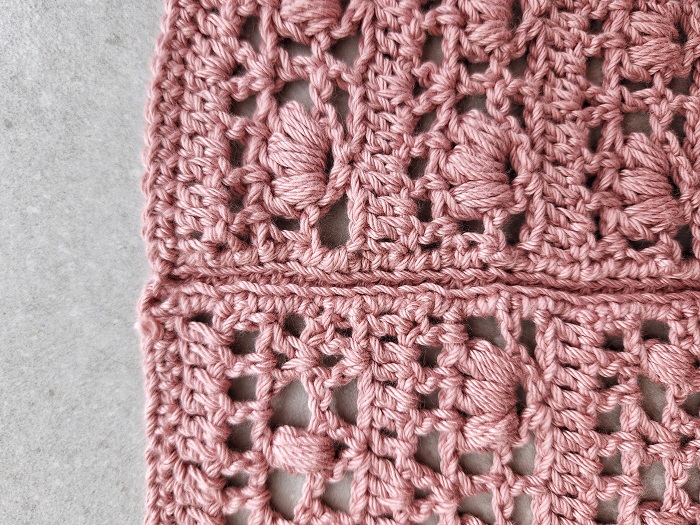
Section 1, Transition Rows
Transition Rows will be worked on one edge of Section 1 prior to working Section 2.
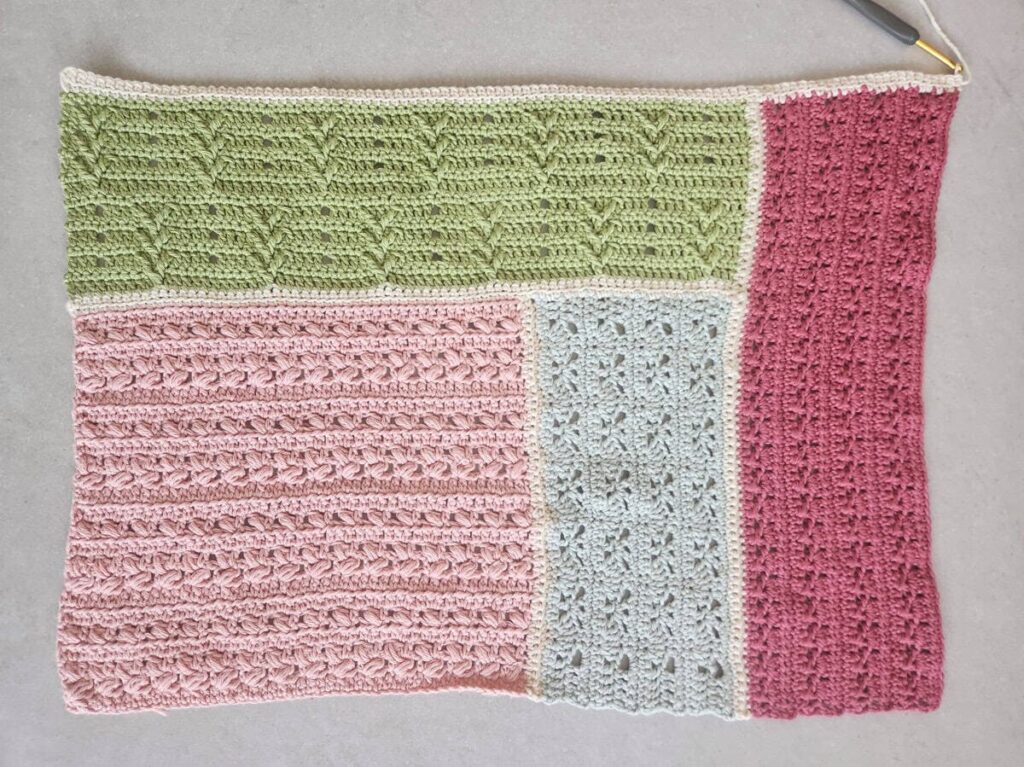
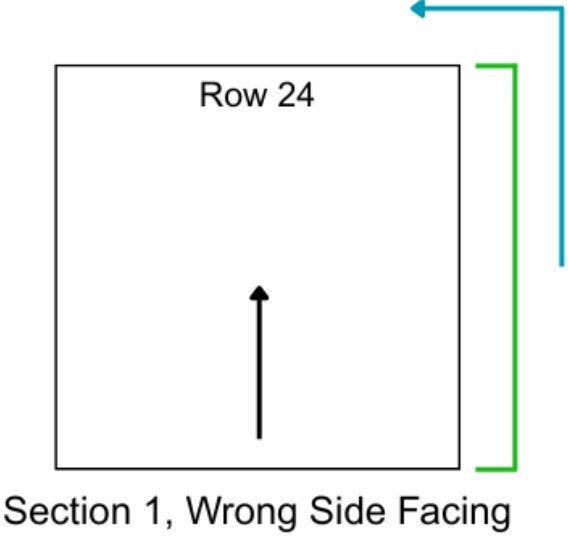
Section 1 started on the Right Side and ended on the Wrong Side. When Section 1 is complete, the Wrong Side of the square will be facing you. Change color in last stitch of Row 24 to Color E.
Do not turn your work as if to start a new row. We will instead work onto the side of the rows (similar to working a border) to crochet our Transition Rows before starting Section 2. See graphics below.
Right Handed
Video Tutorial
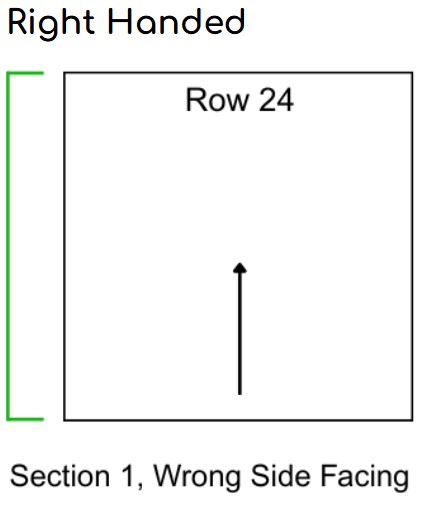
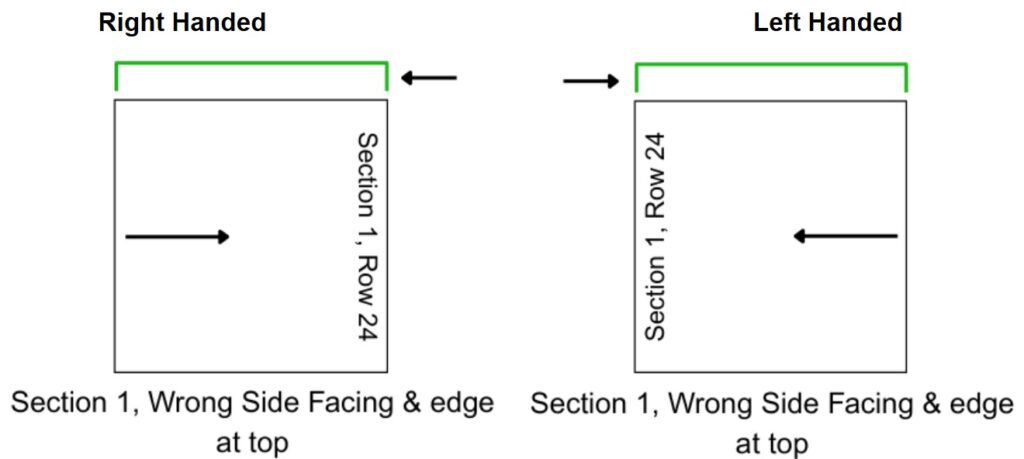
If you are Right Handed, you will work your transition rows on the left edge of the square (Wrong Side of Section 1 is facing. If you are looking at the Right Side, turn your square over). Rotate Section 1 clockwise one time to bring the left edge to the top as the blue arrow in the graphic below indicates.
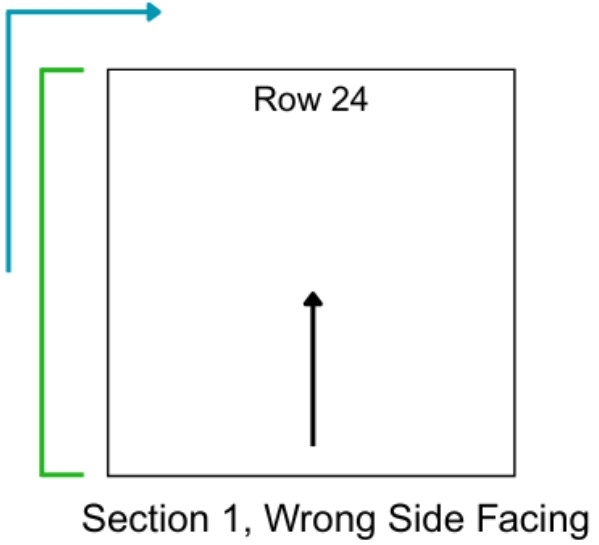
Left Handed
Video Tutorial
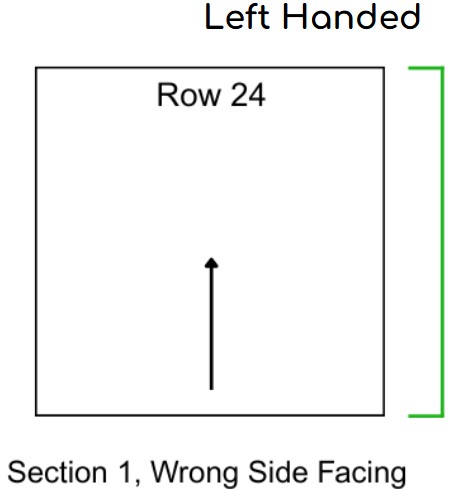
If you are Left Handed, you will work your transition rows on the right edge of the square (Wrong Side of Section 1 is facing. If you are looking at the Right Side, turn your square over). Rotate Section 1 counterclockwise one time to bring the right edge to the top as the blue arrow in the graphic below indicates.
Once Section 1 has been rotated, your work should be aligned with the graphic below.
Detailed Photo-Tutorial Instructions for Section 1 Transition Rows
With Transition Row color, you will:
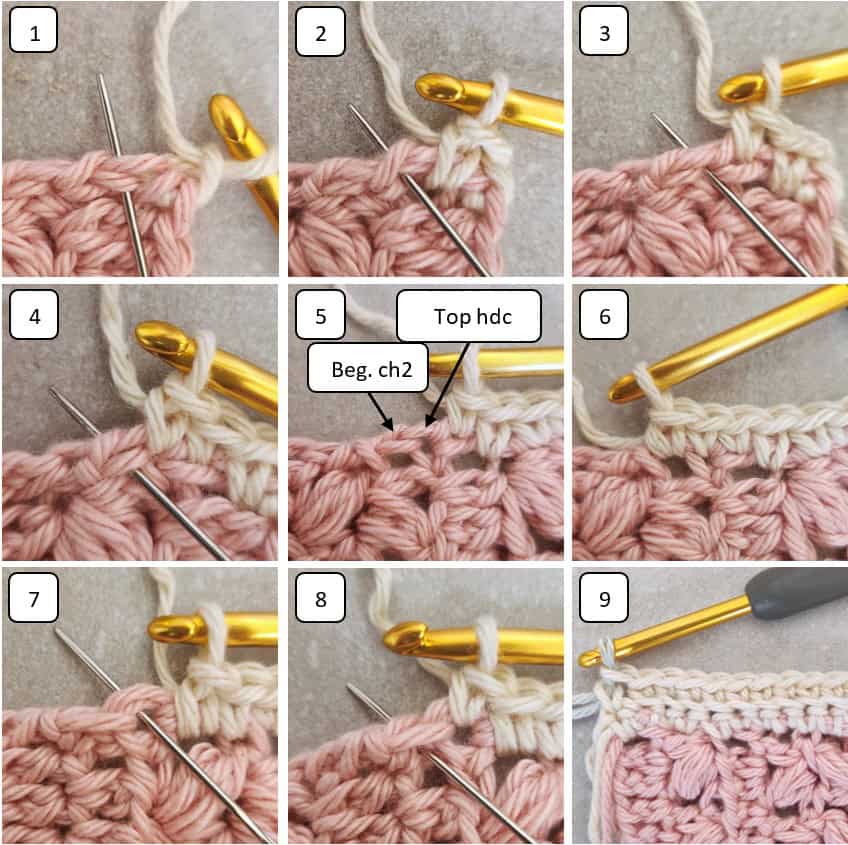
Transition Row 1 (WS) – Ch 1, (do not turn as we already have the project situated properly).
2 sc in side of dc: 1 sc in side of top dc (pic 1), 1 sc in side of post dc (pic 2).
2 sc in side hdc: 1 sc in side of top hdc (pic 3), 1 sc around beginning ch1 before hdc (pic 4).
2 sc in side of dc: 1 sc in side of top dc, 1 sc in side of post dc.
2 sc in side hdc: 1 sc in side of top hdc, 1 sc around beginning ch2 before hdc (pics 5-6).
2 sc in side hdc: 1 sc in side of top hdc, 1 sc in side of post dc.
2 sc in side Stsc: 1 sc in side of top sc (pic 7), 1 sc in side bottom sc (pic 8).
Repeat all these stitches a total of 4 times. (48 total sts – 24 rows x 2 sc)
Transition Row 2 (RS) – Ch 1, turn. Place 1 sc first st, 1 sc BLO each st across until 1 st remains, 1 sc last st (pic 9). (48)

The 2 Transition Rows are now completed. The Right Side of the work will be facing. In the last stitch of Transition Row 2, change to Color B. Work Section 2 onto the Transition Rows using Color B. Section 2 begins on the Wrong Side and will end on the Right Side.
Looking for the rest of the Springtime Journey Blanket CAL details & patterns?
Click the button below to head back to the main information page of the CAL!