Herringbone Corner to Corner Knit Blanket
Last Updated on February 26, 2024
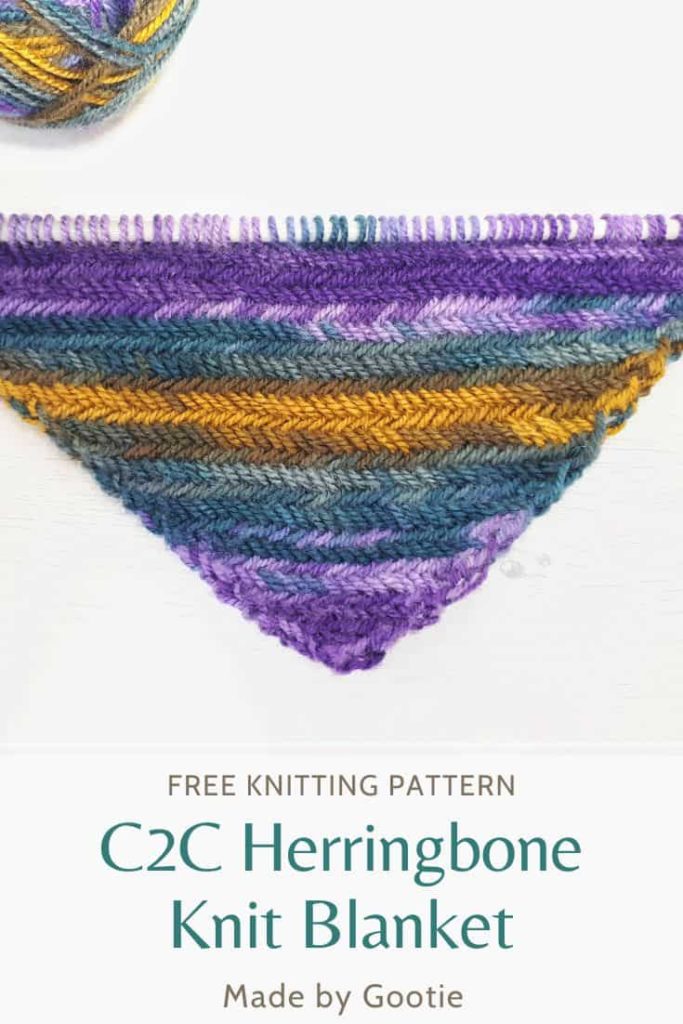
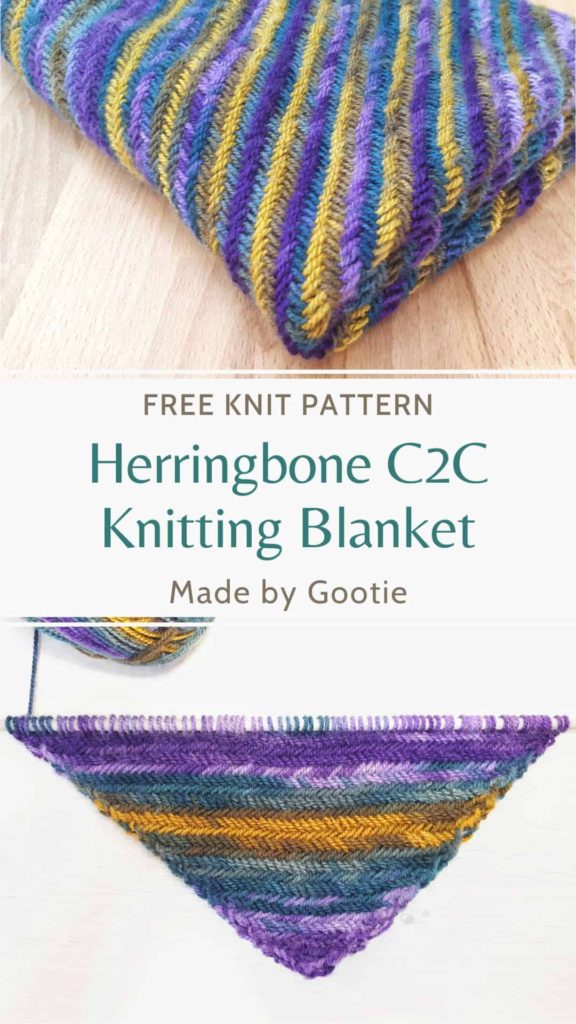
I love the Herringbone knit stitch! It is very simple yet elegant stitch.
If you know me, you would know that I adore the C2C method, and I use it a lot in different crochet stitches. That’s what made me want also to create a corner to corner knit blanket for all of you knitters out there!
** Some of the links in this post may include affiliate links. Making a purchase through one of these links pays me a small referral fee at no added cost to you. These small fees add up and help me keep the blog running. View our disclosure and privacy policy for more information.
Can you Make a corner to corner Knit blanket?
Whenever I make a blanket, I always look for a pattern or technique that spares me from calculating the number of stitches I need to cast on to get the right width.
That’s why I prefer to make blankets that either start from the center like Granny Square patterns, or that are worked from corner to corner.
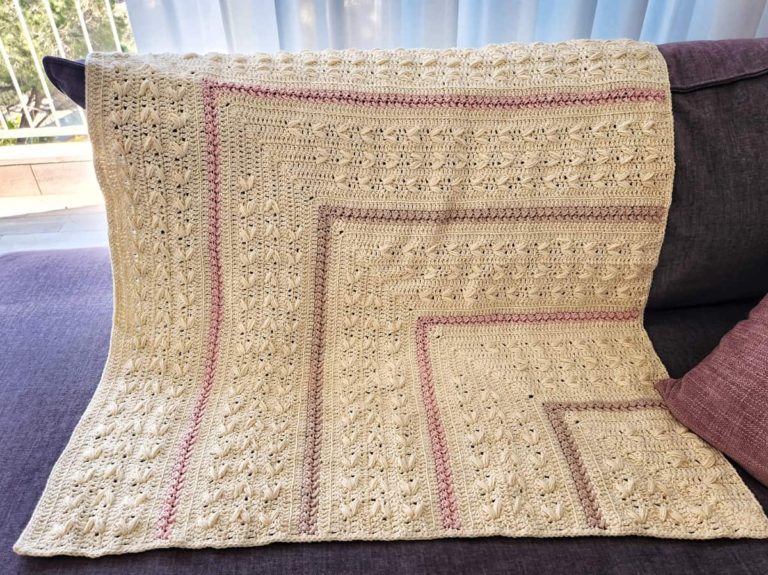
I got the inspiration for this pattern when I started making a baby blanket for a friend. I really wanted to use the Herringbone stitch, so I came up with this C2C knitting pattern using the Herringbone knit stitch. Although you can make a corner to corner knit blanket with knit and purl stitches.
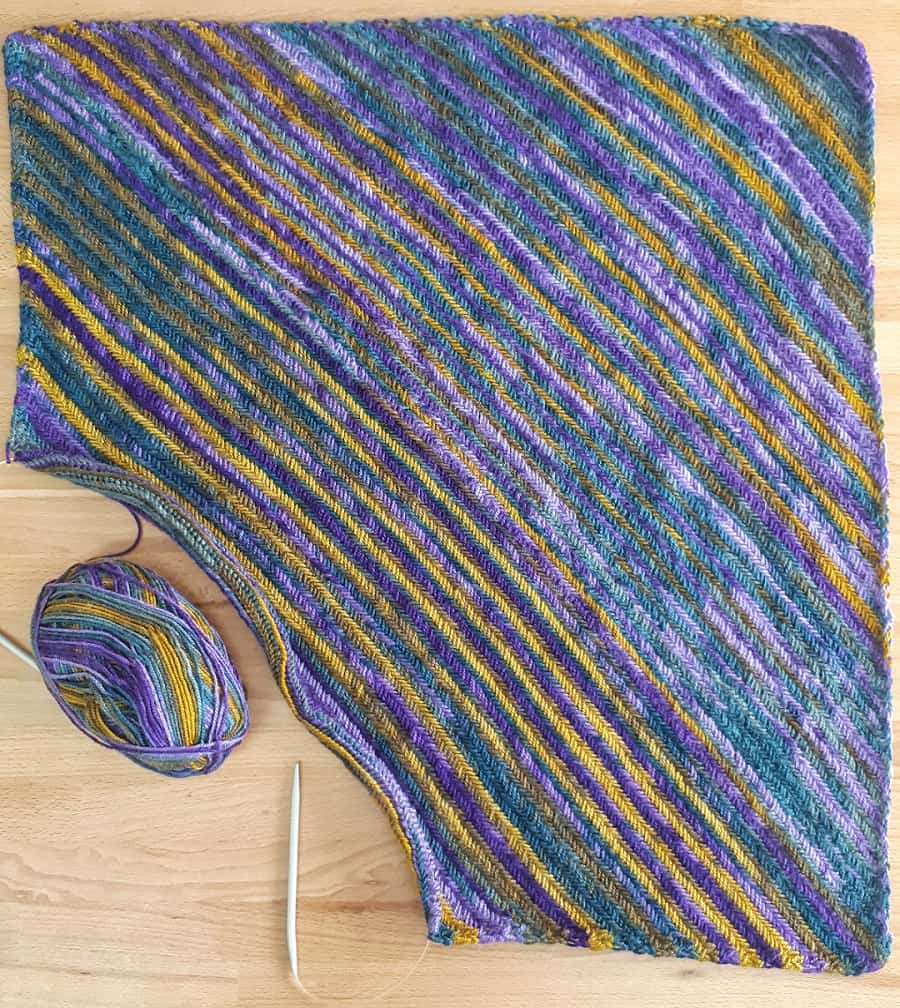
How do you knit a diagonal square?
When knitting a corner to corner knit blanket, the technique is similar to crochet corner to corner method.
You start from one corner and keep increasing until you reach the desired width of your project. It gives you the flexibility to decide the size of your project as you go. Then you can either work it as a rectangle and start decreasing only on one side, or make it into a square and decrease on both sizes.
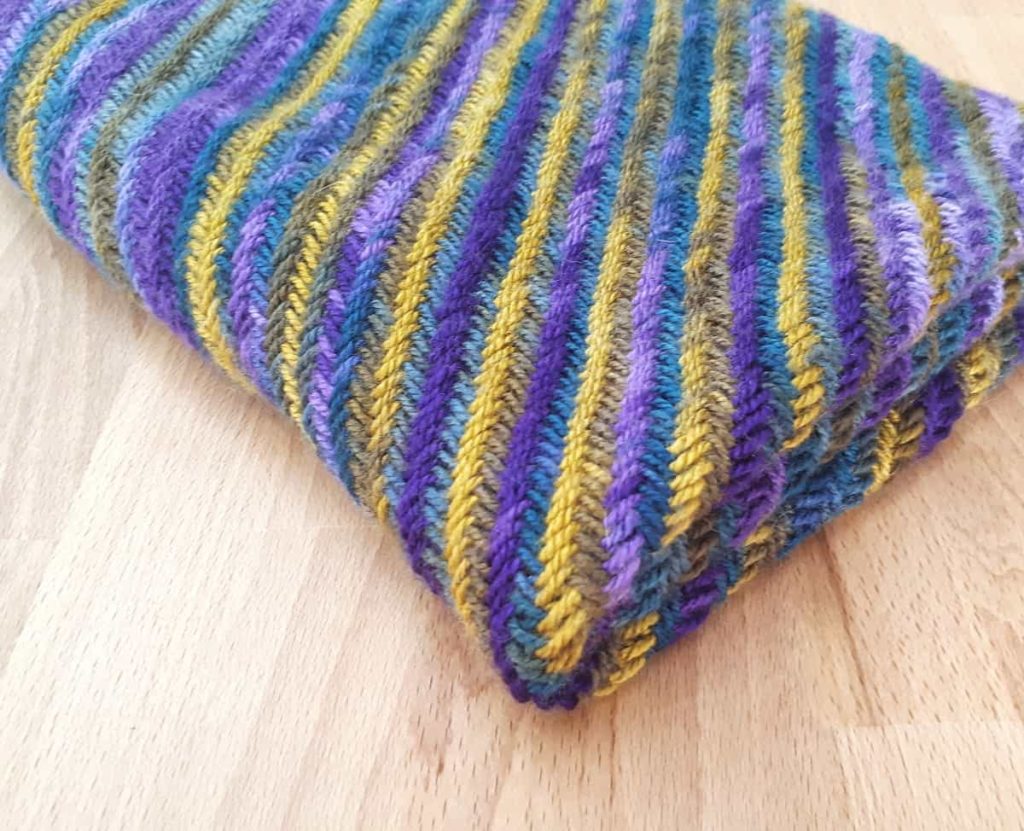
The fun thing about a diagonal knit blanket pattern, is that you can use different stitches, and not only the Herringbone knit stitch that is shown here!
* Get the ad-free, complete photo tutorial, ready-to-print PDF premium pattern at one of my shops below:
This pattern is part of the Charity Cozy Fall MAL which is hosted by Noor Knits & Knitting with Chopsticks.
This is Blanket Make-A-Long, where every weekday crochet and knit squares are shared.
All 20 squares (both crochet & knit) are available as bundles, both knit and crochet bundles each contain 20 patterns of 8” squares.
50% of the bundle income goes to the Cure Childhood Cancer Organization.
Check out the Knit bundle HERE
Check out the Crochet bundle HERE
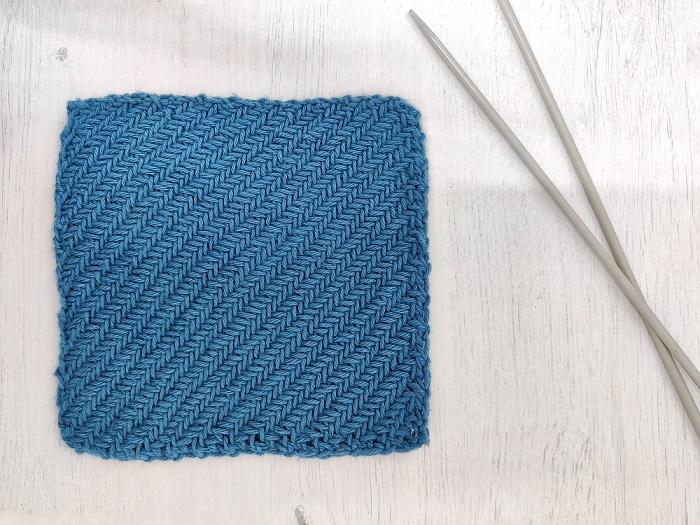
Herringbone C2C Knit Blanket Pattern
* Pin this pattern for later HERE
Materials
For a 8” Square size
– 5.5 mm (US #9) 80cm circular needles
– 400grams of Worsted (#4) yarn. You can find wonderful yarn HERE
For a Baby Blanket Size
– 5.5 mm (US #9) 80cm circular needles
– 40gr/80m/70yds of Worsted (#4) yarn. I used Knit Picks – Comfy Worsted
Finished Size
Square – 8×8” (20×20 cm)
Baby blanket – 27.5×27.5” (75×75 cm)
Abbreviations (US)
k – knit
p – purl
tbl – through the back loop
yo – yarn over
rev yo – reverse yarn over
k2tog – knit 2 sts together
p2tog – purl 2 sts together
RS – right side
WS – wrong side
Notes
– Every increase row starts with yarn over (WS) or reverse yarn over (RS).
– After the first row, there’s another increase after the first k2tog or p2tog, and third increase at the end of the row before the last stitch.
– The blanket can be made as a square and as a rectangle, you can find the rectangle option in the premium PDF pattern.
– When decreasing- there are two decreases at the beginning of the row, and one decrease at the end of the row.
– This stitch tends to curl a little, but after you soak and block it will be flat.
Prefer a detailed step-by-step photo tutorial?
Get the premium, ad free, printable PDF version on Ravelry or Etsy!
Herringbone Free Corner to Corner Knit Baby Blanket Pattern
Cast on 2 sts.
Row 1 (RS):
Rev yo, k2tog through the back loop and slip only the first stitch off the left needle (leave the second stitch on the needle), rev yo, k.
Row 2 (WS):
Yo, p2tog and slip only the first stitch off the left needle (leave the second stitch on the needle), yo.
* p2tog and slip only the first stitch off the left needle (leave the second stitch on the needle); Repeat from * until only 1 stitch remains on the left needle. yo, p tbl.
Row 3:
Rev yo, k2tog through the back loop and slip only the first stitch off the left needle (leave the second stitch on the needle), rev yo.
* k2tog through the back loop and slip only the first stitch off the left needle (leave the second stitch on the needle); Repeat from * until only 1 stitch remains on the left needle.
Rev yo, k.
For the square – repeat rows 2-3 until the side of the triangle measures 8” (20cm), finishing with the wrong side and start decreasing,
For the blanket – repeat rows 2-3 until the side of the triangle measures 27.5” (75cm), or until reaching the desired length- finishing with wrong side, then start decreasing.
Want to learn how to knit the C2C Herringbone stitch as a rectangle?
Get the premium, ad free, printable PDF version on Ravelry or Etsy!
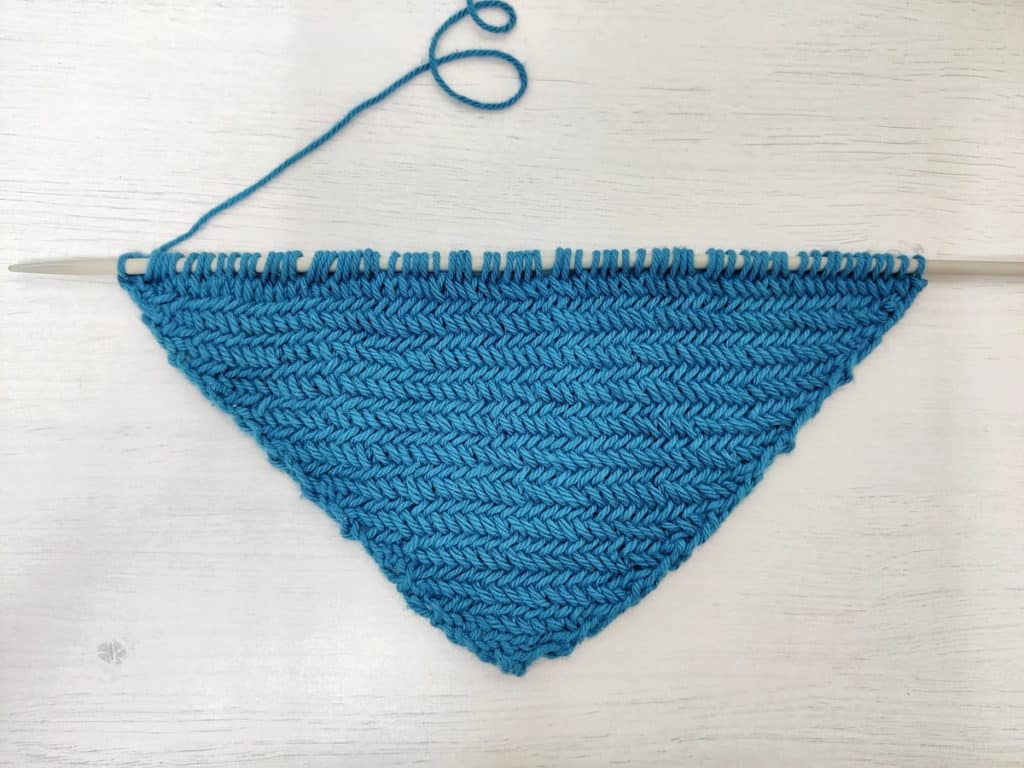
Row 4 (RS- decrease):
[k2tog tbl] twice, * k2tog through the back loop and slip only the first stitch off the left needle (leave the second stitch on the needle); Repeat from * until only 2 stitches remain on the left needle, k2tog.
Row 5 (WS- decrease):
p2tog twice, * p2tog and slip only the first stitch off the left needle (leave the second stitch on the needle); Repeat from * until only 2 stitches remain on the left needle, p2tog tbl.
Repeat rows 4&5 until only 4 sts left.
Row 6 (WS- decrease):
p2tog, p2tog.
Row 7 (RS- decrease):
k2tog, bind off.
Did you try this out? Let me know how it went and leave a comment below and tag a photo of your project @madebygootie on Instagram!
Let’s be friends on social media! Follow me on Facebook, Instagram and Pinterest!






How would you make it a rectangle
Hi Liz, I updated the post with the option to make the blanket a rectangle, please see notes after row 3.
Let me know if you have any more questions 🙂
Hi! I too love Herringbone Stitch. Is there someway to make this into a shawl? Thanks for all you have posted.
Hi Barbara! I haven’t tried making it into a shawl, but you can try and add 1 more increase at the start and end of every row. See if the triangle you make is wide enough.
how do you adjust for a larger blanket size?
Just repeat rows 2-3 until you reach the desired width, and then decrease as instructed.