Last Updated on June 27, 2024
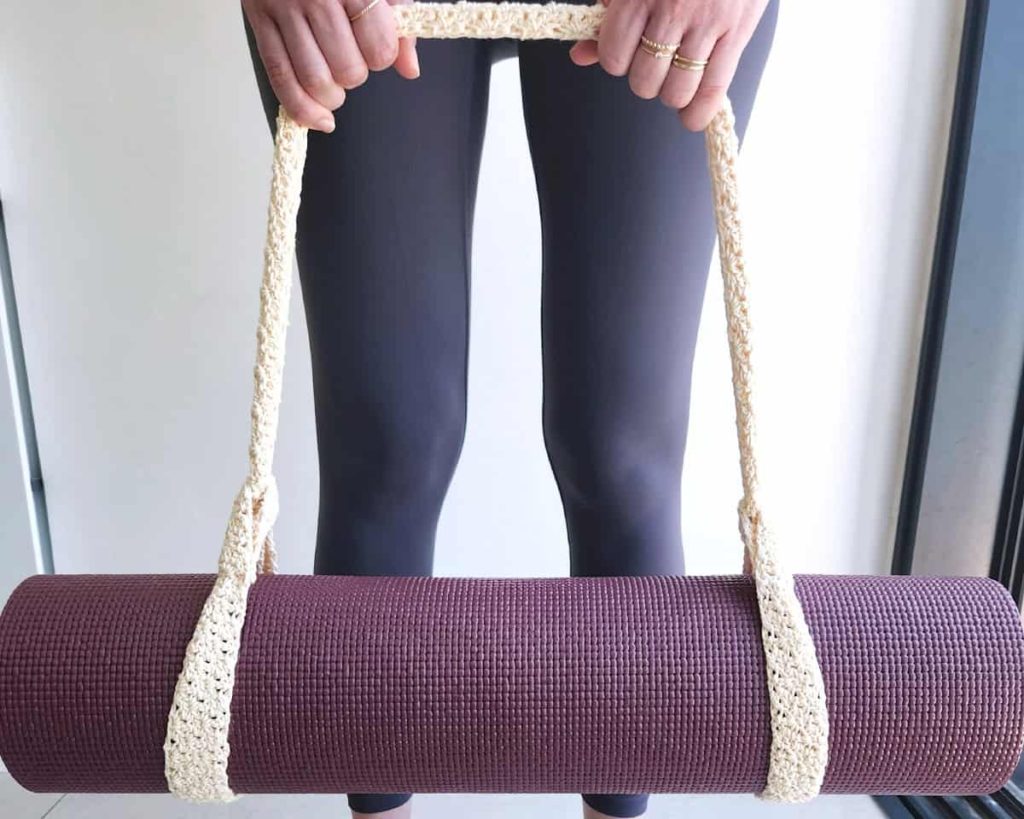
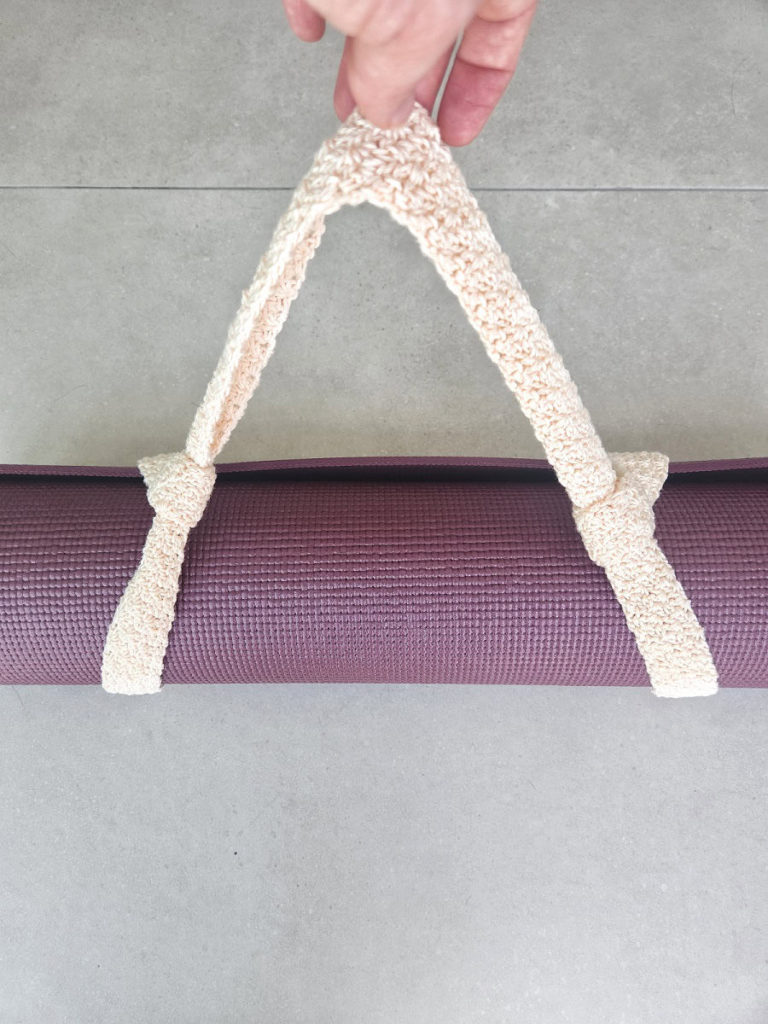
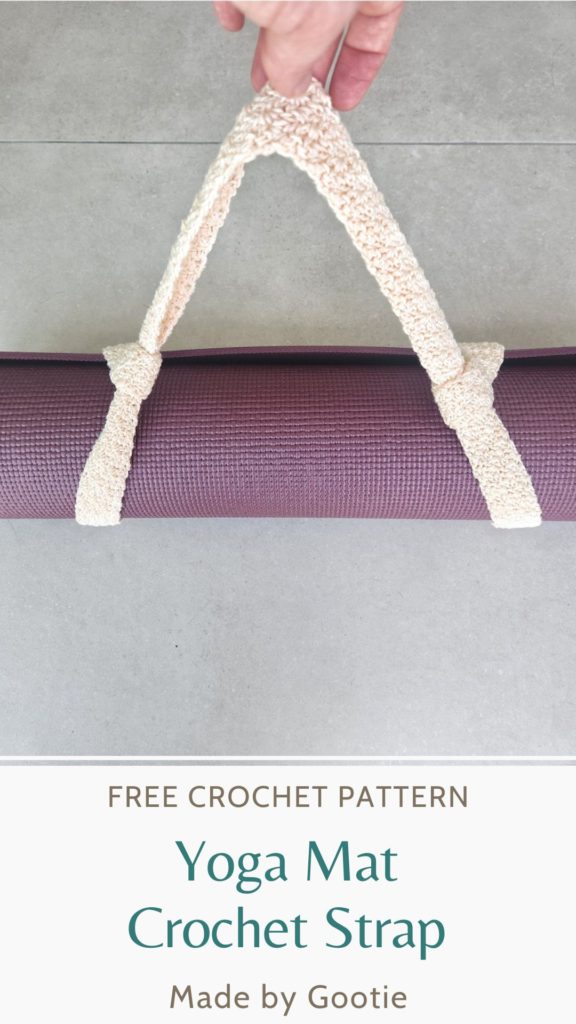
If you are practicing yoga, or looking for a gift for someone who loves yoga, this crochet yoga mat strap pattern is the perfect gift! It’s easy to put on the mat, and comfortable on the shoulder.
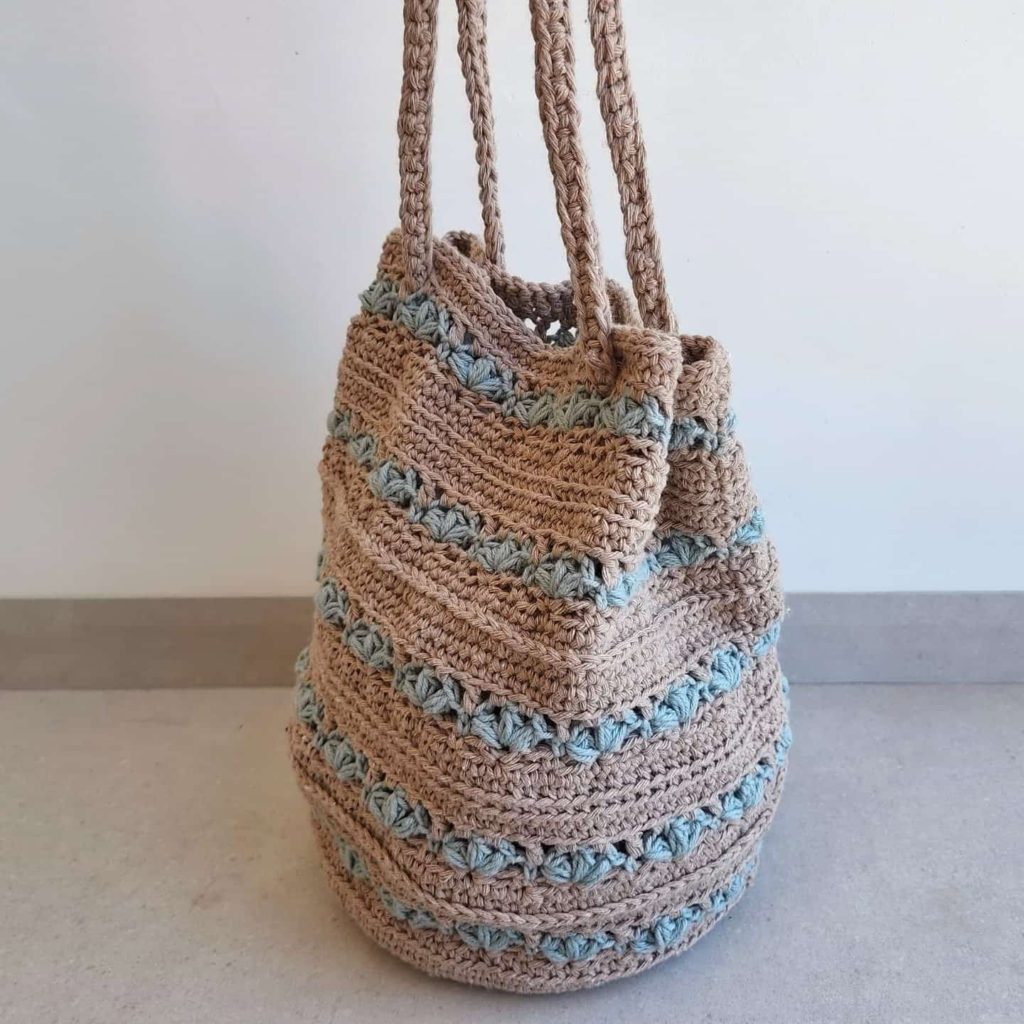
You can adjust the width and length as you’d like, and also use this pattern to make crochet bag handles.
This easy tutorial features both photo and video tutorials.
** Some of the links in this post may include affiliate links. Making a purchase through one of these links pays me a small referral fee at no added cost to you. These small fees add up and help me keep the blog running. View our disclosure and privacy policy for more information.
I’ve been wanting to design a pattern for a yoga mat crochet bag for a while now. But then I realized that a strap would be much more comfortable to use, it’s easier and quicker to put your mat in and to take it out.
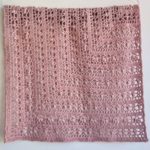
I decided to use my C2C Wattle stitch for the strap, and create a crochet yoga mat holder.
I love to use the C2C method with different stitches, with this method I don’t have to use a long starting chain and calculate ahead home many chains I need for a certain length. You just start and continue working until you reach the desired length, and I love that it creates smooth and nice edges.
Want to save this post for later? Go ahead and PIN it!

How to Change the Width of the Strap and How Much Does It Stretch
You can change the width of this crochet bag strap pattern very easily, by repeating row 4 as many times as needed, then continue work the pattern as instructed.
I released the video tutorial before the written instructions, and got many people asking me how much does the strap stretch? Because it is worked diagonally, it doesn’t stretch much.
I measured the strap I made for my yoga mat before and after I used it a few times. When I finished crocheting it, it was 66 inches, and now it’s 72 inches, so the strap stretches about 10% of the finished length.
Crochet Yoga Mat Holder PDF Pattern
You can find the ad-free PDF pattern with the full photo-tutorial at one of my shops below:


Crochet Bag Strap Video Tutorial
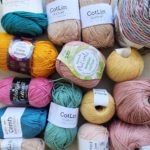
Materials
– Crochet hook 3.5 mm / E (I love the Etimo Hooks).
– Worsted (#4) weight cotton yarn – I used Lion Brand 24/7 Cotton.
Total amount of yarn needed: 75gr/127m/140yds
– Tapestry needle
– Scissors
– 2 Stitch markers (optional)
Finished Size – 1.5 in (3.8 cm) wide, 66 in (167 cm) long.
– Length and width can be adjusted.
Abbreviations (US)
ch – chain
sc – single crochet
sc2tog – 2 single crochet together: Insert hook in next st/sp, yo and pull up loop, insert hook in next st/sp, yo and pull up loop (3 loops on hook), yo and pull yarn through all 3 loops.
dc – double crochet
PM – place marker
sp – space
[…] – crochet the instructions within brackets into the same indicated stitch/space.
Notes
- To make it easier to find the ch3 / ch2 spaces at the end of the row, place a stitch marker when you ch3/ch2 at the beginning of each row.
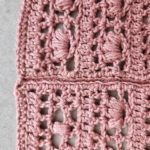
- The strap is worked in the Corner to Corner Wattle stitch.
- Wattle – [1 sc, ch 1, 1 dc] in same space.
- We’re using a smaller hook than recommended for a Worsted weight yarn, in order to keep the strap tight, so it won’t stretch out too much.
- To make the strap wider: repeat row 4 until the desired width.
Crochet Yoga Mat Strap Pattern
Ch 4
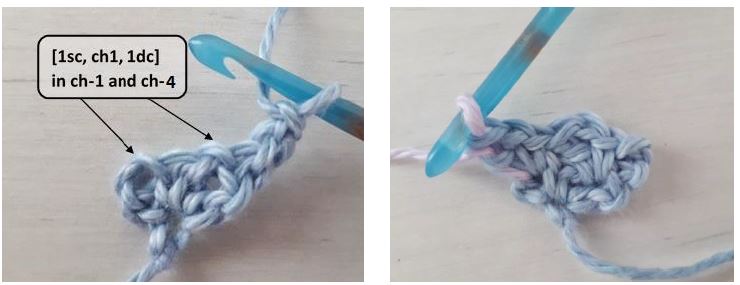
Row 1: [1 sc, ch 1, 1 dc] in 4th ch from hook, turn. (1 wattle, 1 ch-3 sp)
Row 2: Ch 3-PM, skip 1st dc, [1 sc, ch 1, 1 dc] in next ch-1 sp, skip next sc, [1 sc, ch 1, 1 dc] in ch-4 sp, turn. (2 wattle, 1 ch-3 sp)
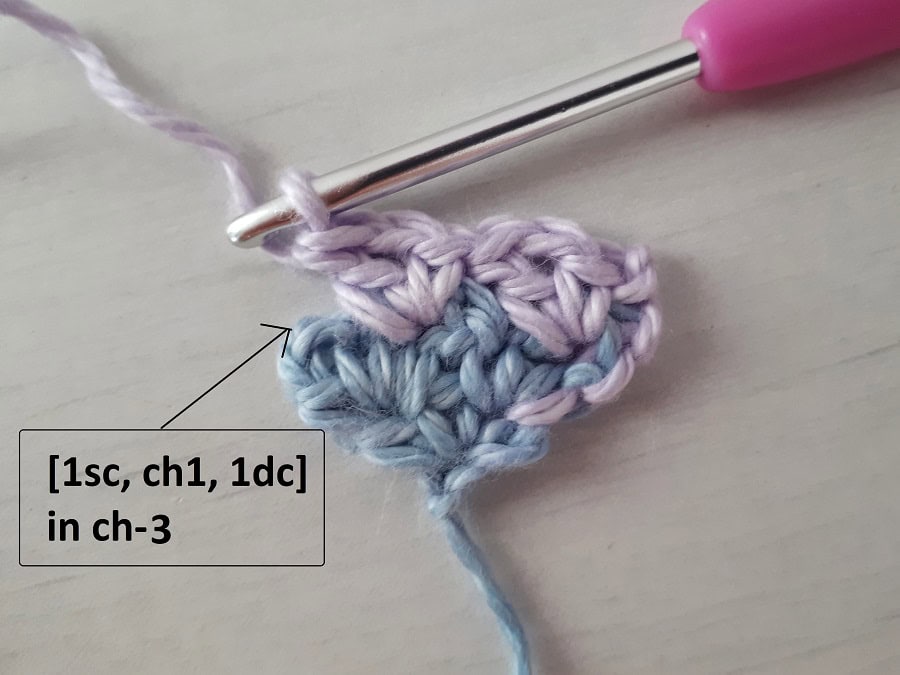
Row 3: Ch 3-PM, skip 1st dc, [1 sc, ch 1, 1 dc] in next ch-1 sp, skip next sc and dc, [1 sc, ch 1, 1 dc] in next ch-1 sp, [1 sc, ch 1, 1 dc] in ch-3 sp, turn. (3 wattle, 1 ch-3 sp)
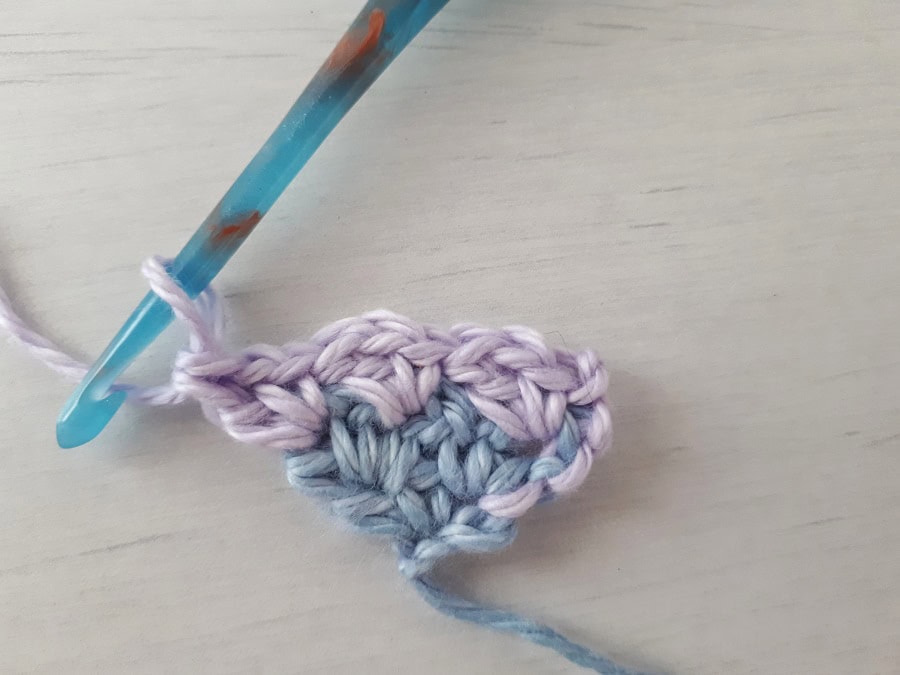
Row 4: Ch 3-PM, * skip next dc, [1 sc, ch 1, 1 dc] in next ch-1 sp, skip next sc; repeat from * to ch-3 sp [1 sc, ch 1, 1 dc] in ch-3 sp, turn. (4 wattle, 1 ch-3 sp)
If you want to make the strap wider, repeat row 4, if not, continue to row 5.
Row 5: Ch 3-PM, * skip next dc, [1 sc, ch 1, 1 dc] in next ch-1 sp, skip next sc; Repeat from * until last ch-1 sp (do not work into last ch-1 sp). Sc2tog in next ch-1 sp and ch-3 sp, turn. (3 Wattle, 1 sc2tog, 1 ch-3 sp)
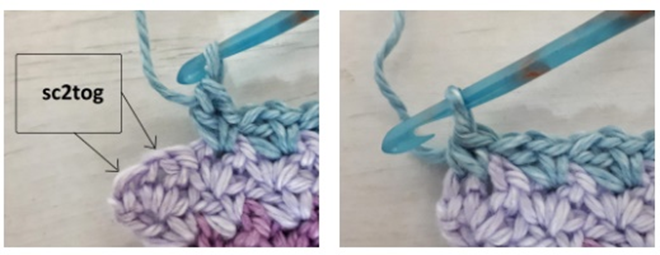
Row 6: Ch 2-PM, skip sc2tog and dc, [1 sc, ch 1, 1 dc] in next ch-1 sp, * skip next sc and dc,
[1 sc, ch 1, 1 dc] in next ch-1 sp; Repeat from * to ch-3 [1 sc, ch 1, 1 dc] in ch-3 sp, turn.
(4 Wattle, 1 ch-2 sp)
Row 7: Ch 3-PM, * skip next dc, [1sc, ch 1, 1 dc] in next ch-1 sp, skip next sc; Repeat from * until last ch-1 sp (do not work into last ch-1 sp). Sc2tog in next ch-1 sp and ch-2 sp, turn.
(3 Wattle, 1 sc2tog, 1 ch-3 sp)
Repeat rows 6-7 until your desired length.
Row 8: Ch 2-PM, skip sc2tog, * skip next dc, [1 sc, ch 1, 1 dc] in next ch-1 sp, skip next sc; Repeat from * until last ch-1 sp (do not work into last ch-1 sp). Sc2tog in next ch-1 sp and ch-3 sp, turn.
(2 Wattle, 1 sc2tog, 1 ch-2 sp)
Row 9: Ch 2-PM, skip sc2tog and dc, [1 sc, ch 1, 1 dc] in next ch-1 sp, skip next sc and dc, sc2tog in next ch-1 sp and ch-2 sp, turn. (1 Wattle, 1 sc2tog, 1 ch-2 sp)
** If you made your strap wider, repeat row 9, until you have only 1 Wattle, 1 sc2tog and ch-2 sp, in your row. Then continue to row 10.
Row 10: Ch 1, skip sc2tog and dc, sc2tog in next ch-1 sp and ch-2 sp. Fasten off.
Assembly
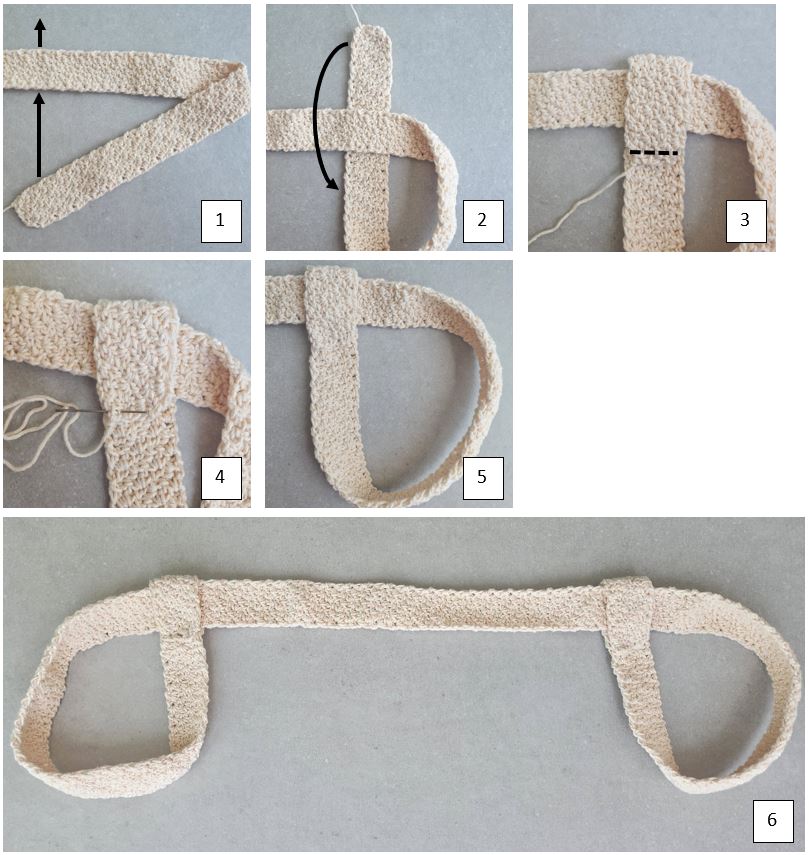
- Fold one edge of the strap toward the middle of the strap (pic 1).
- Flip the edge and pass it under the strap (pics 1&2).
- Fold the edge downward over the strap, so it will create a loop around the base of the strap (pic 3).
- Sew the loop with a tapestry needle to secure it, and weave in the end (pic 4&5).
- Repeat on the other side of the strap (pic 6).
- Wrap the loops around both sides of your mat.
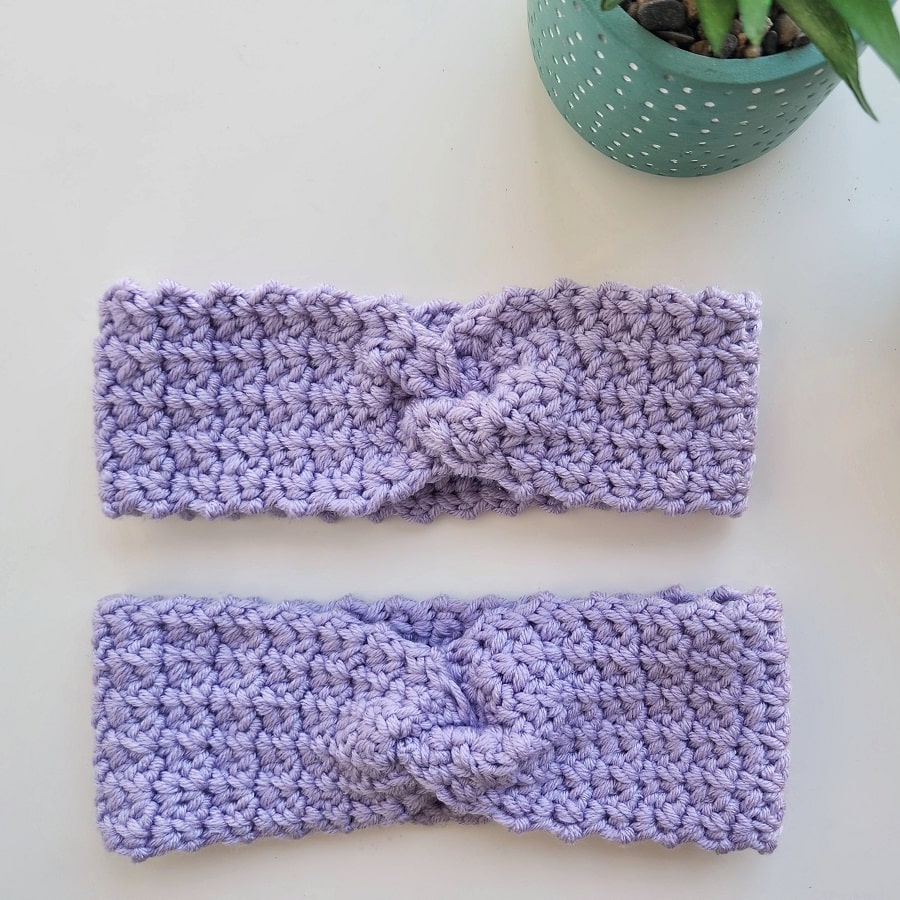
Looking for More Crochet Accessory Patterns?
Did you try this out? Share your project!
– Let me know how it went and leave a comment below.
– Tag me on Instagram @madebygootie
– Join and share in our FB Community
Want to save this post for later? Go ahead and PIN it!