C2C Cluster Stitch Free Crochet Pattern
Last Updated on June 25, 2024
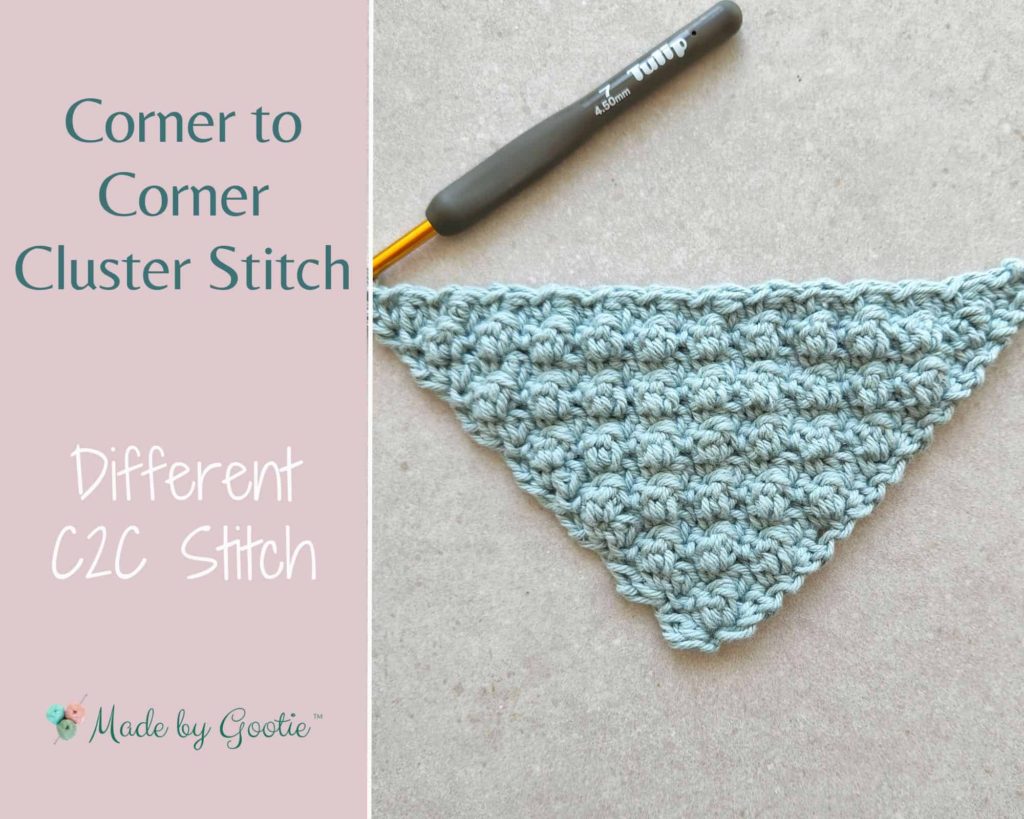
I love working from corner to corner in crochet. That’s why I came up with the Corner to Corner Cluster stitch.
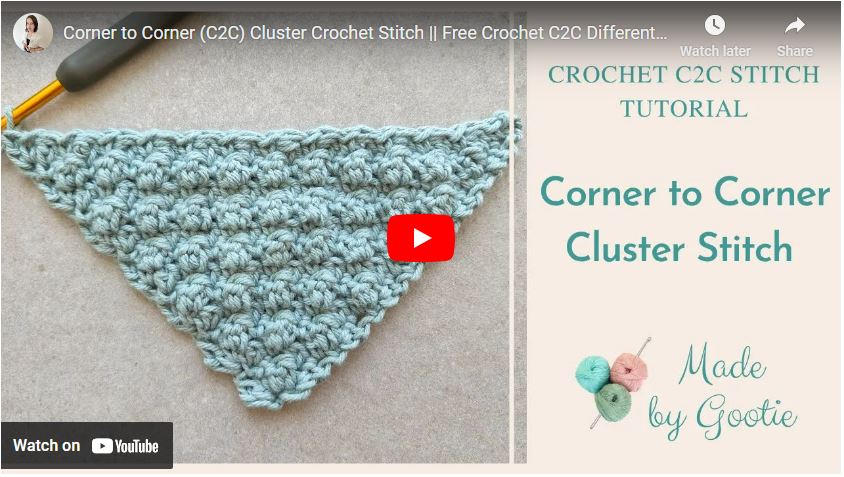
The C2C Cluster stitch is a different C2C stitch. The detailed photo tutorial and video tutorial I made will teach you how to increase and decrease the Cluster stitch. This stitch and easy and perfect both for experienced and beginner crocheters.
** Some of the links in this post may include affiliate links. Making a purchase through one of these links pays me a small referral fee at no added cost to you. These small fees add up and help me keep the blog running. View our disclosure and privacy policy for more information.
Want to save this post for later? Go ahead and PIN it!
How to Crochet The Cluster Stitch
The crochet Cluster Stitch is made by crocheting 2 double crochet together into the same stitch.
To make the clusters pop out, you alternate the double crochet cluster stitch with a single crochet stitch, where every row the clusters are worked into the single crochet and the single crochet is worked in the cluster stitch.
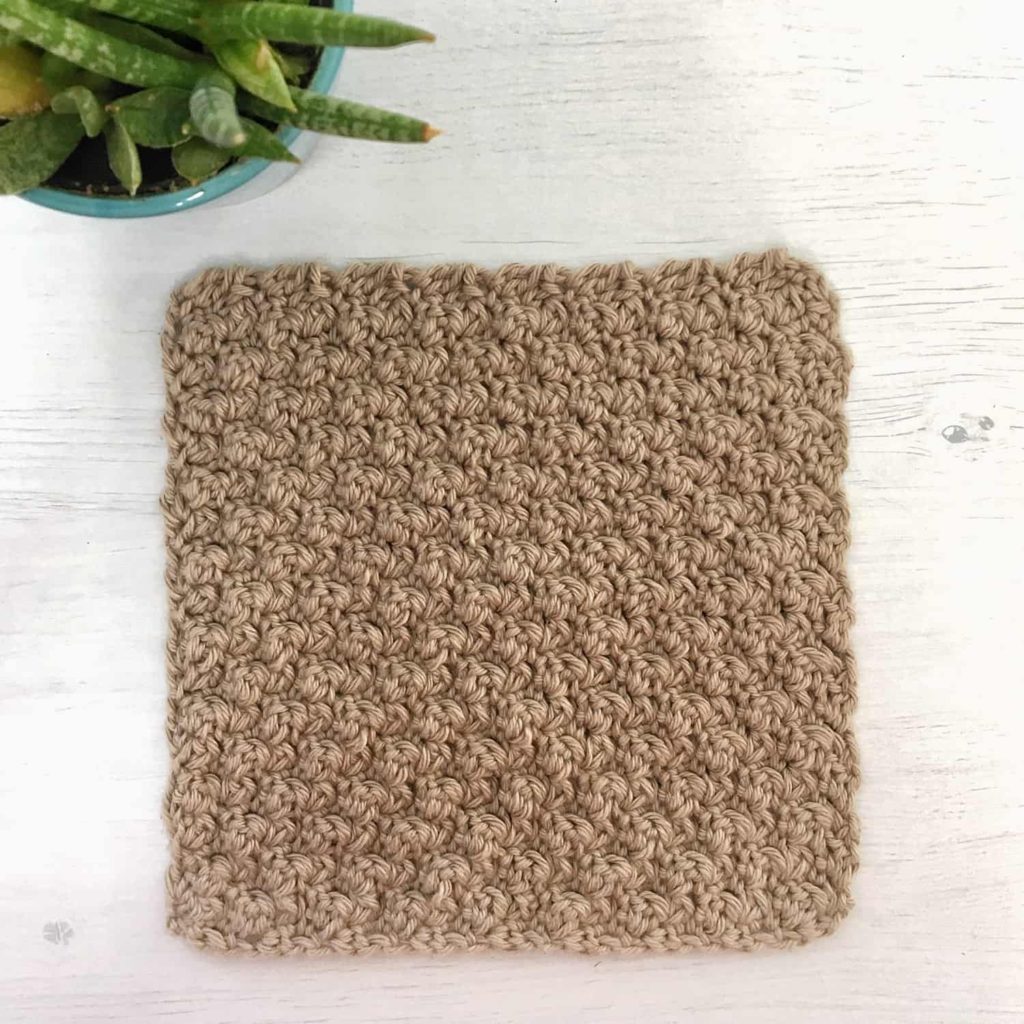
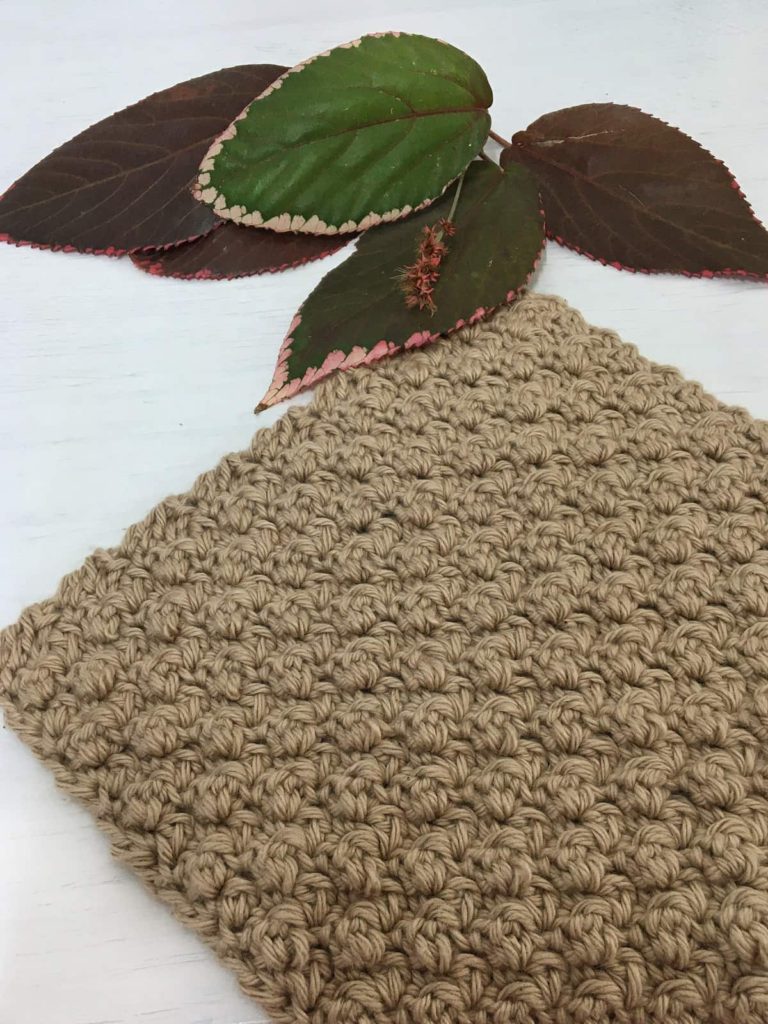
Working the Corner to Corner Cluster stitch version is not harder than working the regular crochet cluster stitch! It has an interesting stitch, and a different texture than the regular C2C crochet patterns.
How to Crochet The C2C Crochet Cluster Stitch
* Save this post for later and PIN it
* Add the pattern to your Ravelry queue
Materials I Used In This Tutorial
– 4.5 mm Crochet hook (I love the Etimo and Clover hooks).
– For this pattern I used Comfy Worsted by KnitPicks – Worsted (#4) weight yarn,
you will need a total of 40gr/80m/87yds.
More suitable yarn for this design:
Lily Sugar n’ Cream
Premier Home Cotton Blend
Knit Picks – Dishie
Skill level – easy
Prefer a detailed step-by-step photo tutorial?
Get the premium, ad free, printable PDF version on Ravelry or Etsy!
Abbreviations (US)
PM – place marker
ch – chain
yo – yarn over
sc – single crochet
sc2tog – single crochet 2 together
dc – double crochet
dc2tog – double crochet 2 together
dc-cl – dc cluster stitch: yo, insert hook into indicated st, yo and pull up a loop, yo and pull yarn through 2 loops. yo, insert hook into same st, yo and pull up a loop, yo and pull yarn through 2 loops. Pull yarn through 3 loops.
* This st is basically dc2tog where the 2 dc are worked into the same st.
Gauge (single crochet) – 16 sc and 16 rows = 4 in/10 cm with 4.5mm hook
Finished size – 8×8 in (20×20 cm).
Notes
- To make it easier to find the ch3 / ch2 spaces at the end of the row, place a stitch marker when you ch3/ch2 at the beginning of each row.
- This pattern can be made in any size that you want, it’s a great stitch for blankets and washcloth!
- The pattern can be worked as a square or as a rectangle (the recatngle version is available on the premium PDF version).
Corner to Corner Crochet Cluster Stitch Pattern
C2C Increase
ch4
Row 1: [1sc, 1dc-cl] in 4th ch from hook, turn.
Row 2: ch3-PM, 1sc in 1st dc-cl, 1dc-cl in next sc, [1sc, 1dc] in ch-3, turn.

Row 3: ch3-PM, 1sc in 1st dc, 1dc-cl in next sc.
* 1sc in next dc-cl, 1dc-cl in next sc; repeat from * to ch-3, [1sc, 1dc] in ch-3, turn.
Repeat row 3 until the side of the triangle measures 8in (20cm), then start decreasing.

Want to learn how to crochet the C2C Cluster stitch as a rectangle?
Get the premium, ad free, printable PDF version on Ravelry or Etsy!
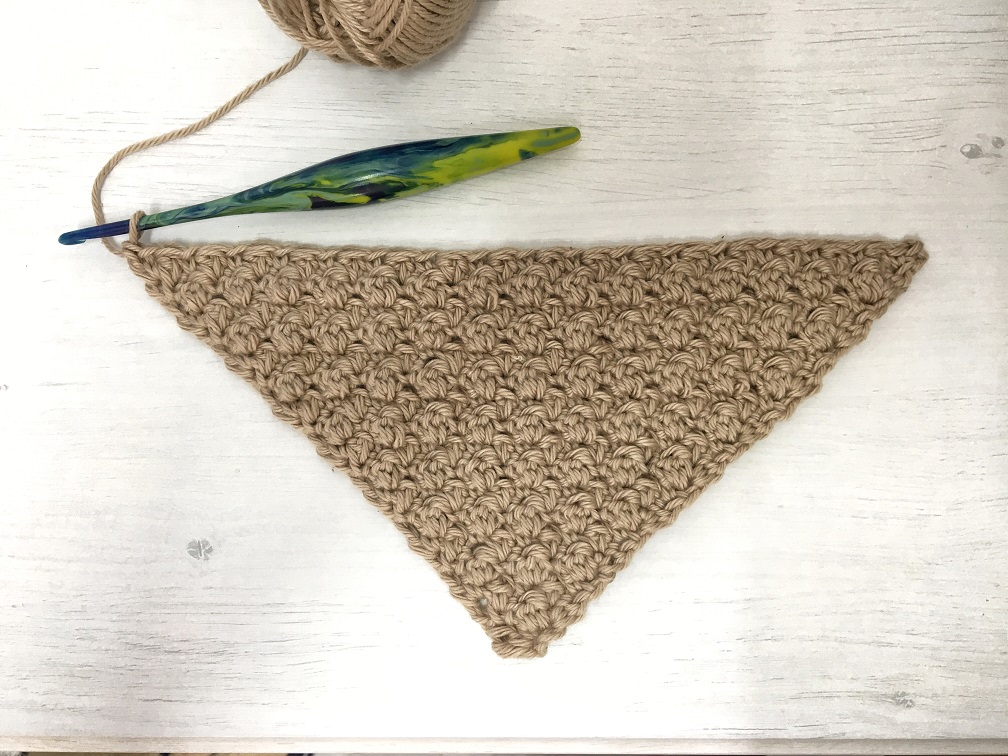
C2C Decrease
Row 4: ch2-PM, skip next dc & sc, 1sc in next dc-cl.
* 1dc-cl in next sc, 1sc in next dc-cl; repeat from * to last sc, dc2tog in last sc & ch-3, turn.

Row 5: ch2-PM, skip next dc2tog & sc, 1sc in next dc-cl.
* 1dc-cl in next sc, 1sc in next dc-cl; repeat from * to last sc, dc2tog in last sc & ch-2, turn
Continue working row 5 until you have only 1 cluster stitch in your row (total of 4 sts + ch2).
Row 6: ch2-PM, skip next dc2tog & sc, 1sc in next dc-cl, dc2tog in last sc & ch-2, turn.
Row 7: ch1, skip next dc2tog, sc2tog in next sc & ch-2. Fasten off.
DESIGNERS – IF USING THIS C2C STITCH IN A CROCHET DESIGN, I WOULD LOVE IT IF YOU GIVE REFERENCE TO THIS ORIGINAL POST SOMEWHERE IN YOUR DESIGN.
More Free C2C Crochet Patterns
- C2C Crochet Classic Stitch
- Waves of Grain C2C Table Runner
- Across the Way C2C Blanket
- C2C Wattle Stitch
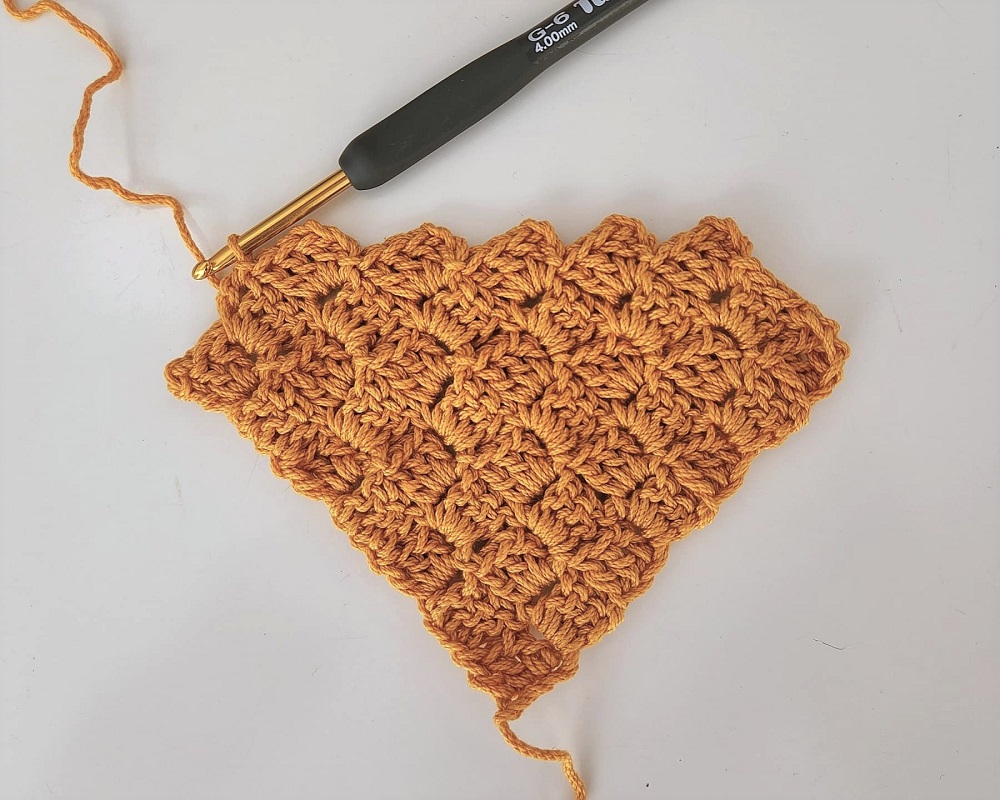
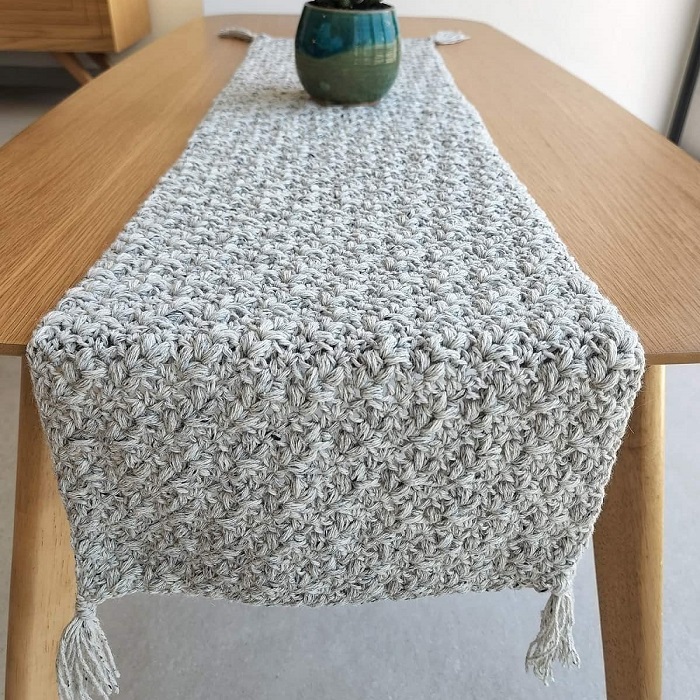
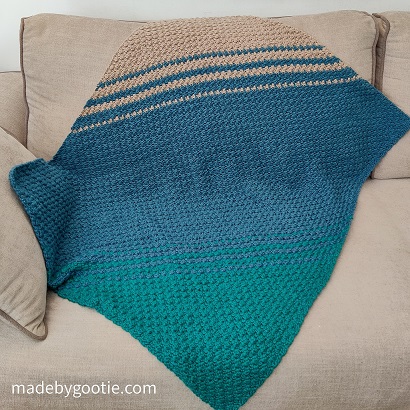
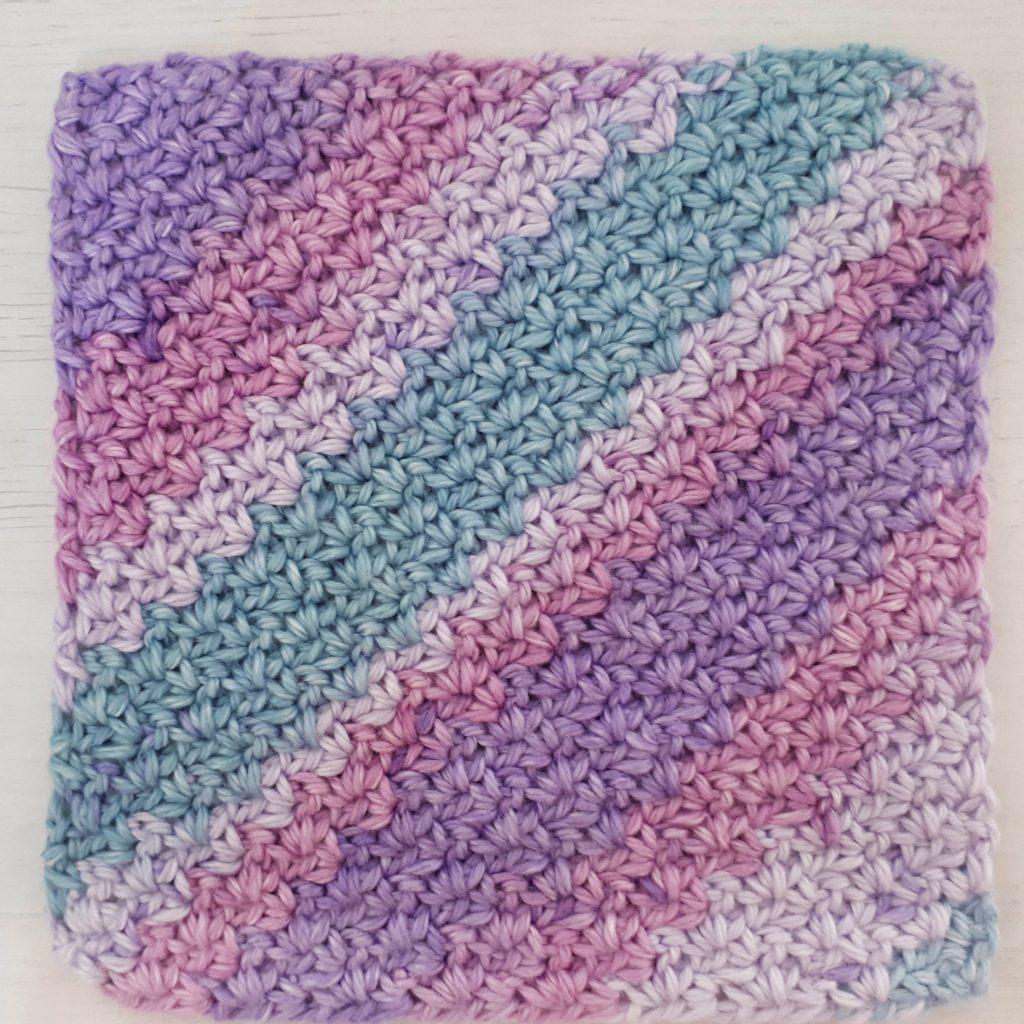
Different C2C Stitches
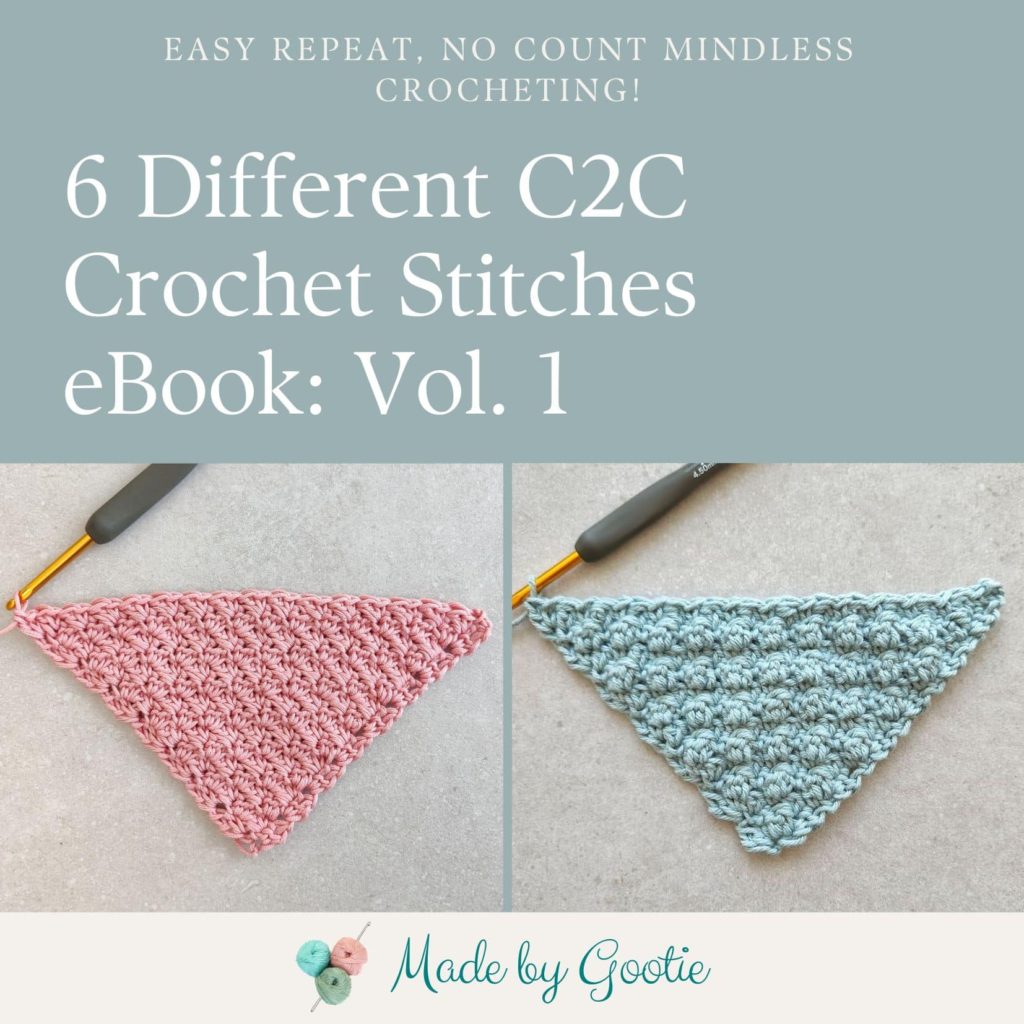
I love the C2C technique in crochet, and will use it whenever I can. There’s no need to make a long foundation chain, and no need to count your stitches, just crochet and get into the rhythm!
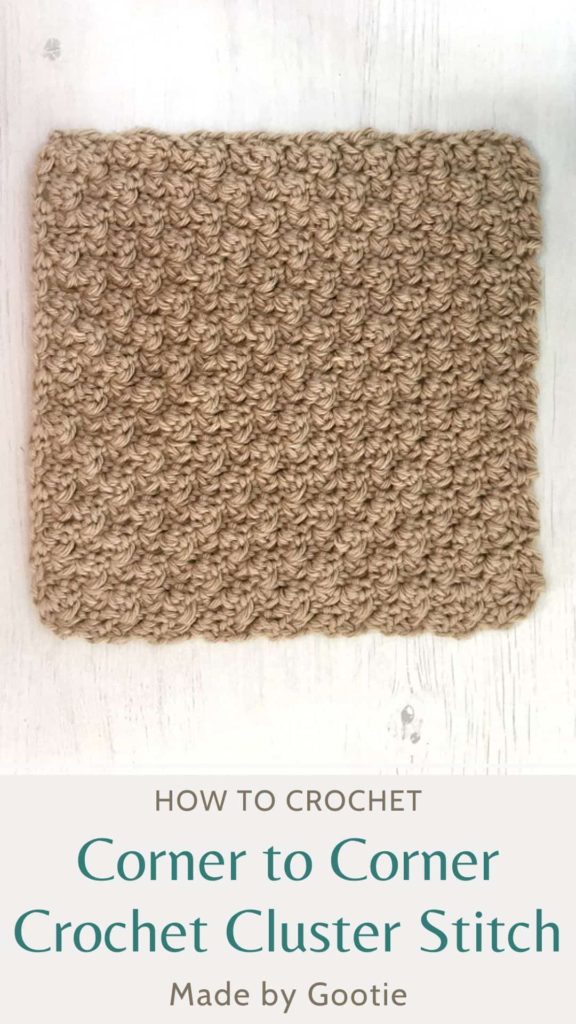
This C2C crochet cluster stitch has everything you need to get you relaxed while you crochet, but still ends up with a beautifully textured piece! The cluster stitch is an easy stitch that results in a soft textured fabric.
Want to learn more about the Corner to Corner method? Check out the Guide to How to Crochet Corner to Corner!
What Yarn Should You Use When Crocheting The C2C Cluster Stitch?
If you are making this square as part of the Charity Cozy Fall MAL (Make-A-Long), we suggest using Worsted (#4) weight yarn, I really love the yarn at WeCrochet. and used the Comfy Worsted yarn for my square.
So if you are making this square as part of a blanket or making it into a big squishy blanket like my Across the Way Blanket, both cotton and acrylic yarns are suitable.
The Corner to Corner Crochet Cluster Stitch square can also be used as a washcloth, it has a wonderfully soft texture, for this purpose 100% cotton yarn is the best option.
Did you try this out? Share your project!
– Let me know how it went and leave a comment below.
– Tag me on Instagram @madebygootie
– Join and share in our FB Community
Want to save this post for later? Go ahead and PIN it!
Having to give my permission to get ads is not a FREE pattern! 🙁
I’m sorry you feel this way.
The ads are what generate my income which help me keep providing these free patterns on my blog, and also help me put food on the table for my family 🙂
In a simple manner, designing patterns is my full time job, and that’s how I get paid, would you like to go to work and not being paid? 😉