How to Crochet the Spider Stitch Free Tutorial
Last Updated on September 14, 2025
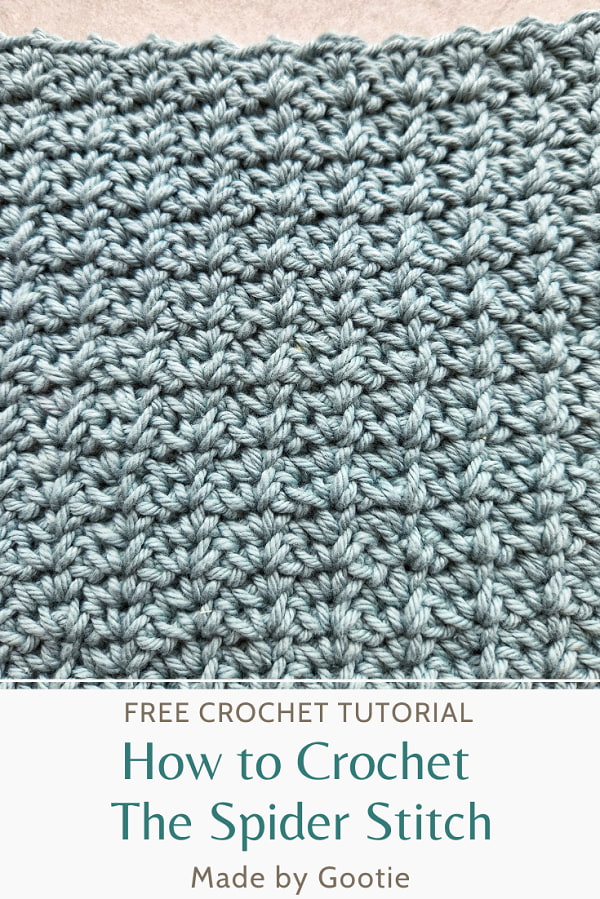
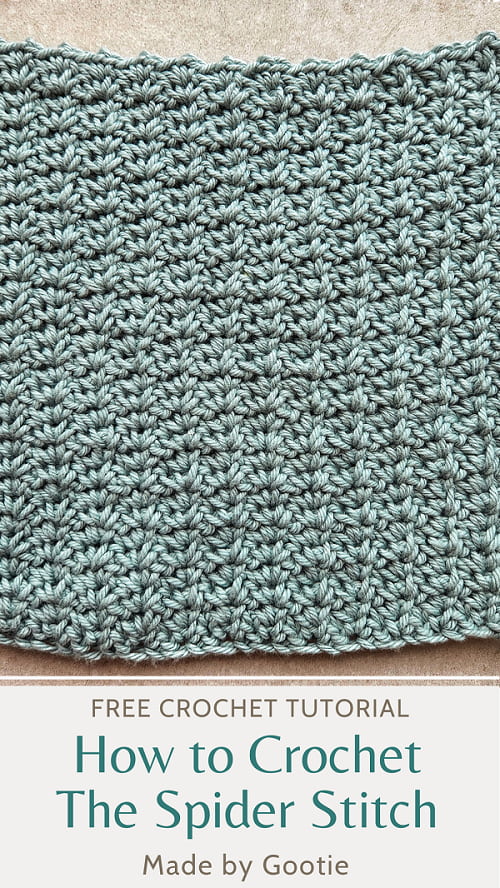
The Spider stitch is a lovely dense and textured fabric, using only chain and single crochet stitches.
In this tutorial, you will learn how to crochet the Spider stitch, you will find both an easy and detailed photo tutorial and a video tutorial!
This stitch can be used in so many projects, I think a Spider stitch blanket will be so beautiful!
![[…] - crochet the instructions within brackets into the same indicated stitch.](https://madebygootie.com/wp-content/uploads/2022/05/how-to-crochet-the-spider-stitch-free-tutorial-made-by-gootie-1024x768.jpeg)
** Some of the links in this post may include affiliate links. Making a purchase through one of these links pays me a small referral fee at no added cost to you. These small fees add up and help me keep the blog running. View our disclosure and privacy policy for more information.
The crochet Spider stitch is an easy stitch and it’s a perfect stitch to learn if you are an advanced beginner.
This stitch uses only two crochet stitches; a chain, and a single crochet.
The Spider stitch is basically a small V stitch, it’s made by crocheting all [1sc, ch1, 1sc] stitches into the same ch-1 space of the previous V stitch from the previous row, then you skip the next two single crochets and work the V stitch again into the ch-1 space.
Want to save this post for later? Go ahead and PIN it!
Projects to Crochet With the Spider Stitch
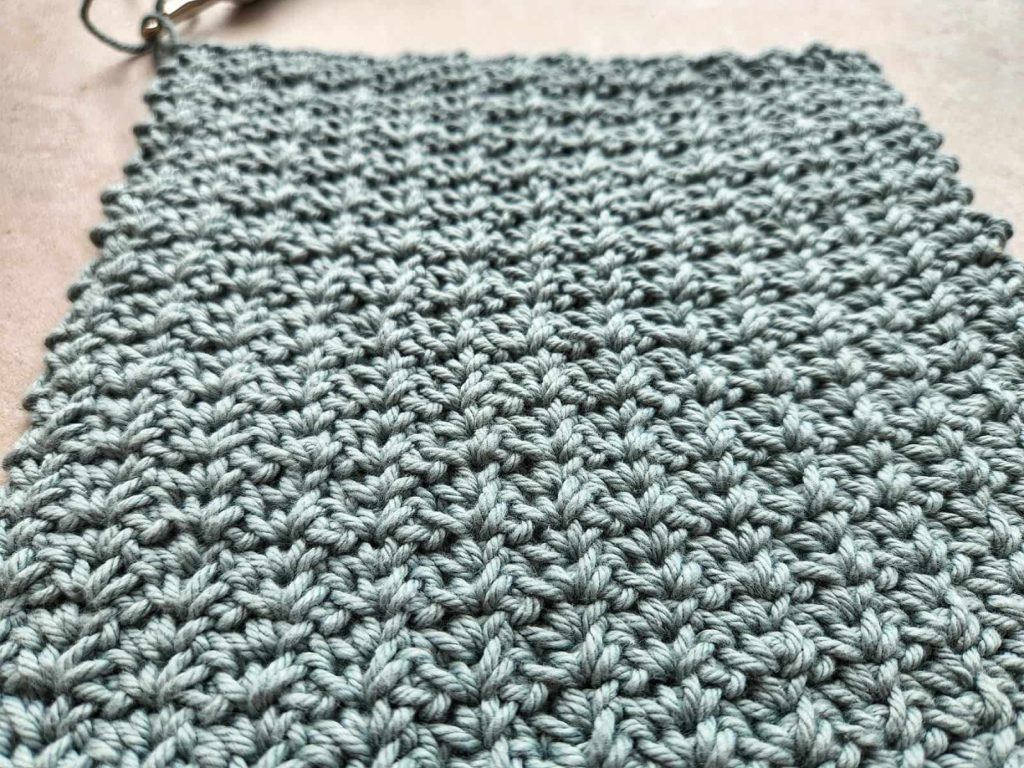
Once you learn how to crochet the Spider stitch, you can use it in almost any type of project. The beautifully soft and dense fabric is also reversible!
- Crochet Spider stitch blanket – will make a warm and cost blanket!
- I used this stitch in Part 1 of the Harmony Throw Blanket.
- Crochet baskets – because of the dense texture, perfect for this kind of project. I used the Spider stitch in my Lobelia Nesting basket and Plant Pot Holder basket, where you crochet the Spider stitch in the round.
- Spider Stitch washcloth/dishcloth – a perfect project to learn this stitch.
- Bags – the Spider stitch creates a sturdy fabric and is perfect for making bags with.
Tips for Crocheting the Spider Stitch
The crochet Spider stitch can be quite tricky at first, I hope these tips will make it easier for you to learn how to crochet the Spider stitch.
- The Spider stitch tends to be dense, I suggest using a bit bigger hook than the yarn suggests.
- Try and work a bit looser, especially if you are a tight crocheter like me, it will make it easier to find the ch-1 space that you need to crochet into.
- Learn how to identify the ch-1 space: make a small swatch and place stitch markers in each ch-1 space to make it easier to learn how to identify it at first (then when you get it, stop using the markers).
Crochet Spider Stitch Video Tutorial
How to Crochet the Spider Stitch
Skill level – advanced beginner
Materials I Used in This Tutorial
– Crochet hook 4.5 mm (I used the Tulip Etimo Hooks).
– Worsted (#4) weight cotton yarn (I used Knit Picks – Dishie)
Abbreviations (US)
ch – chain
sc – single crochet
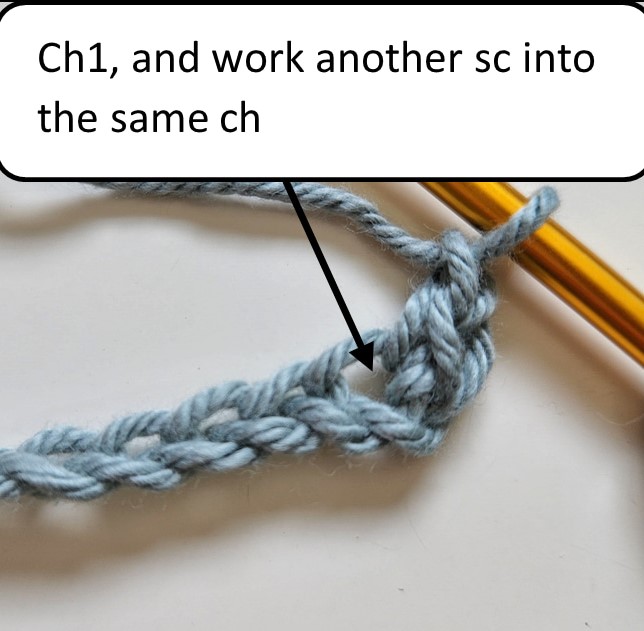
V-sc – [1sc, ch1, 1sc] in the same stitch
[…] – crochet the instructions within brackets into the same indicated stitch.
Notes
- To work the Spider stitch, start with an even number of chains, then you skip the first chain and work over an odd number of stitches.
- You don’t chain at the beginning of the row, there’s no turning chain.
- The work curls at the first 1-2 rows, and then straighten up as you keep crocheting.
- Check the Tips section above to make it easy to learn how to crochet the spider stitch.
Crochet Spider Stitch Photo Tutorial
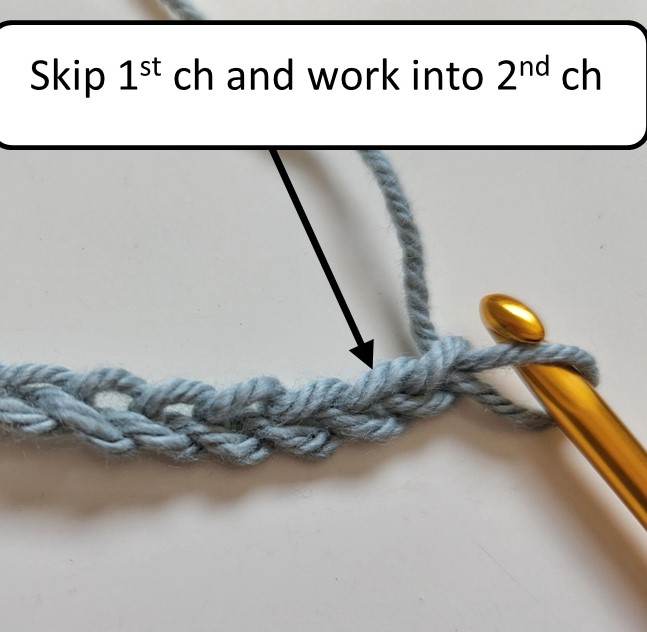
Chain an even number of stitches
Row 1:
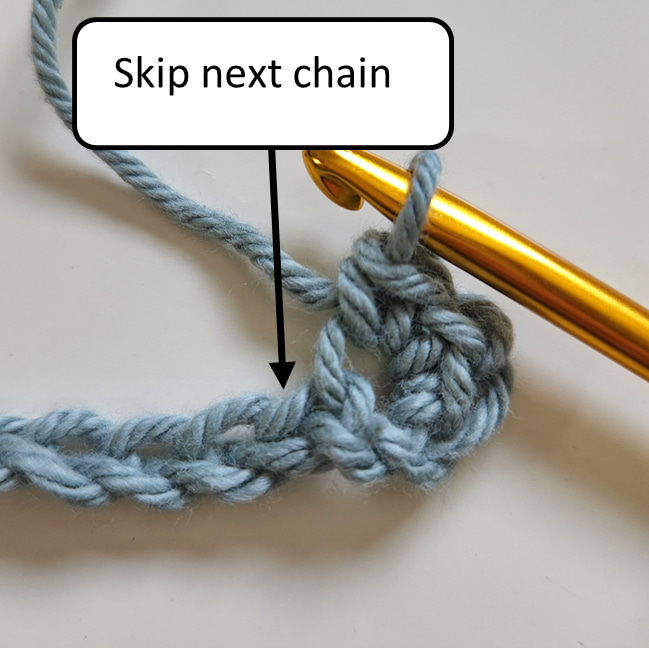
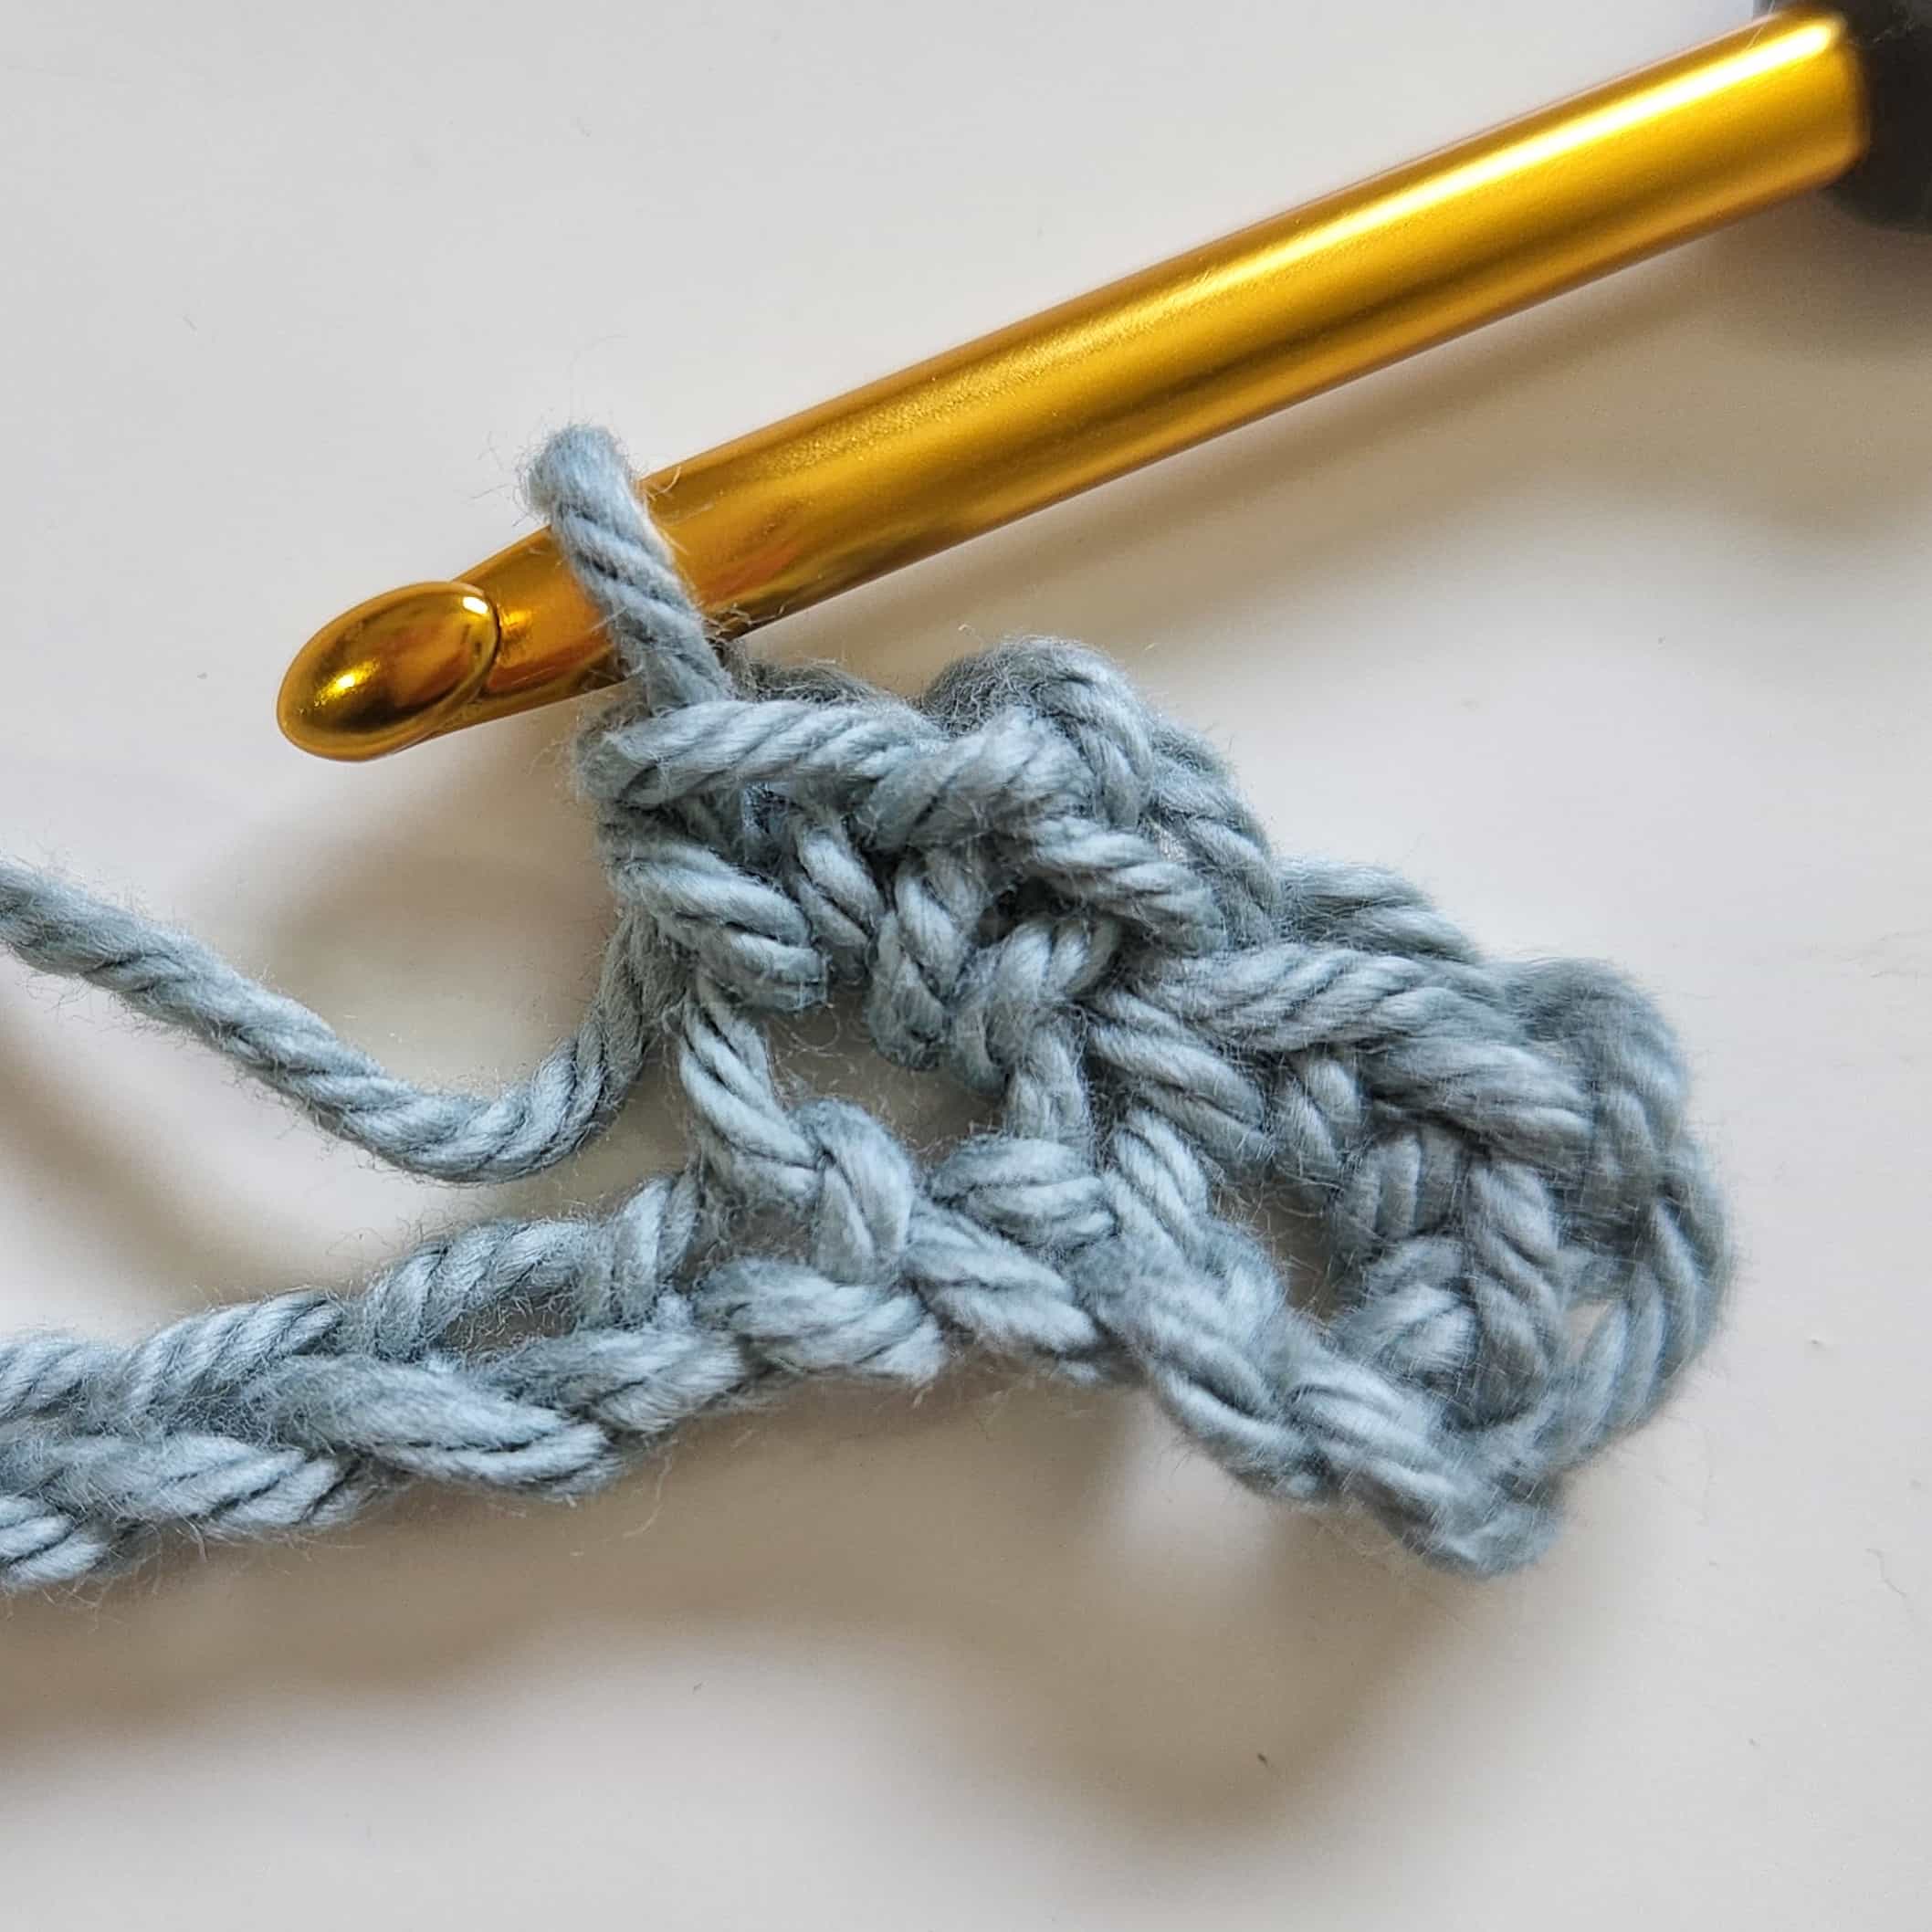
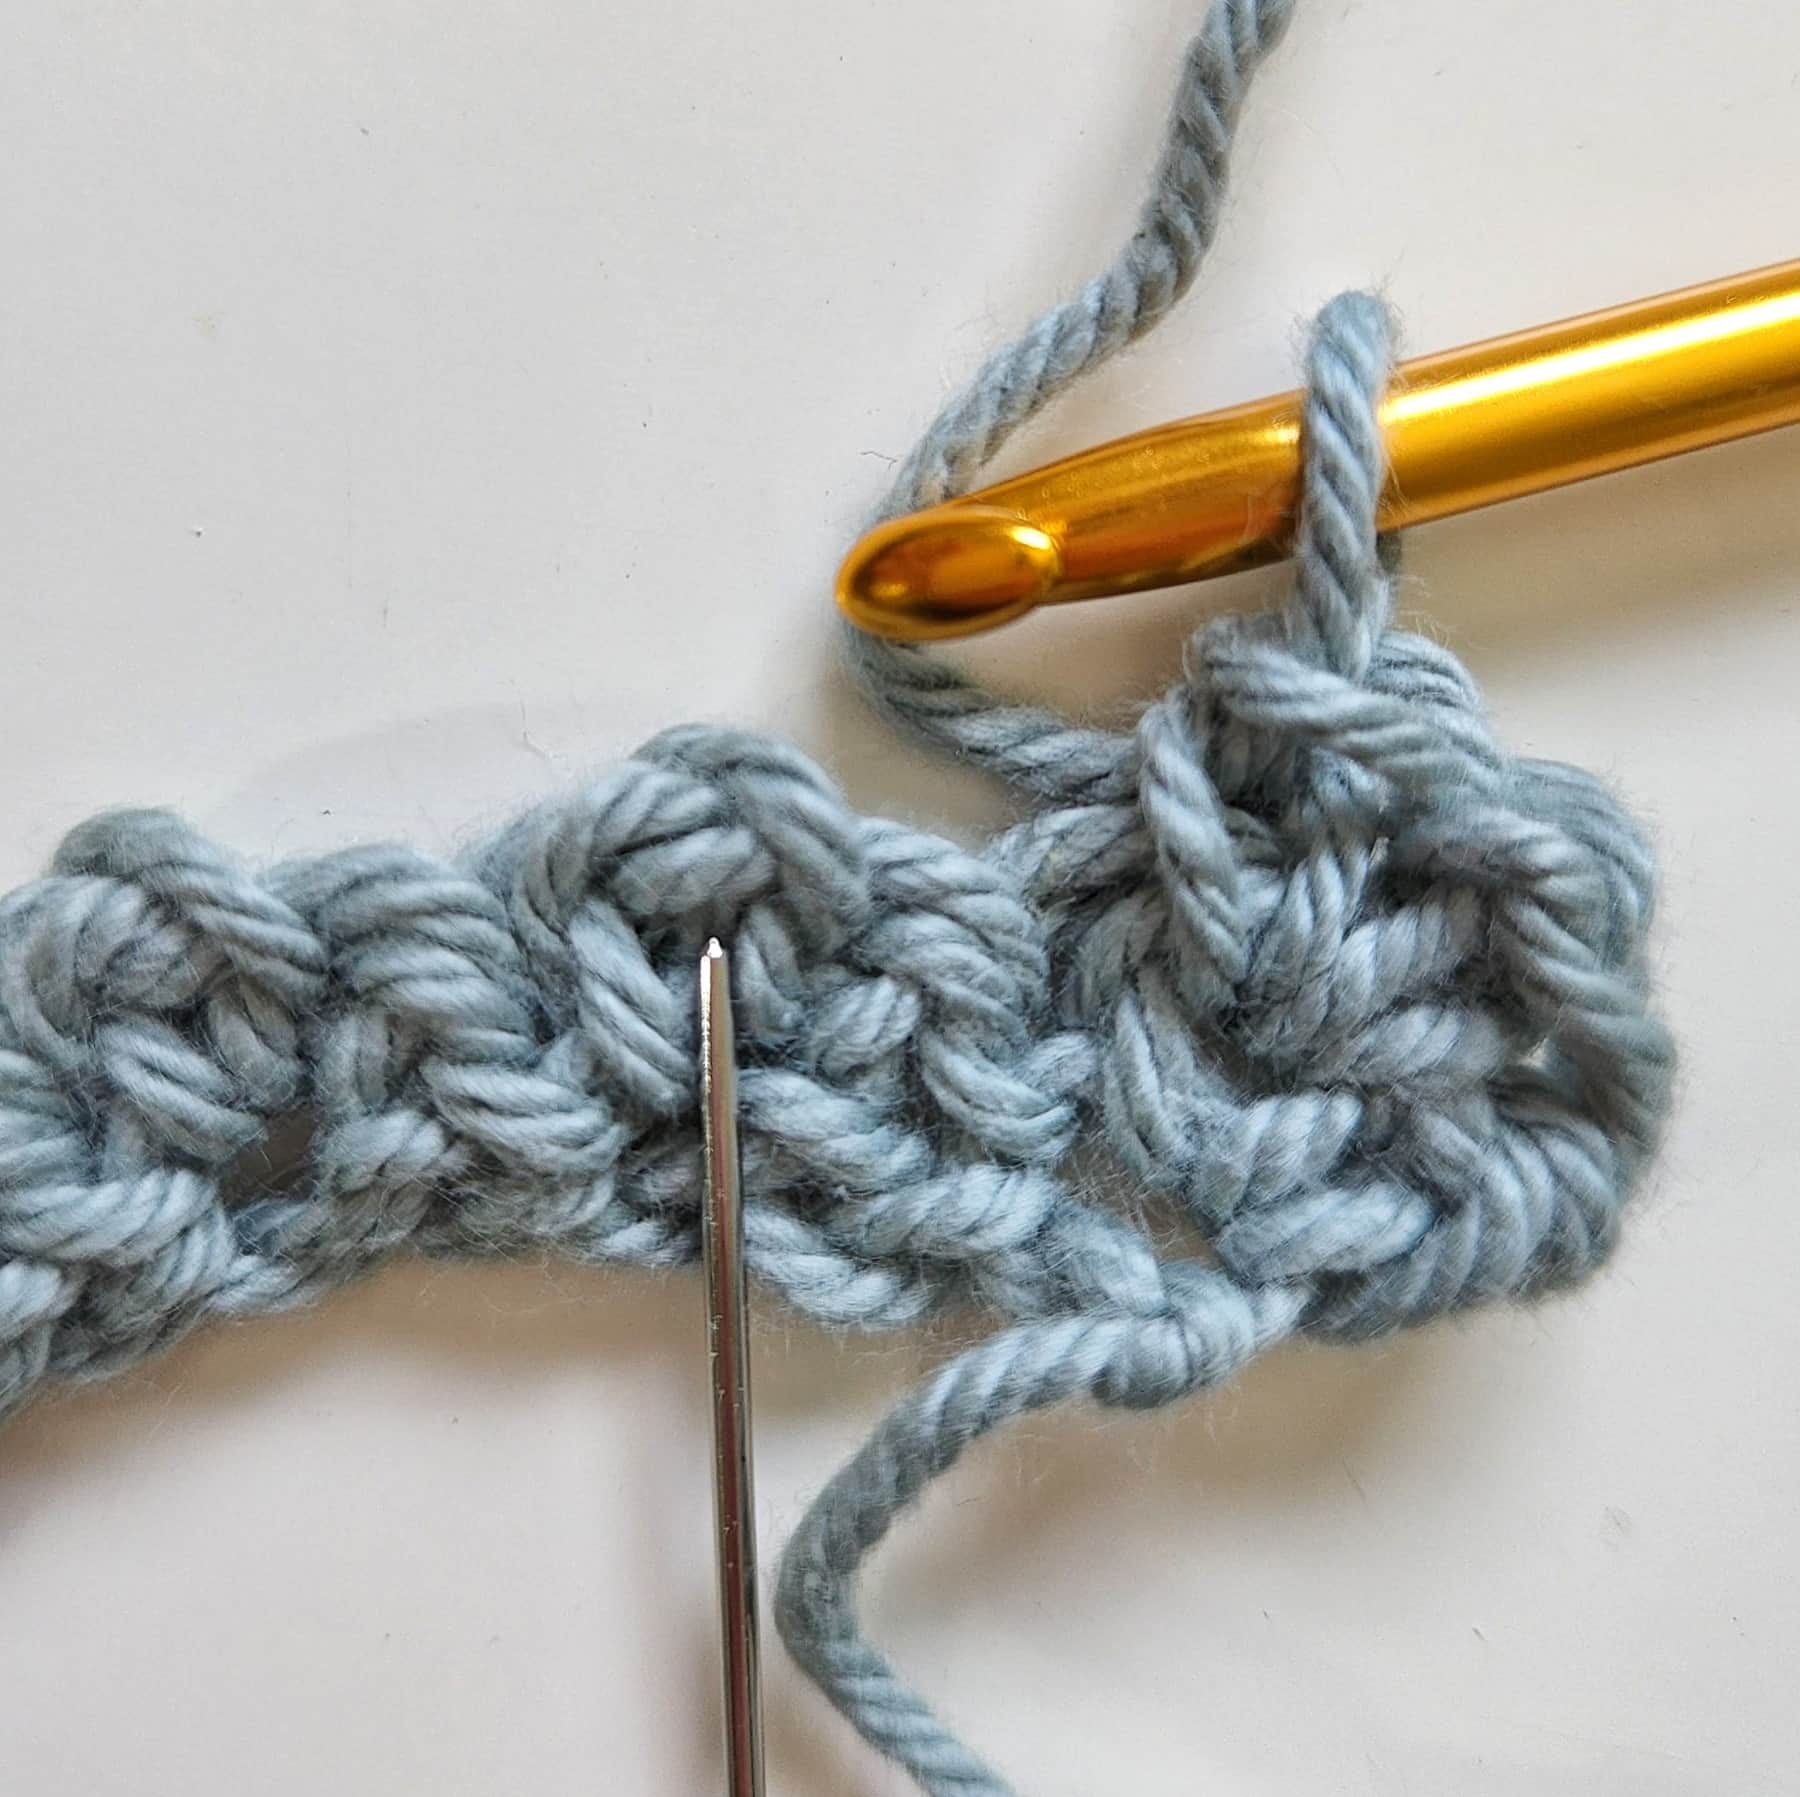
Skip first ch, * V-sc in next ch, skip next ch; Repeat from * to last ch, V-sc in last ch, turn.
Row 2:
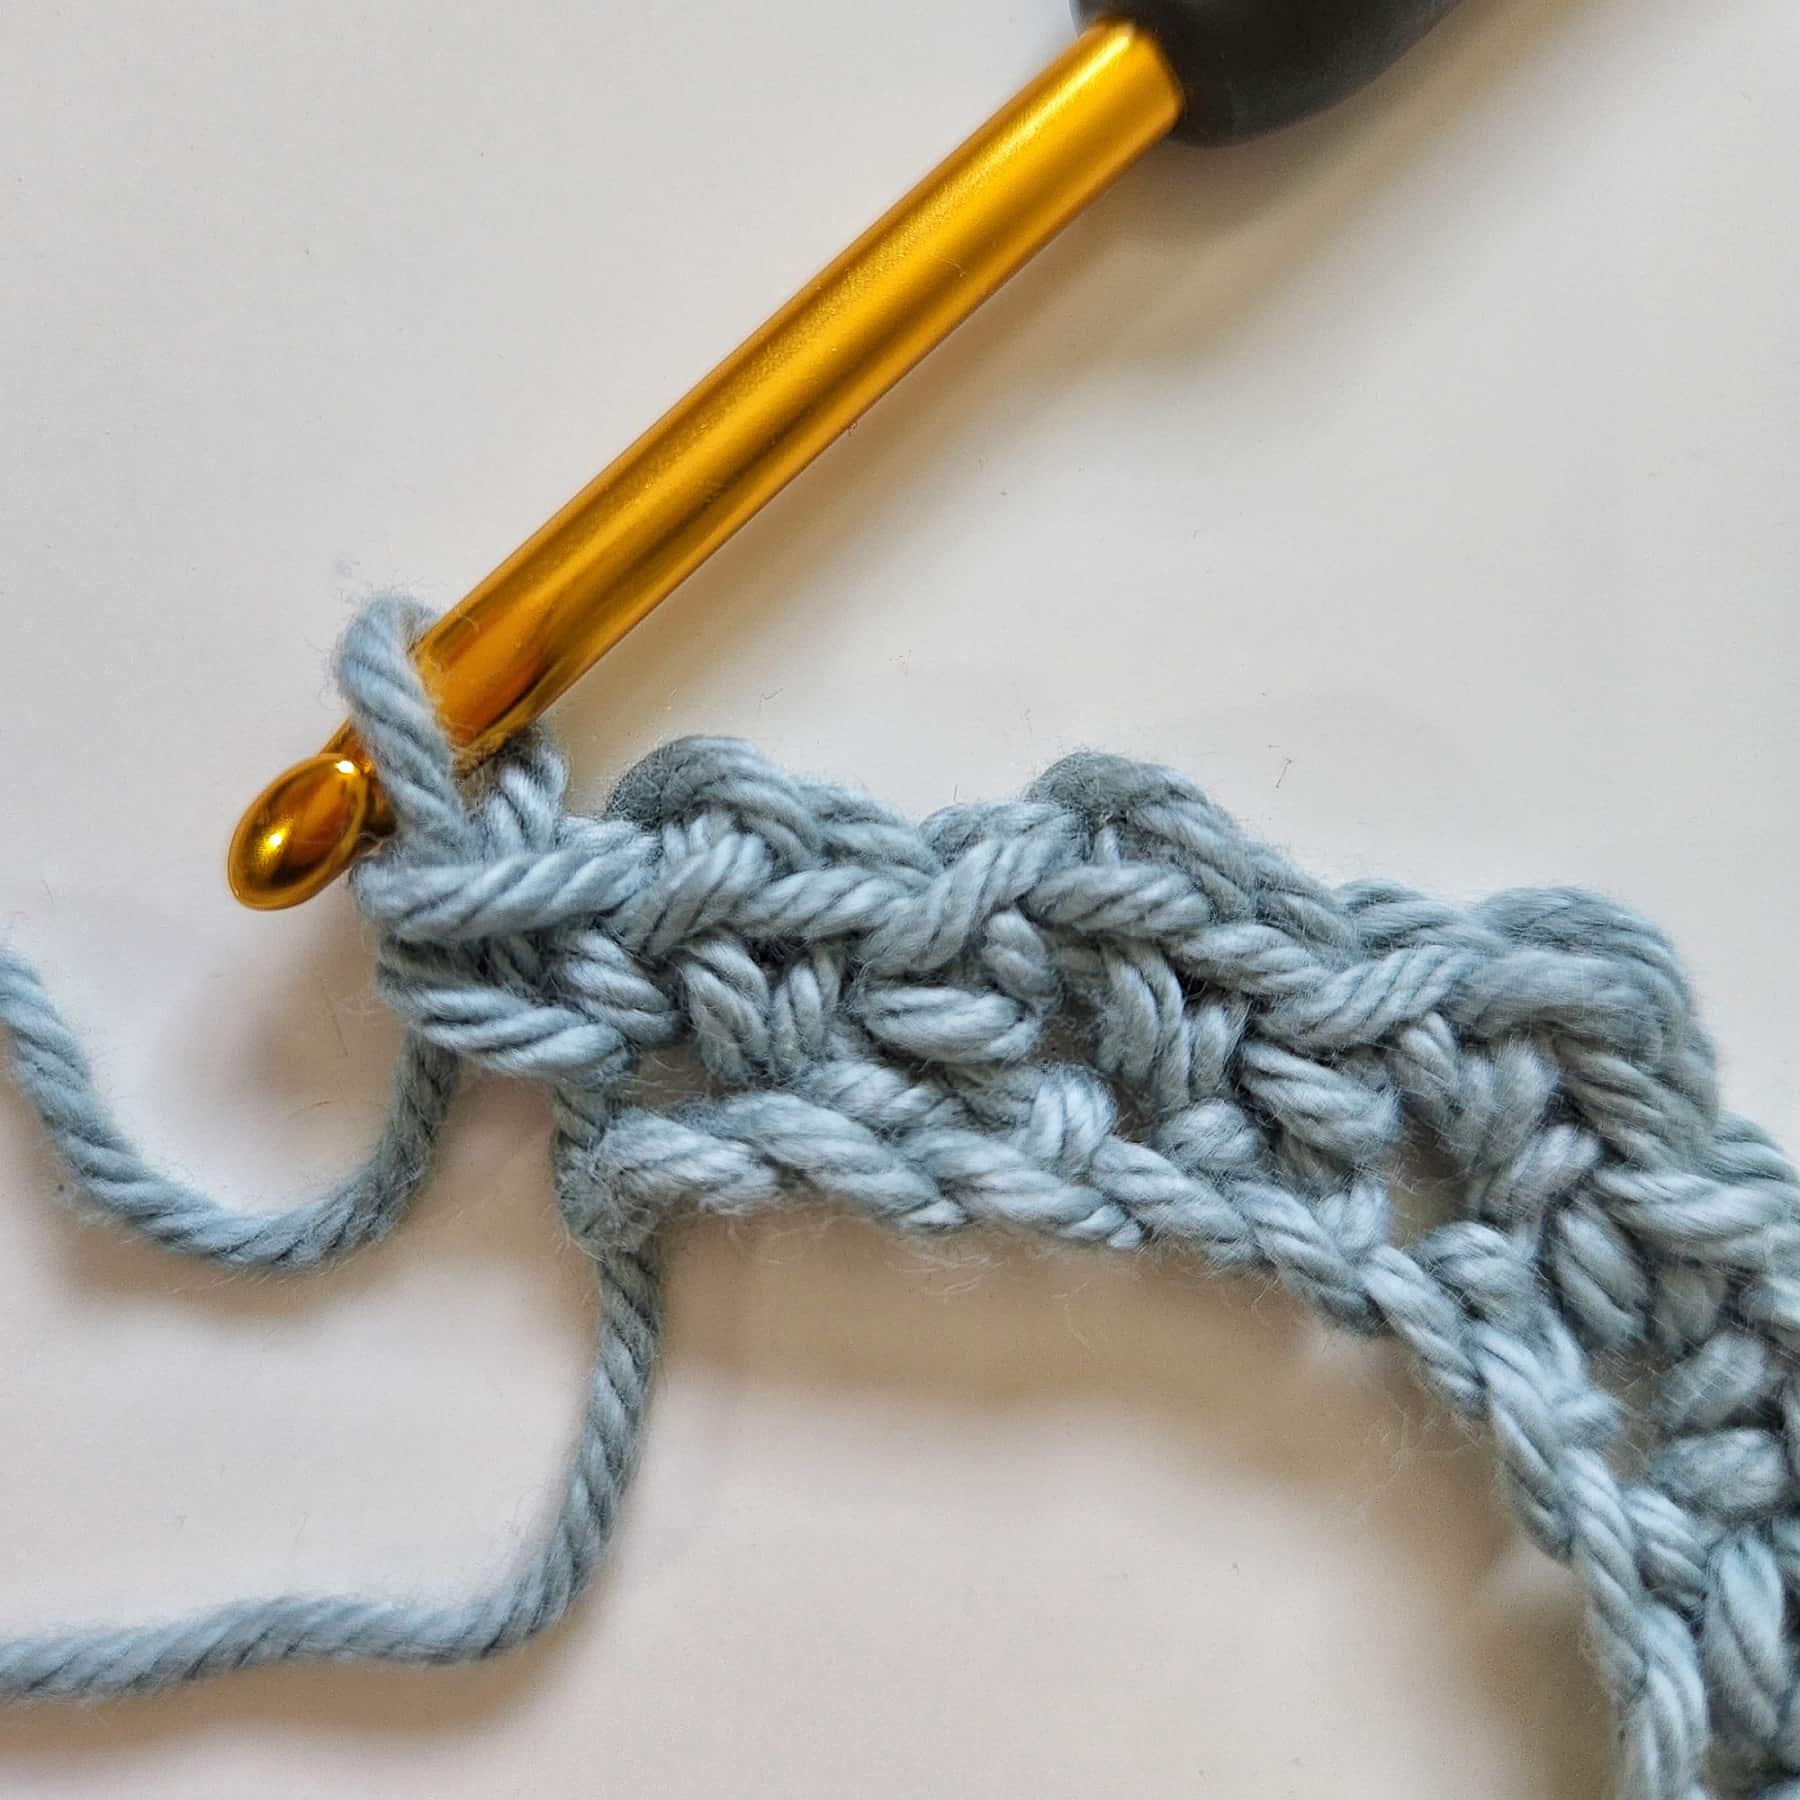
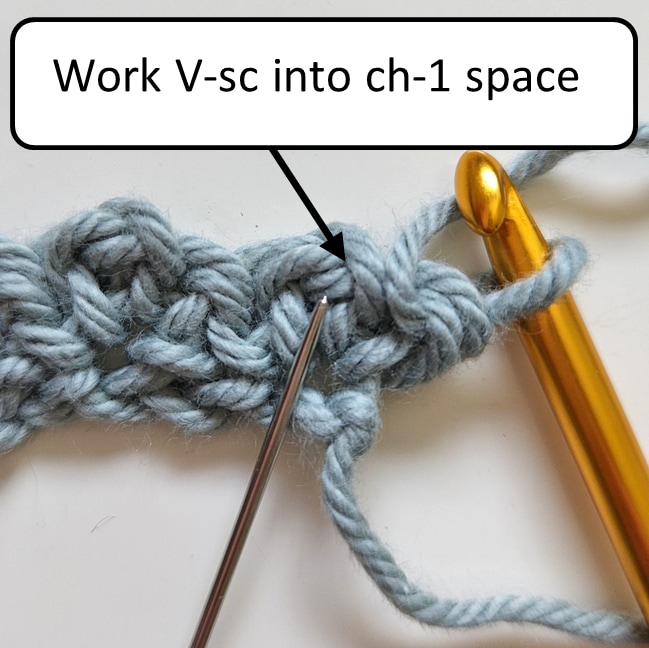
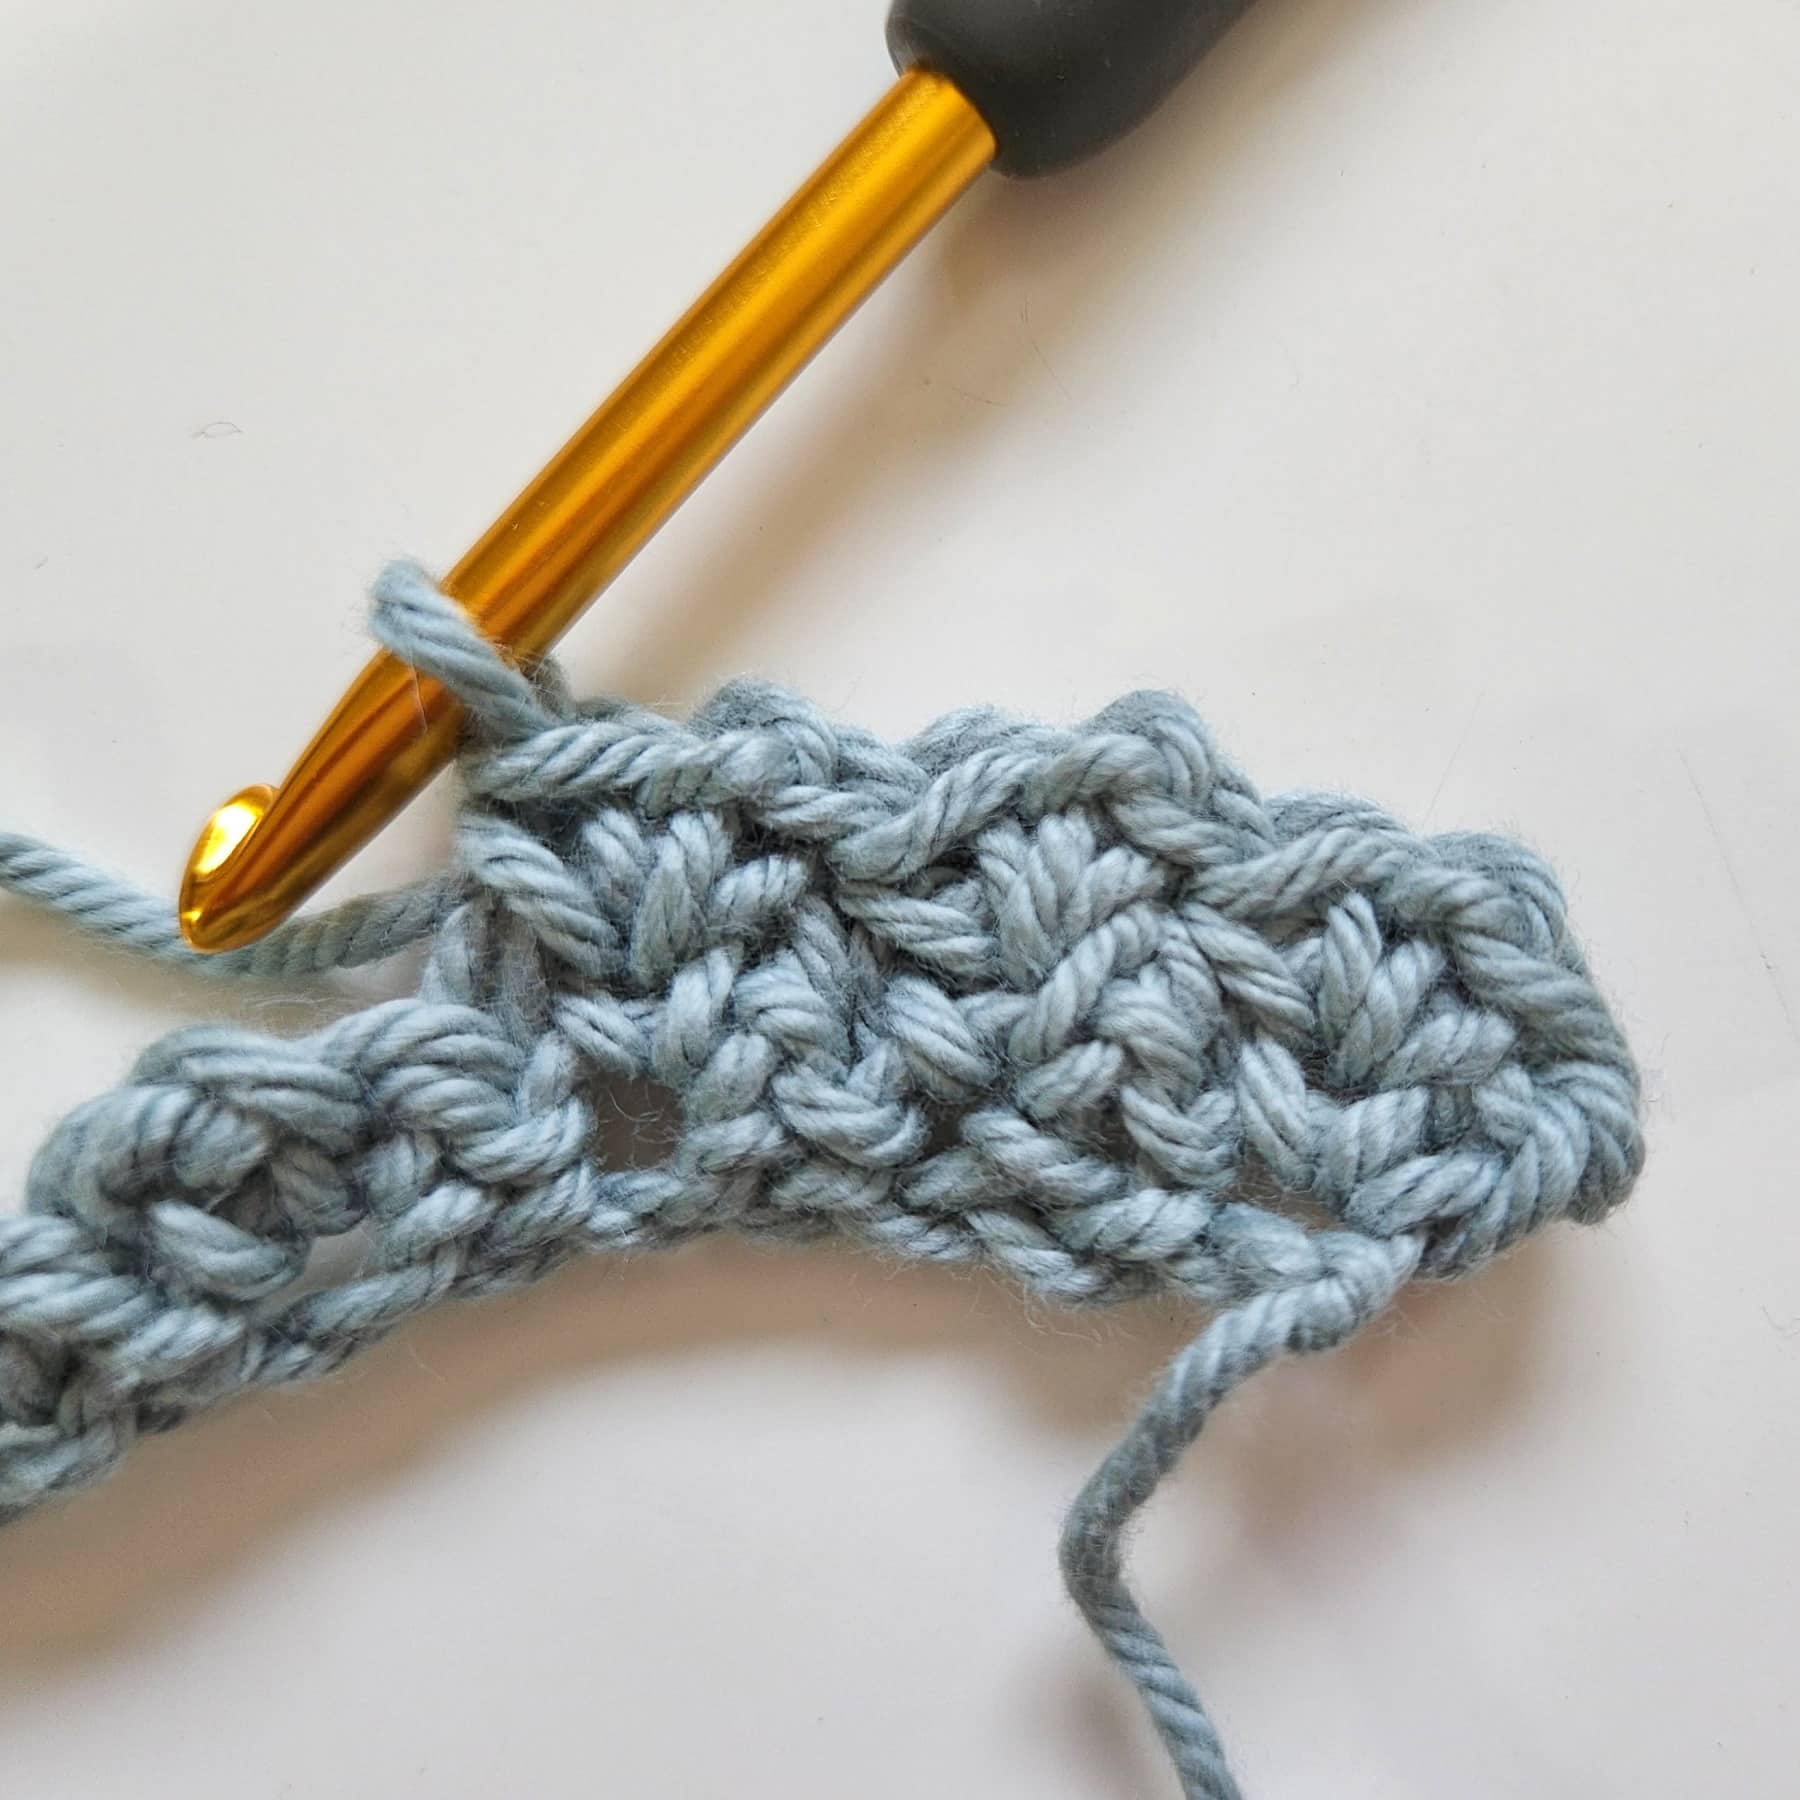
Skip first sc, * V-sc in next ch-1 space, skip next 2 sc; Repeat from * to the end of the row, V-sc in last ch-1 space, turn.
Repeat row 2.
Looking for More Crochet Tutorials? Check out the other free stitch tutorials on the blog:
1) Moss Stitch in a Square
2) Crunch Stitch
3) Lemon Peel Stitch
4) C2C Cluster Stitch
5) Reverse Single Crochet Stitch
6) Wattle Stitch
Did you try this out? Share your project!
– Let me know how it went and leave a comment below.
– Tag me on Instagram @madebygootie
– Join and share in our FB Community
Want to save this post for later? Go ahead and PIN it!
Why am I ending up with more stitches than I started with? I started with 16 and at the end of the second row now I have 23! I followed the instructions exactly!
Hi Ashley,
I’m sorry you are having trouble with the pattern.
It’s hard for me to tell where the mistake is without seeing your work.
You are welcome to send me a close-up photo on my Facebook page, or Instagram, and I’ll do my best to help you out.
Another trick that can help, because it sounds like you are working more stitches than you need. Maybe try and make a rows where you place stitch markers in every ch-1 space. So that way you know exactly where to place your spider stitch in.
I hope it helps,
Agat
Thank you! I practiced some more and I think i figured it out! I can’t wait for the CAL tomorrow!