Last Updated on May 21, 2024
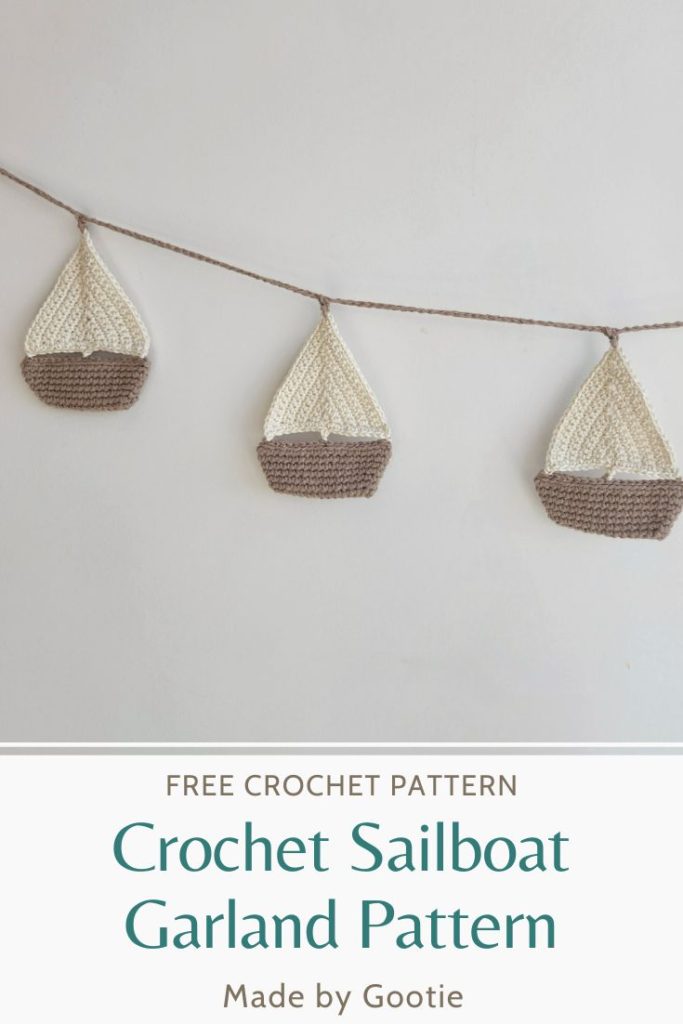
I came up with this fun and easy crochet boat pattern when a friend showed me a cute sailboat wall decor she liked and asked if I could make a crocheted one for her.
This pattern can also be used as a crochet boat applique, instead of making it into a garland or a wall decoration.
** Some of the links in this post may include affiliate links. Making a purchase through one of these links pays me a small referral fee at no added cost to you. These small fees add up and help me keep the blog running. View our disclosure and privacy policy for more information.
Want to save this post for later? Go ahead and PIN it!
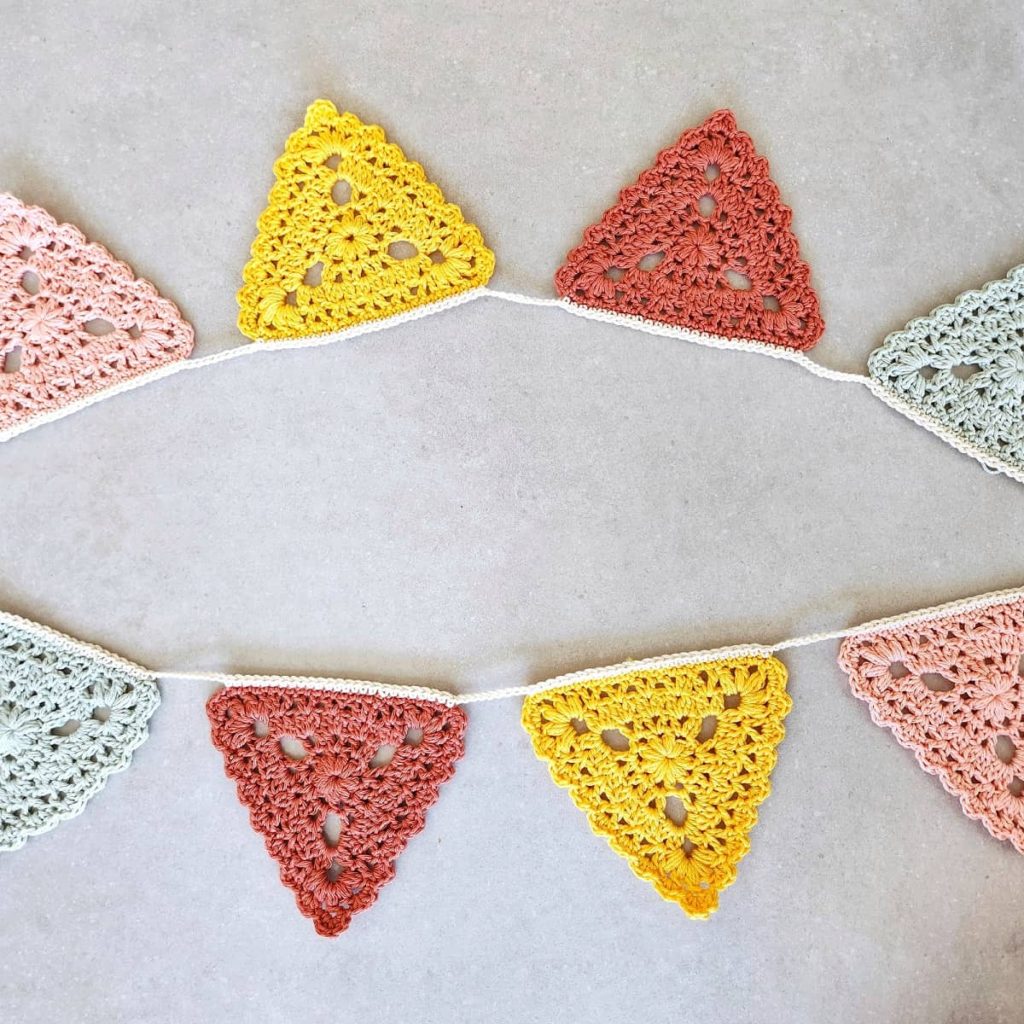
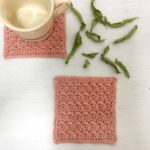
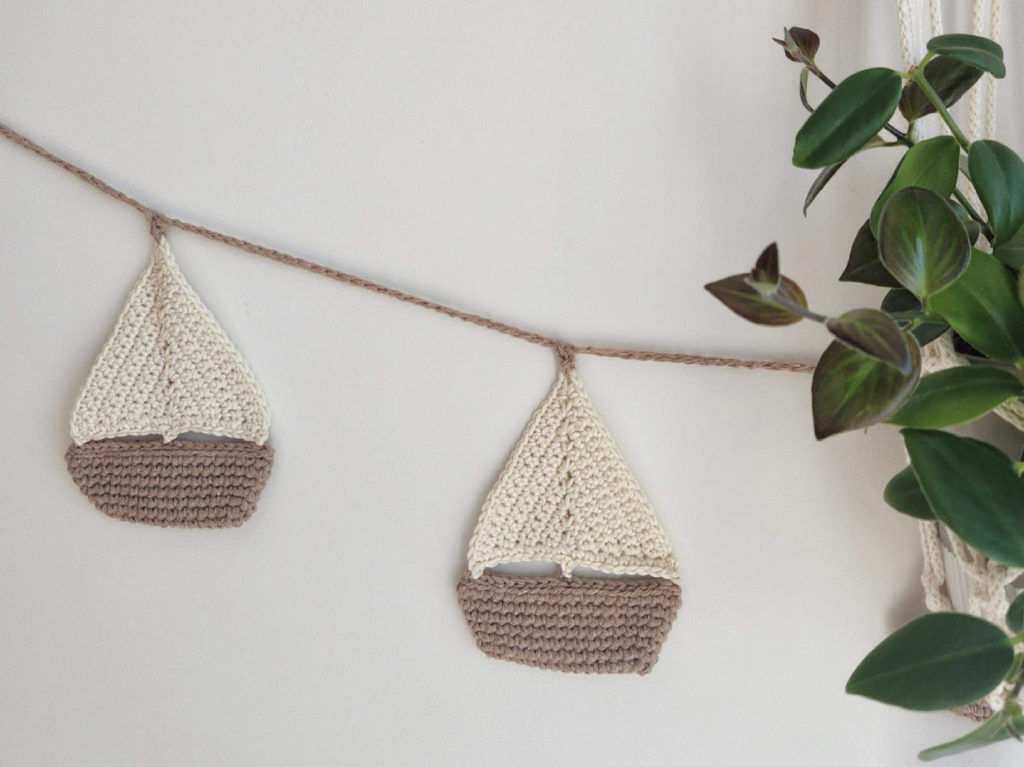
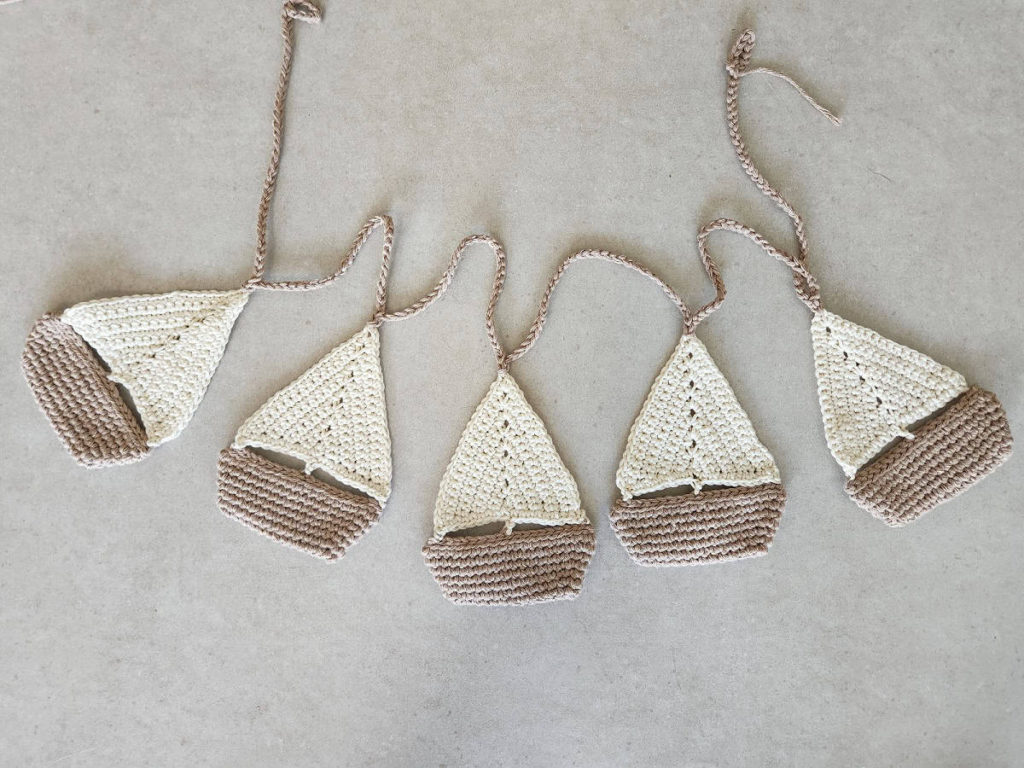
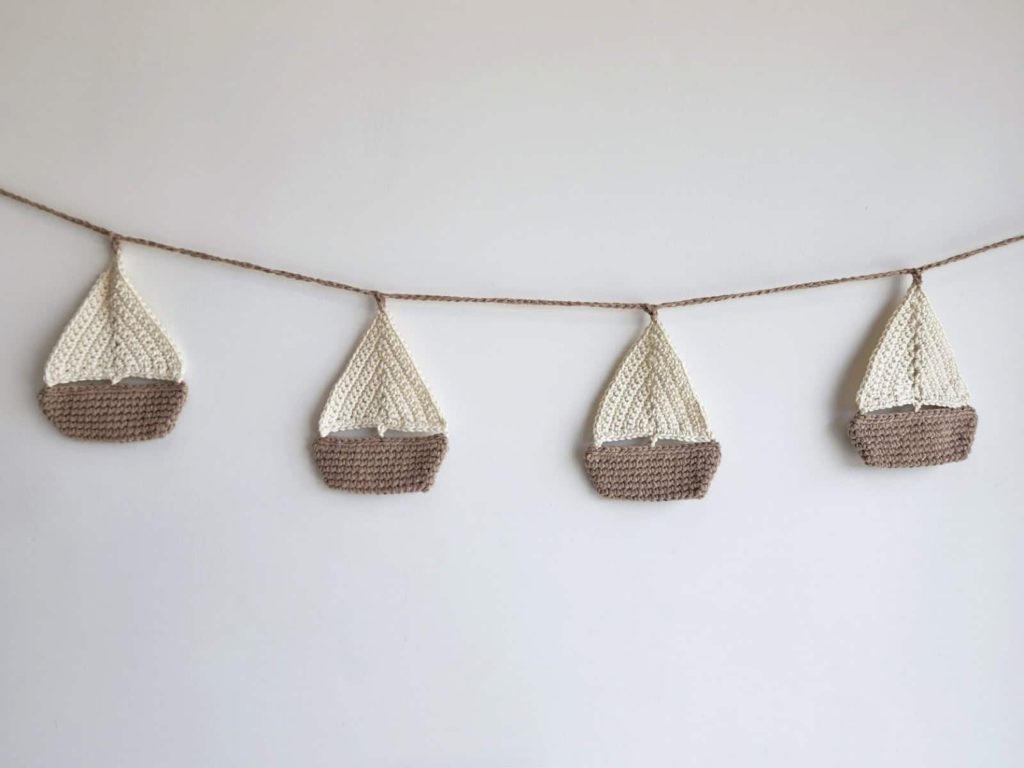
Although this crochet boat pattern is super adorable by itself, it will make a cute garland for a kid’s room. I chose a neutral color theme that will work as a decoration for any kid or nursery room, but you can use any color you want, or even use different colors for a colorful boat garland.
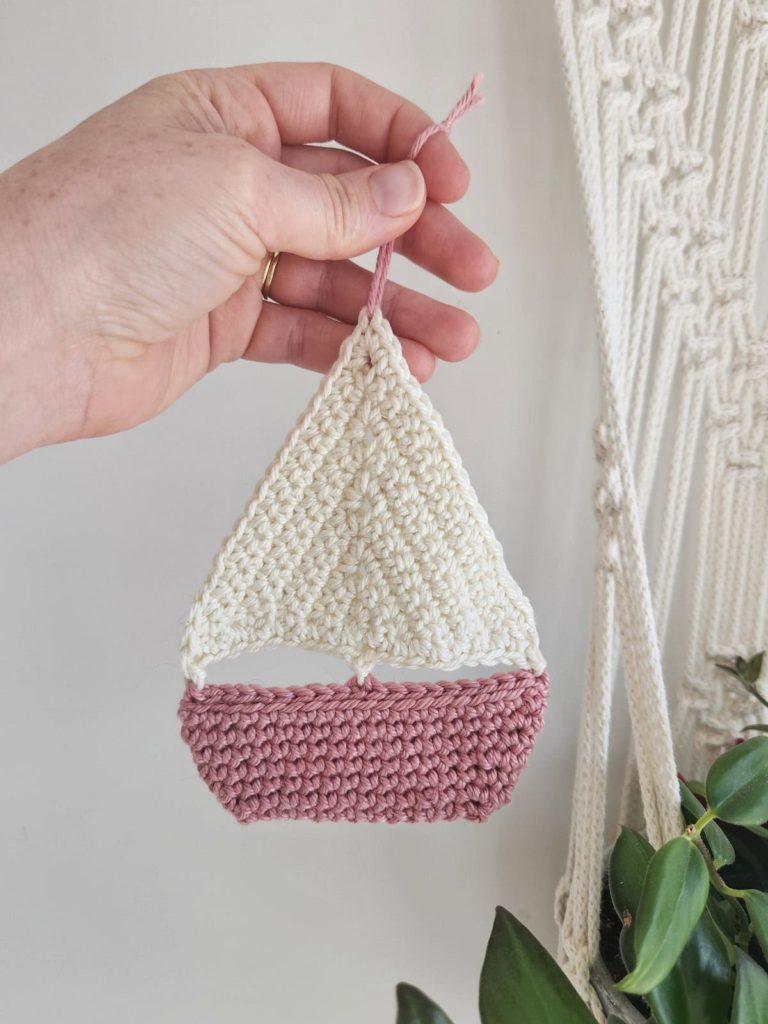
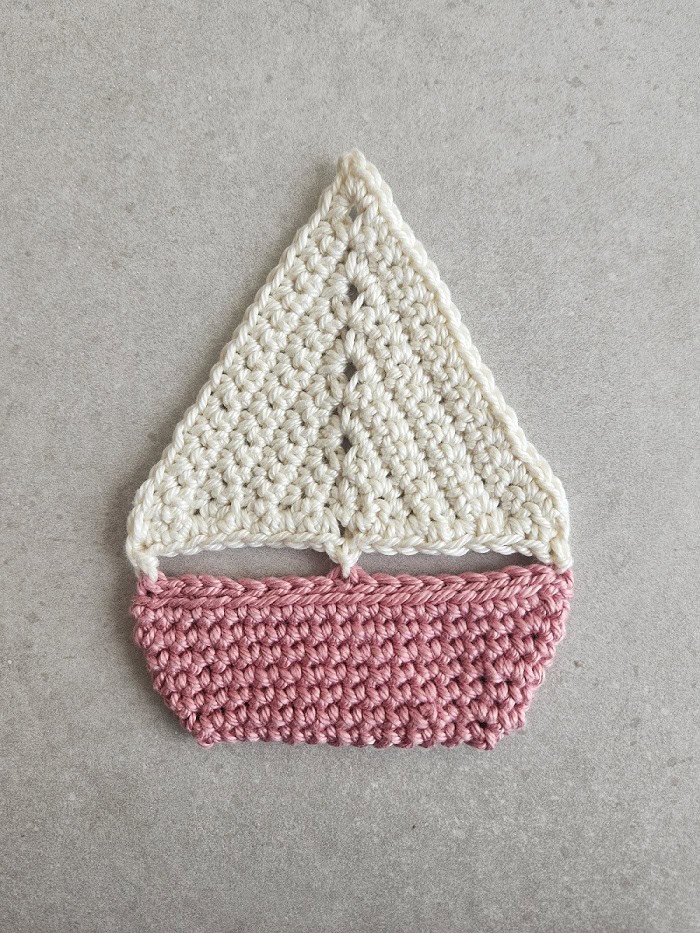
I also made a pink boat for my daughter who now asks for everything to be pink!
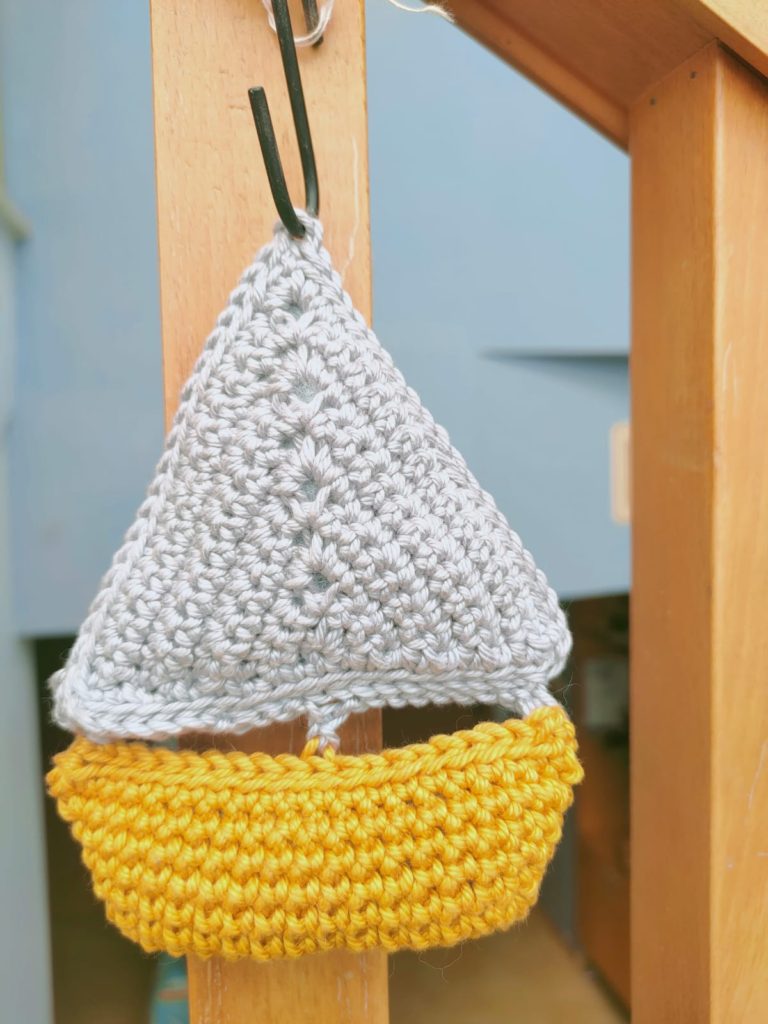
If you want to add another dimension to the boat, you can add fiberfill filling. My tester Malca has suggested it, and I love the result!
She added filling to the boat before seaming it, made 2 sails, added filling between them and then joined them together. You can see the result in the golden boat below, and how different it is from the pink boat on the left.
About the Sailboat Construction
The sailboat is made of 2 parts: the boat and the sail.
It took me quite a lot of iterations to get the boat no to turn because it’s worked in the round and has the tendency to fold and turn. And by shifting the increased stitches aside, and then moving the place we fold to seam the top of the boat, it helps the boat to lay flat!
The sail is worked back and forth in rows and increased on the sides and at the top of the triangle. Then we assemble the sail to the boat while working the bottom of the sail.
The Yarn I Used For My Crochet Boat Garland
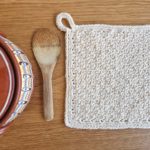
I used Knit Picks Dishie yarn, which is 100% cotton yarn for my crochet sailboat.
I recommend using 100% cotton yarn because the boat tends to curve a bit and needs blocking. Cotton yarn blocks better and will result in a better-looking boat after blocking, rather than acrylic (which needs a bit of heat to block properly).
More yarns that will be great for this pattern:
Lion Brand 24/7 Cotton
Lion Brand Re-Up
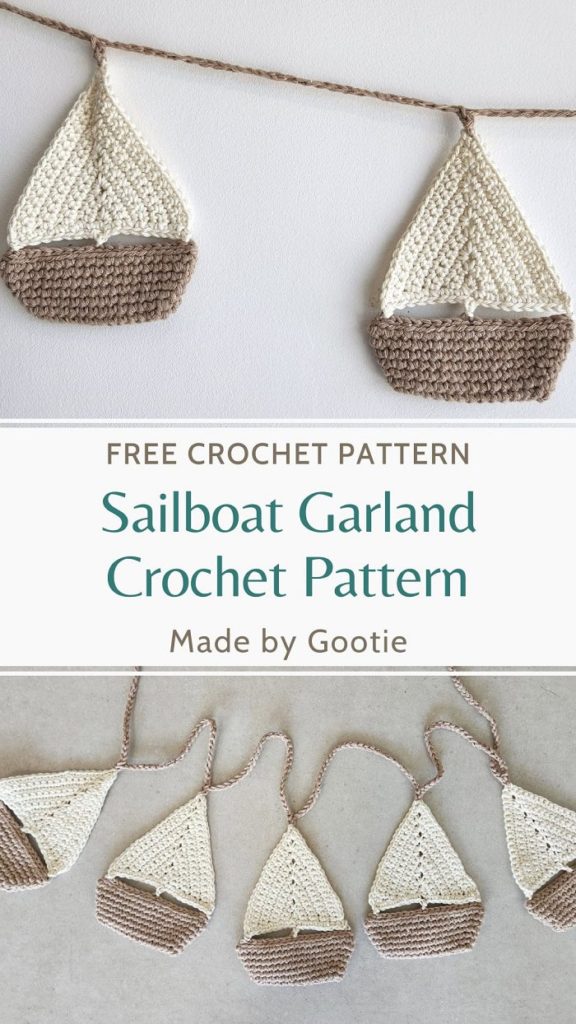
Crochet Boat Garland PDF Pattern
You can find the ad-free PDF pattern with the full photo-tutorial at one of my shops below:


Crochet Boat Video Tutorial
Materials
– Crochet hook 4.0 mm / G (I love the Etimo Hooks).
– Worsted (#4) weight cotton yarn – I used Knit Picks Dishie).
– Total amount of yarn needed:
Color A (boat) – 50gr/87m/95yds
Color B (sail) – 50gr/87m/95yds
– Amount of yarn needed for 1 boat:
Color A (boat) – 8gr/14m/15yds
Color B (sail) – 10gr/17m/19yds
– 2 Stitch markers
Finished Size – Sailboat – 5.7×4 in (14.5×10 cm)
Gauge (in pattern):
Working the boat with a 4.0mm / G hook will result in a 1.75in (4.4 cm) high and 4 in (10 cm) wide boat.
** Gauge is not crucial for this pattern.
Do you prefer a full photo tutorial? Get the premium, ad-free, full photo-tutorial, printable PDF version on Ravelry or Etsy!
Abbreviations (US)
ch – chain
sc – single crochet
hdc – half double crochet
inc – increase: 2 sc in same st
PM – place marker
sp – space
ss – slip stitch
st – stitch
RS – right side
WS – wrong side
(…) – crochet the instructions within brackets as many times as directed.
[…] – crochet the instructions within brackets into the same indicated st/sp.
Notes
- Ch 1 at the beginning of the row does not count as a stitch.
- The boat is crocheted in the round, and tends to curve, make sure to keep the right side of your work on the outside.
- When making the boat: You can place a stitch marker in the first st of each round/row to help find it in the next round/row. Make sure not to count the slip stitch at the end of the row as a stitch.
Easy Crochet Boat Pattern
Boat Pattern – make 5 (or as many as you want)
** The boat is crocheted in the round, and tends to curve, make sure to keep the right side of your work on the outside.
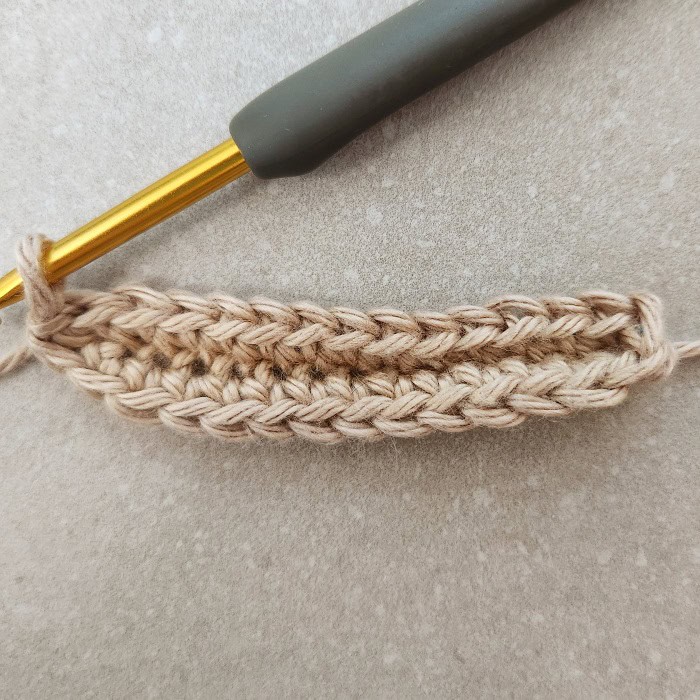
With Color A – Ch 15
Round 1: 1 sc in back loop of 2nd ch from hook, 1 sc in back loop of each of the next 13 ch.
Rotate your work and crochet into the opposite side of the chains: 1 sc in each of the next 14 ch to the end of the round, ss to 1st sc. (28 sc)
Round 2: Ch 1, inc in 1st & 2nd sc (inc twice), 1 sc in next 12 sc, inc in next 2 sc (inc twice), 1 sc in next 12 sc, ss to 1st sc. (32 sc)
Round 3: Ch 1, 1 sc in each sc around, ss to 1st sc. (32 sc)
Round 4: Ch 1, 1 sc in 1st sc, inc in next 2 sc (inc twice), 1 sc in next 14 sc, inc in next 2 sc (inc twice), 1 sc in next 13 sc, ss to 1st sc. (36 sc)
Round 5: Ch 1, 1 sc in each sc around, ss to 1st sc. (36 sc)
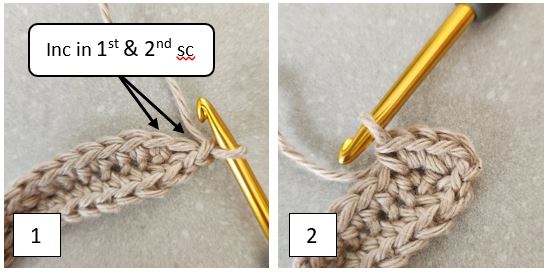
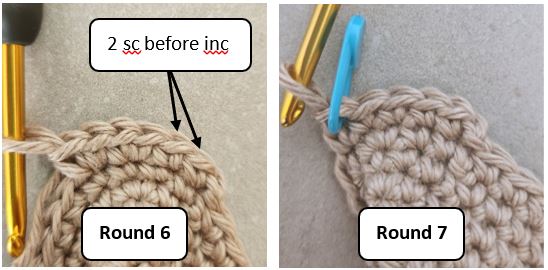
Round 6: Ch 1, 1 sc in 1st & 2nd sc (see pic below), inc in next 2 sc (inc twice), 1 sc in next 16 sc, inc in next 2 sc (inc twice), 1 sc in next 14 sc, ss to 1st sc. (40 sc)
Round 7: Ch 1, 1 sc in next 5 sc, PM in last sc you worked (see pic below), 1 sc in next 20 sc, PM in last sc you worked, 1 sc in next 15 sc to the end of the round, ss to 1st sc. (40 sc)
Don’t fasten off and continue to seam the top of the boat.
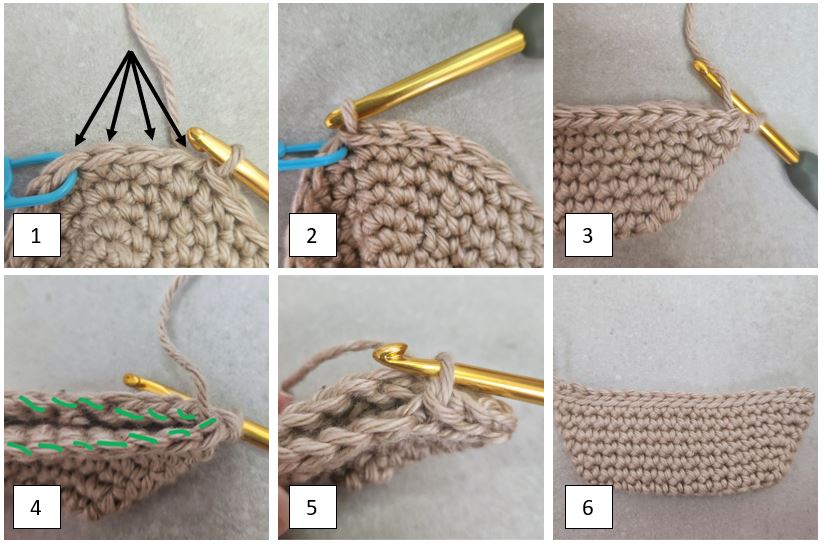
Seaming the top of the boat
Slip stitch loosely in next 4 sc (until marker – pics 1&2), fold the work to seam it, with the 2 sc on both sides of the marker marking the side of the boat (pic 3). Ss in the back loops of stitches to seam the boat across (pics 4-6) – this is the front side of the boat.
Fasten off and weave in the ends.
Sail – make 5
With Color B – Make a magic ring
Row 1 (RS): Ch 1, [2 sc, ch 2, 2 sc] in magic ring, pull tight, turn. (4 sc, 1 ch-2 sp)
Row 2 (WS): Ch 1, inc in 1st sc, 1 sc in next sc, [1 sc, ch 3, 1 sc] in ch-2 sp, 1 sc in next sc, [1 sc, 1 hdc] in last sc, turn. (7 sc, 1 hdc, 1 ch-3 sp)
Row 3 (RS): Ch 1, 1 sc in 1st hdc, 1 sc in next 3 sc, [2 sc, ch 2, 2 sc] in ch-3 sp, 1 sc in next 3 sc, 1 hdc in last sc (pic 1), turn. (11 sc, 1 hdc, 1 ch-2 sp)
Row 4 (WS): Ch 1, inc in 1st hdc, 1 sc in next 5 sc, [1 sc, ch 3, 1 sc] in ch-2 sp, 1 sc in next 5 sc,
[1 sc, 1 hdc] in last sc, turn. (15 sc, 1 hdc, 1 ch-3 sp)
Row 5 (RS): Ch 1, 1 sc in 1st hdc, 1 sc in next 7 sc, [2 sc, ch 2, 2 sc] in ch-3 sp, 1 sc in next 7 sc, 1 hdc in last sc, turn. (19 sc, 1 hdc, 1 ch-2 sp)
Row 6 (WS): Ch 1, inc in 1st hdc, 1 sc in next 9 sc, [1 sc, ch 3, 1 sc] in ch-2 sp, 1 sc in next 9 sc,
[1 sc, 1 hdc] in last sc, turn. (23 sc, 1 hdc, 1 ch-3 sp)
Row 7 (RS): Ch 1, 1 sc in 1st hdc, 1 sc in next 11 sc, [2 sc, ch 2, 2 sc] in ch-3 sp, 1 sc in next 11 sc, 1 hdc in last sc, turn. (27 sc, 1 hdc, 1 ch-2 sp)
Row 8 (WS): Ch 1, inc in 1st hdc, 1 sc in next 13 sc, [1 sc, ch 3, 1 sc] in ch-2 sp, 1 sc in next 13 sc, [1 sc, 1 hdc] in last sc, turn. (31 sc, 1 hdc, 1 ch-3 sp)
Row 9 (RS): Ch 1, 1 sc in 1st hdc, 1 sc in next 15 sc, [2 sc, ch 2, 2 sc] in ch-3 sp, 1 sc in next 15 sc, 1 hdc in last sc, turn. (35 sc, 1 hdc, 1 ch-2 sp)
Don’t fasten off, continue to assemble the sailboat.
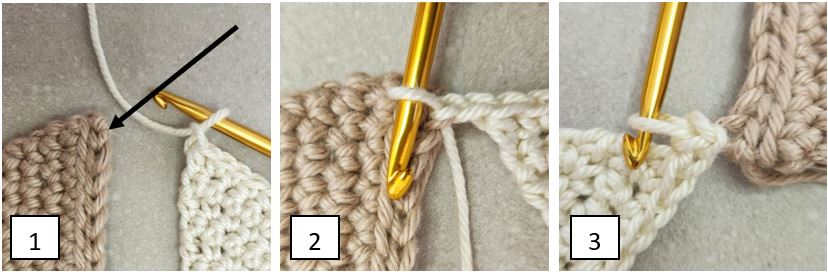
Assembly
Continue working with the yarn from the Sail. With the sail with the right side upwards, turn the sail in 90 degrees, and ch 1, and make sure the boat is with the RS upwards.
Ch 1 (pic 1) and slip st into the back loop of the last ss you worked on the left side of the boat (pic 2) – inserting the hook from the front of the back loop to the back, turn your work in 180 degrees and ss into the previous chain you made (pic 3).
Work 1 sc in each row side until the magic ring (total of 8 sc).
Ch 1, ss to the back loop of the middle slip stitch of the boat – inserting the hook from the front of the back loop to the back, ss into the previous chain you made.
Skip the magic ring and keep working 1 sc in the side of each row, ch 1 and slip st into the back loop of the ss on the right side of the boat, ss into the previous chain you made and ss to the 1st sc of row 9 of the sail.
Fasten off, weave in the ends and block if needed.
Make the String
With Color A – chain 10 and ss into the 1st ch to create a loop, ch 32, slip stitch into the
ch-2 sp at the top of the sail, 1 ss into each of the previous 2 chains of the string.
Repeat this step with the rest of the boats, don’t chain 30 after the last boat, then chain 40, and ss into the 10 ch from the hook to create a loop. Fasten off.
Did you try this out? Share your project!
– Let me know how it went and leave a comment below.
– Tag me on Instagram @madebygootie
– Join and share in our FB Community
Want to save this post for later? Go ahead and PIN it!
Looking for More Crochet Home Decor Patterns?