Last Updated on July 11, 2024
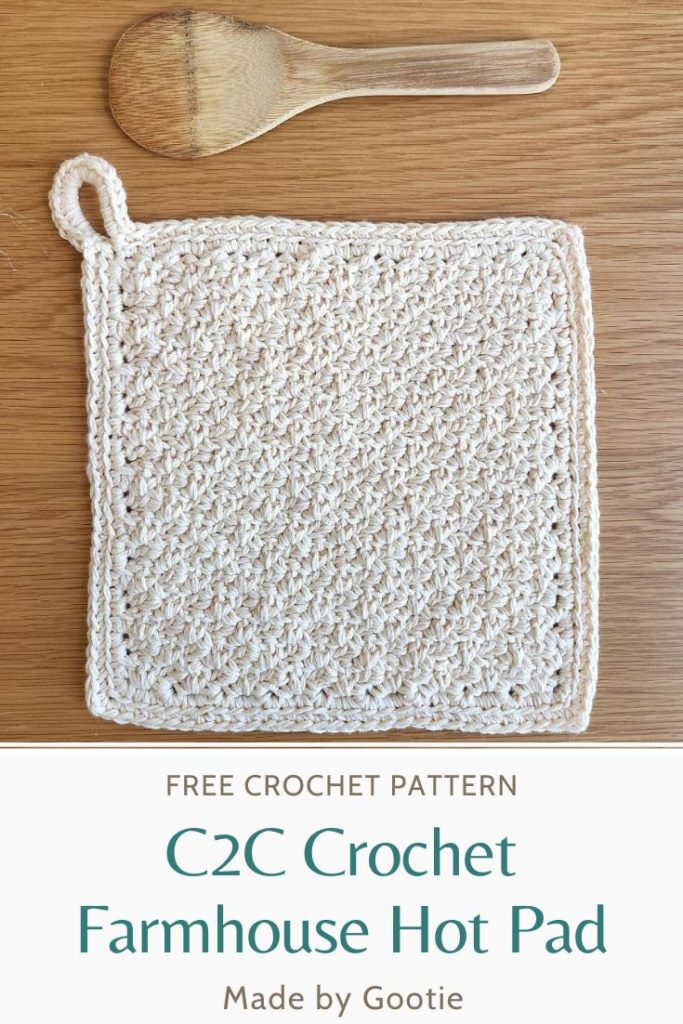
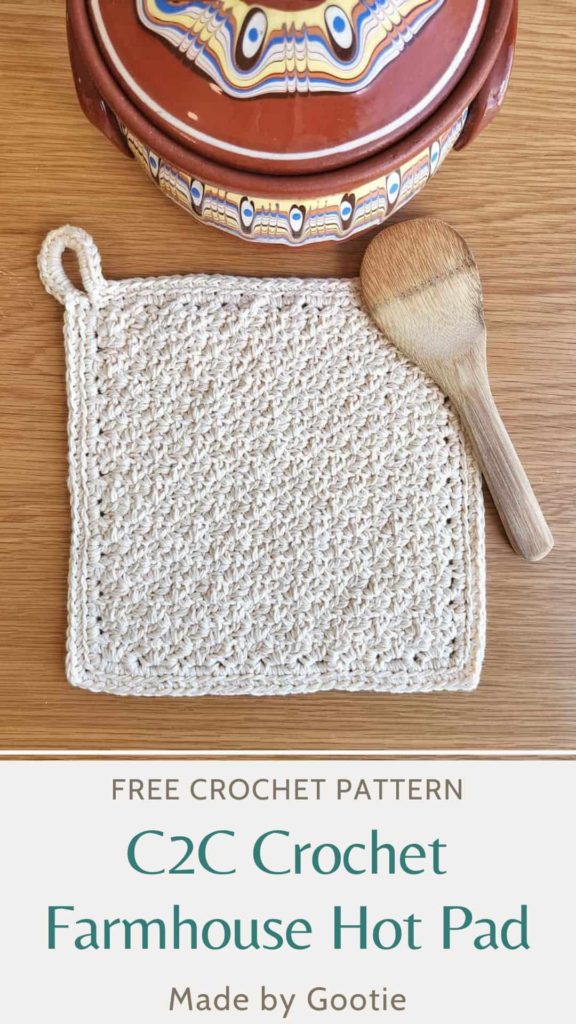
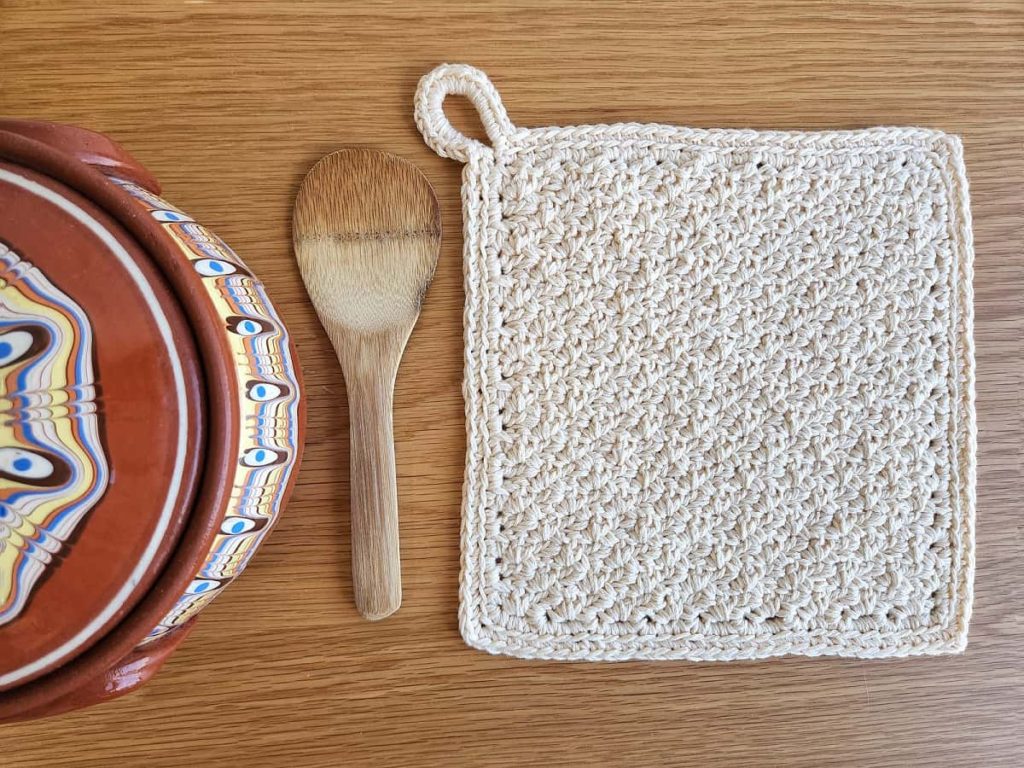
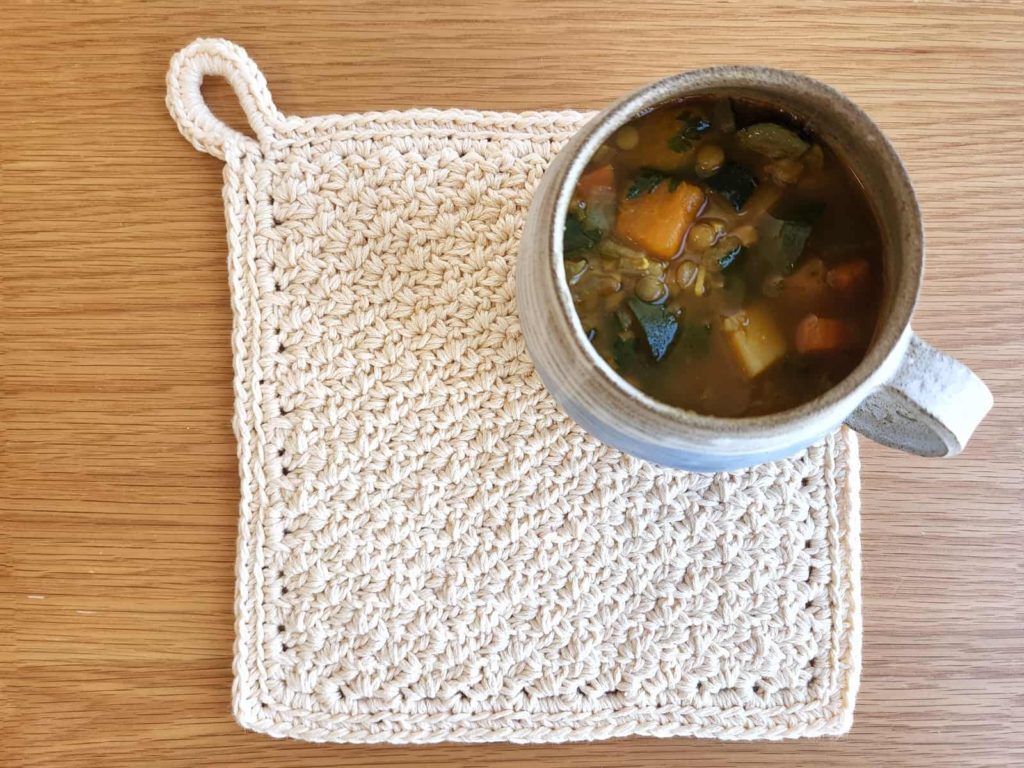
This crochet farmhouse hot pad pattern is a fun project and makes a beautiful gift for a housewarming.
If you are looking for a quick make, this free crochet trivet hot pad pattern works up quickly, and the result is a beautifully textured hot pad.
Since this crochet hot pad pattern is worked in a corner-to-corner method, you can easily make it as big as you would like.
** Some of the links in this post may include affiliate links. Making a purchase through one of these links pays me a small referral fee at no added cost to you. View our disclosure and privacy policy for more information.
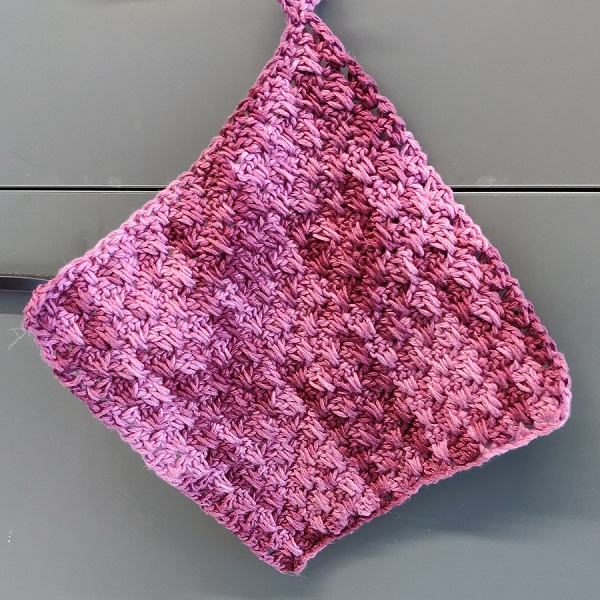
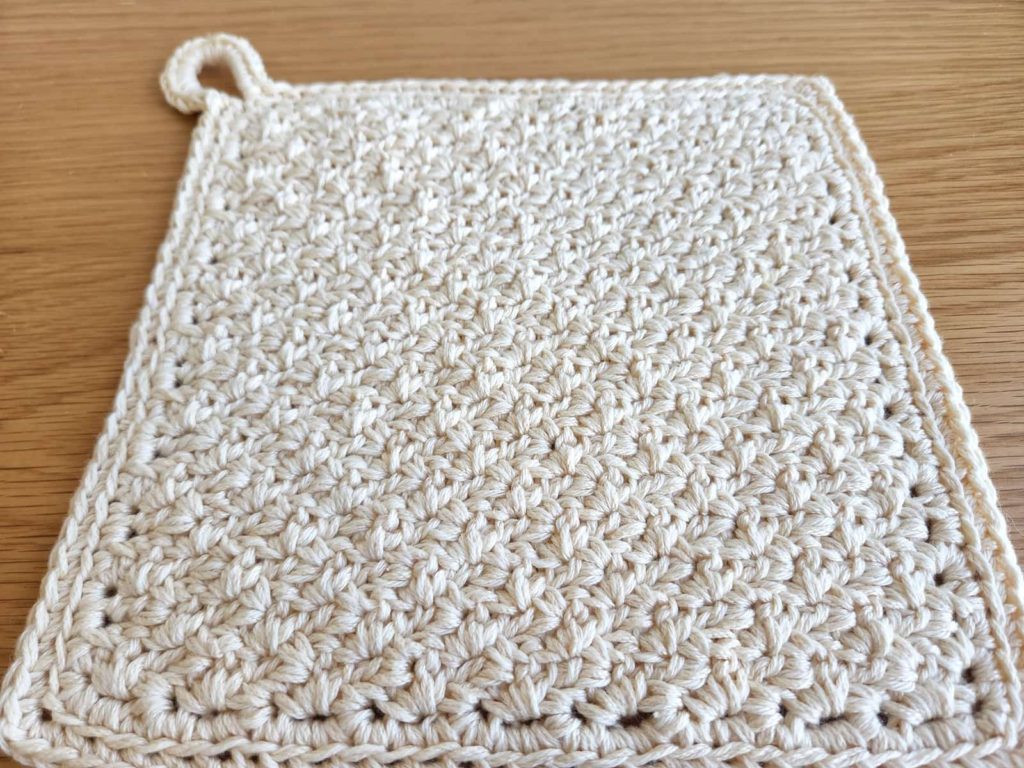
To make the pattern more interesting, we are using the corner-to-corner method to crochet the Wattle stitch.
If you haven’t tried the C2C Wattle stitch before, you will also find a video tutorial when you scroll down.
I love working with different stitches in the C2C method, besides the unique texture that is formed when working diagonally, it gives you so much freedom not having to plan too much ahead and count this long starting chain.
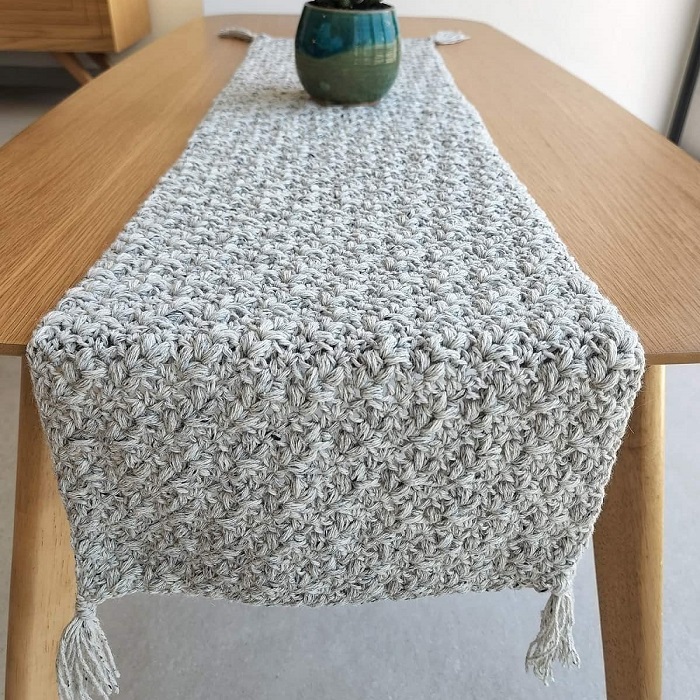
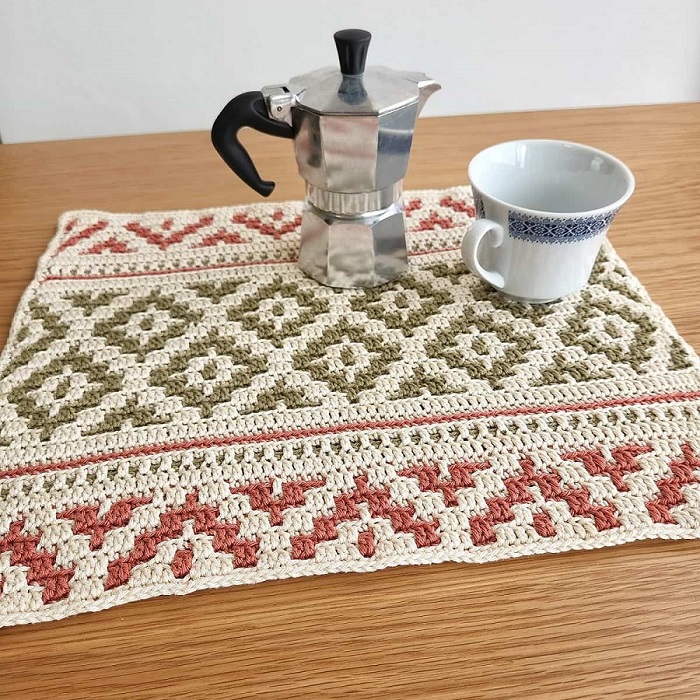
You can find more different crochet stitches:
C2C Cables & Beans
C2C Cluster Stitch
C2C Mesh Stitch
C2C Mini Bean Stitch
C2C Moss Stitch
C2C Suzette Stitch
C2C V Stitch
C2C Waves of Grain
Want to save this post for later? Go ahead and PIN it!
What Yarn Should You Use For a Hot Pad?
When crocheting a hot pad, it is recommended to use thick yarn (Worsted (#4) weight yarn, or thicker). My first choice when making these kinds of items that I know I will use a lot is 100% cotton yarn.
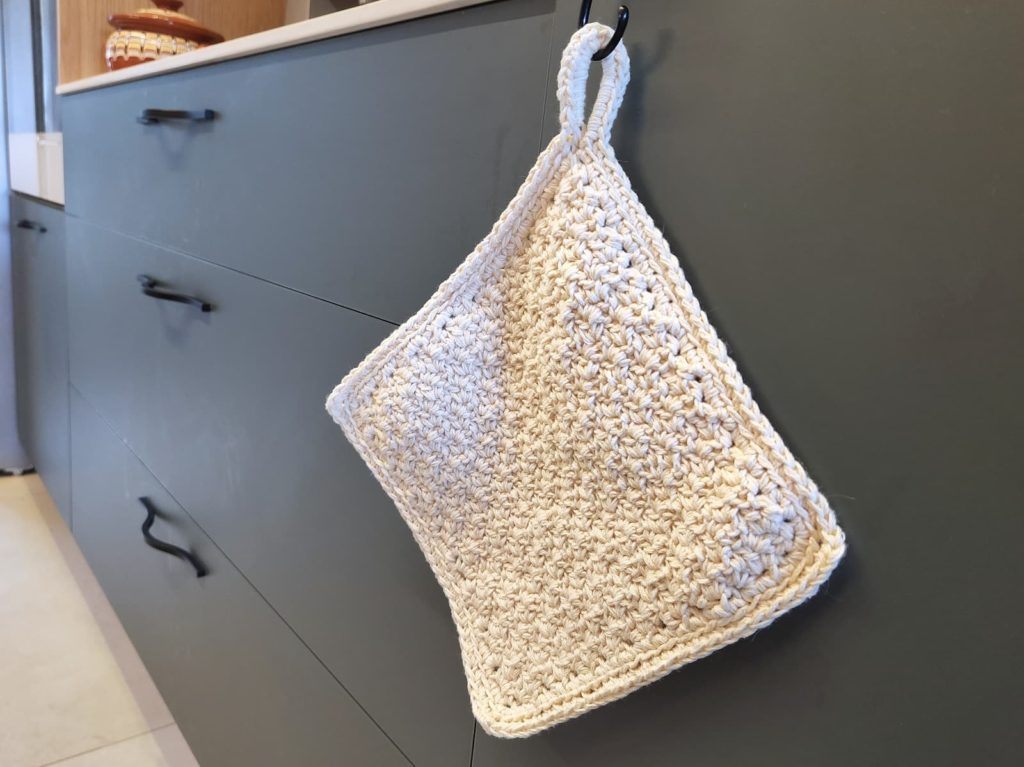
Cotton yarn is very durable, and can easily be washed in the washing machine. For this C2C Crochet Farmhouse Hot Pad pattern, I used Lion Brand – 24/7 Cotton. It’s 100% cotton, a solid yarn with beautiful colors, I also used it Boho Door Stopper.
Can You Use Acrylic Yarn For Hot Pads?
The problem with acrylic yarn compared to other types of fiber is that it’s flammable and can melt in high temperatures. That being said, it needs to be in contact with high temperatures for quite a long time in order to melt.
So if you use acrylic for a pot holder, your yarn will probably won’t melt, but it is still not advisable to use it for items that come in contact with high temperatures.
Can you use wool For a crochet hot pad?
Yes! Being a natural fiber, wool is resistant to heat, and will not melt when exposed to high temperatures.
The only thing that is less convenient when compared to cotton, is that wool needs to be washed by hand.
How to Crochet Corner to Corner Wattle Stitch
C2C Crochet Farmhouse Hot Pad Pattern
* Want to save this post for later? Go ahead and PIN it!
* Add this pattern to your Ravelry queue HERE!
Skill Level – Easy
Materials
– 4.0 mm & 4.5 mm crochet hooks (I like this hook)
– Worsted (#4) weight yarn – I used Lion Brand – 24/7 Cotton
Total yarn needed: 50 grams/85m/93yds
– 2 Stitch markers.
Abbreviations (US)
blo – work in the back loop only
ch – chain
sc – single crochet
sc2tog – single crochet 2 together
ss – slip stitch
dc – double crochet
PM – place marker
sp – space
Finished size – 8×8” (20.3×20.3cm)
Gauge – Working rows 1-10 with 4.0 mm / G hook will result in 4’’ (10 cm) triangle sides.

Notes
- You can change the size of your hot pad, by repeating row 4 until your desired size.
- The stitch markers are used to help you find the ch3/ch2 space at the end of the row.
- A video of how to work the C2C Wattle stitch is linked above.
- The C2C crochet Farmhouse Hot Pad pattern is featured at the Holiday Stashdown Crochet Along hosted by Underground Crafter!
Free Crochet Hot Pad Pattern
C2C Increase
With a 4.0mm / G crochet hook
Ch4
Row 1: [1sc, ch1, 1dc] in 4th ch from hook, turn.
Row 2: ch3 -PM, skip 1st dc, [1sc, ch1, 1dc] in next ch-1 sp, skip next sc, [1sc, ch1, 1dc] in ch-4, turn.
Row 3: ch3 -PM, skip 1st dc, [1sc, ch1, 1dc] in next ch-1 sp, skip next sc and dc, [1sc, ch1, 1dc] in next ch-1 sp, [1sc, ch1, 1dc] in ch-3 sp, turn.
Row 4: ch3 -PM, * skip next dc, [1sc, ch1, 1dc] in next ch-1 sp, skip next sc; repeat from * to ch-3 sp [1sc, ch1, 1dc] in ch-3 sp, turn.
Repeat row 4 until the side of the triangle measures 8” (20.3 cm), then start decreasing.
C2C Decrease
Row 5: ch2 -PM, * skip next dc, [1sc, ch1, 1dc] in next ch-1 sp, skip next sc; repeat from * to ch-3 sp, 1sc in ch-3 sp, turn.
Row 6: ch2 -PM, skip next sc and dc, [1sc, ch1, 1dc] in next ch-1 sp, * skip next sc and dc, [1sc, ch1, 1dc] in ch-1 sp; repeat from * until last ch-1 sp (don’t work into last ch-1 sp). sc2tog in next ch-1 sp and ch-2 sp (ch-2 of prev. row), turn.
Continue working row 6 until you have only 2 [1sc, ch1, 1dc] in your row (total of 9 sts).
Row 7: ch2 -PM, skip next sc and dc, [1sc, ch1, 1dc] in next ch-1 sp, sc2tog in next ch-1 sp and ch-2 sp (ch-2 of prev. row), turn.
Row 8: ch1, skip next sc and dc, 1sc in next ch-1 sp. Don’t fasten off, and don’t turn.
Border For C2C Hot Pad
With a 4.5mm crochet hook
Turn the hot pad in 90 degrees.
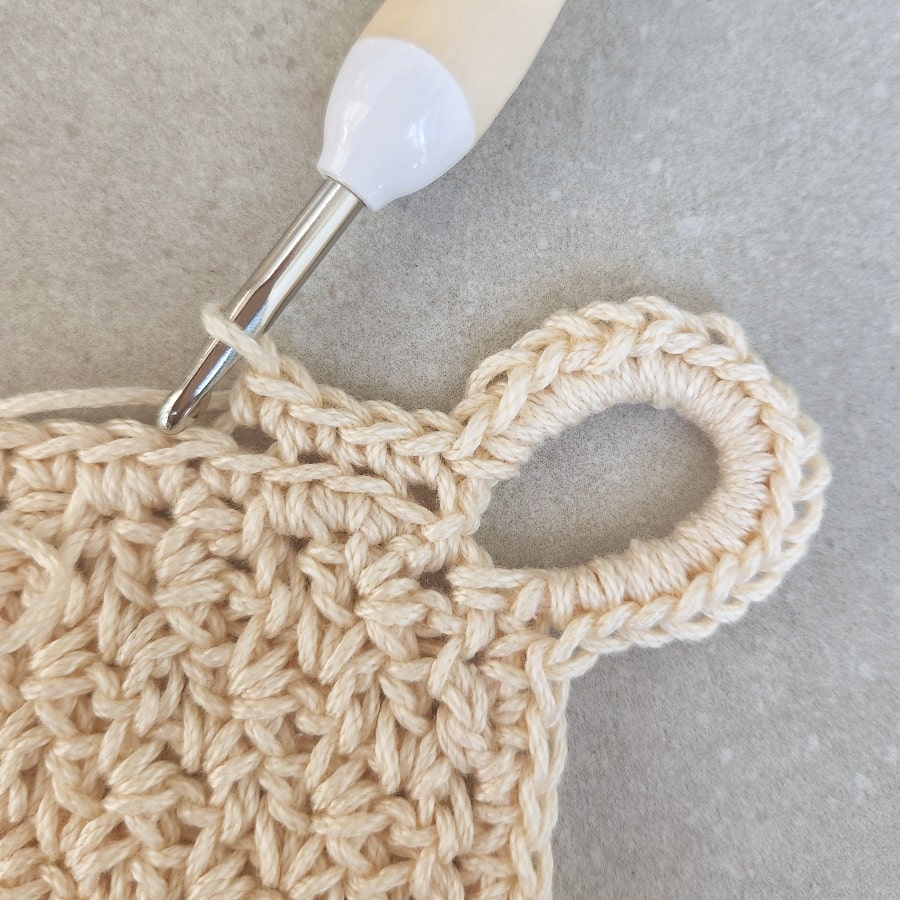
Round 1: ch10, ss in same ch-1 sp you last worked into, 1sc in next sc.
* 1sc in next ch-2 sp, 1sc in top of next sc2tog, 1sc in side of sc2tog; repeat from * until corner (ch-2 sp).


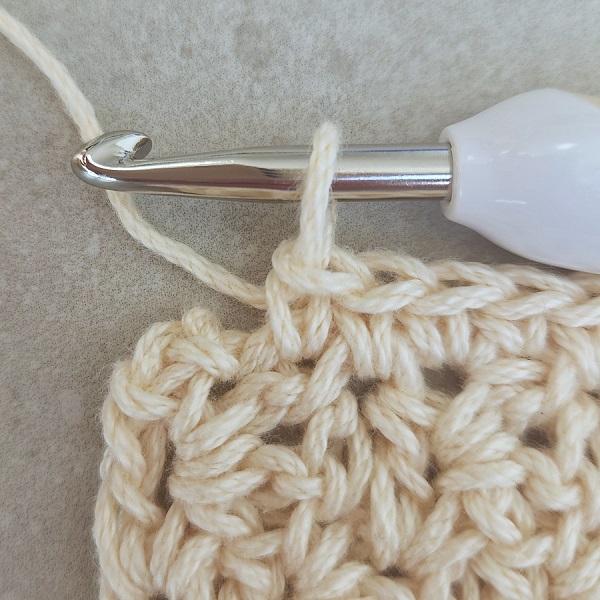
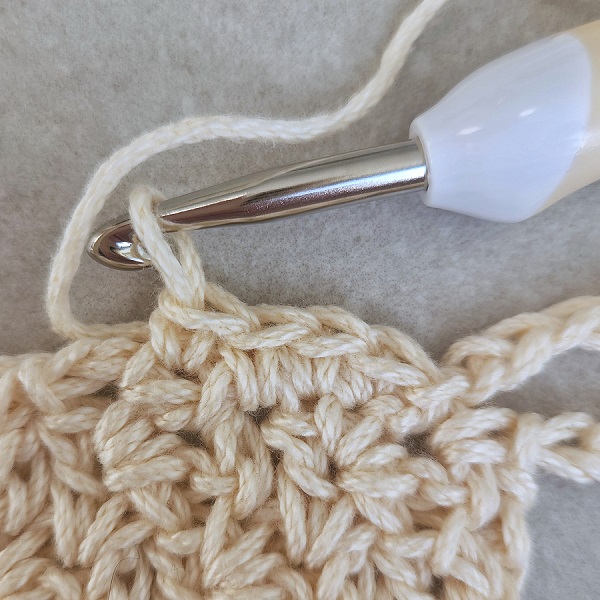
Work corner in ch-2 sp: [1sc, ch1, 1sc] in ch-2 sp.
Continue working on the side of the square: * 1sc in top of next dc, 1sc in side of dc, 1sc in next ch-3; repeat from * until corner (1st chain of beginning chain).

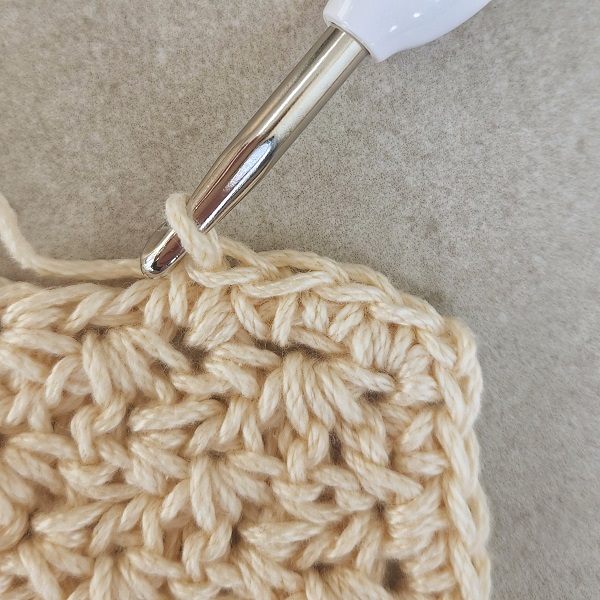
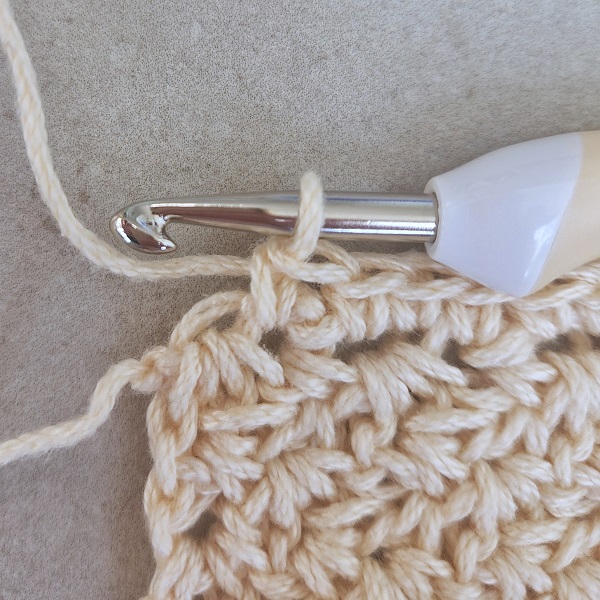
Work corner in ch-1: [1sc, ch1, 1sc] in first chain of the beginning chain.
Continue working on the side of the square: * 1sc in next ch-2 sp, 1sc in side of next sc2tog, 1sc in top of sc2tog; repeat from * until corner sc.
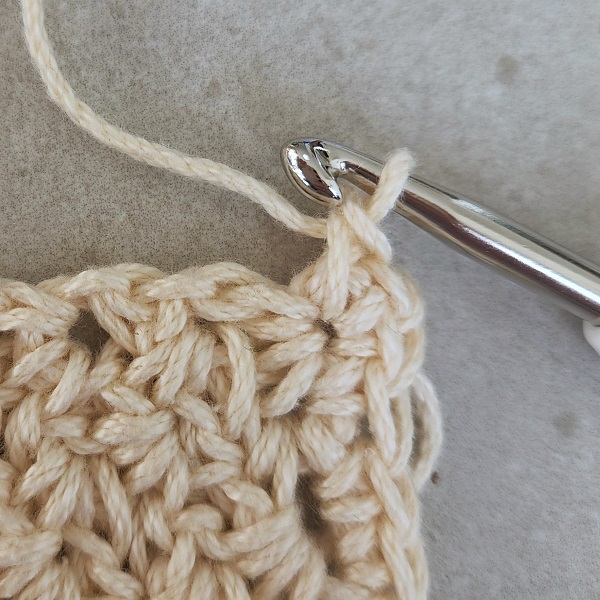

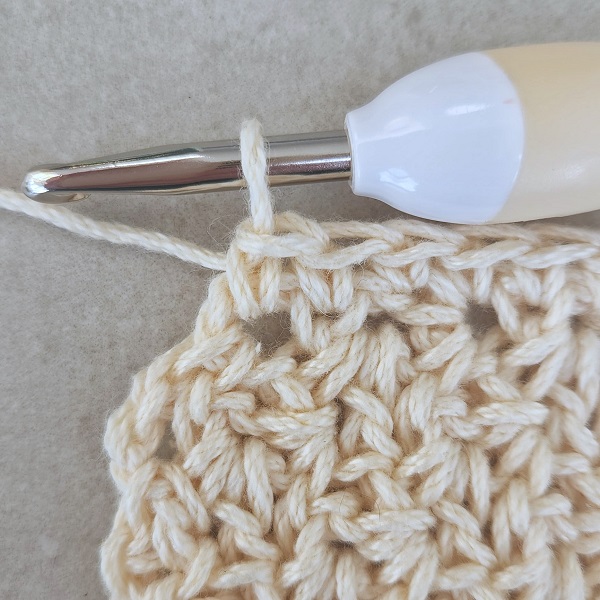
Work corner in sc: [1sc, ch1, 1sc] in sc.
Continue working on the side of the square: * 1sc in side of next dc, 1sc in top of dc, 1sc in next ch-3; repeat from * until ch-10 loop, don’t slip stitch.
Round 2: work 20 sc in ch-10 loop.
Continue working around the hot pad: * 1sc in blo of each sc until ch-1 sp, [1sc, ch1, 1sc] in blo of ch-1 sp; repeat from * 2 more times.
1sc in blo of each sc until loop, ss to 1st sc of the loop.
Fasten off, weave in the ends, soak and block.
Did you try this out? Share your project!
– Let me know how it went and leave a comment below.
– Tag me on Instagram @madebygootie
– Join and share in our FB Community
Want to save this post for later? Go ahead and PIN it!

