Chunky Crochet Headband Pattern – Free
Last Updated on July 11, 2024
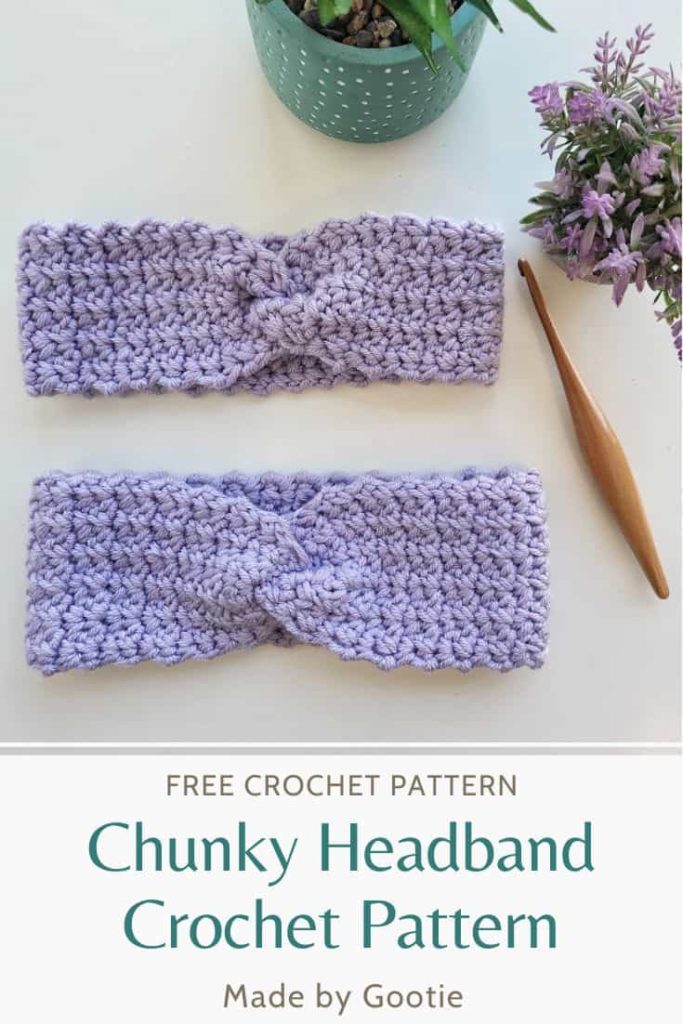
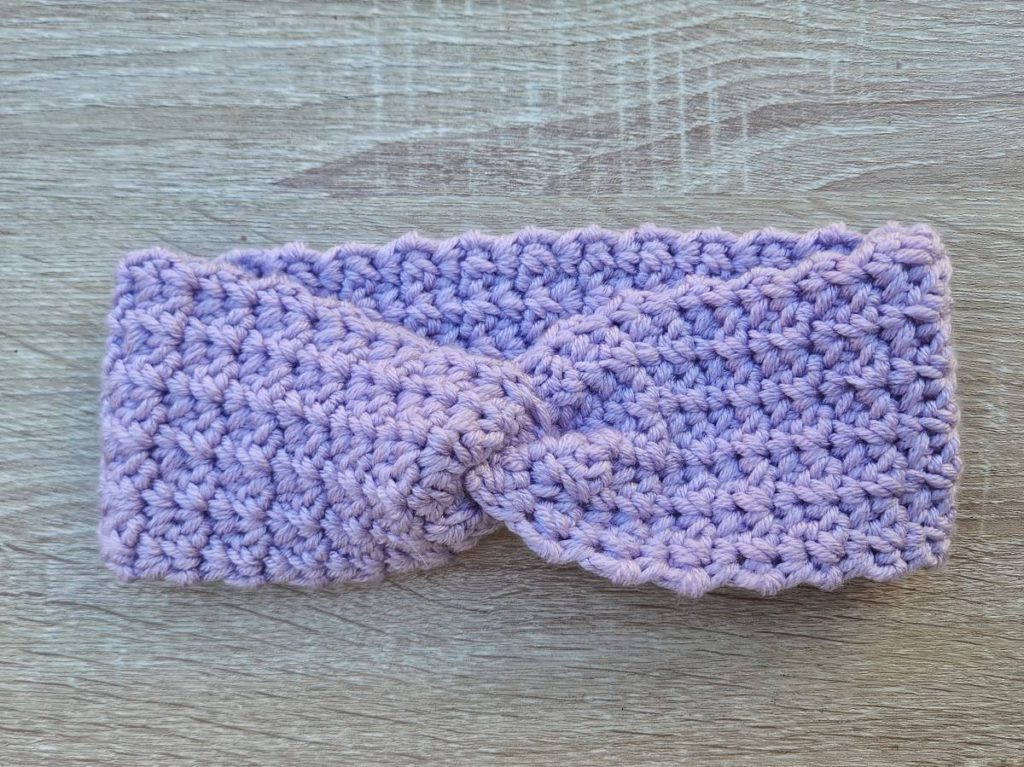
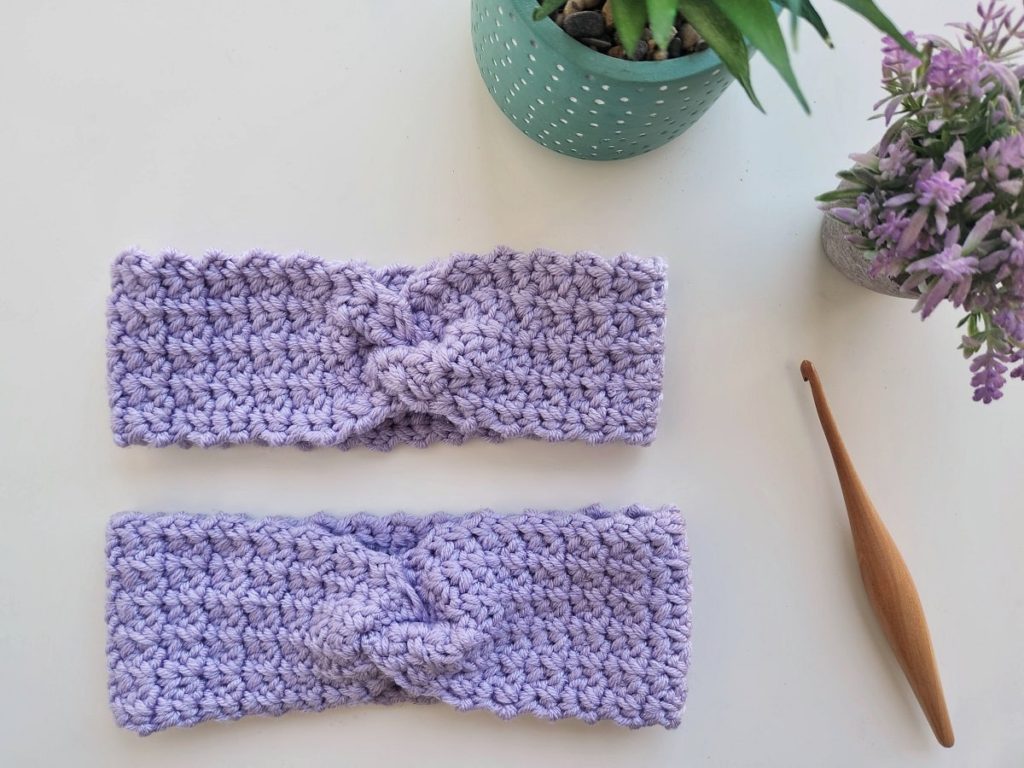
A quick and fun crochet project? Yes, please! This chunky crochet headband pattern works up quickly (even for a slow crocheter like me), and uses only single crochet and chain stitches, making it an ideal project for both beginners.
In this post, you will learn how to make a twisted crochet headband with a step-by-step photo-tutorial, and a video tutorial for the Spider stitch pattern.
Some of the links in this post may include affiliate links. Making a purchase through one of these links pays me a small referral fee at no added cost to you. These small fees add up and help me keep the blog running. View our disclosure and privacy policy for more information.
This chunky crochet headband pattern is a great project if you want something stylish to keep your head warm during those chilly days.
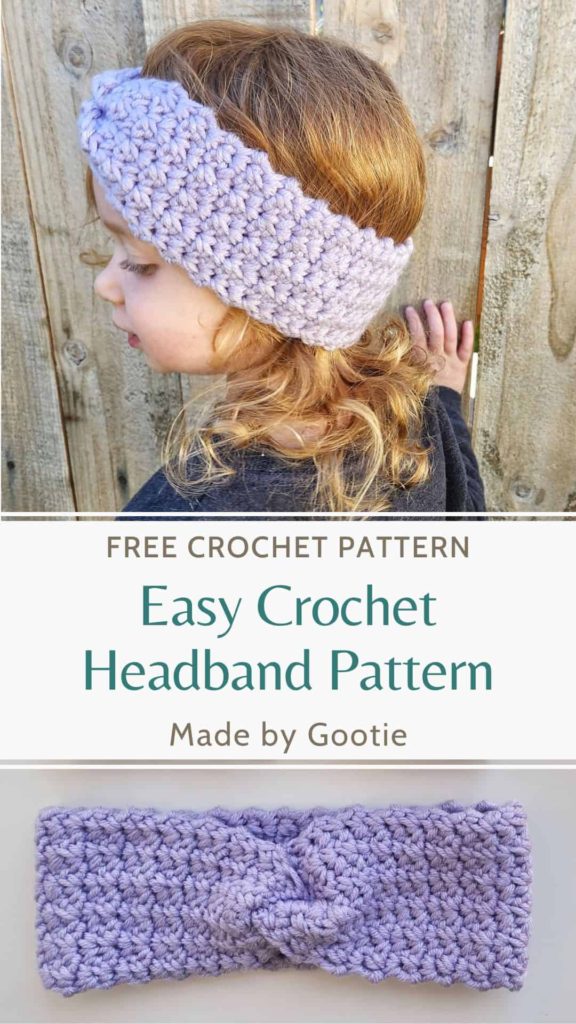
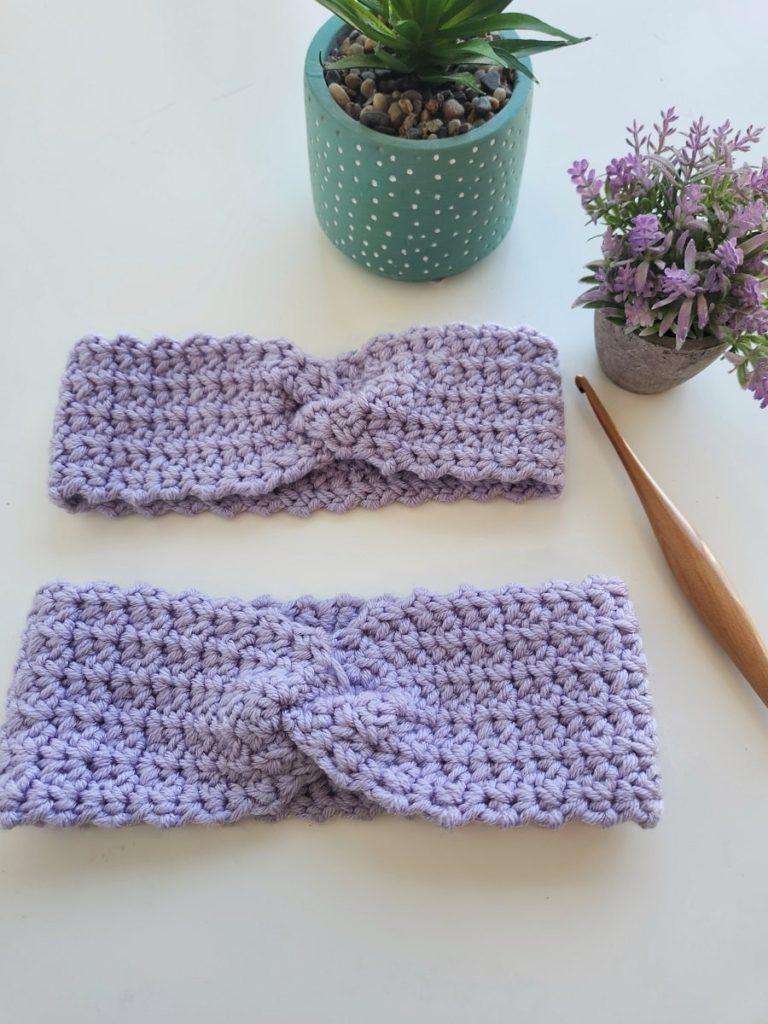
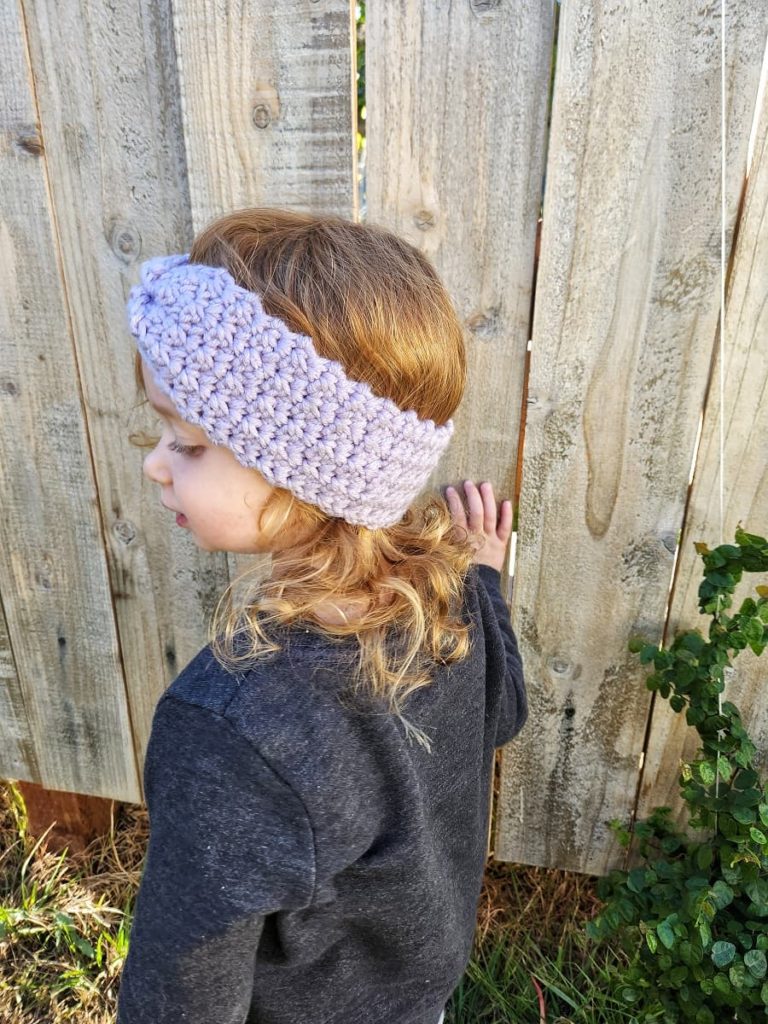
I made matching headbands for myself and my daughter, and she loves it!
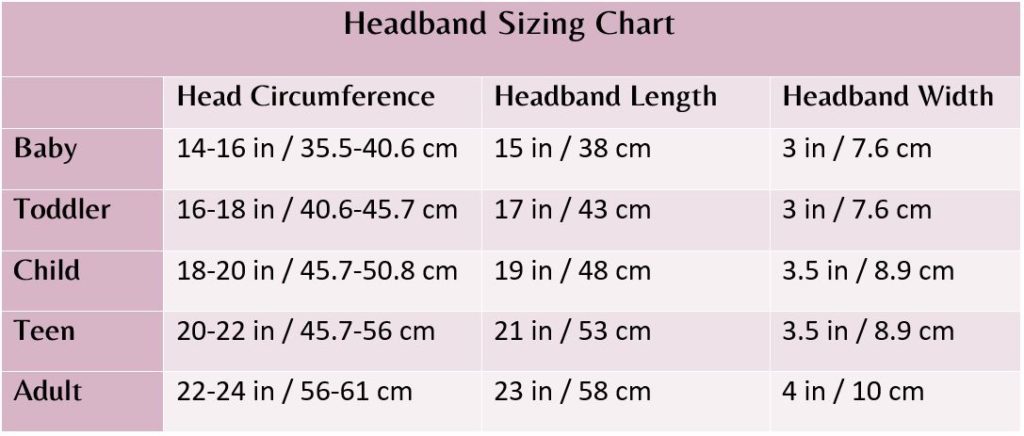
Since it uses a Bulky (#5) weight yarn, it works very quickly. This crochet ear warmer pattern can be easily modified to any size you want (see pattern notes). Although the pattern mentions 3 sizes for the crochet headband pattern, you can use the size table below to adjust the size you want.
Want to save this post for later? Go ahead and PIN it!
What is the best Yarn for crochet ear warmers?
You would want to use a thick enough yarn (Worsted (#4) or thicker), to keep your head and ears warm. With the same thought in mind, in my opinion, it’s better to use acrylic or wool, cotton or bamboo fibers don’t keep you warm enough.
For my crochet ear warmers, I used Big Twist – Gentle in Orchid. It’s a soft and anti-pilling acrylic yarn, which makes it very durable.
Crochet Headband Pattern PDF
You can find the ad-free PDF pattern with the full photo-tutorial at one of my shops below:
What size is a crochet headband?
Get the premium, ad-free, full photo-tutorial, printable PDF version on Ravelry or Etsy!
Spider Stitch Crochet Twist Headband Pattern
* Want to save this post for later? Go ahead and PIN it!
* Add this pattern to your Ravelry queue HERE!
Skill level – Easy
Materials
– Crochet hook 6.0 mm / J (I like this hook)
– Bulky (#5) weight yarn (I used Big Twist – Gentle in Orchid)
Total amount of yarn needed:
Toddler – 35gr / 42m / 46 yds
Teen – 45gr / 54m / 59yds
Adult – 55gr / 66m / 72yds
– Tapestry needle
Gauge – 14 beginning chains (7 V-sc) = 4 in/10 cm width with 6.0 mm / J hook.
Abbreviations (US)
ch – chain
st – stitch
sc – single crochet
sp – space
V-sc – [1 sc, ch1, 1 sc] in same st/sp
[…] – crochet the instructions within brackets into the same indicated stitch.
Notes
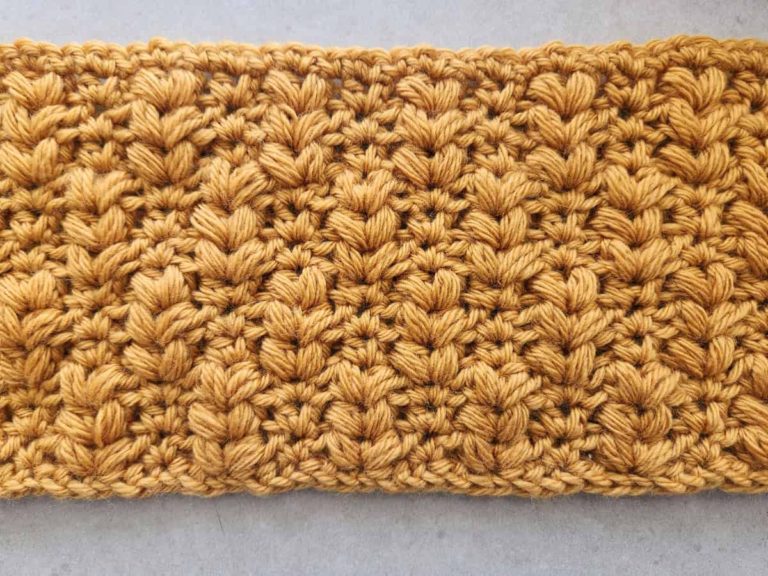
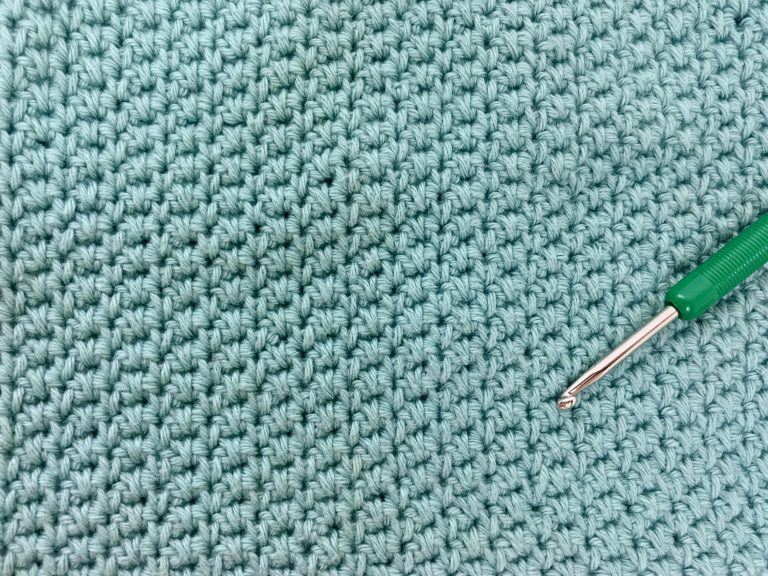
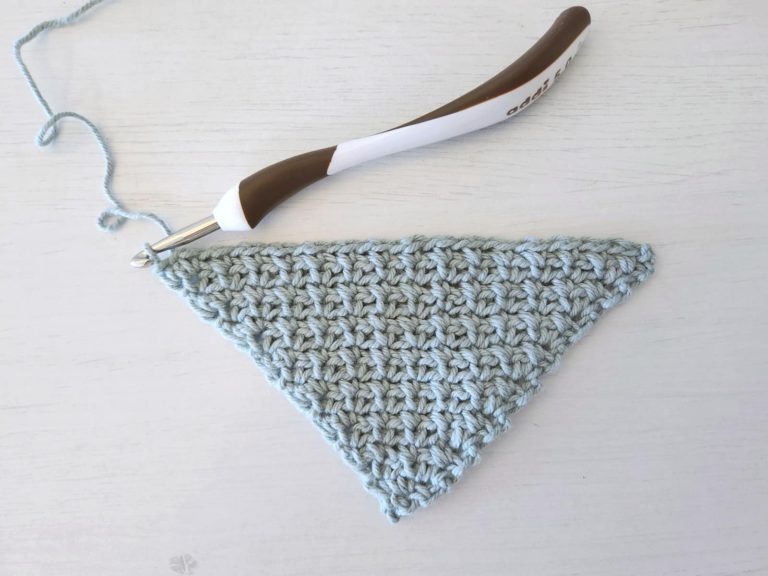
- The Spider stitch is a small V stitch, it’s made by crocheting all [1 sc, ch 1, 1 sc] stitches into the same ch-1 space.
- To modify the width of the headband, keep an even number of chains.
- You don’t chain at the beginning of the row, there’s no turning chain.
- The work curls at the first 1-2 rows, and then straightens up as you keep crocheting.
- I recommend measuring the headband before you sew it together.
- You can use the sizing chart above to modify the headband to any size you want.
- This pattern was part of the Crochet Skill-Building Blog Hop hosted by Tasha from Stardust Gold Crochet.
Tips for Crocheting the Spider Stitch
The crochet Spider stitch can be quite tricky at first, I hope these tips will make it easier for you to learn how to crochet the Spider stitch.
- The Spider stitch tends to be dense, I suggest using a bit bigger hook than the yarn suggests.
- Try and work a bit looser, especially if you are a tight crocheter like me, it will make it easier to find the ch-1 space that you need to crochet into.
- Learn how to identify the ch-1 space: make a small swatch and place stitch markers in each ch-1 space to make it easier to learn how to identify it at first (then when you get it, stop using the markers).
Crochet Spider Stitch Video Tutorial
How to Crochet a Headband Step by Step
Sizing as follows: Toddler (Teen, Adult)
Ch 10 (12, 14)
Row 1: Skip first ch, * V-sc in next ch, skip next ch; repeat from * to last ch, V-sc in last ch, turn. (Toddler: 5 V-sc (Teen: 6 V-sc, Adult: 7 V-sc)).
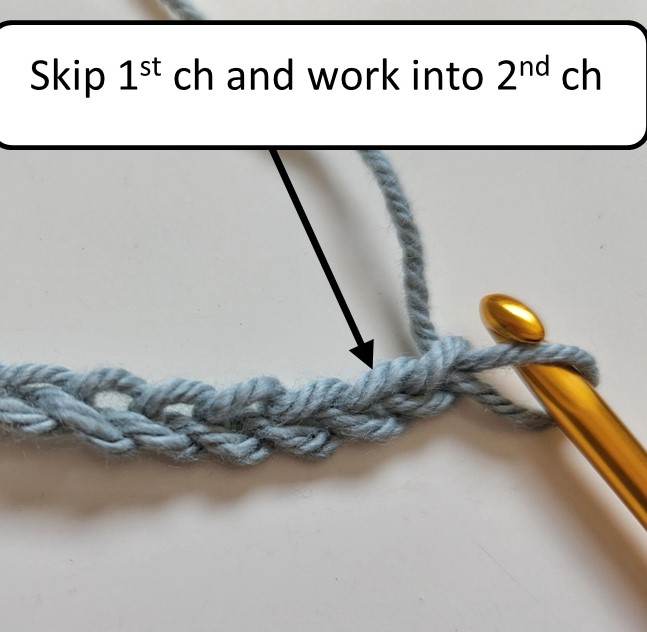
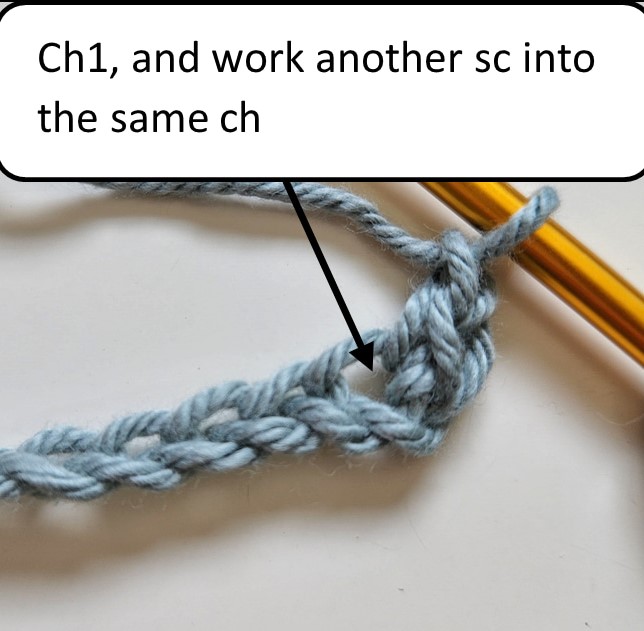
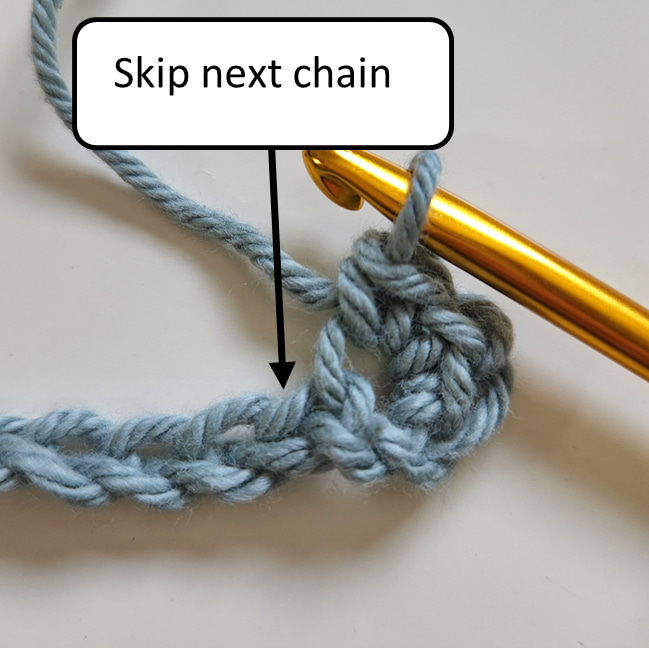
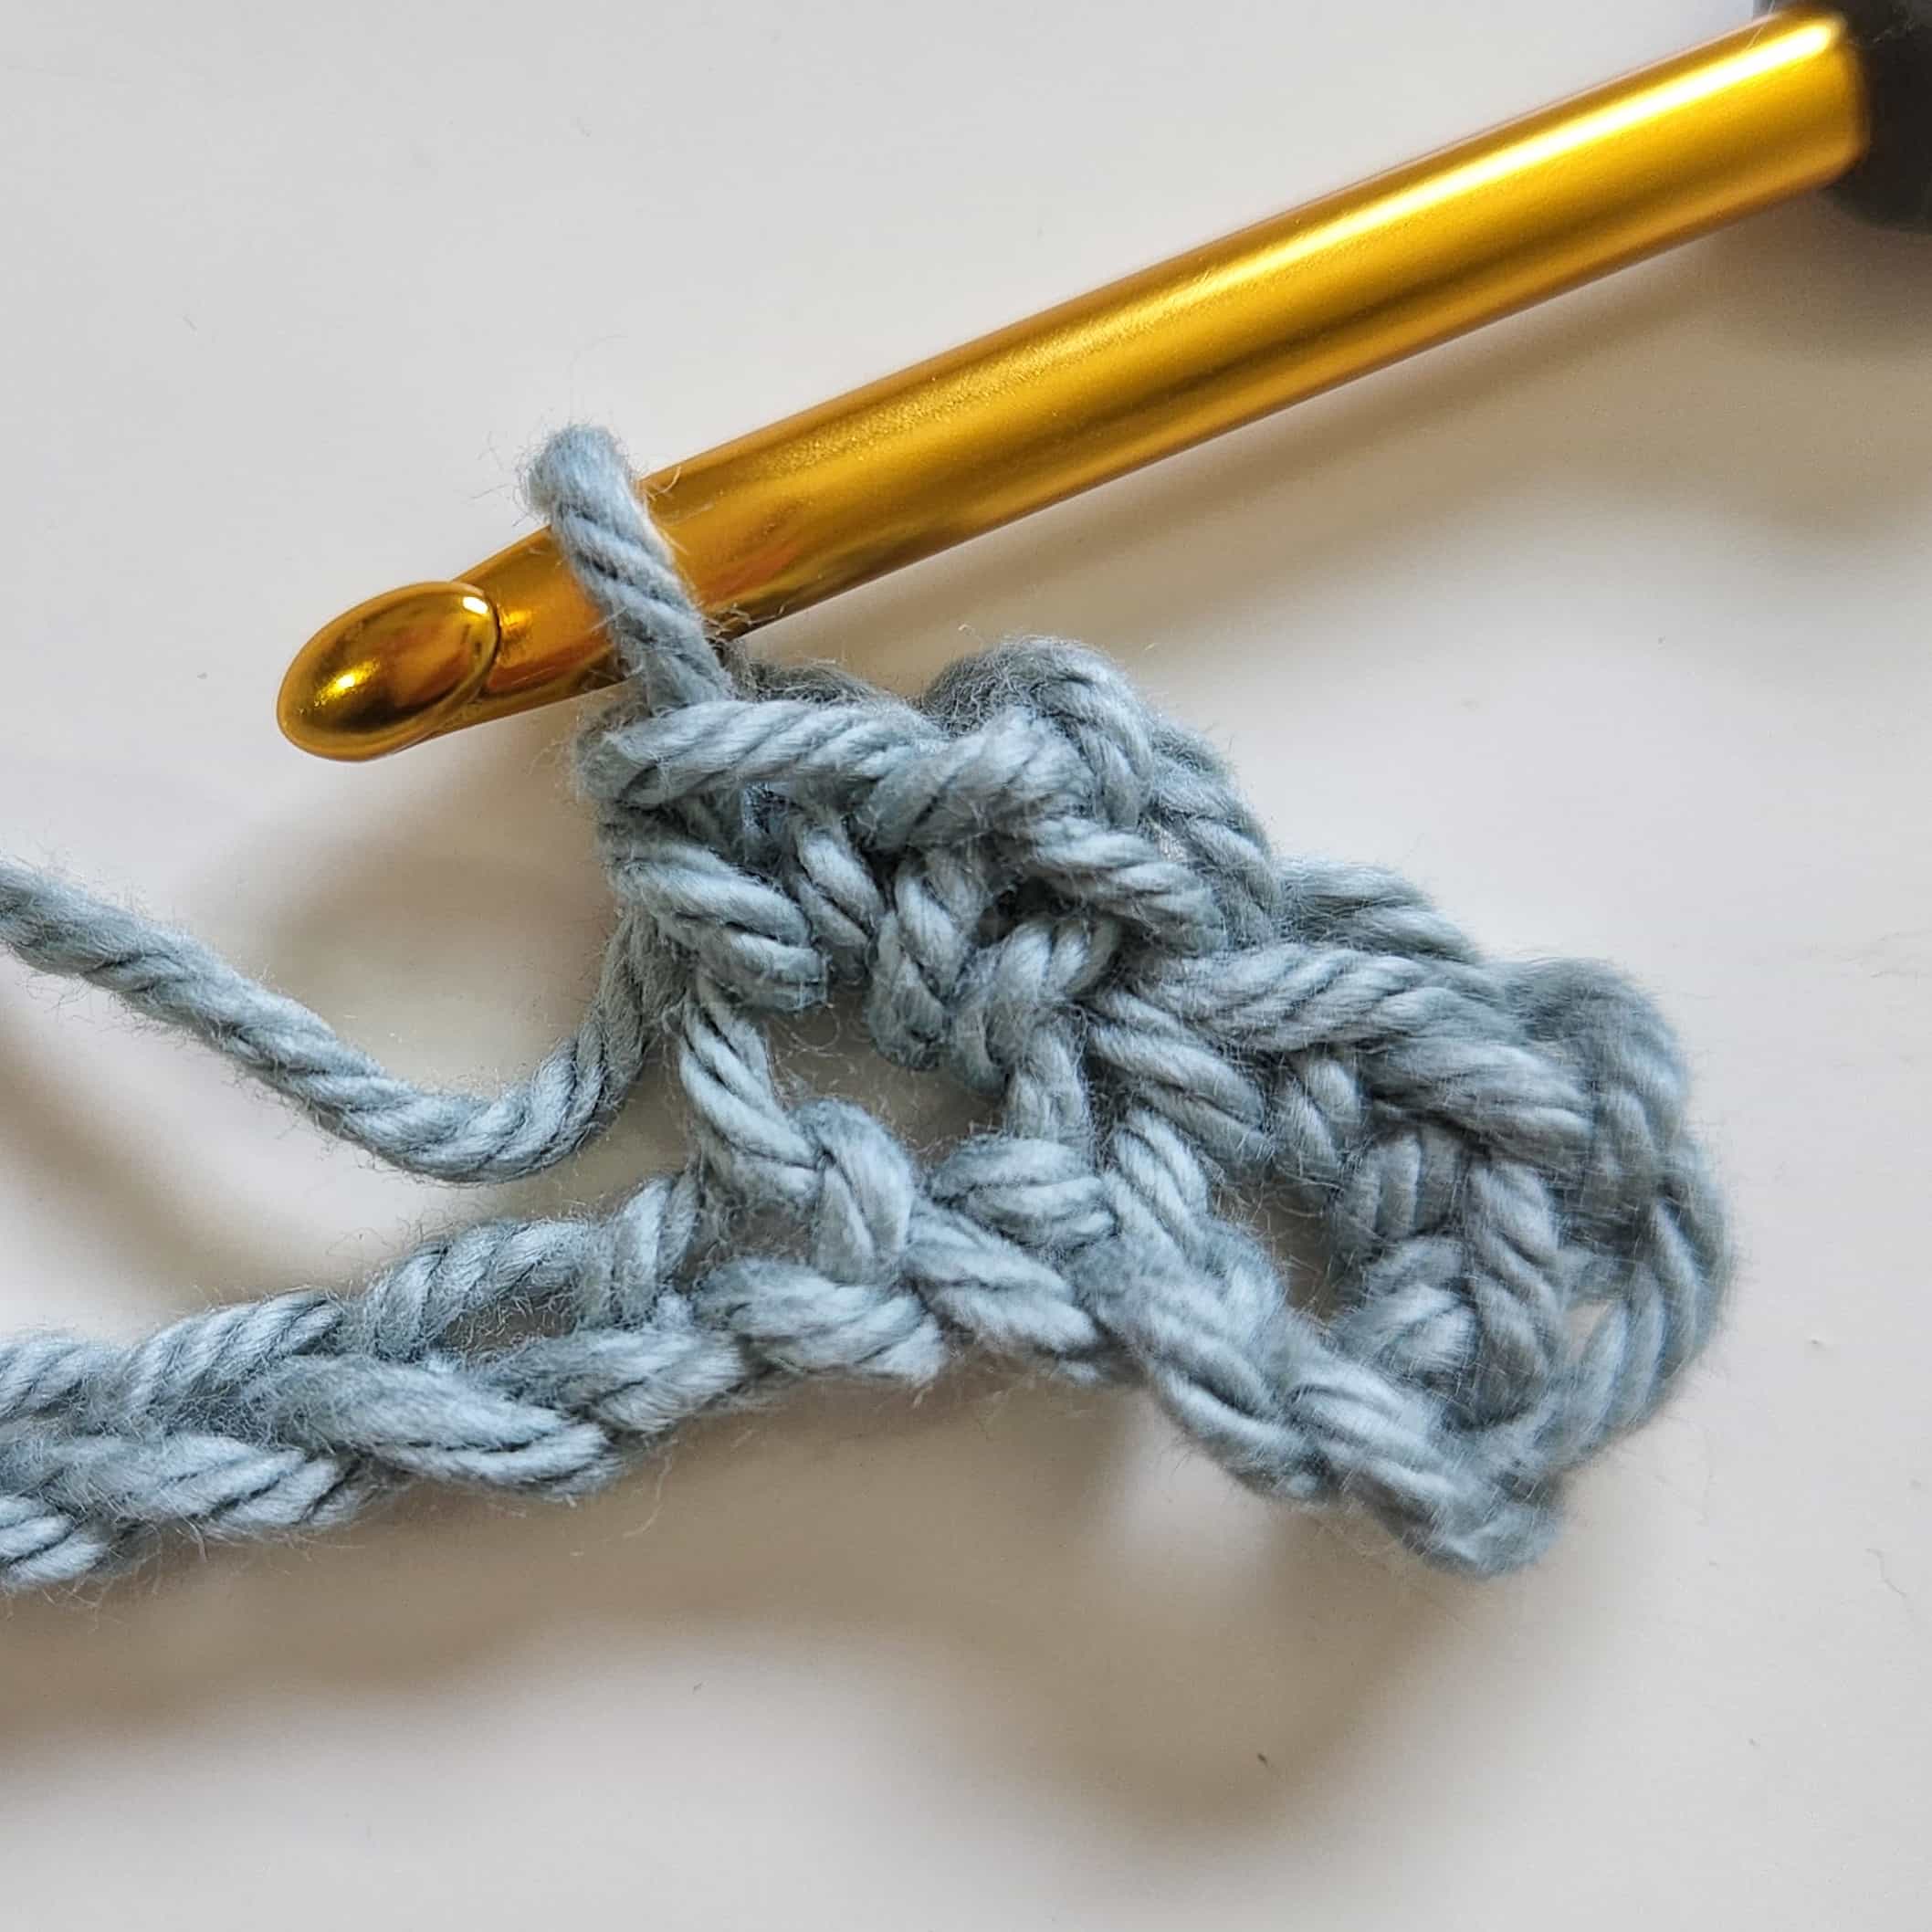
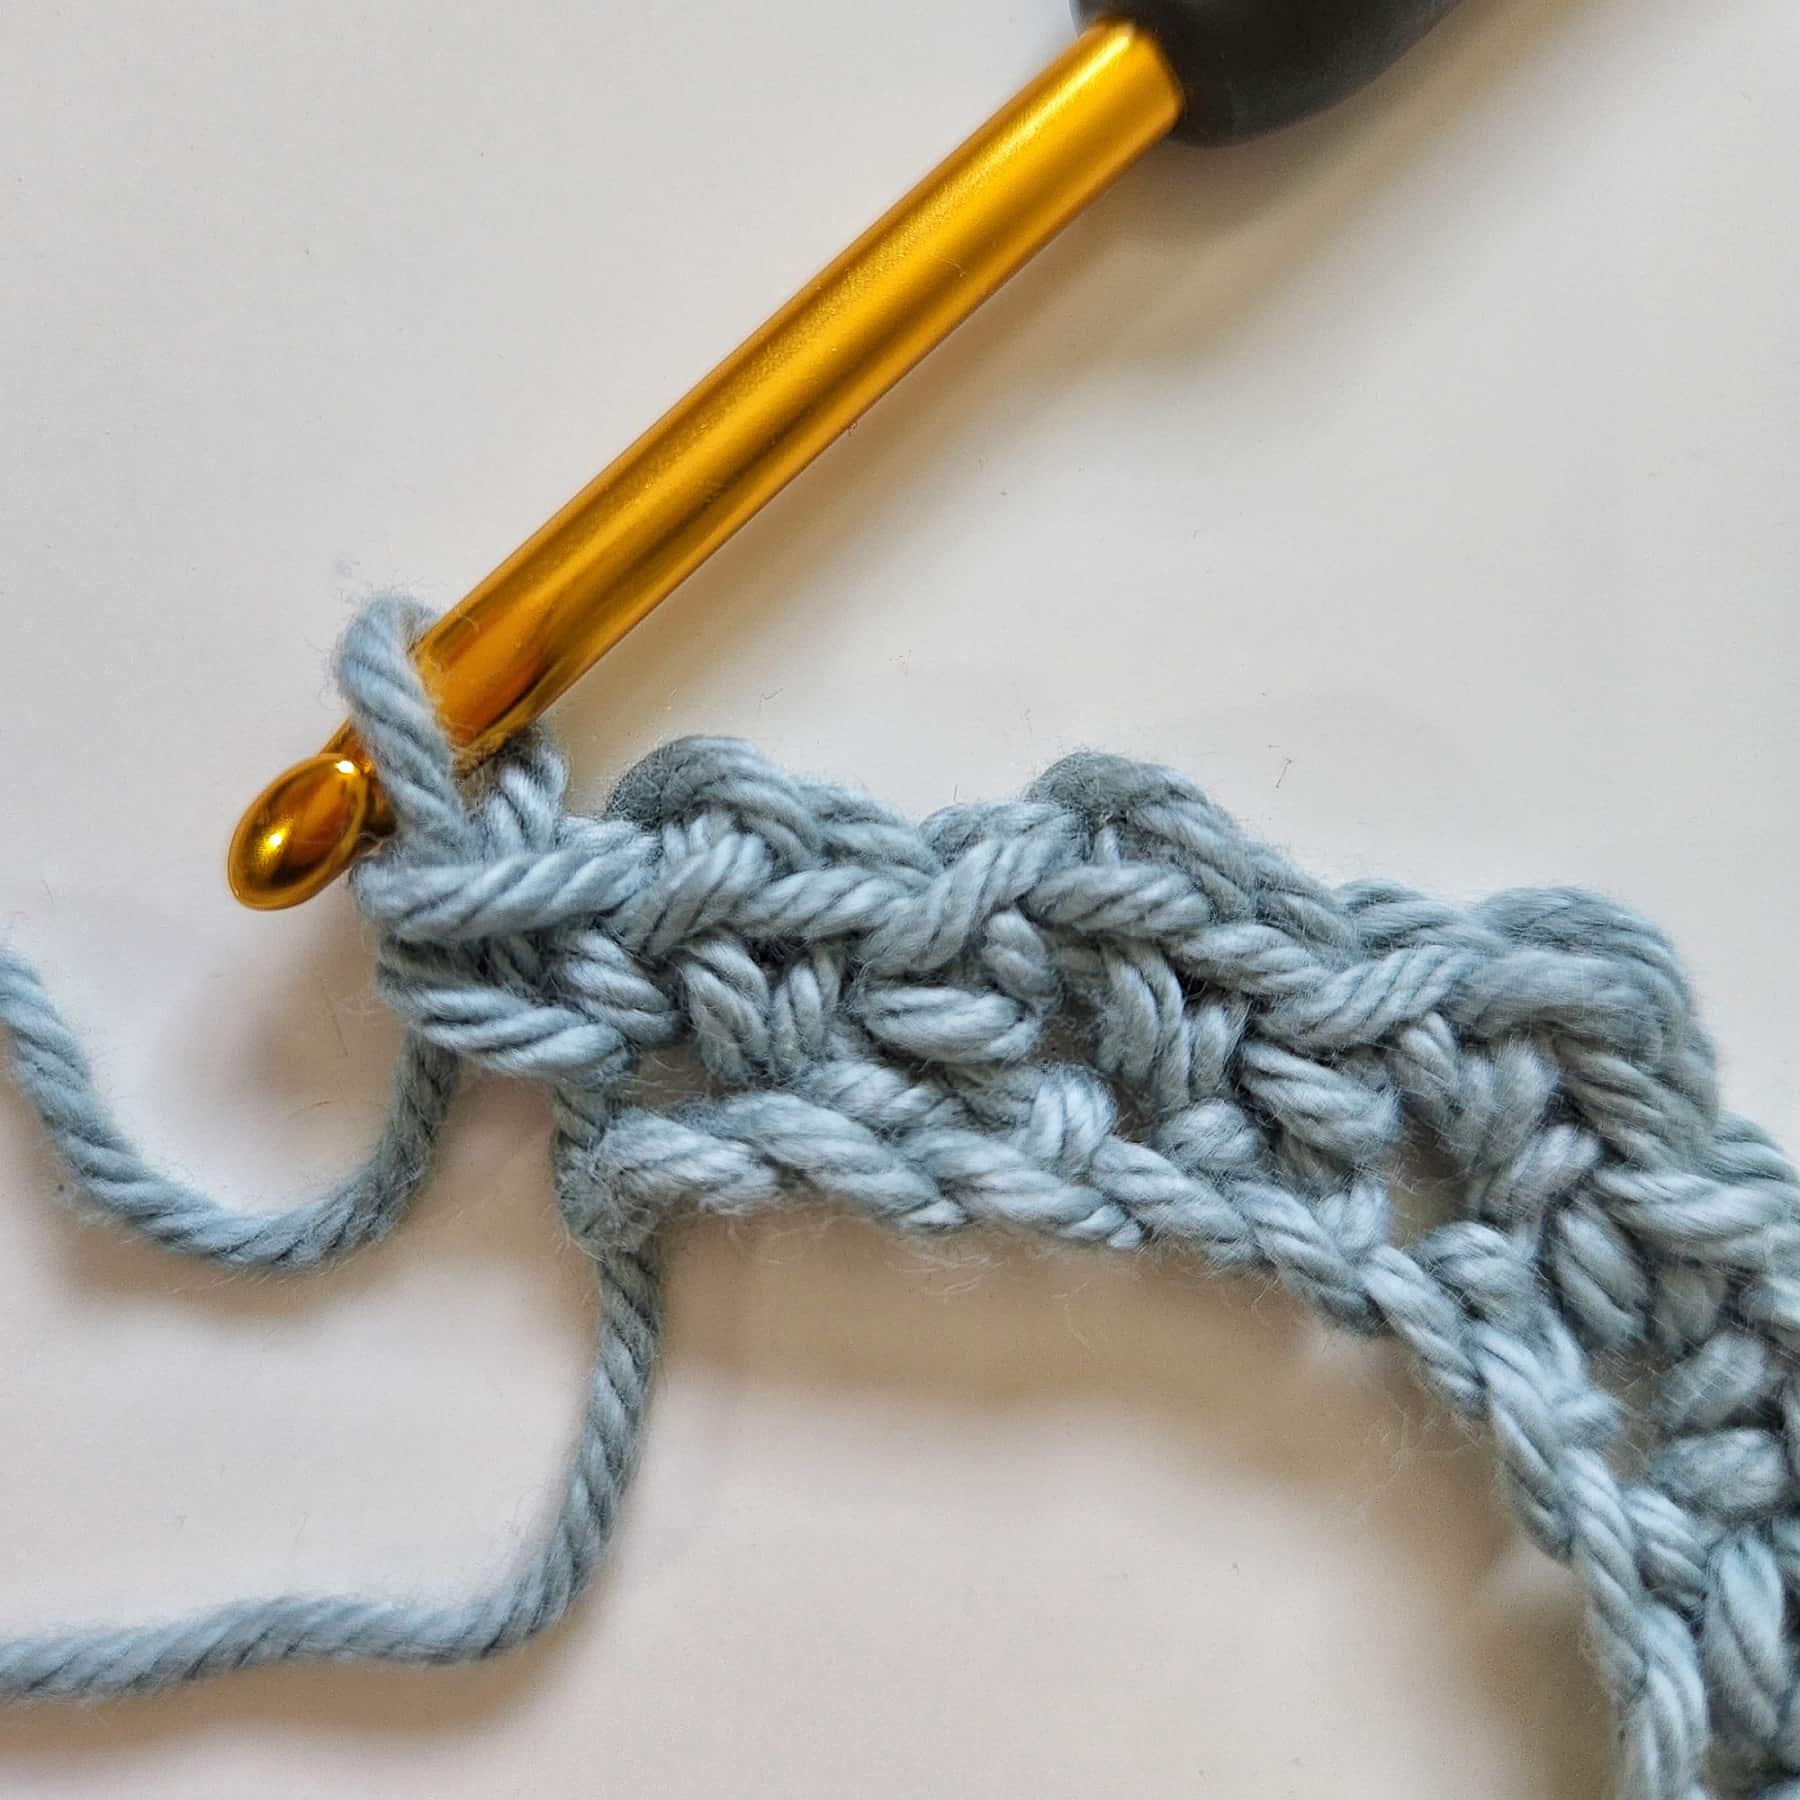
Row 2: Skip first sc, * V-sc in next ch-1 space, skip next 2 sc; repeat from * to the end of the row, V-sc in last ch-1 space, turn. (Toddler: 5 V-sc (Teen: 6 V-sc, Adult: 7 V-sc))

Repeat row 2 until your work is approx. 17in/43cm (21in/53cm, 23in/58cm) high.
Fasten off, and leave approx. 20in / 51cm tail to sew the edges.
How to Make a Twisted Crochet Headband
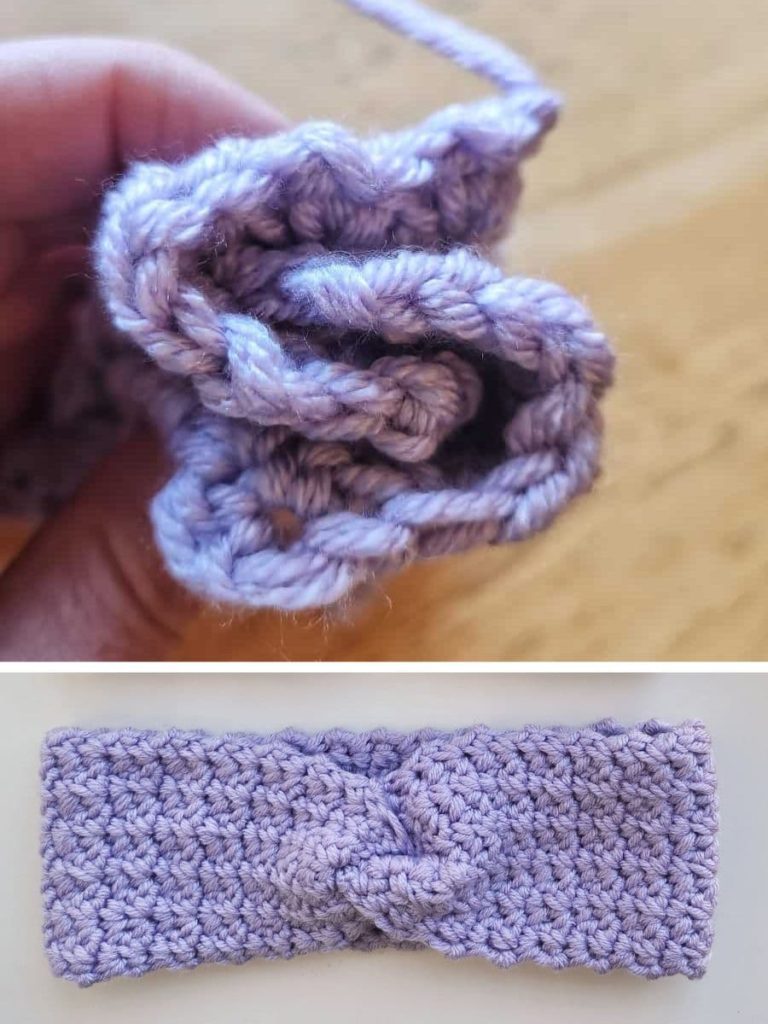
Fold the headband in half lengthwise, hold each of the two short ends and fold them in half.
Bring the two folded short ends together, so they will wrap each other, as shown in the photo below.
Using a tapestry needle, sew the two edges together, going through all 4 pieces.
What is the best stitch for crochet headbands?
That’s a good question! When it comes to creating crochet headbands, the stitch you choose will determine the overall look and comfort of the crochet headband.
You want your headband to have some elasticity to it, so you don’t want it to be too dense. Half Double Crochet and Double crochet will create an elastic band, single crochet by itself can form a band that is too dense and not elastic enough to put comfortably on your head.
The Spider Stitch is a V stitch made with a single crochet. The addition of the chain makes the fabric more flexible, while it’s still dense and keeps your head and ears warm.
Did you try this out? Share your project!
– Let me know how it went and leave a comment below.
– Tag me on Instagram @madebygootie
– Join and share in our FB Community
Want to save this post for later? Go ahead and PIN it!

