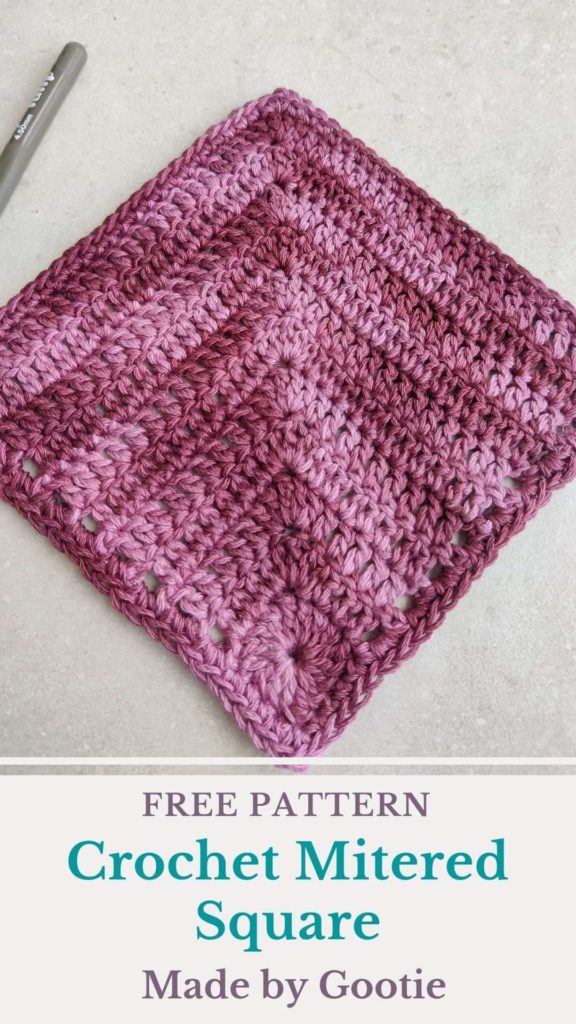
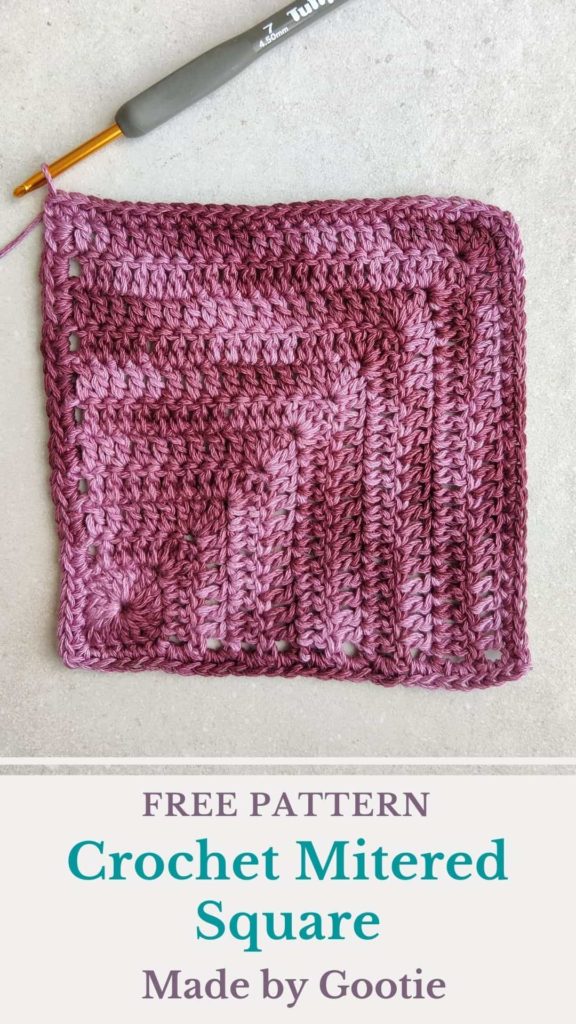
Free Crochet Mitered Square Pattern
Last Updated on December 30, 2025
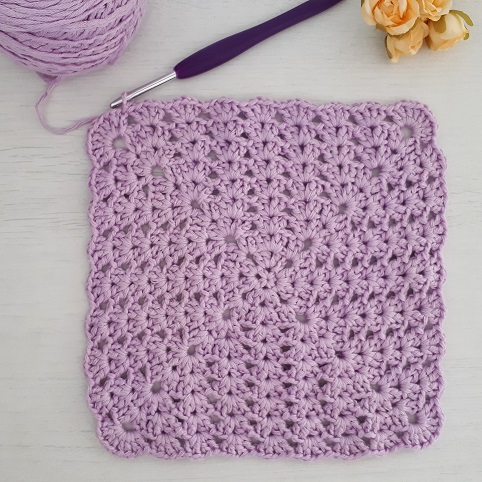
Have you been looking for a different crochet square pattern? If you are looking to learn a new way to crochet a square, you are in the right place!
The crochet mitered square is easy and fun to make, it’s a bit different than your ‘traditional’ square pattern.
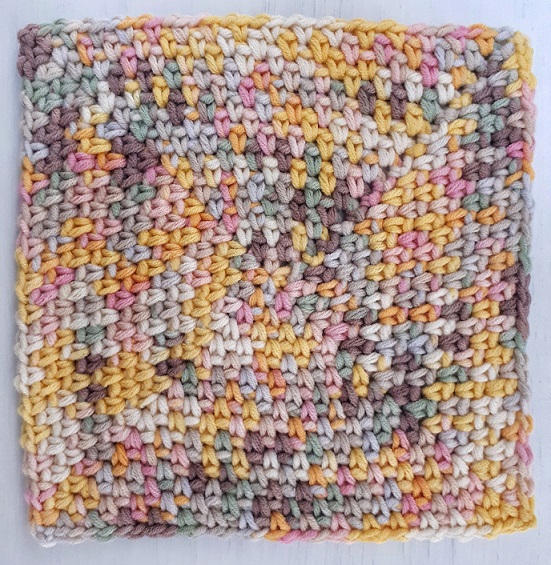
This square can be used to make coasters, blankets and even hot pads and dishcloths.
Scroll down for the detailed photo tutorial!
** Some of the links in this post may include affiliate links. Making a purchase through one of these links pays me a small referral fee at no added cost to you. These small fees add up and help me keep the blog running. For more details, view our disclosure and privacy policy.
So, What is a Mitered Square You Ask?
You can make a mitered blanket using the mitered square in 2 ways.
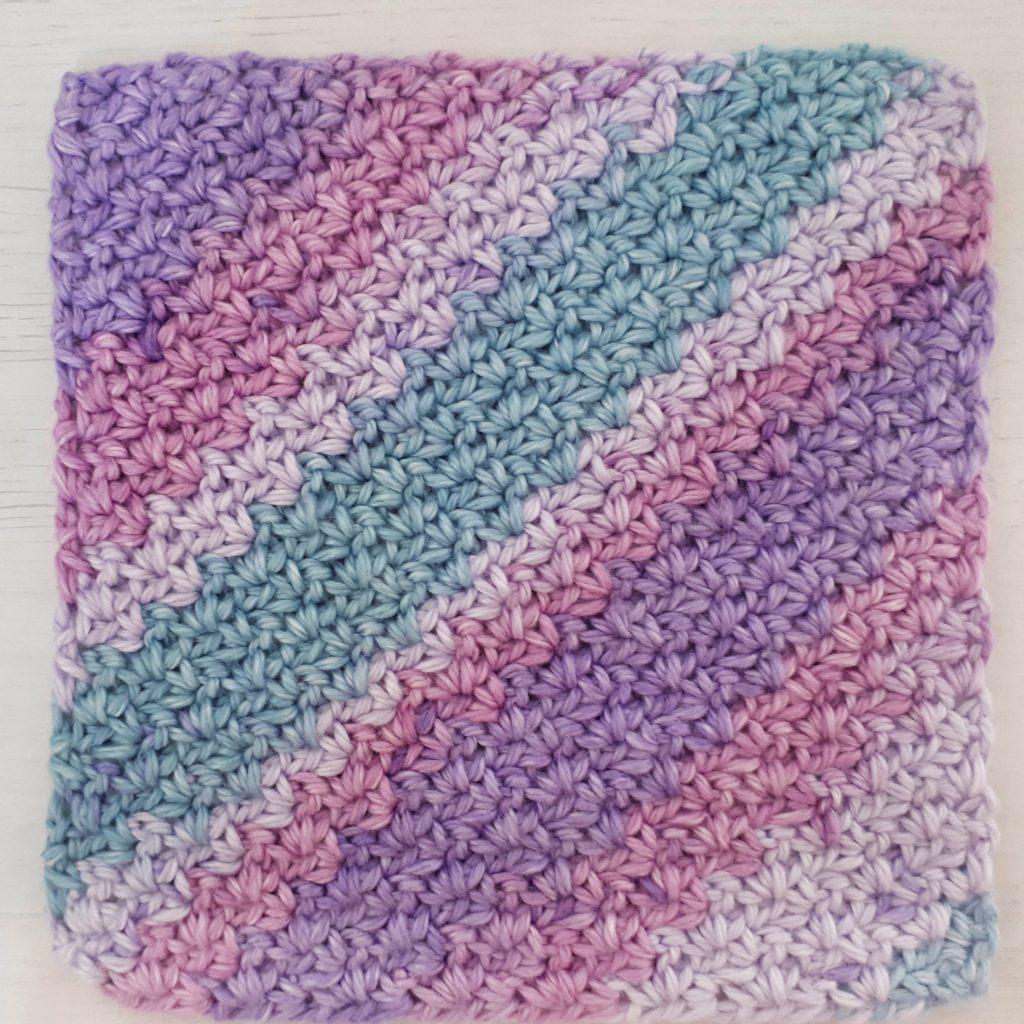
A crochet mitered square is a crochet square worked diagonally from one corner of the square to the other (while increasing in the center corner), but without having to decrease like in corner to corner method.
There are 2 ways to start a mitered square, one is to form a “corner” and crochet back and forth on its two sides to increase the corner into a square. This method is more suitable for shawls, like the In Bloom Ruana.
The second way (and my favorite) is just making one big square, using the mitered method. You continue crocheting the square as big as you’d like, and it’s recommended to add a border for a nicer edge. I used this method in my Mitered Tulips Blanket and Mitered Butterflies Blanket.
Want to save this post for later? Go ahead and PIN it!
You can find the ad-free, printable PDF pattern with a full photo-tutorial at one of my shops below:


Mitered Square Crochet Video Tutorial
How to Crochet a Mitered Square
Materials I used for this tutorial
– 4.5 mm Tulip Etimo Crochet hook.
– For this pattern I used an Israeli brand Worsted (#4) yarn made with 100% cotton, you can use any Worsted weight yarn, or any yarn suitable for your hook size.
Total amount of yarn needed for 1 square: 25gr/42m/46yds
– 1 Stitch marker.
Skill Level – easy
Gauge (not crucial for this pattern):
Work until row 2, the length in the center of the square should be 1.75in / 4.5cm.
Abbreviations (US)
ch – chain
sc – single crochet
ss – slip stitch
dc – double crochet
tr – treble crochet
PM – place marker
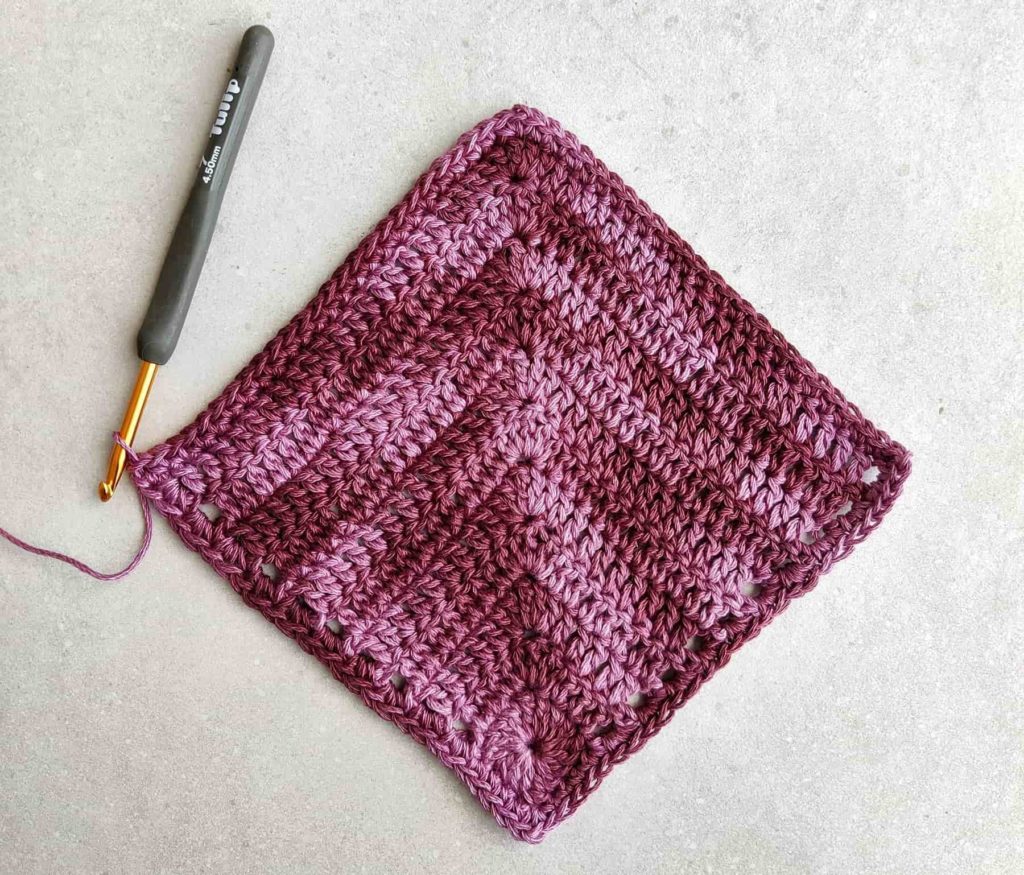
Finished Size – 6×6 in (15×15 cm)
Notes
- The square is reversible, it looks the same from both sides.
- You can make the square as big as you’d like.
- Ch3 at the beginning of the row counts as 1dc.
- The square is worked from one corner to the other corner (similar to the C2C method, but without the decreasing).
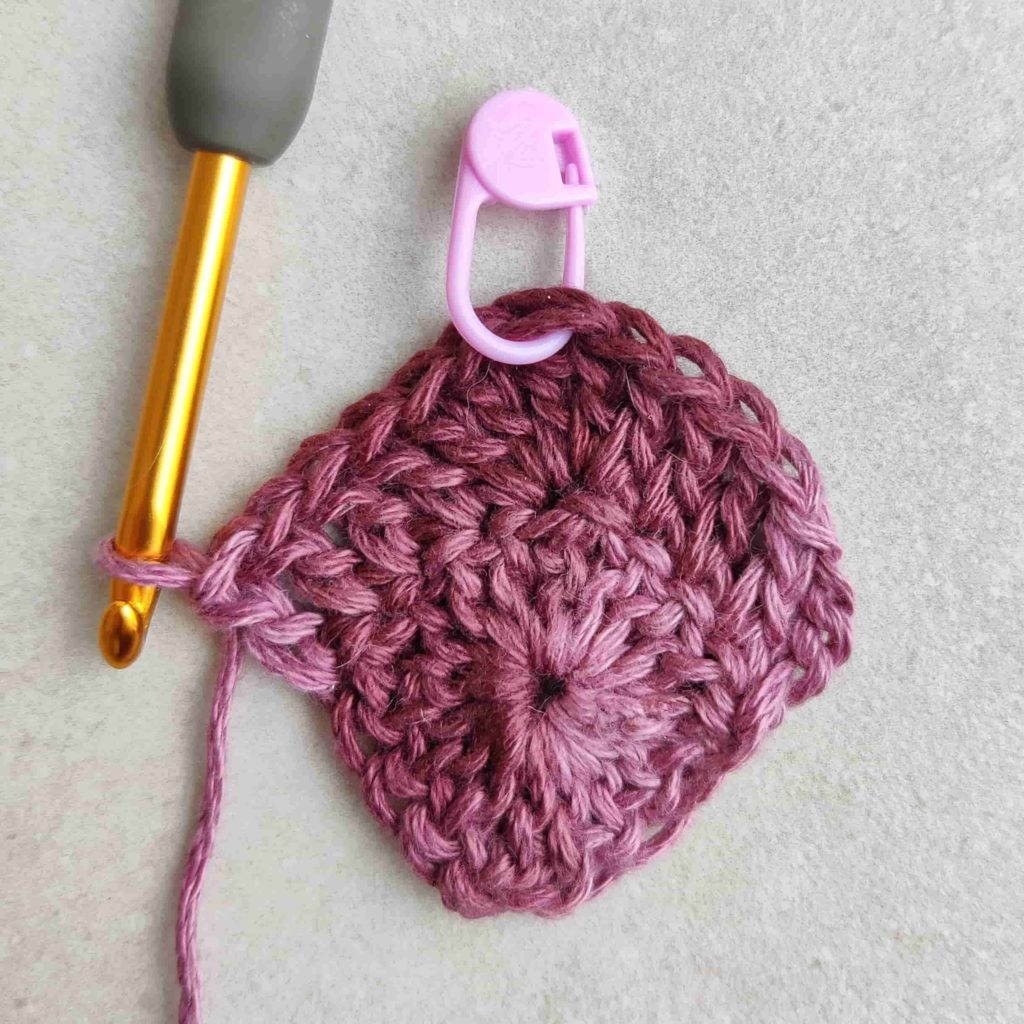
- Place a marker in the corner stitch (tr) and move the marker along the rows to make it easier to find the corner.
- This square needs blocking to obtain its final shape, don’t skip this step.
Crochet Mitered Square Instructions
Making the Square
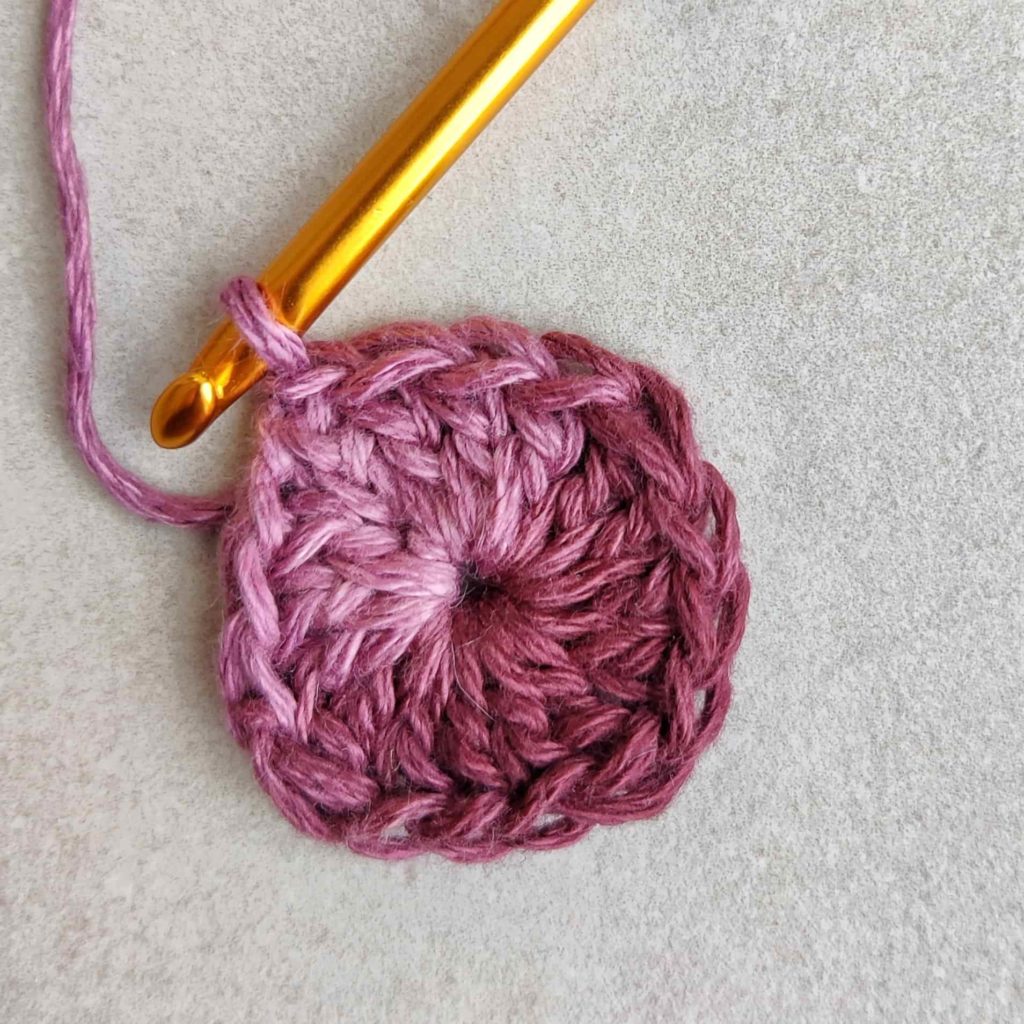
Make a magic ring
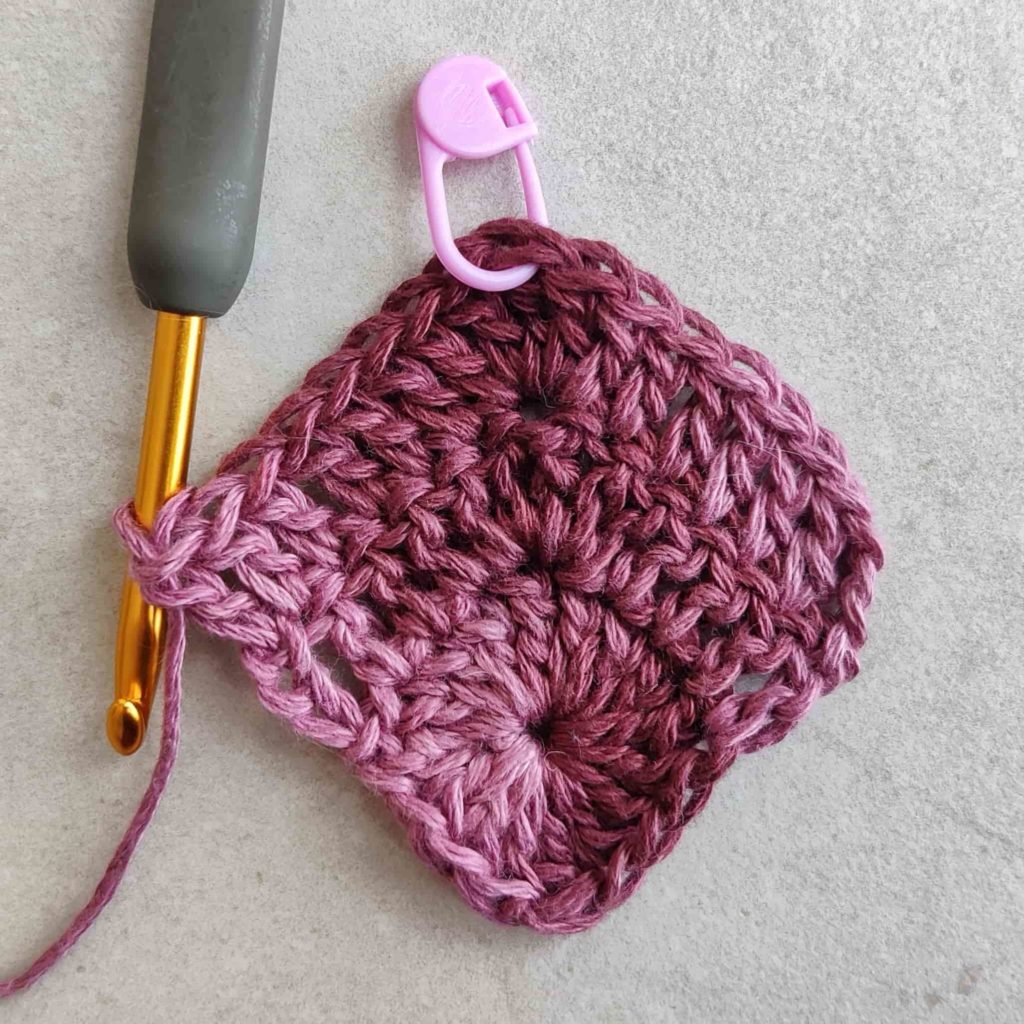
Row 1: ch4 (counts as 1tr), working into the ring: 3dc, (1tr, 3dc) x3 times, ss to top of ch-4. Pull the ring tight, turn. (12dc, 4tr)
Row 2:
ch3 (counts as 1dc here and throughout), 1dc in next 3 dc, [2dc, 1tr-PM, 2dc] in next tr, 1dc in next 3 dc, 1dc in next tr, turn. (12dc, 1tr)
Row 3:
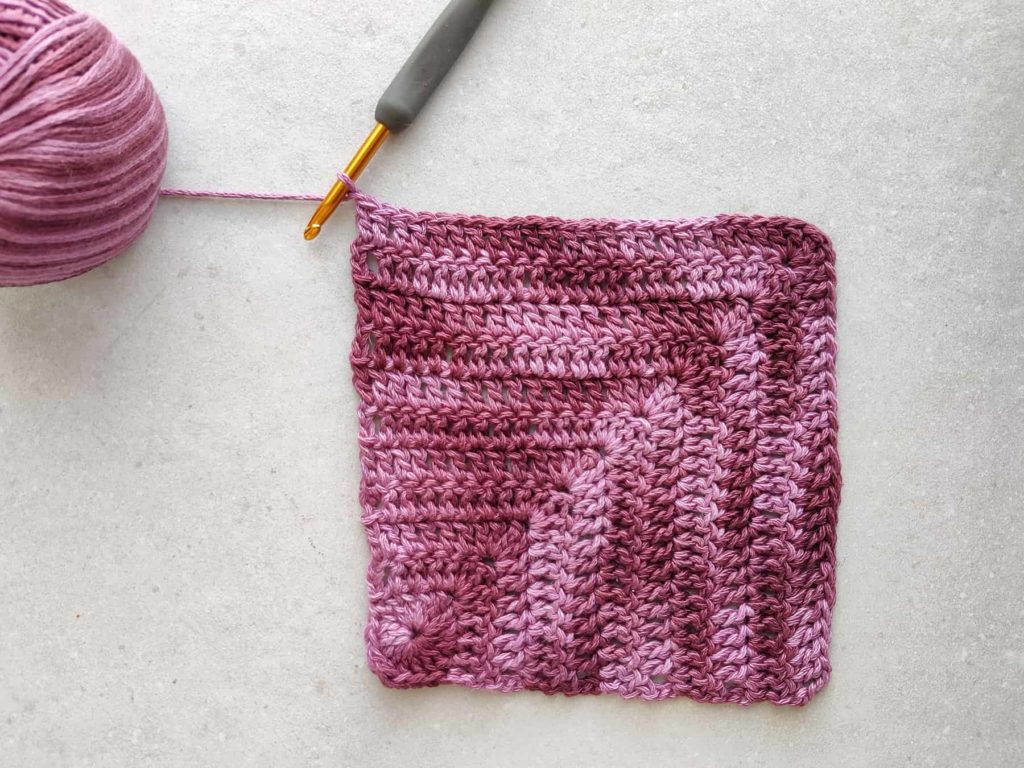
ch3, 1dc in each dc until marker, [2dc, 1tr-PM, 2dc] in next tr, 1dc in each dc to the end of the row, turn.
Repeat row 3 eight more times, or until desired square size. Continue to work the border.
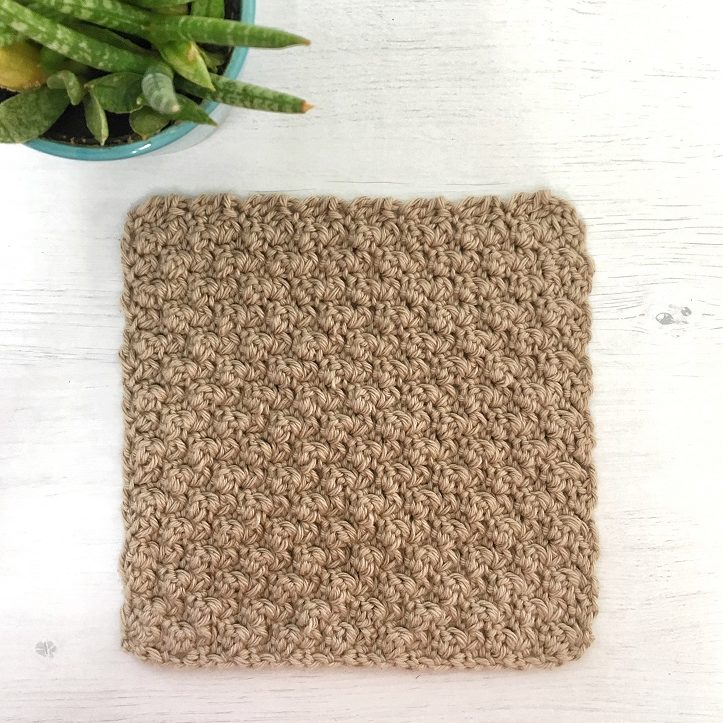
Border
Start working the border, turn the square in 90 degrees.
1st side:
ch1 and start working 2sc in each side of a dc (including beg. ch-3), when reaching the beginning square work 1sc in next tr and next 3 dc.
Work corner: (1sc, ch1, 1sc) in next tr.
2nd side:
1sc in next 3 dc and in next tr.
Work 2sc in each side of a dc (including beg. ch-3)
Working the corner: (1sc, ch1, 1sc) in blo of top of ch-3.
3rd side:
1sc in each dc until marker.
Working the corner: (1sc, ch1, 1sc) in next tr.
4th side:
1sc in each dc until last dc (the one you worked in the 1st side), 1sc in next dc, ss to 1st sc.
Weave in the ends, soak and block the square.
Crochet Mitered Square FAQs
Is Crochet Mitered Square a Beginner Friendly Square Pattern?
The mitered square is an easy square pattern. This square is using only double crochet and a treble, and has no decreasing which makes it a perfect project for beginners!
What Stitches Can You Use in a Mitered Square?
In this tutorial, we use double crochet, and will form the corner using treble crochet.
But a mitered square can also be made using hdc and sc stitches.
You can also incorporate other stitches to get a more interesting texture, as I did in the Mitered Tulips Blanket.
Looking for More Crochet Square Patterns? Check out these other free patterns on the blog:
- Flower Granny Square
- C2C Cluster Stitch Square
- Moss Stitch in a Square
- Iris Stitch in a Square
- C2C Wattle Stitch Square
Did you try this out? Share your project!
– Let me know how it went and leave a comment below
– Tag me @madebygootie
– Join and share in our FB Community
Want to save this post for later? Go ahead and PIN it!
Love the mitered square–thank you so much for the instructions and tutorial. Can other stitches be used to produce the mitered square (I’m not a big fan of dc)? For example, if I switch the main stitch to hdc, would I then switch the triple crochet to double crochet? Or does the pattern work best with dc?
Hi Judy, I’m glad you like it!
Yes, you can use hdc instead of dc and then switch the treble to dc as you said 🙂
I have other patterns that using more textured stitches in the mitered method, you can search the word “mitered” in the search bar to find them!