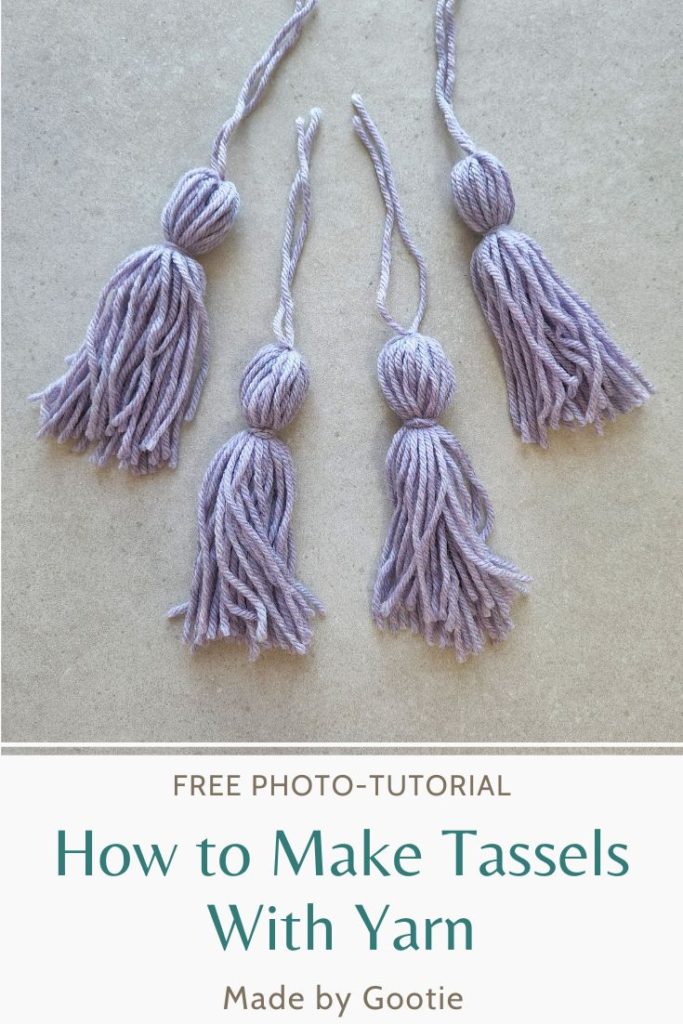
How to Make Tassels With Yarn – Free Photo Tutorial
Last Updated on November 11, 2022
Adding tassels to your crochet projects can give an upscaled – boho look to any ordinary crochet project. Making tassels from yarn is much easier than it looks.
You can add yarn tassels to so many items, such as blankets, crochet bags, scarves, and table runners.
Learn how to make tassels with yarn to add to any craft project you make with this easy tutorial.
Scroll down for the detailed photo-tutorial to learn how to make crochet tassels.
** Some of the links in this post may include affiliate links. Making a purchase through one of these links pays me a small referral fee at no added cost to you. These small fees add up and help me keep the blog running. View our disclosure and privacy policy for more information.
How Do You Make Tassels For Blankets?
Crochet blankets are the most popular item when it comes to making tassels out of yarn. There are actually 2 ways to make crochet blankets with tassels. The first way creates bigger tassels and is the one you will see in this post.
The second and easier way to create a tassel from yarn is similar to making fringes, this technique creates a bit smaller tassel in comparison to the ones you will see in this tutorial. I used this technique in the Waves of Grain Table Runner and Samma’s Blanket.
You simply cut the number of pieces of yarn you want in any length you want (recommended is approx. 12.5 ‘’ (31 cm)). Then you fold the strands of yarn in half, using your hook pull the center of the yarn through where you want to add them.
Then you remove the hook and pull the ends of the yarn through the small loop, tighten and make another knot to secure the tassel.
Want to save this post for later? Go ahead and PIN it!
How to Add Tassels to Crochet Blankets (or any other crochet project)?
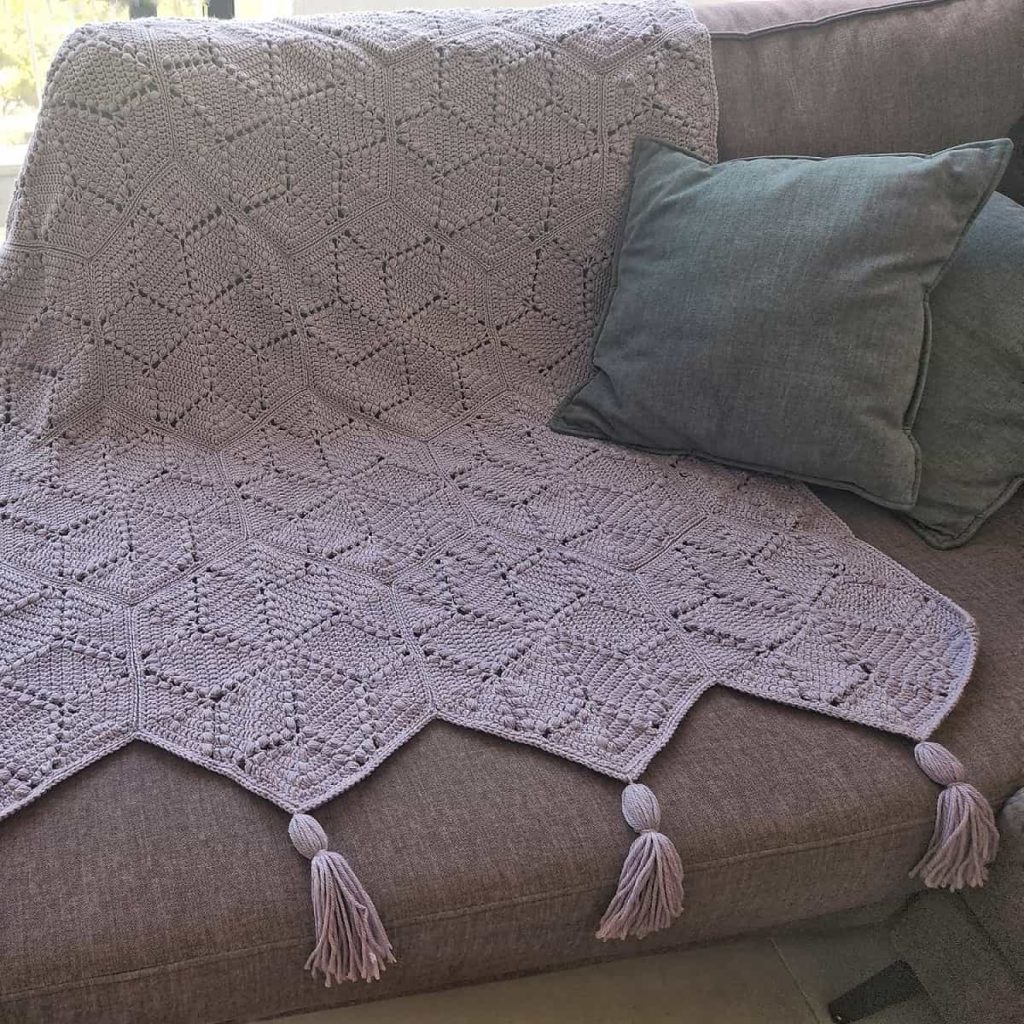
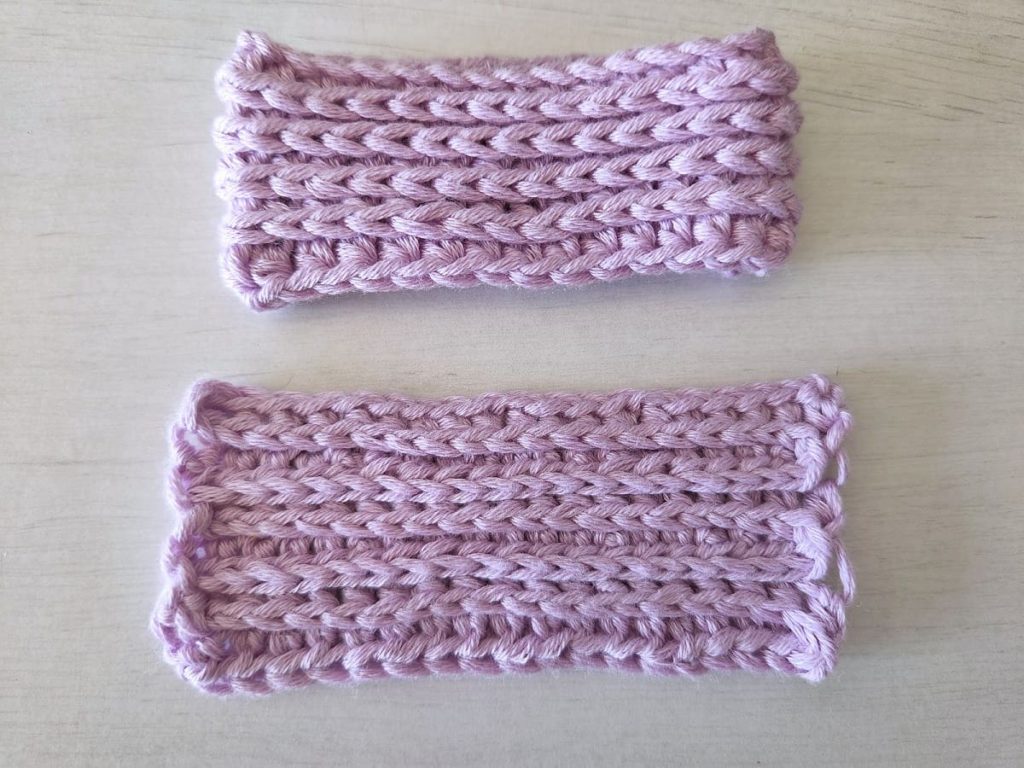
When making the tassels from this tutorial, you will end up with 2 pieces of yarn attached to the top of the tassel.
Use these 2 strands of yarn and attach your tassel by tying it to the place you want. Then use a tapestry needle and secure the 2 ends by weaving them into the item which you attached your tassel to. Below you can see the Diamonds Hexagon Blanket with these tassels.
Let’s scroll down and learn how to make tassels with yarn!
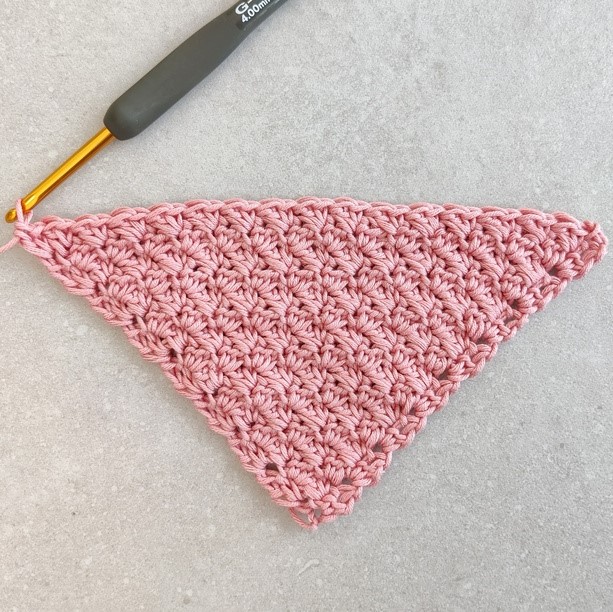
More Crochet Tutorials You Might Like
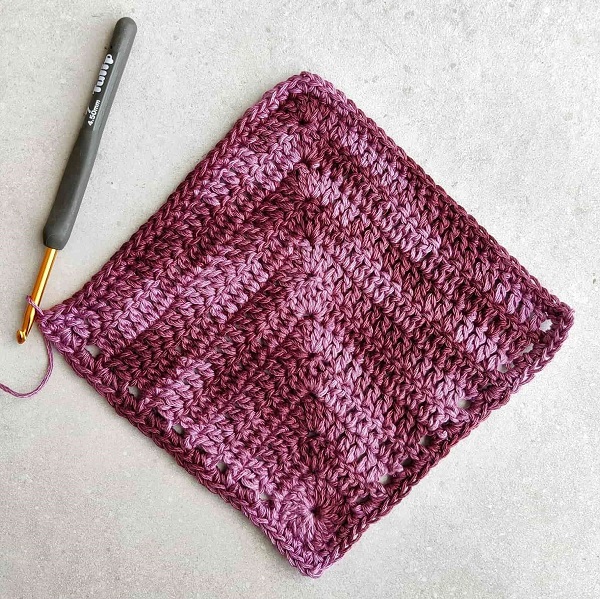
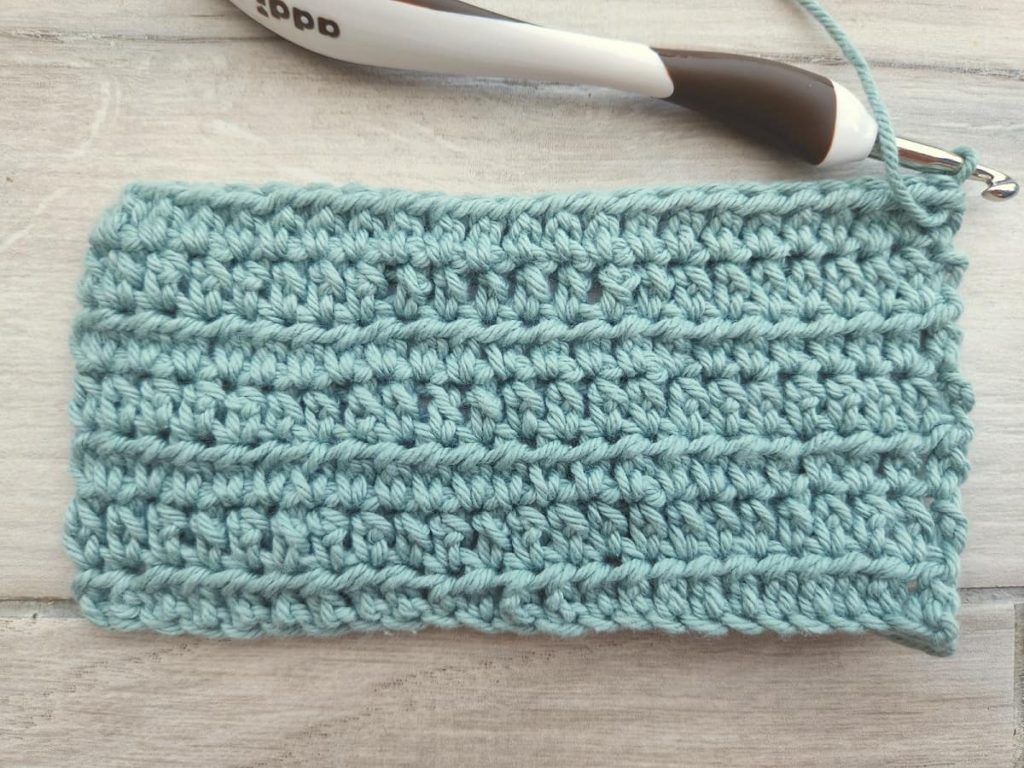
Materials I Used in This Tutorial
– Crochet hook 4.5 mm (I used the Tulip Etimo crochet hook).
– Worsted (#4) weight yarn (I used Knit Picks – Swish)
Notes
- Use a 6” (15.2 cm) cardboard for easy cutting of the yarn strands. If you don’t use cardboard, then cut your yarn strand to be 12” (30.5 cm) long each.
- I used Worsted (#4) weight yarn and wrapped it 24 times to form my tassels. It’s recommended to wrap your yarn 20-40 times, depending on how big you want your tassel to be.
- If you use Bulky (#5) weight yarn, 20 wraps should be enough.
Making Yarn Tassels – Photo Tutorial
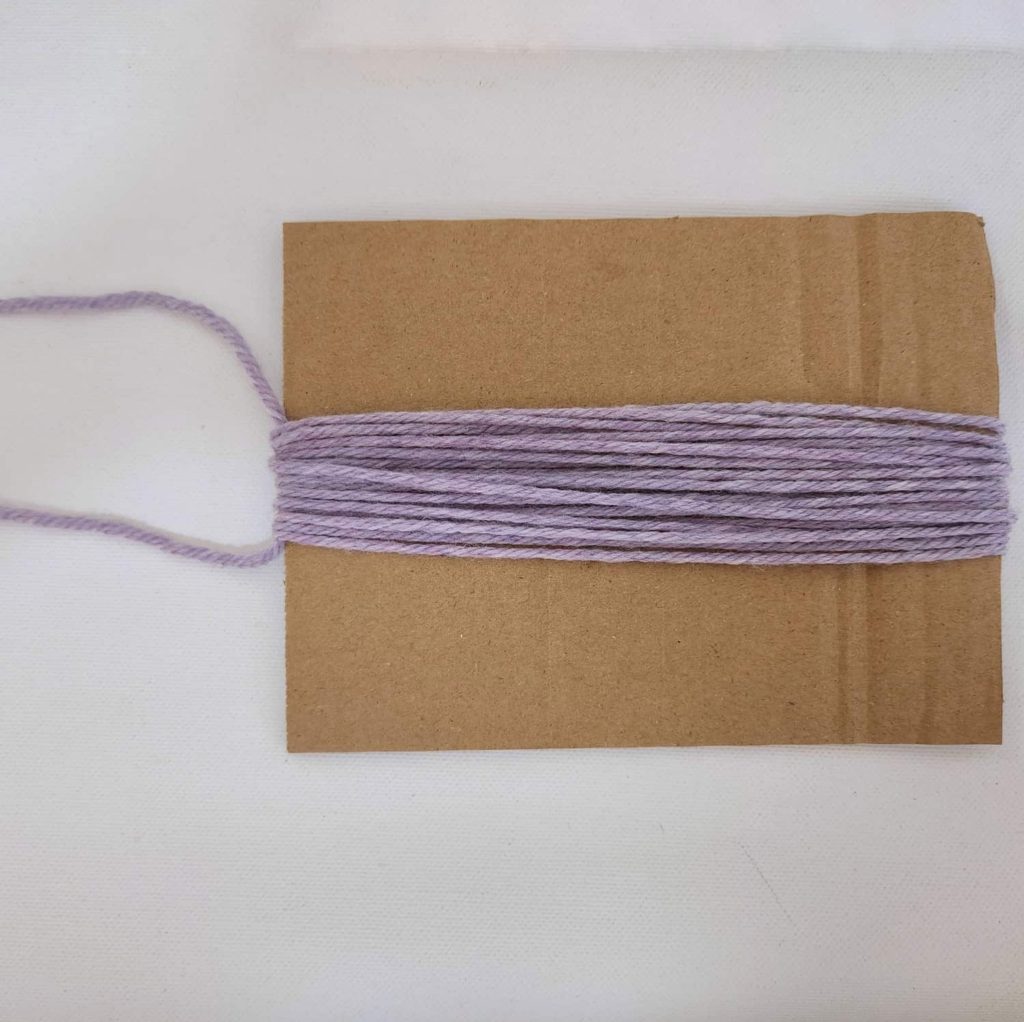
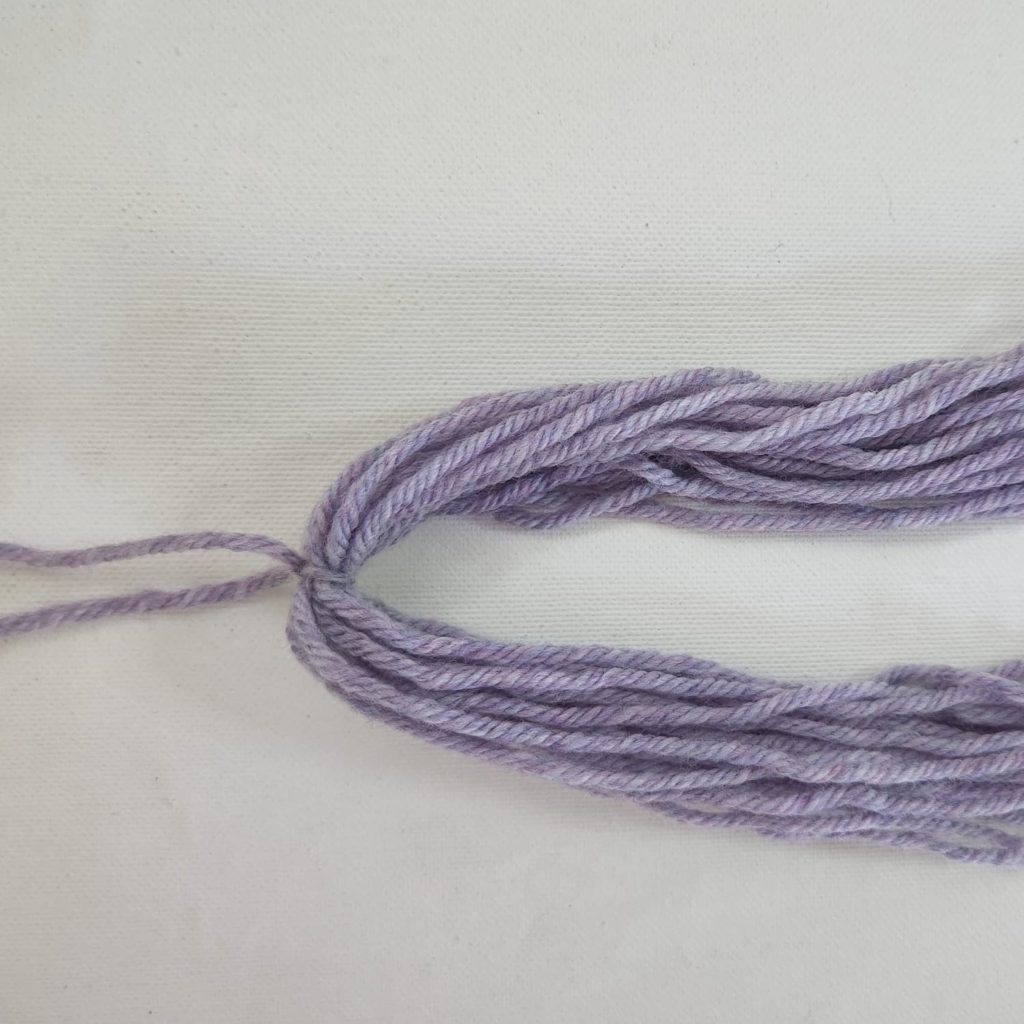
1) Cut 24 pieces of yarn measuring approx. 12” (30.5 cm): you can use a 6” (15.2 cm) cardboard and wrap the yarn 24 times around it, don’t cut it yet.
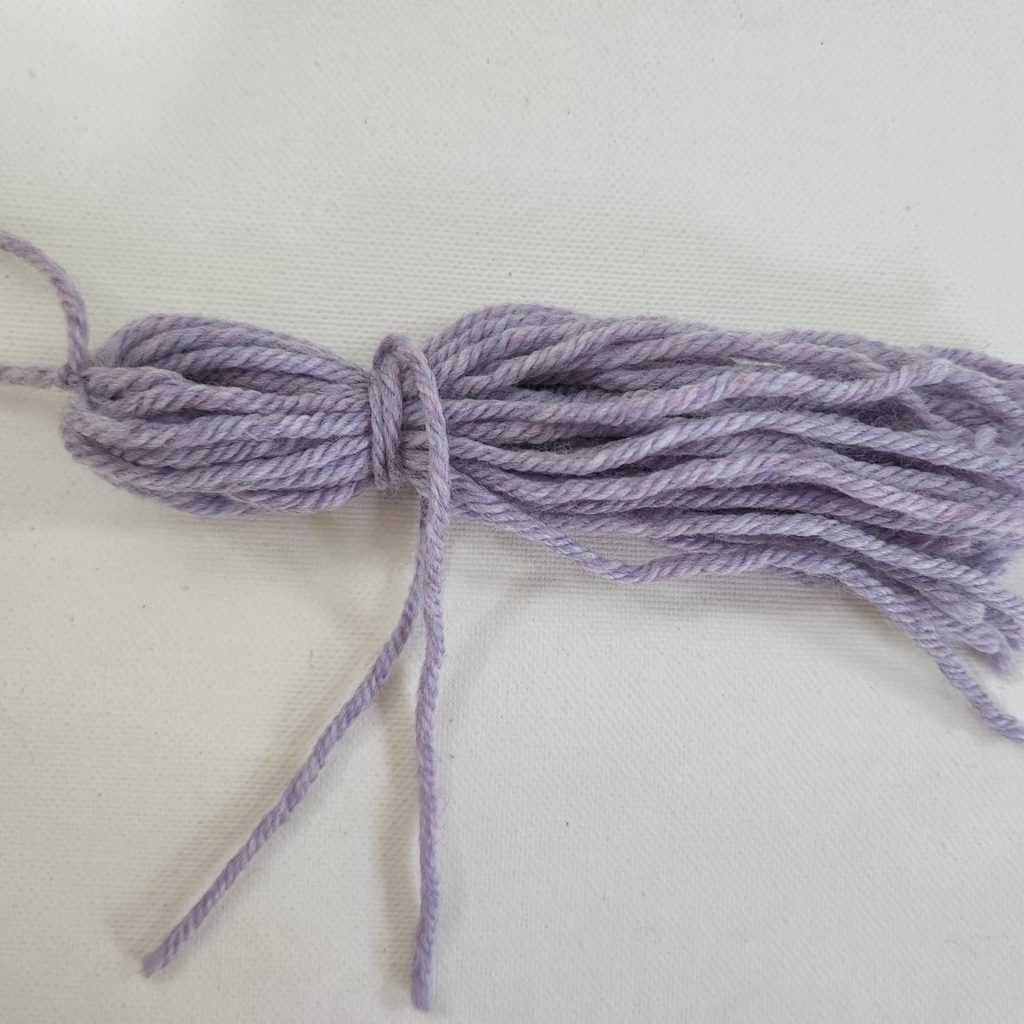
2) Cut 2 more 12” (30.5 cm) pieces of yarn. Thread one piece of yarn through the side of the cardboard (the center of the yarn) and tie it in a tight knot.
3) Cut the yarn on the opposite side of the cardboard.
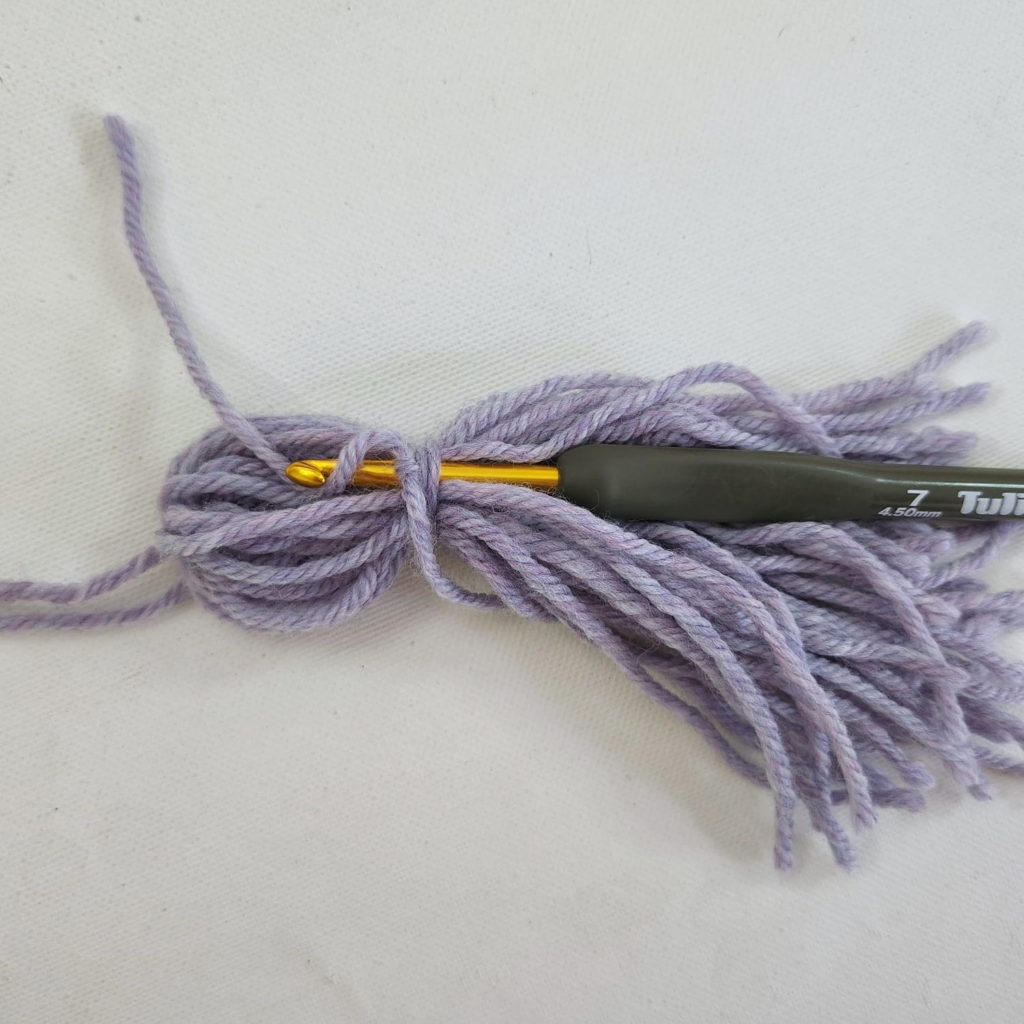
4) Place the second piece of yarn approx. 1.5” (4 cm) from the top of the tassel and wrap it 3 times around the tassel, making a knot. With your hook, pull the yarn tails inside the tassel.
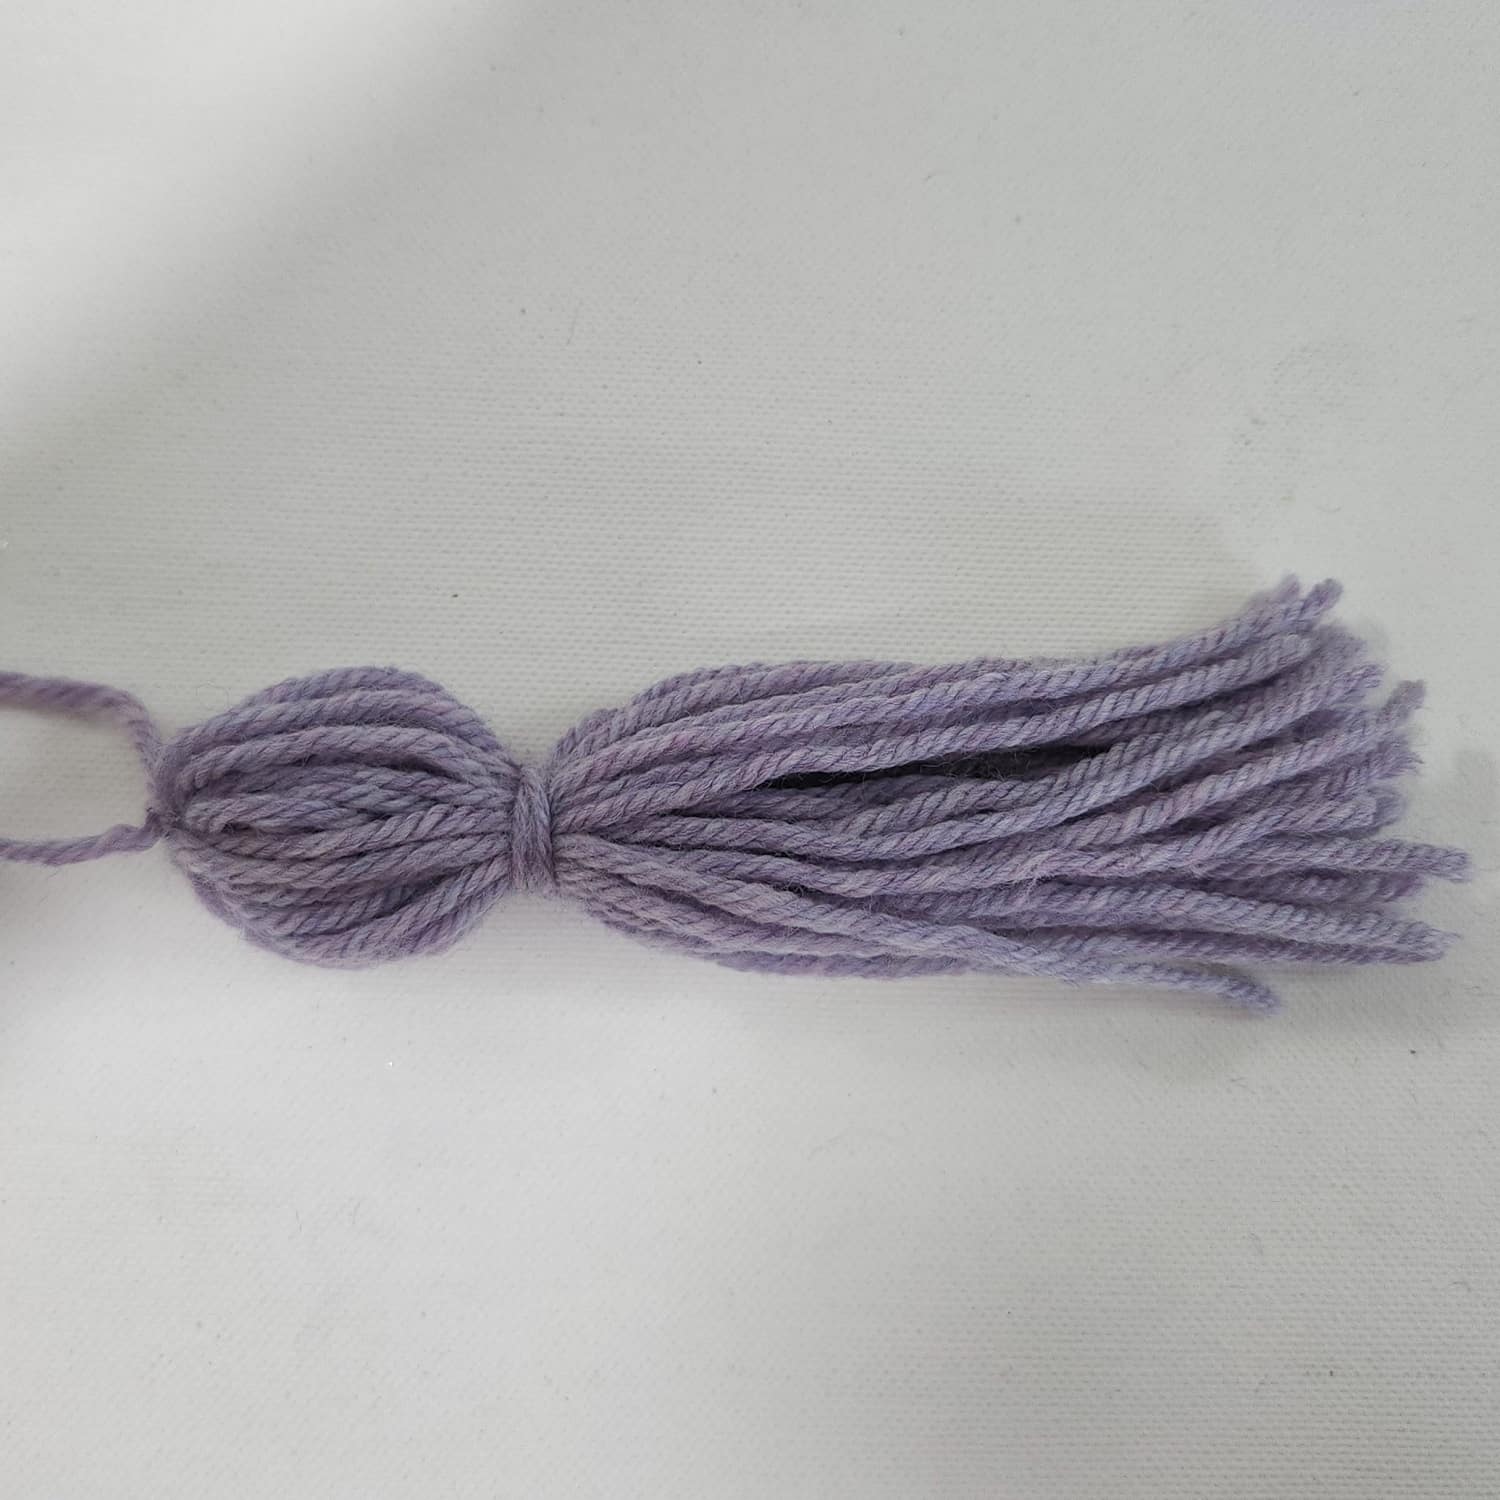
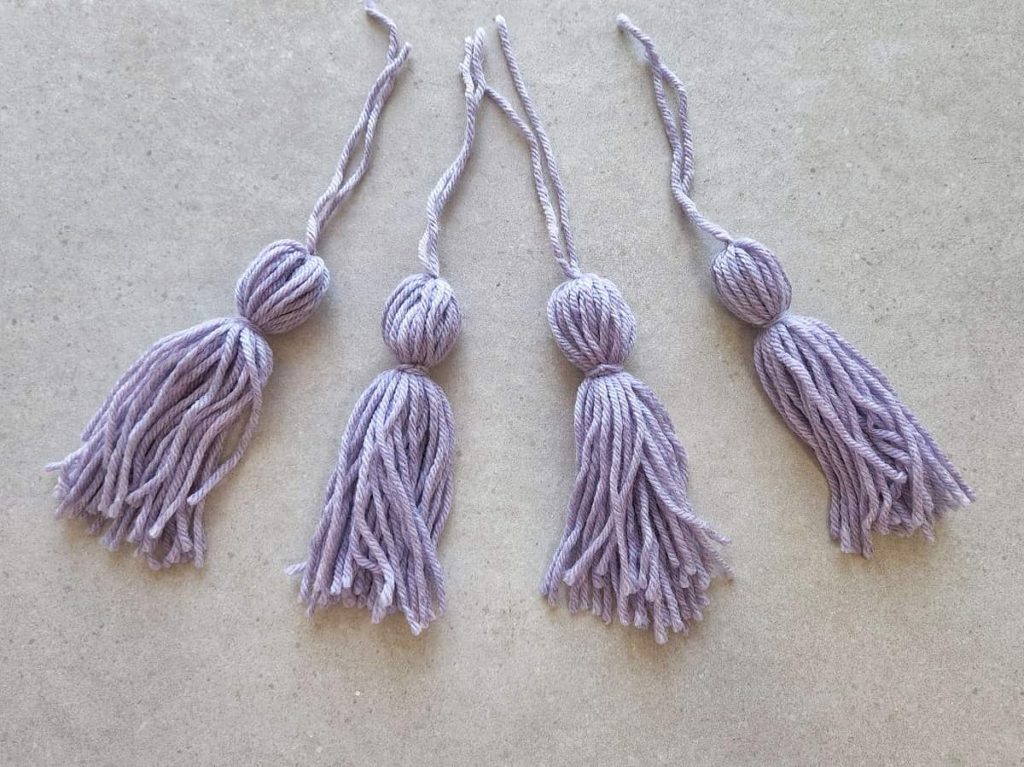
Make as many tassels as you want, attach the tassel by tying the 2 top strands to the place you want, and weave in the ends.
Did you try this out? Share your project!
– Let me know how it went and leave a comment below.
– Tag me on Instagram @madebygootie
– Join and share in our FB Community
Want to save this post for later? Go ahead and PIN it!