Last Updated on April 4, 2024
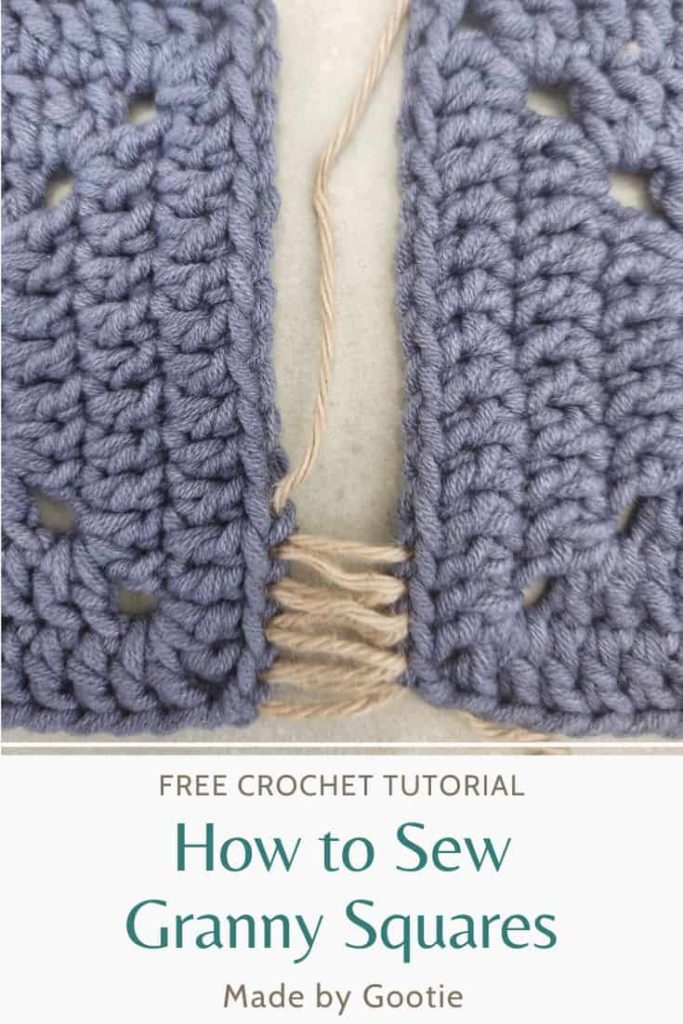
In this tutorial, I will show you how to sew granny squares together with this invisible join for crochet pieces.
This easy invisible crochet seam is perfect for granny square join, and any crochet project that requires joining parts together.
Scroll down to find the detailed photo tutorial and video tutorial.
** Some of the links in this post may include affiliate links. Making a purchase through one of these links pays me a small referral fee at no added cost to you. These small fees add up and help me keep the blog running. View our disclosure and privacy policy for more information.
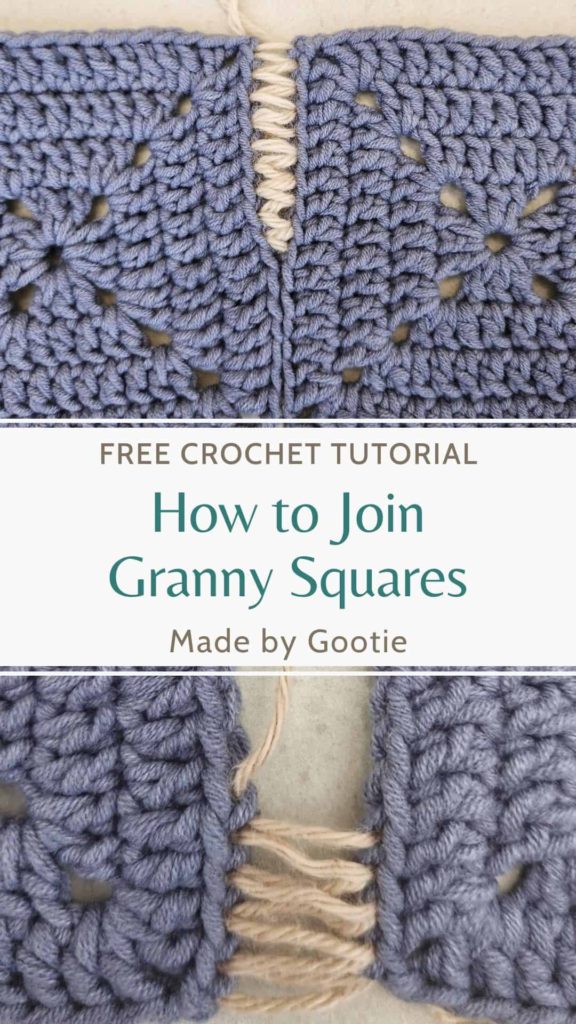
Want to save this post for later? Go ahead and PIN it!
How do you join two pieces of crochet seamlessly?
To join two crochet squares seamlessly, you need to sew the square with a needle, this way it’s easier to seam the crochet squares together in a way that the joining yarn is hidden.
I usually prefer to join my crochet parts with a crochet hook, my favorite method is Slip Stitch Through Back loops which I used in my Hexagon Diamonds Blanket and In Bloom Ruana.
But nothing can beat the neat look of seamlessly joined crochet squares! So for me, this crochet joining method is a winner.
Looking for More Crochet Tutorials? Check out the other free tutorials on the blog:
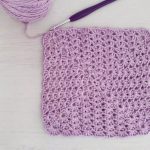
how to sew granny squares together invisibly
Notes
- This crochet joining method can be used with any crochet project that requires joining crochet parts together, not just granny squares.
- Cut your yarn to be about twice the length of the pieces you are sewing together.
- Use a blunt darning needle, to avoid the needle from pulling out your yarn.
Invisible Crochet Join Video Tutorial
Invisible Seam Crochet Photo Tutorial
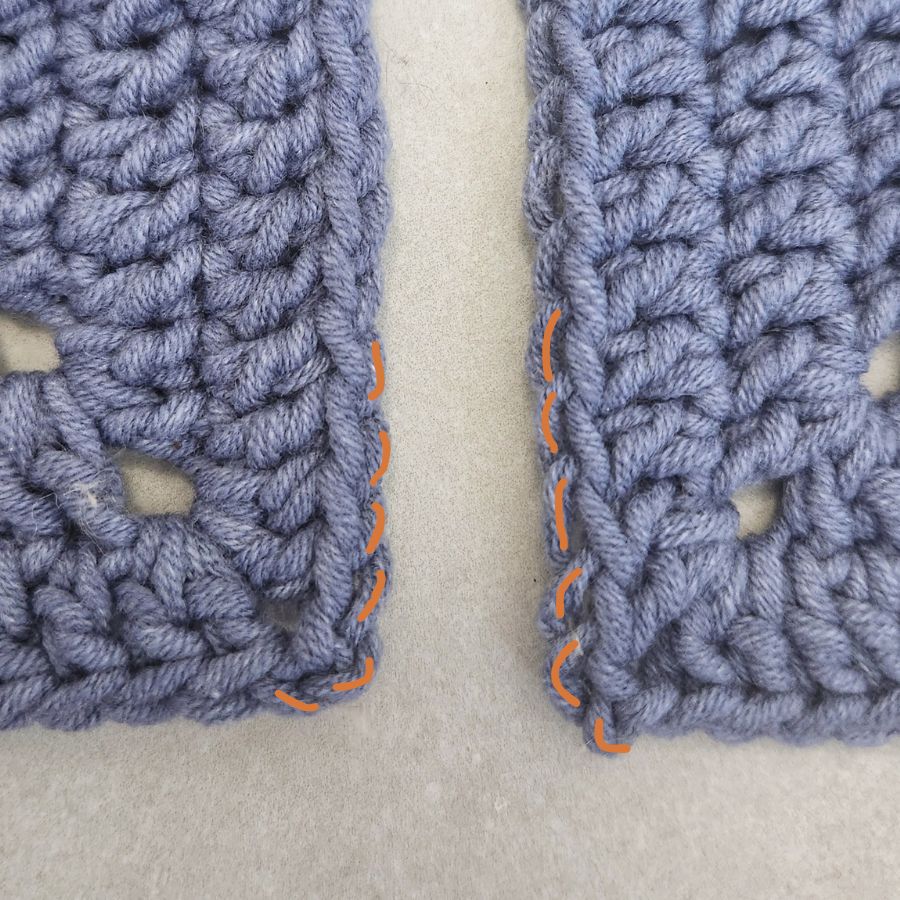
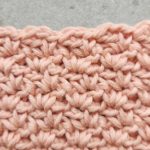
In the invisible seam method, we are working only into the back loops of your crochet piece.
The back loops are the ones that are closest to the wrong side of your work. On each side, we are working into 2 loops, instead of just one.
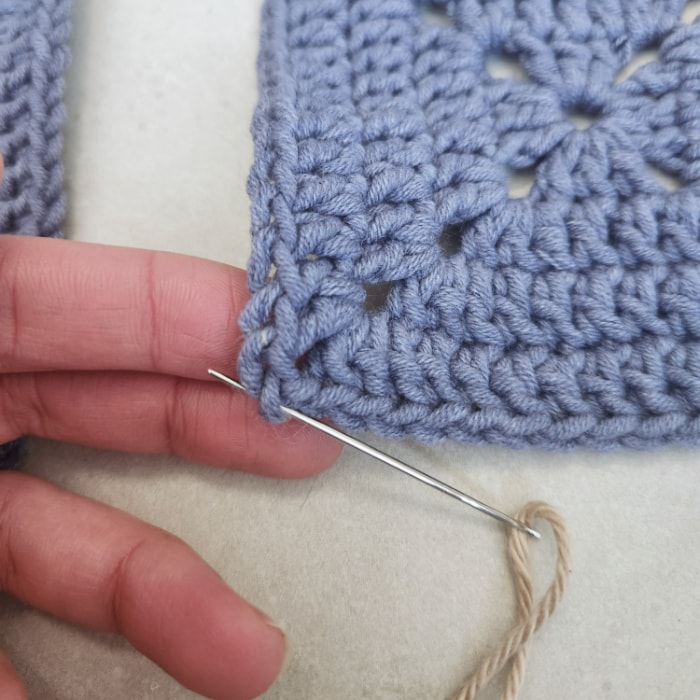
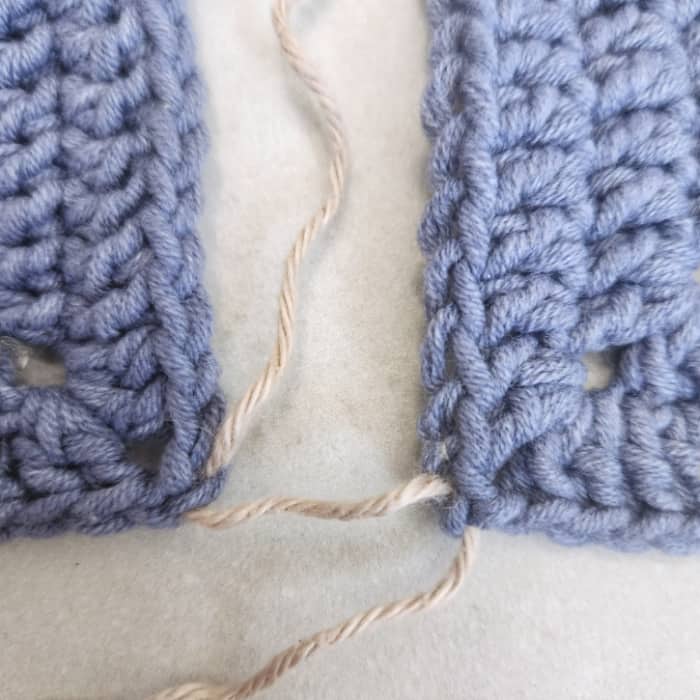
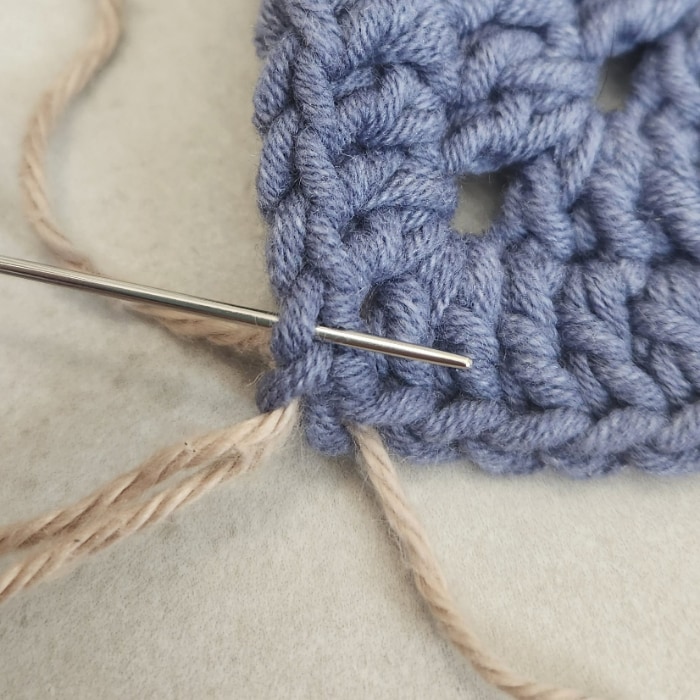
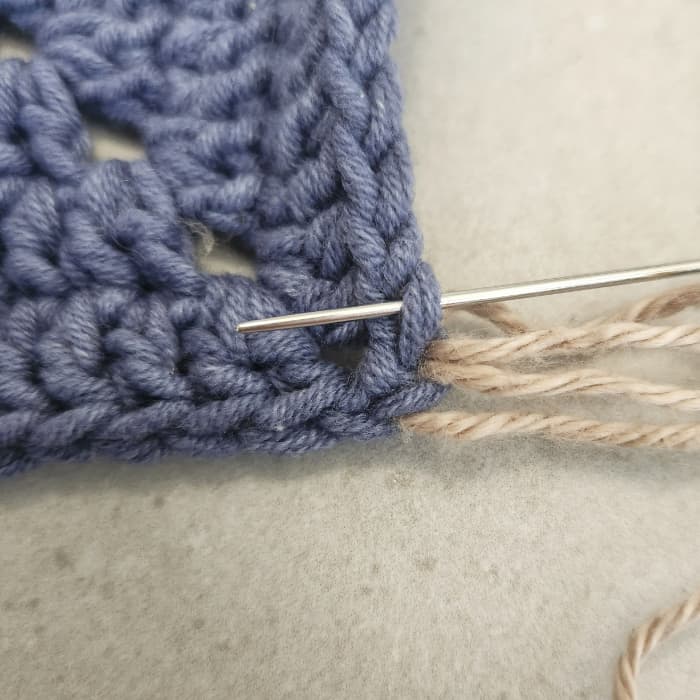
Step 1
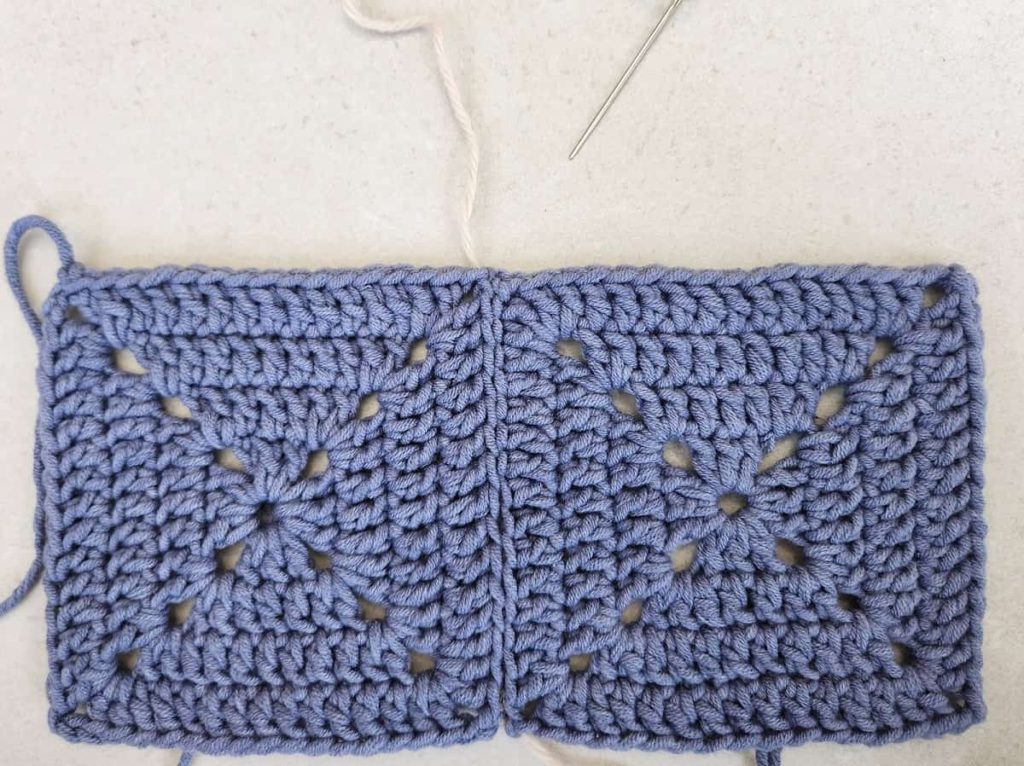
Align your squares and identify the first stitch of your corner.
Here, I have 2 chains for the corner, so I’m starting with the first chain of the corner.
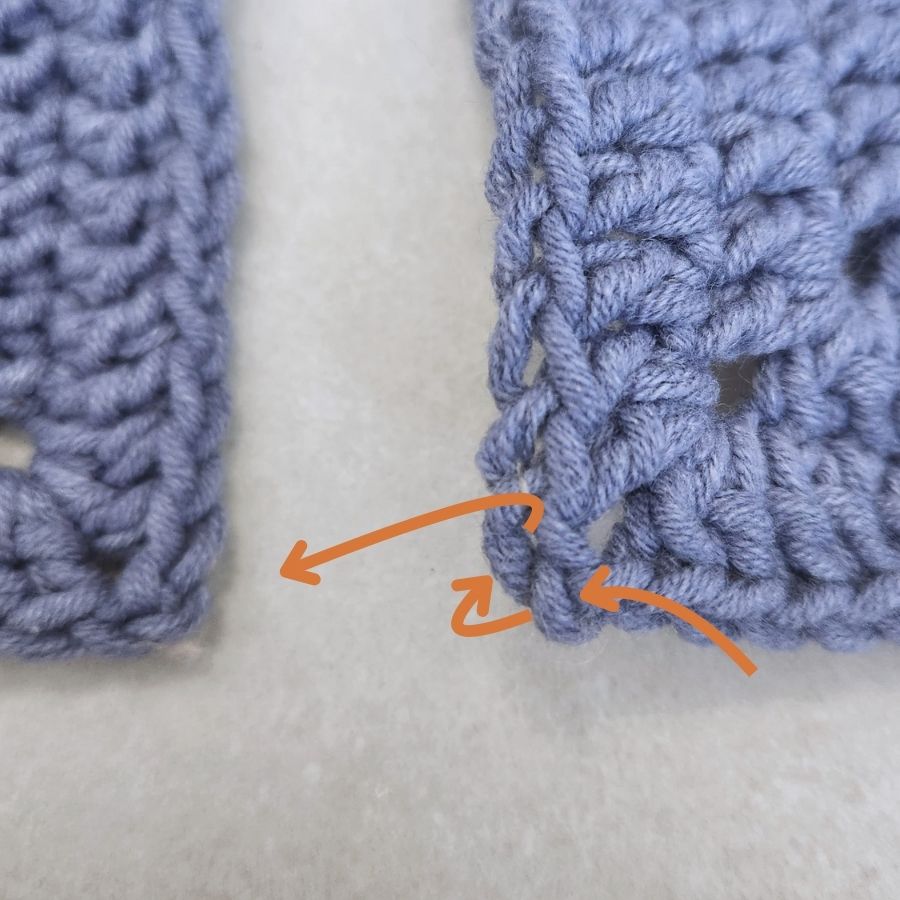
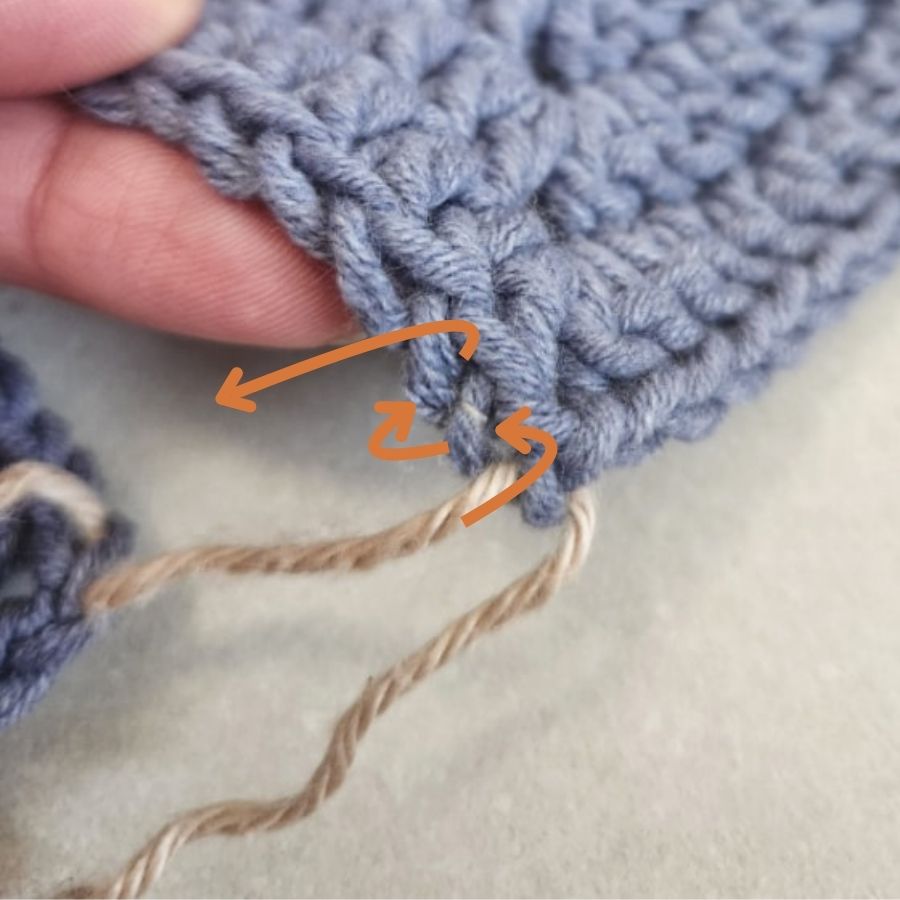
Start by threading the needle from the front to the back of the back loop of the first chain and pull the yarn through.
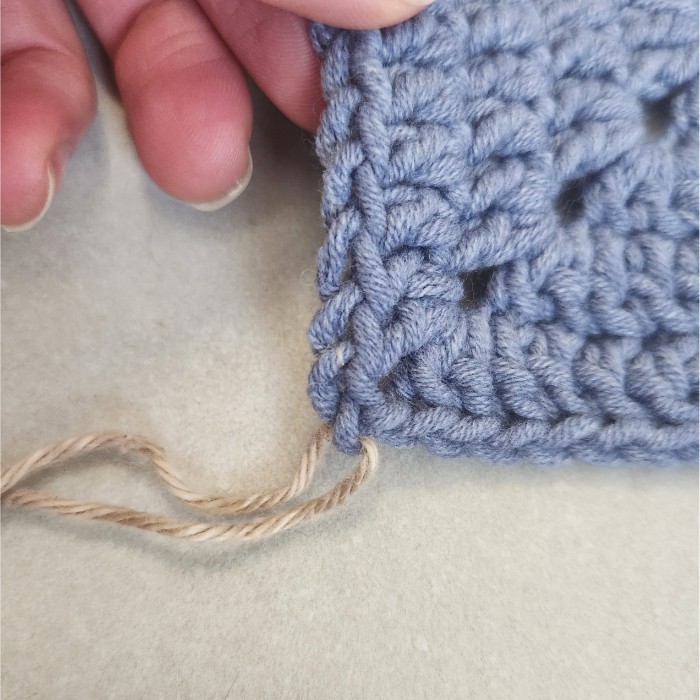
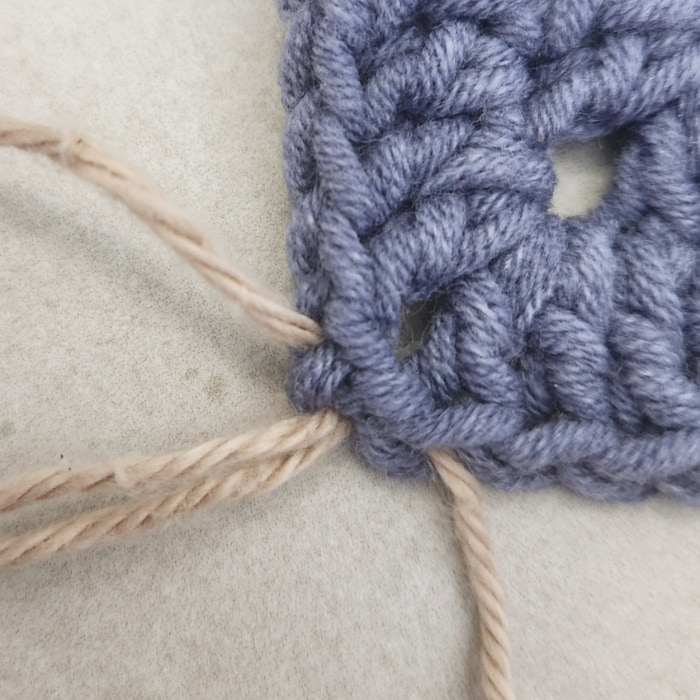
Then thread the needle from the back to the front of the back loop of the next chain, and pull the yarn through.
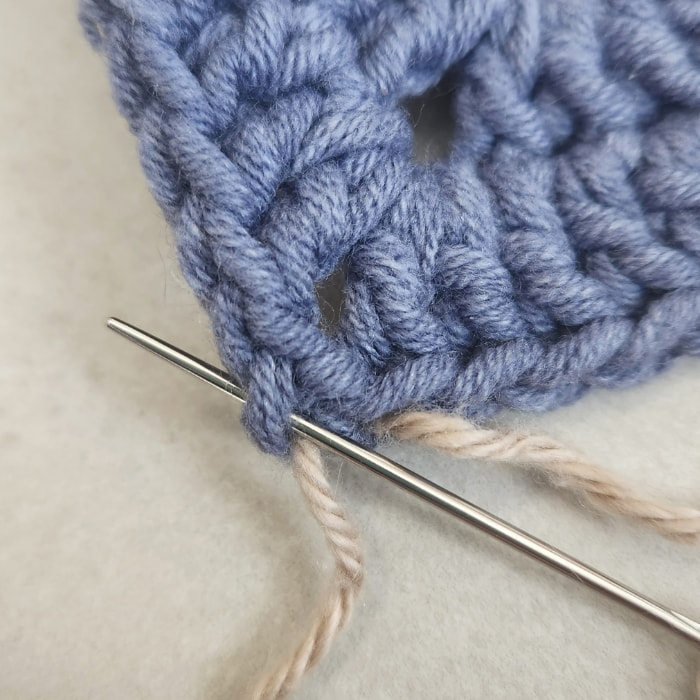
Step 2
Now work into the 2 chains of the second square’s corner, starting with the first chain. Repeat the instructions of Step 1.
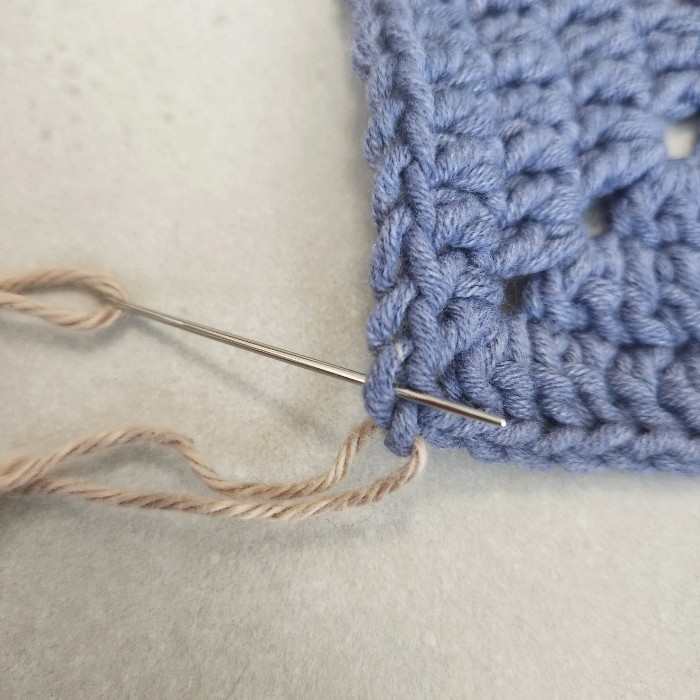
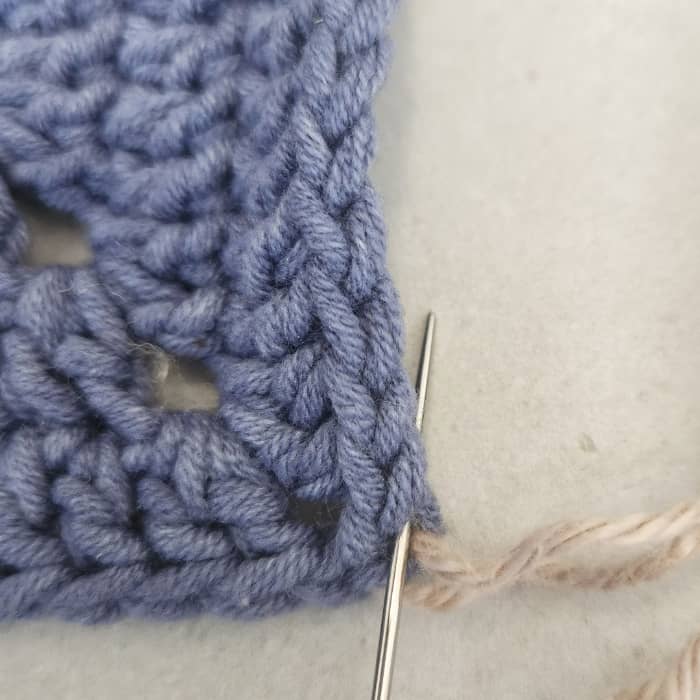
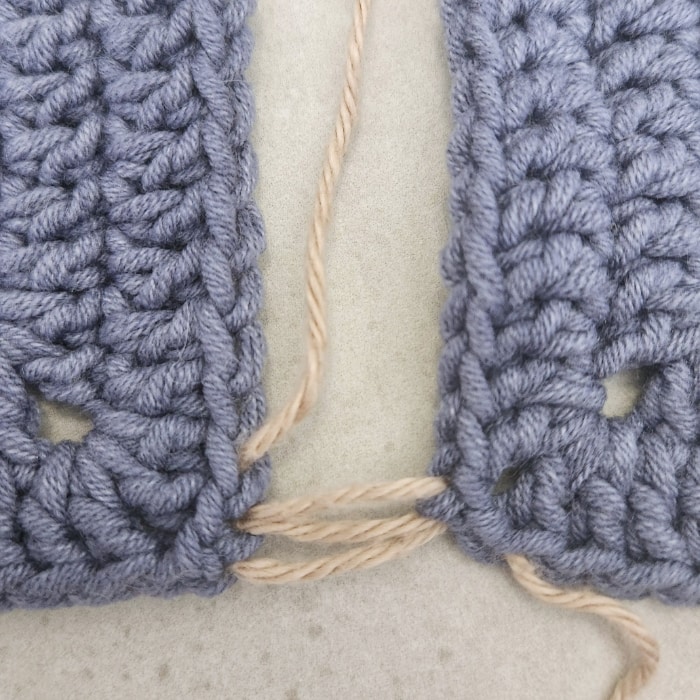
Step 3
Working on the first square, working into the last chain you worked: thread the needle from the front to the back of the back loop of the last chain you worked into and pull the yarn through.
Then thread the needle from the back to the front of the back loop of the next chain, and pull the yarn through.
Step 4
Repeat step 3 in the second square.
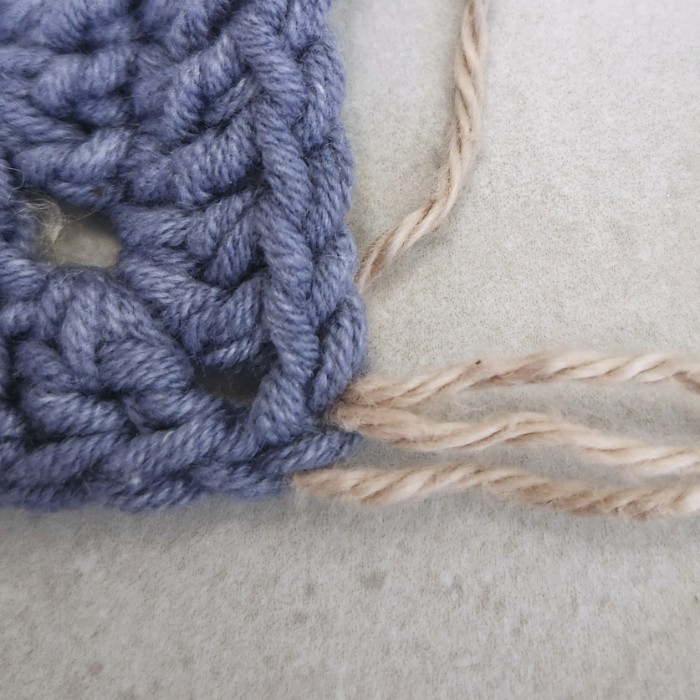
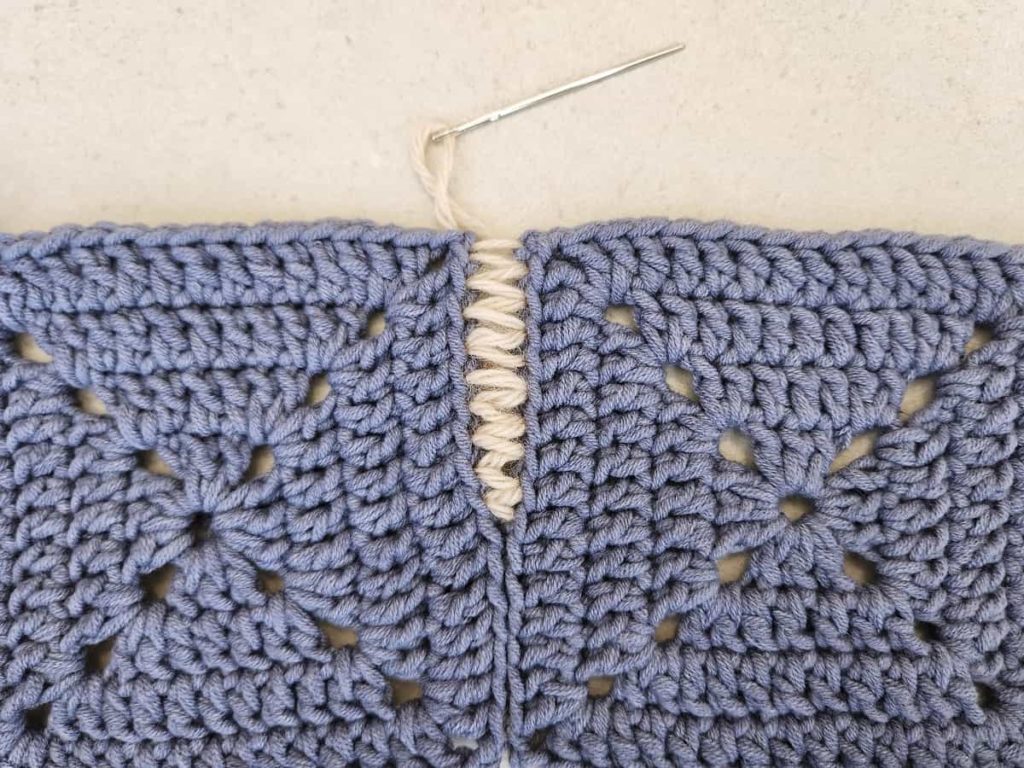
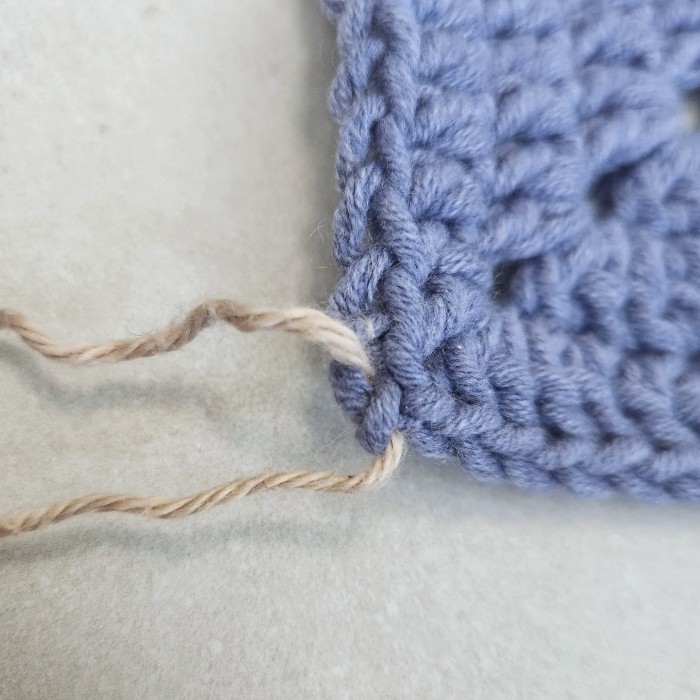
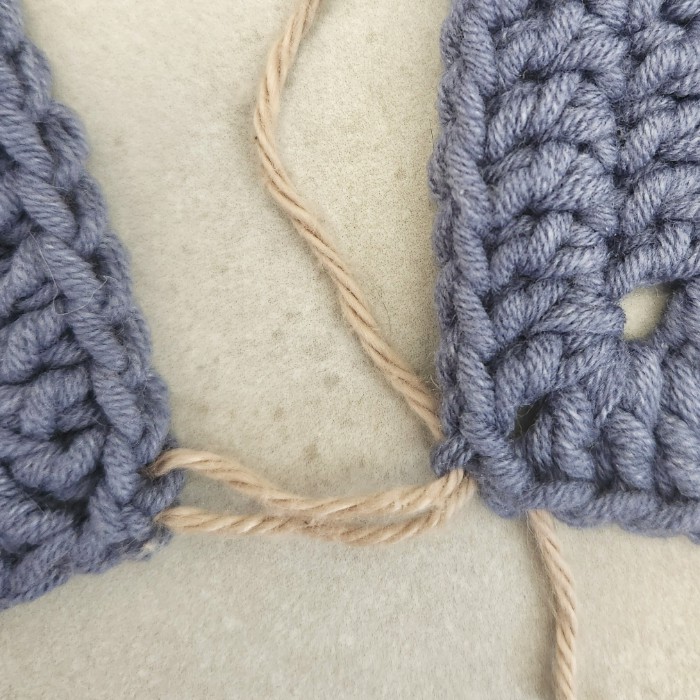
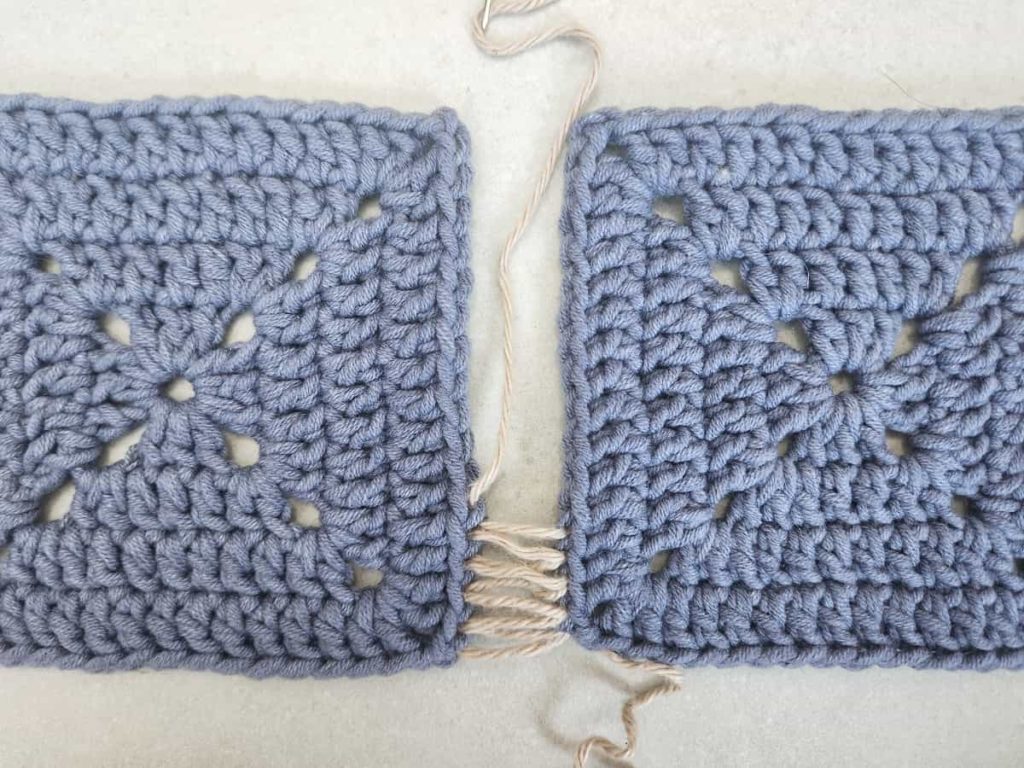
Repeat steps 3-4
Repeat these steps and pull the yarn every few repeats to tighten the stitches together.
Did you try this out? Share your project!
– Let me know how it went and leave a comment below.
– Tag me on Instagram @madebygootie
– Join and share in our FB Community
Want to save this post for later? Go ahead and PIN it!

Thank you for this tutorial. The squares are in the bag ready to been sewn together….just needed a boost to get at that tedious step. This looks like quite a secure process of joining seams. The blanket is for my grand daughter.
This is also my least favorite task when crocheting, so I’m glad this tutorial motivated you to finish the blanket for you granddaughter!