Free Small Crochet Christmas Tree Pattern
Last Updated on December 18, 2025
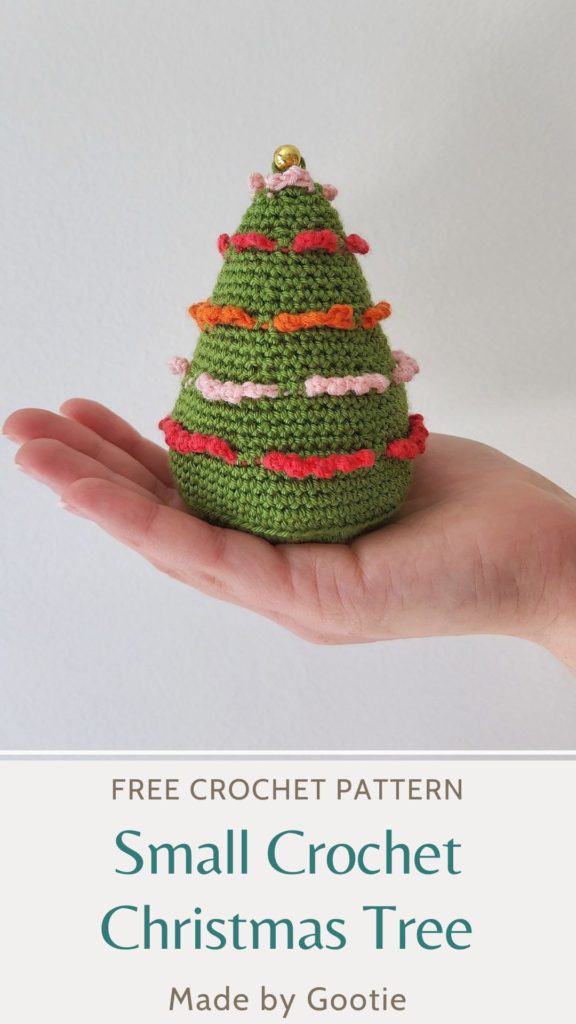
This free crochet pattern is for a small Christmas tree pattern.
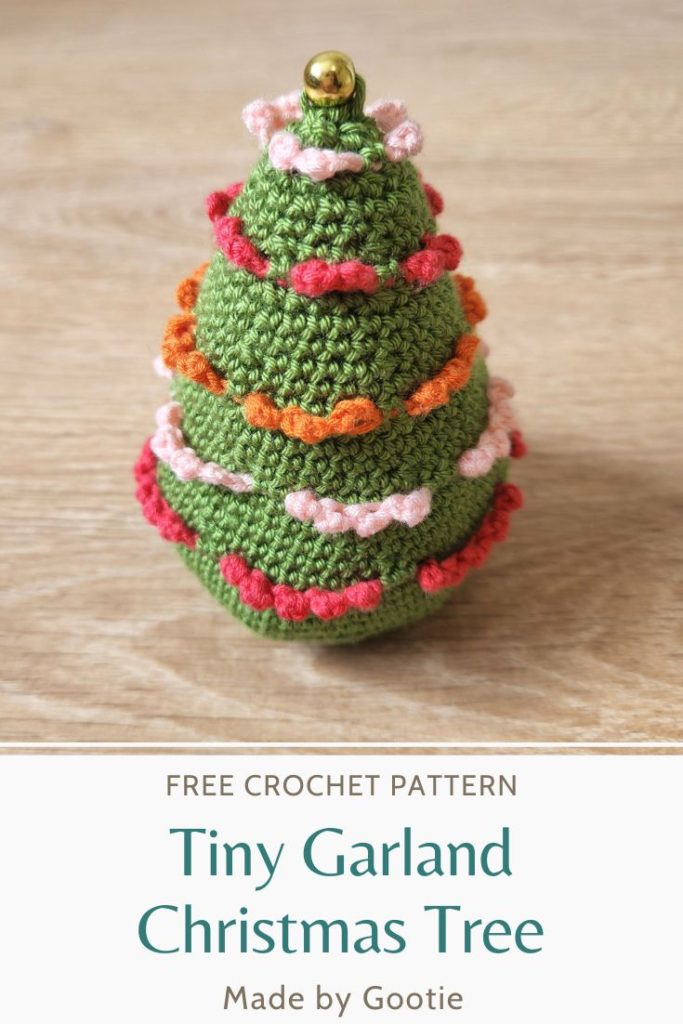
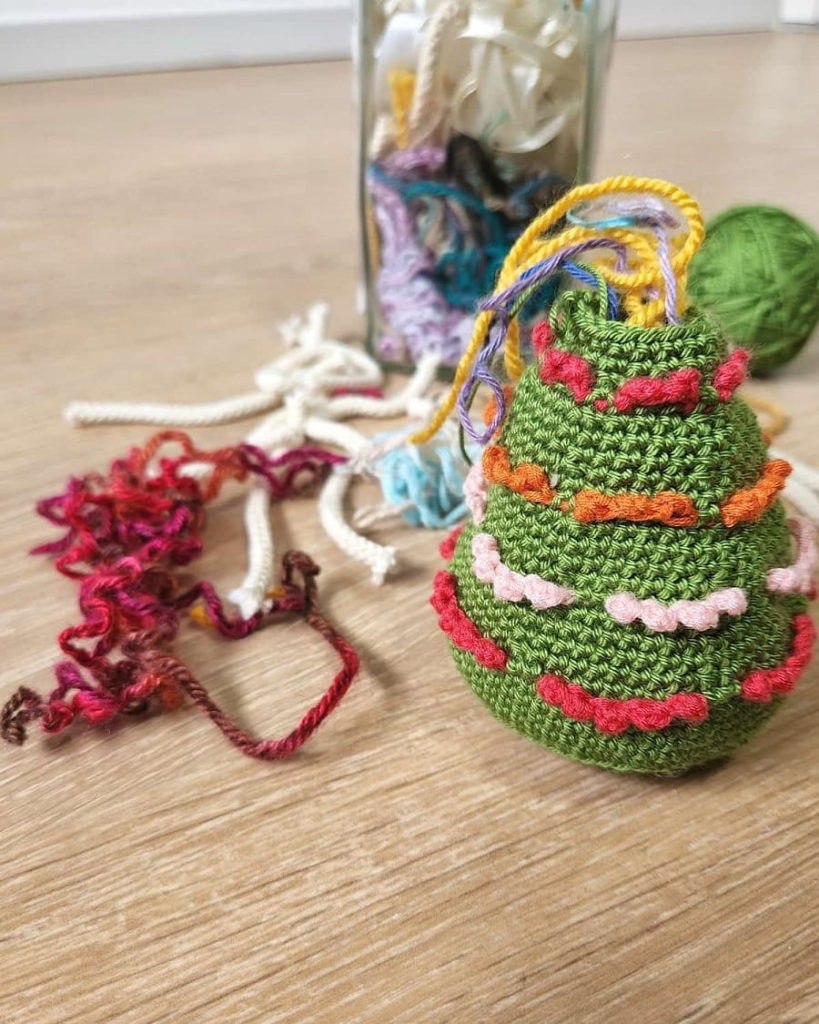
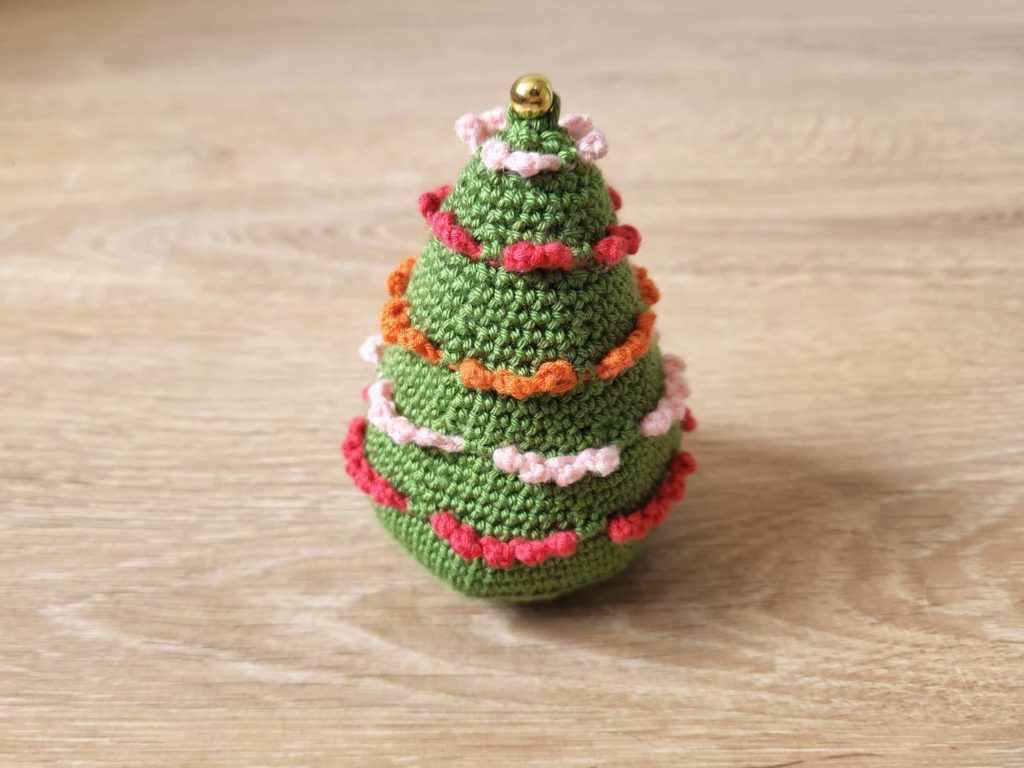
The Tiny Garland Tree is a cute small crochet Christmas tree pattern, that works up quickly and adds some fun and color to your Christmas home decor.
Choose your holiday colors and make a cute Christmas Tree crochet decor!
** Some of the links in this post may include affiliate links. Making a purchase through one of these links pays me a small referral fee at no added cost to you. View our disclosure and privacy policy for more information.
Crocheting a small Christmas tree can be very easy. You can either make a crochet flat Christmas tree for a beginner pattern, or make a crochet Christmas tree using the Amigurumi technique as this small crochet Christmas tree pattern uses.
When crocheting an amigurumi Christmas tree, you work in continuous rounds, starting from the bottom up. Different patterns use different crochet stitches to add decorations or textures to the tree.
If you are looking for more free Christmas crochet patterns, check out these 20 Quick Crochet Christmas Ornament Patterns.
Tiny Christmas Trees Crochet Pattern Bundle
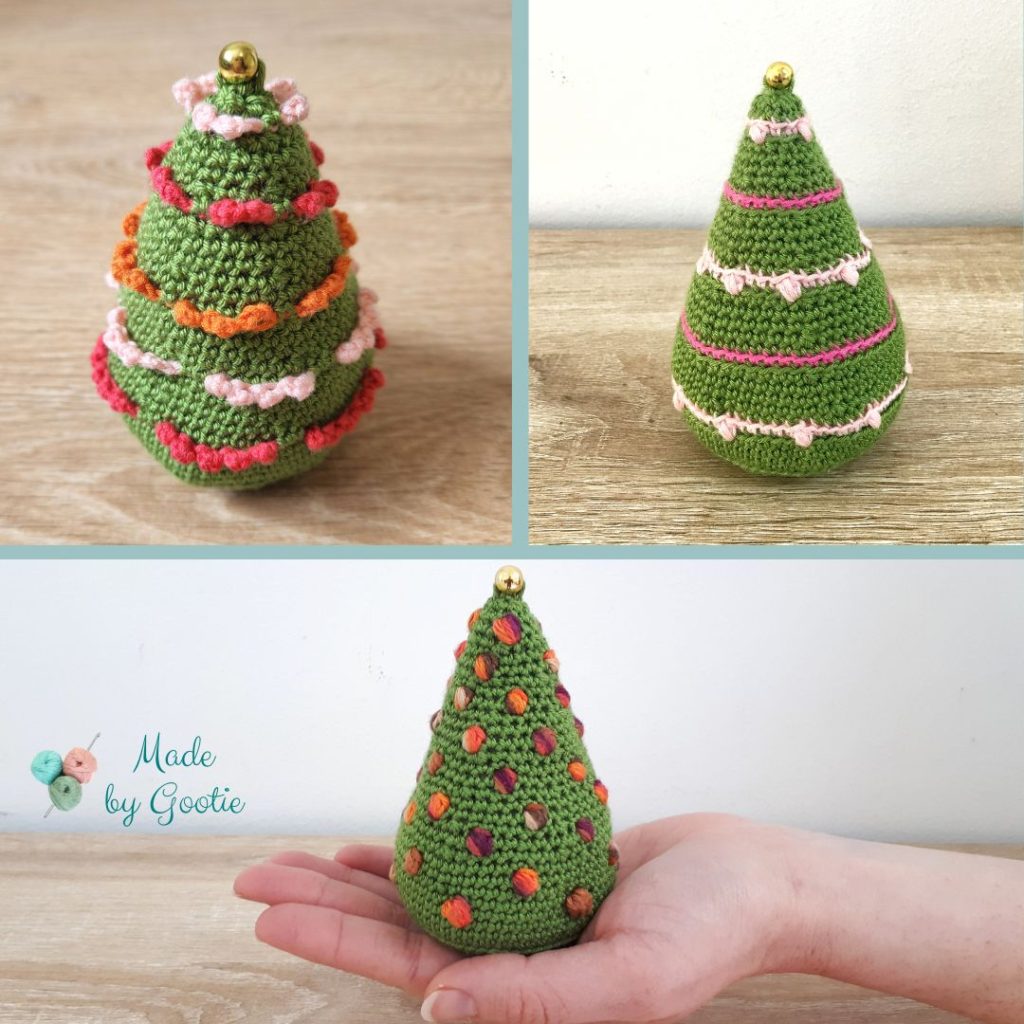
The Tiny Garland Christmas Tree crochet pattern is part of my Tiny Christmas Trees Series. This series features beautiful small crochet Christmas tree patterns, each has a different decoration, and they all work up in no time!
In this pattern series, you can find the Crochet Bobble Christmas Tree and Tiny Lights Christmas Tree.
If you prefer your patterns ads-free in a PDF format, you can get all the 3 crochet tree patterns in the Tiny Christmas Trees Pattern Bundle at a discounted price on Ravelry and Etsy.
Want to save this post for later? Go ahead and PIN it!
About the Tiny Garland Crochet Christmas Tree
This free crochet Christmas tree pattern is worked using the Amigurumi technique from the bottom up with no sewing.
The beautiful garlands are actually very simple to make, you can use any colors you like (even variegated yarn!).
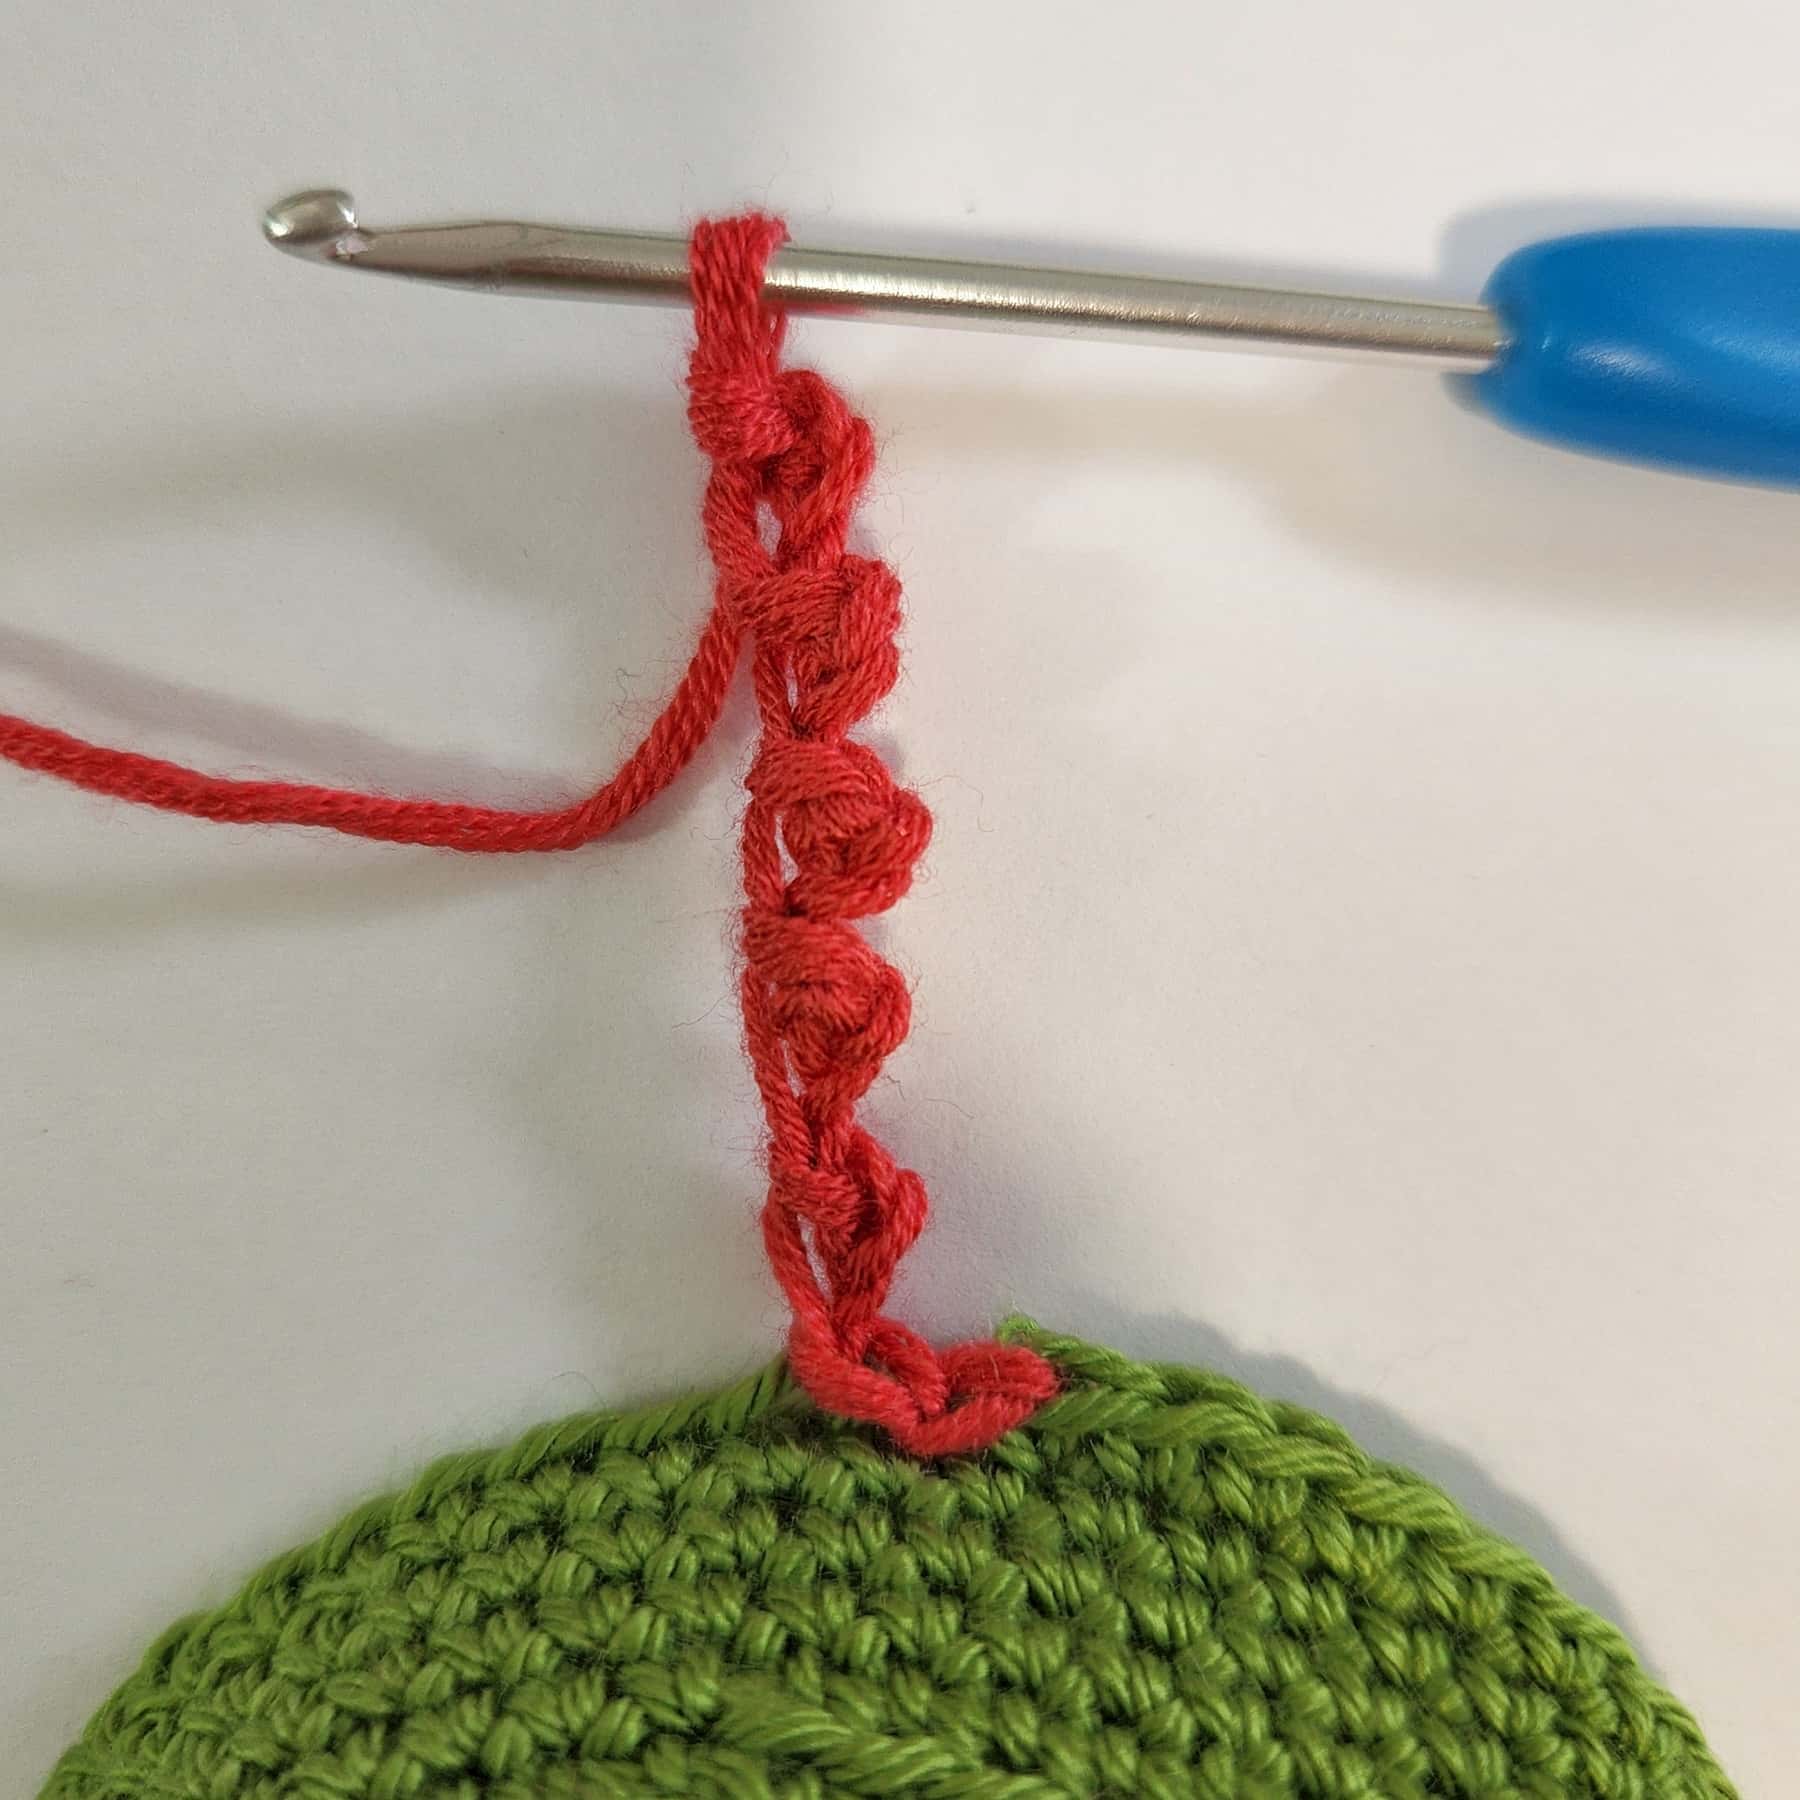
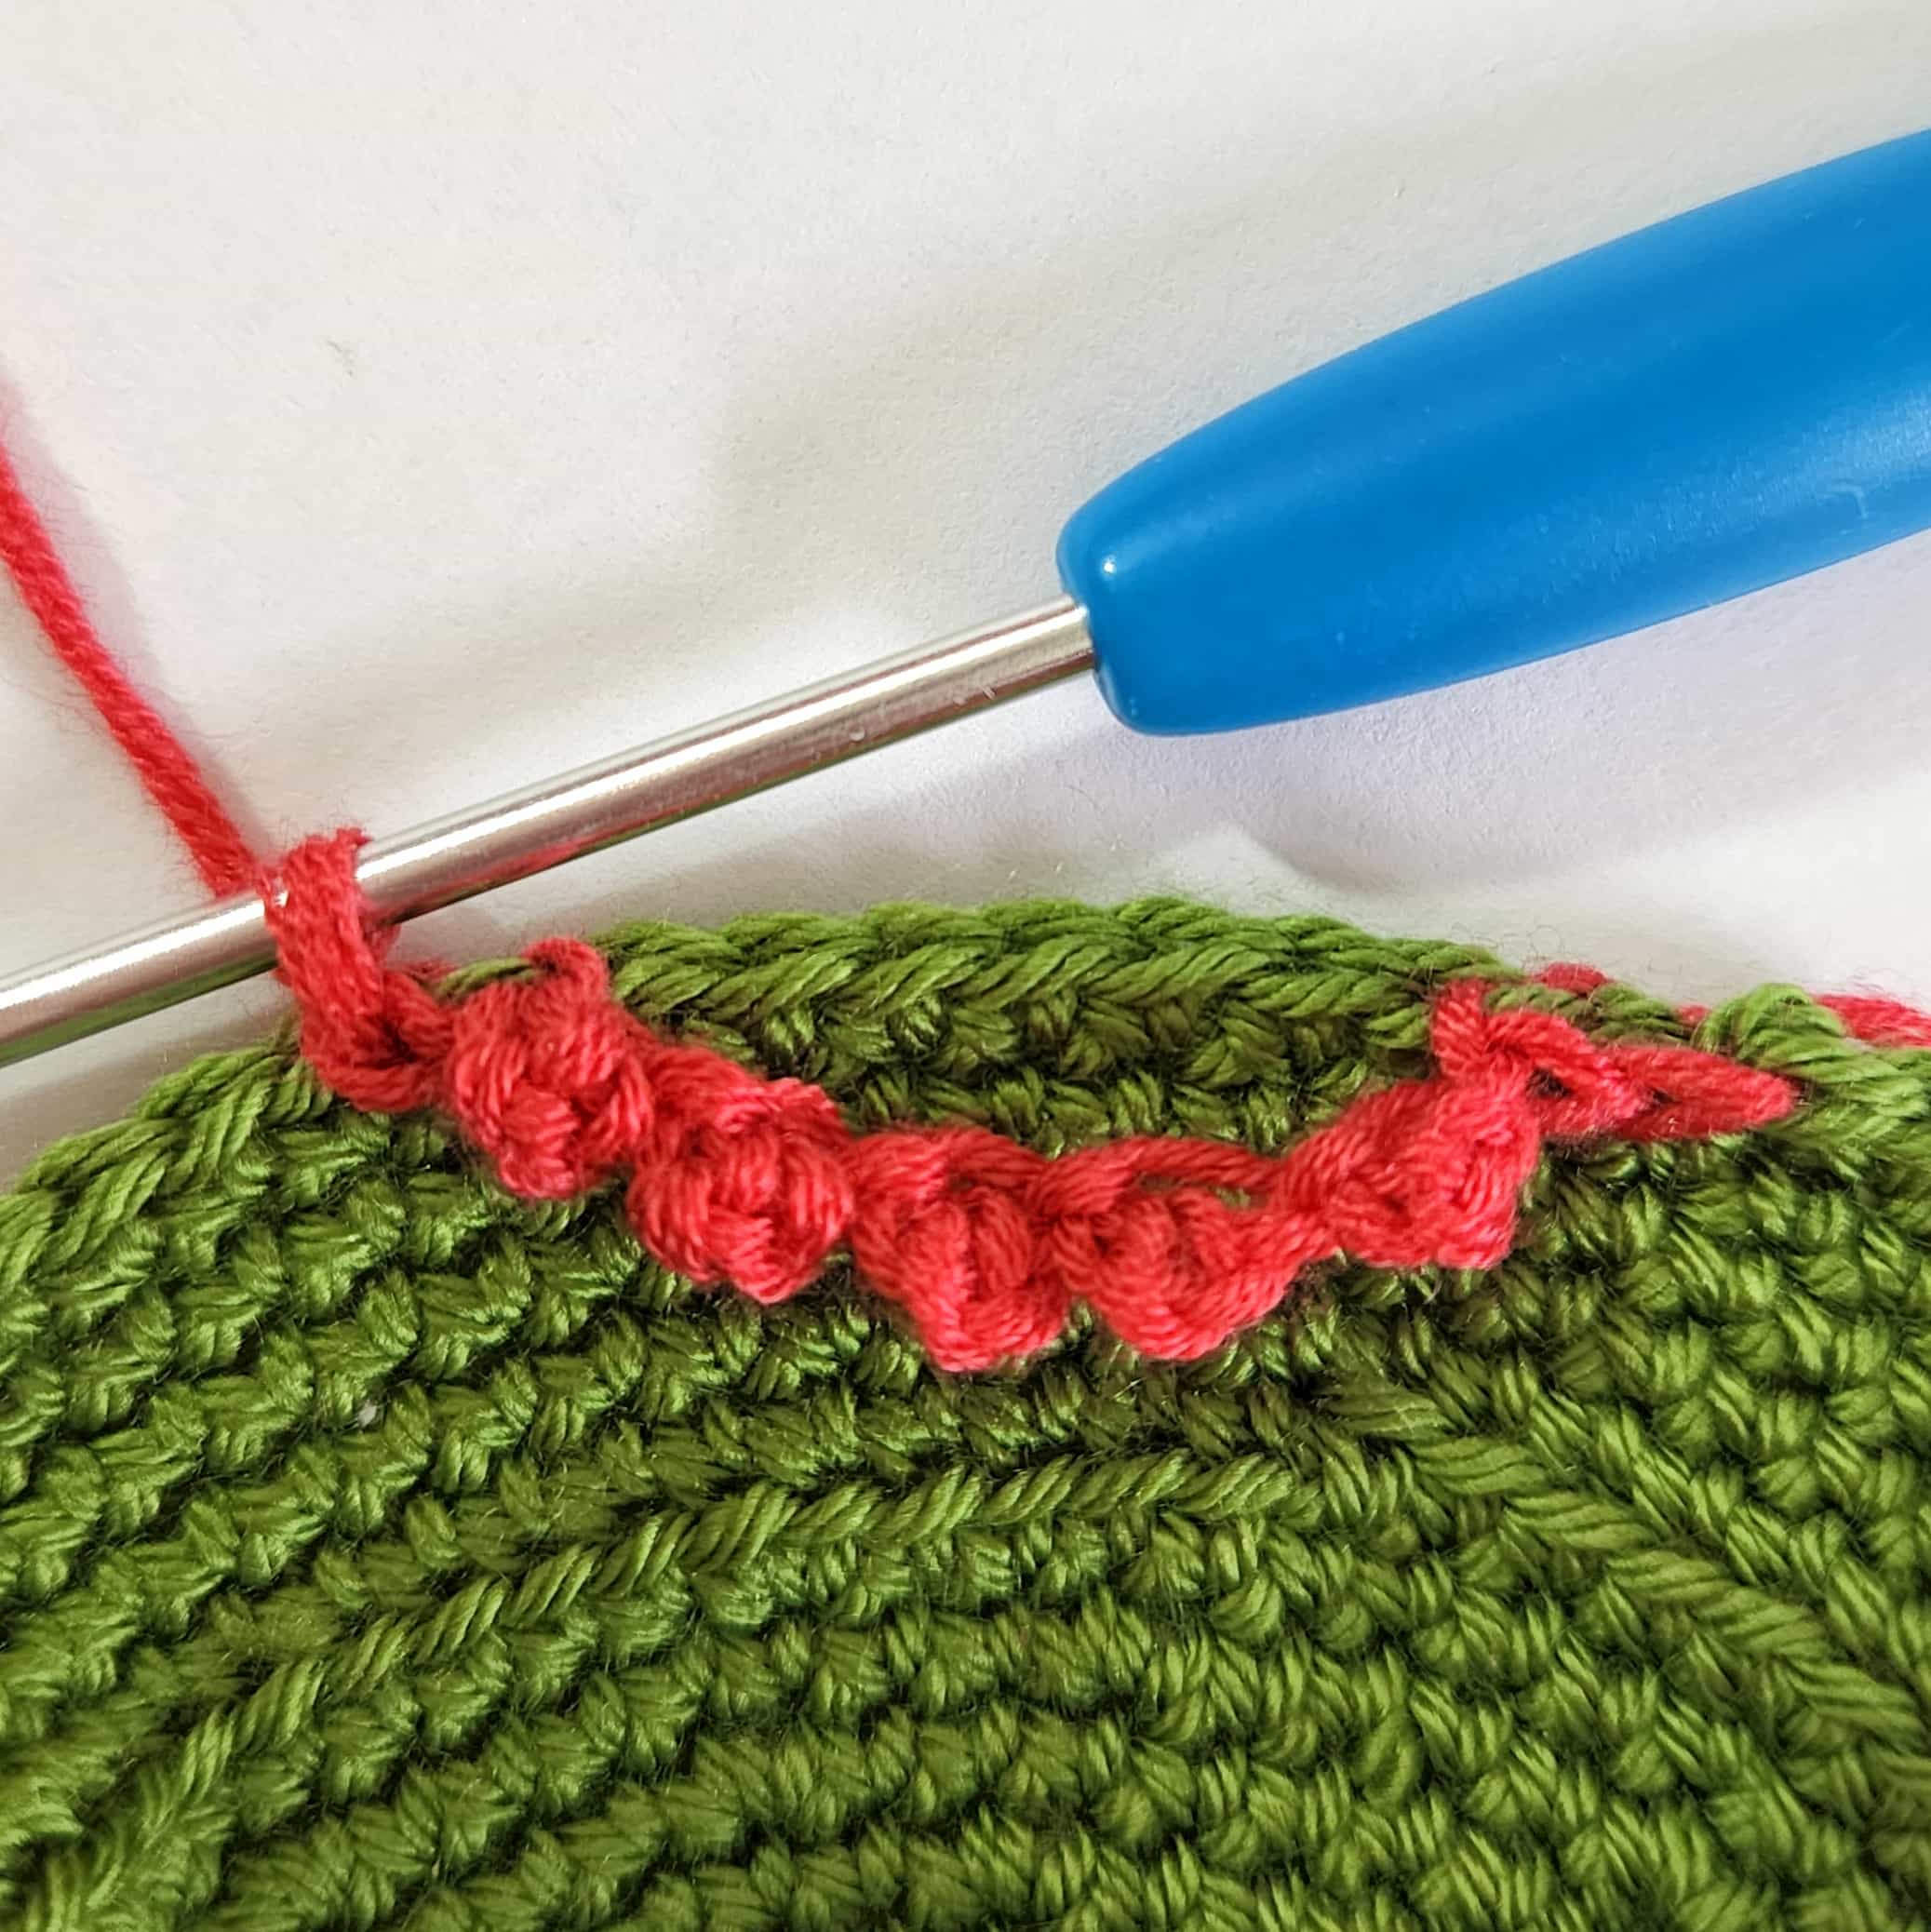
To create the garlands around the tree, we are working Picot stitches in a row to create picot strings.
Christmas Tree Crochet PDF pattern
You can find the ad-free PDF pattern with the full photo-tutorial at one of my shops below:


Free Small Crochet Christmas Tree Pattern
* Want to save this post for later? Go ahead and PIN it!
* Add this pattern to your Ravelry queue HERE!
Skill Level – Easy
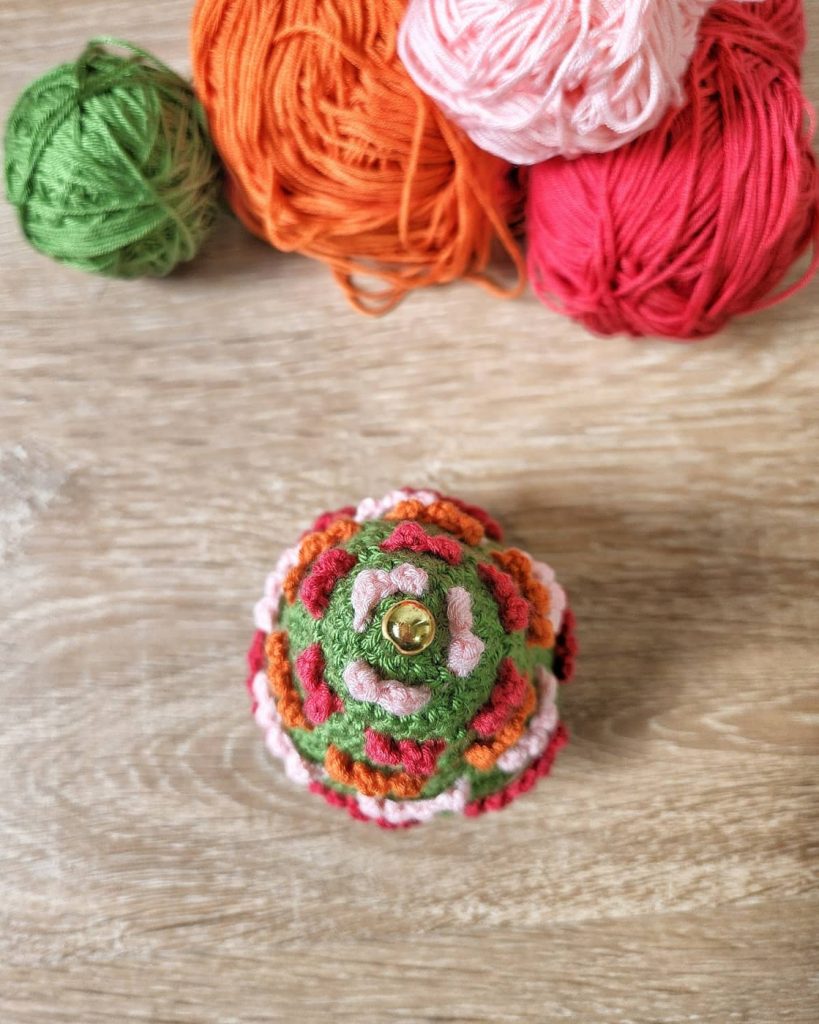
Materials
– 2.5 mm / C crochet hook (I like this hook)
– Fingering (#1) weight yarn – I used Knit Picks – Comfy Fingering
Color A (main) – 50 grams/175m/190yds
Color B – 10 grams/35m/38yds
Color C – 10 grams/35m/38yds
Color D – 10 grams/35m/38yds
– 0.5cm (0.25”) bead
– Fiberfill for stuffing
Abbreviations (US)
ch – chain
st – stitch
ss – slip stitch
sc – single crochet
blo – work in back loop only
flo – work in front loop only
inc – 2 single crochet in same st (increase)
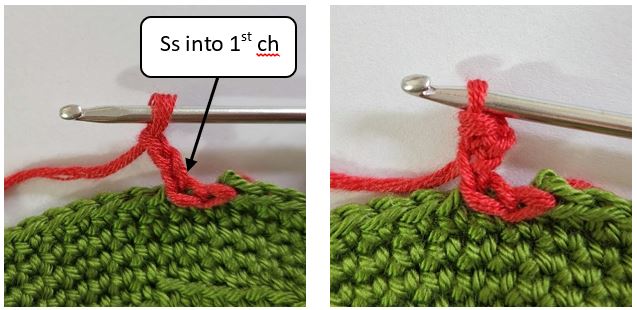
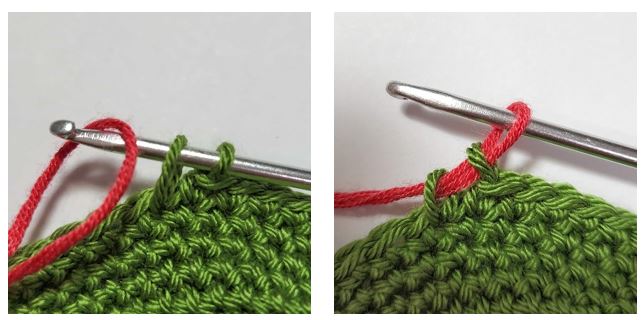
picot – ch3, ss into the 1st ch you made
sc2tog – single crochet 2 together (decrease)
(…) – crochet the instructions within brackets as many times as directed
How to Crochet the Picot Stitch
Chain 3, slip stitch into the first chain you made.
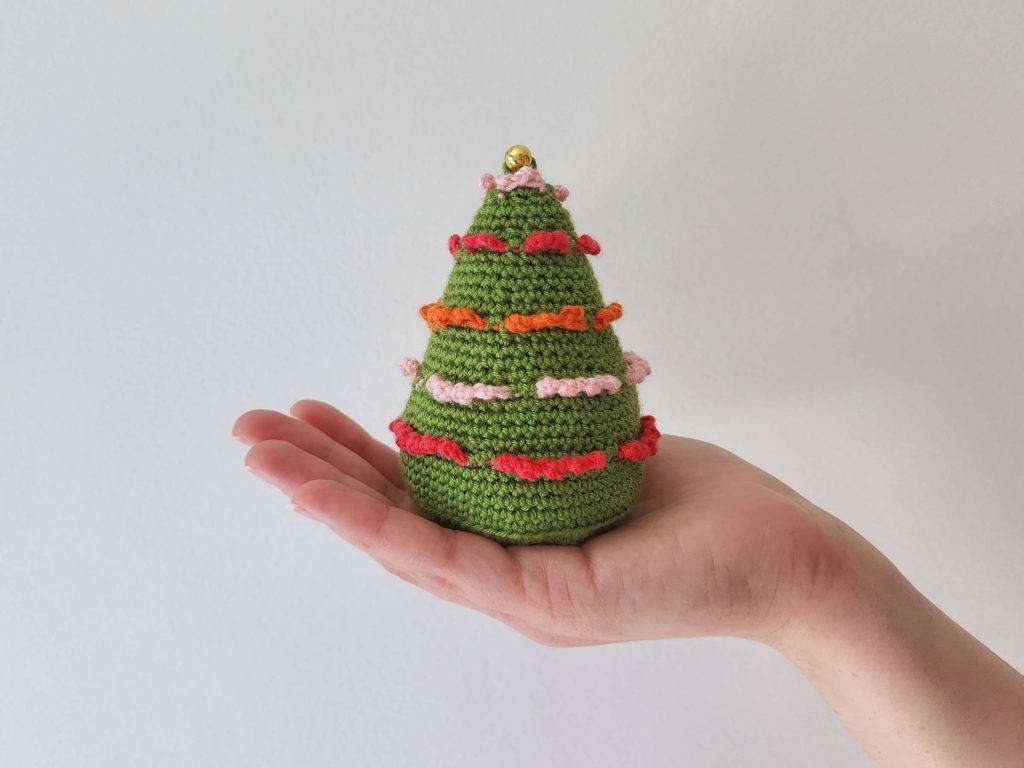
Finished size – 4.5” (11cm) tall, 2.5” (6.35cm) diameter base.
Gauge – 27sc and 25 rows = 4 in/10 cm with C/2.5mm hook
Pattern Notes
- The tree is worked from bottom up, in continuous rounds (no need to slip stitch at the end of the round).
- To make it easier to keep track of each round, you can place a stitch marker in the first stitch of the round.
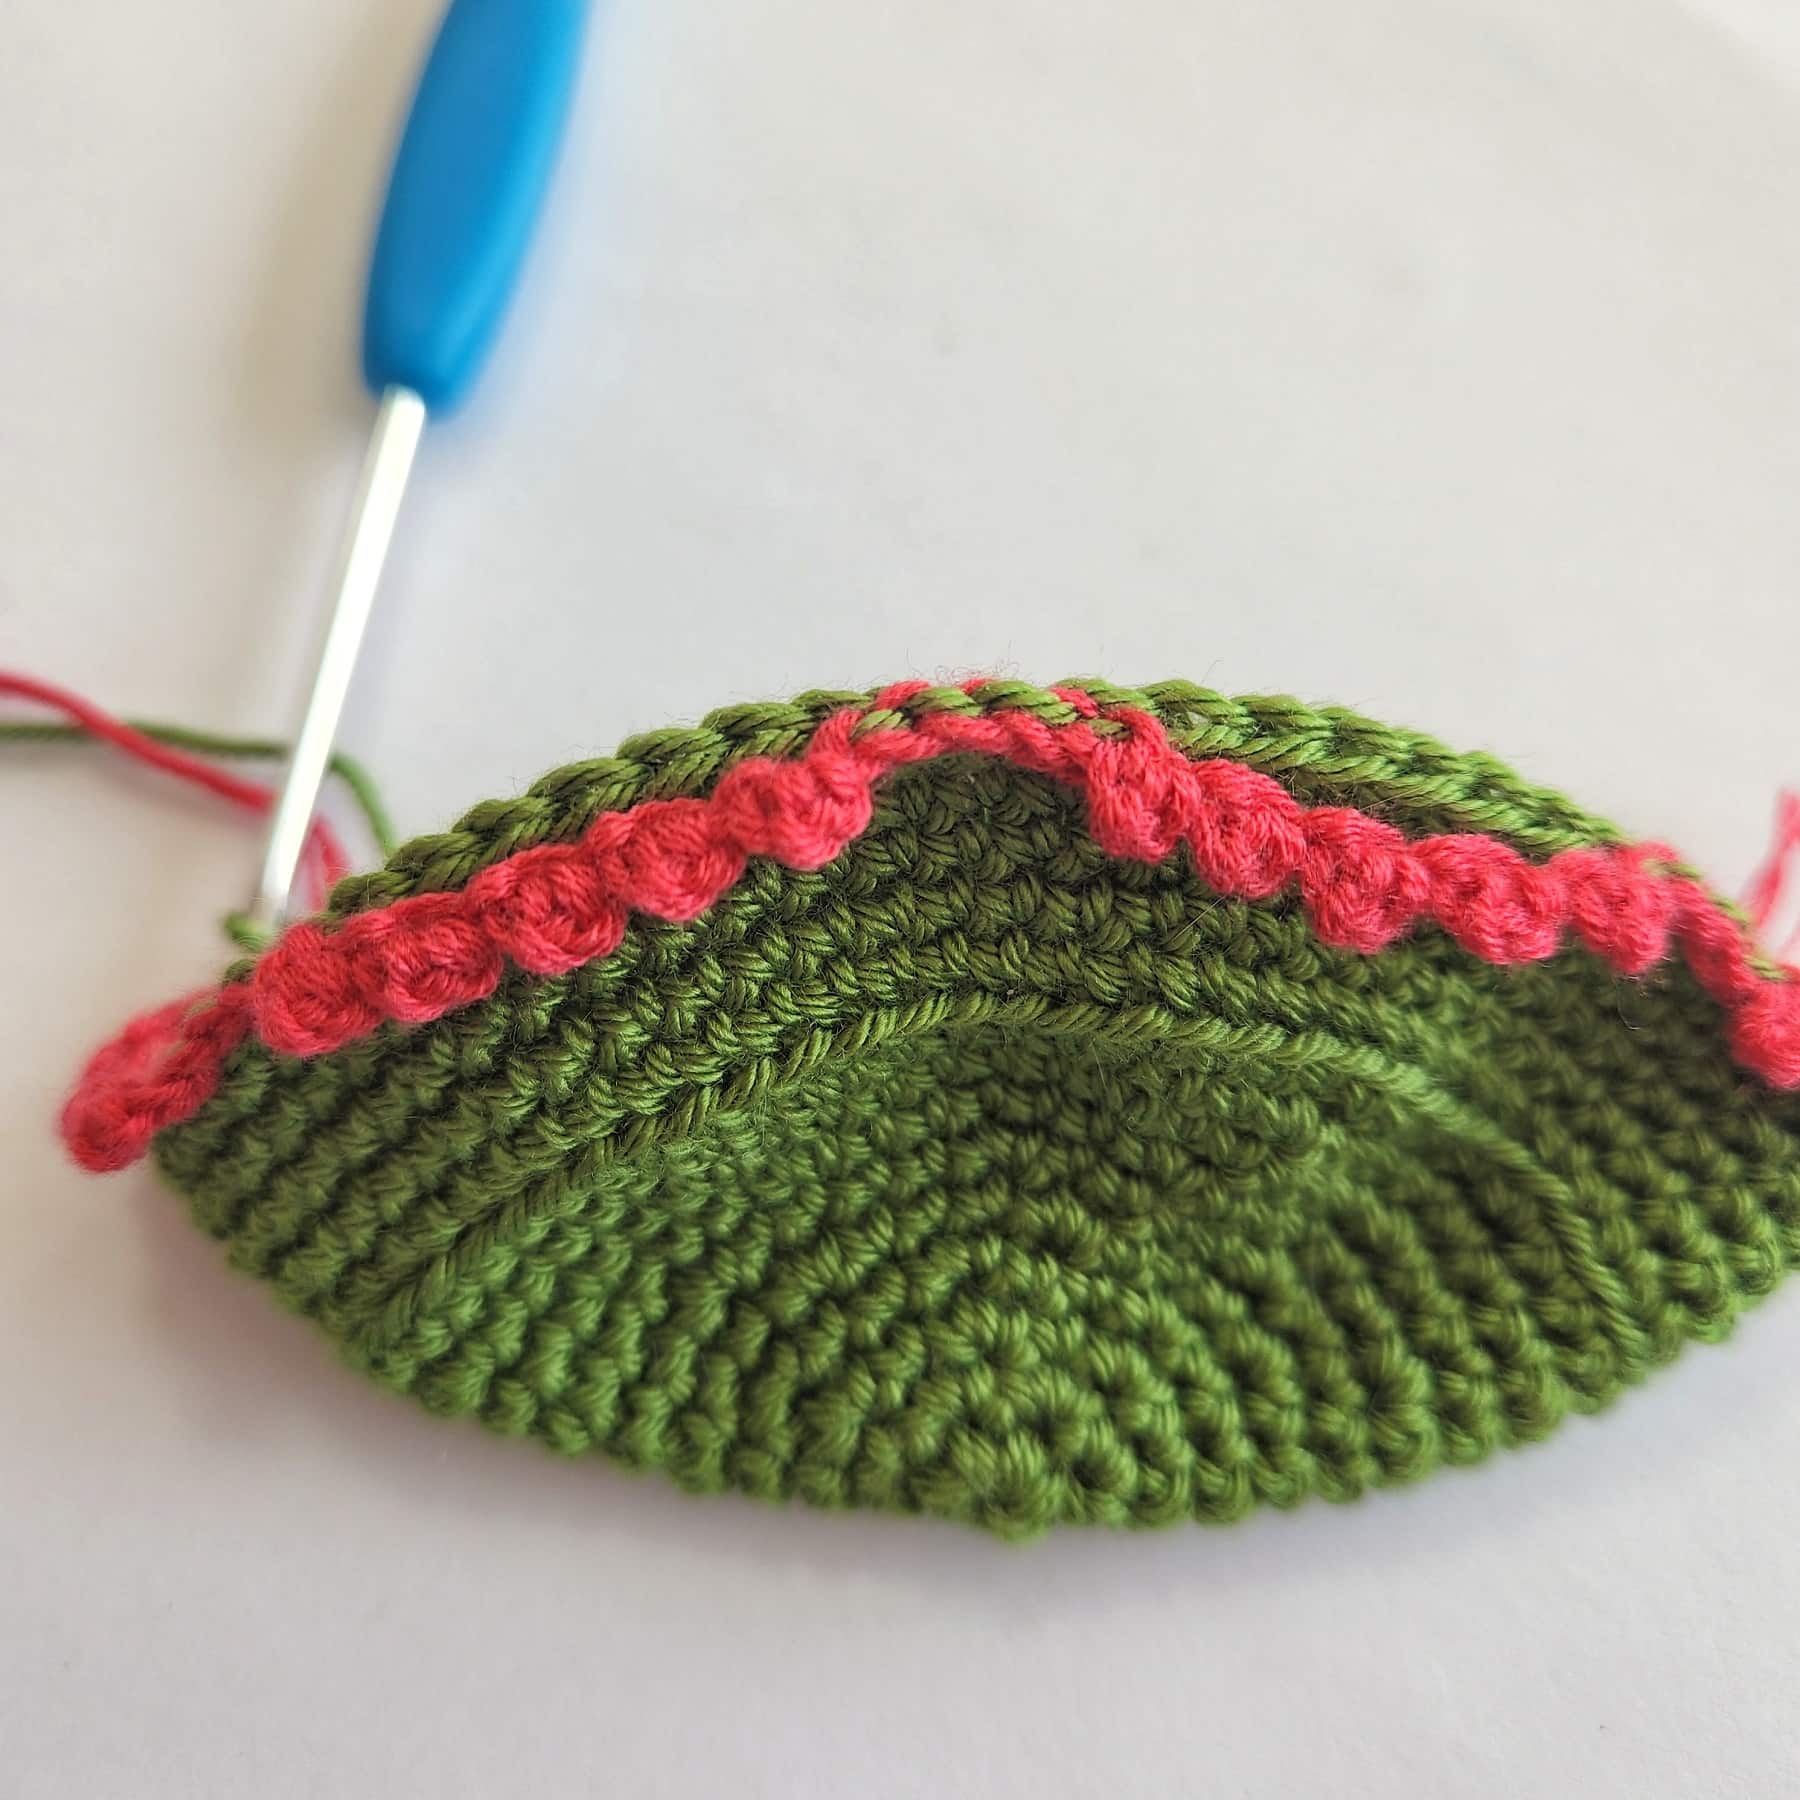
- The strings around the tree are made from picots worked one after another.
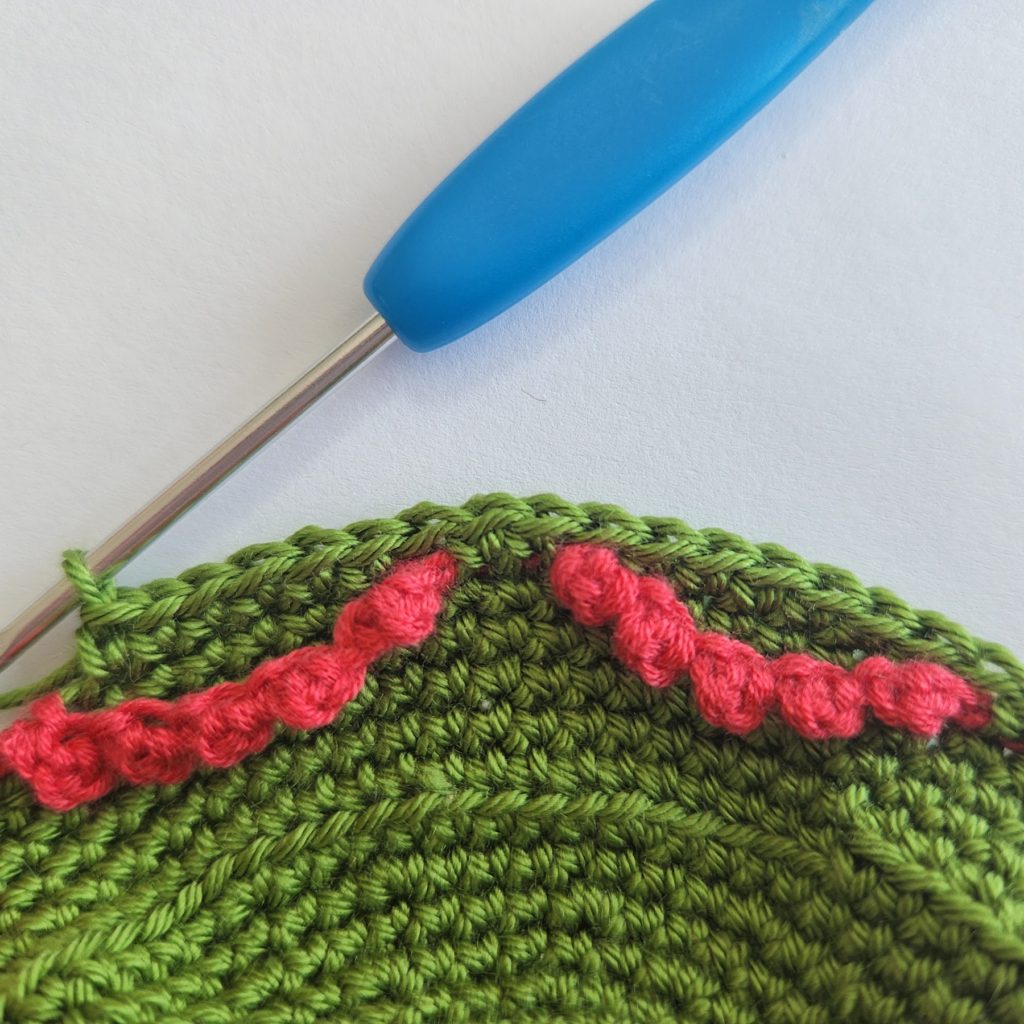
- Each round after a picot strings round, is worked into two rounds below (back into the main color).
- Work the picot a bit loose to get a nice puff.
- Eco-friendly tip: mix your fiberfill with your yarn leftovers instead of throwing them away (or use just your leftovers)!
- When changing colors: at the last stitch of the round, before changing color, start the stitch as normal, when you pull the yarn through the loop to finish the stitch, wrap the new color around the hook and pull through.
Tiny Garland Christmas Tree Free Crochet Pattern
With color A
Make a magic ring
Round 1: 6sc into ring, pull the ring tight. (6 sc)
Round 2: inc in each st around. (12 sc)
Round 3: (inc in next st, 1sc in next st) x 6 times. (18 sc)
Round 4: (1sc in next st, inc in next st, 1sc in next st) x 6 times. (24 sc)
Round 5: (inc in next st, 1sc in next 3 sts) x 6 times. (30 sc)
Round 6: (1sc in next 2 sts, inc in next st, 1sc in next 2 sts) x 6 times. (36 sc)
Round 7: (inc in next st, 1sc in next 5 sts) x 6 times. (42 sc)
Round 8: (1sc in next 3 sts, inc in next st, 1sc in next 3 sts) x 6 times. (48 sc)
Round 9: (inc in next st, 1sc in next 7 sts) x 6 times. (54 sc)
Round 10: 1sc in next 4 sts, inc in next st, (1sc in next 8 sts, inc in next st) x 5 times, 1sc in next 4 sts. (60 sc)
Round 11: 1sc blo in each st around. (60 sc blo).
Rounds 12-15: 1sc in each st around. (60 sc)
Do you prefer a full-photo tutorial? Get the premium, ad-free, full photo-tutorial, printable PDF version onRavelry or Etsy!
With color B
Round 16: (1ss in blo of next st, 1ss in flo of next st, 5 picot, skip next 6 sts, 1ss in flo of next st, 1ss in blo of next st) x 6 times. (12 ss flo, 12 ss blo, 6 x 5 picot strings)
** Work the picot a bit loose to get a nice puff.
With color A
** This round is worked into round 15
Round 17: (1sc in flo of next st of rnd 15, 1sc in blo of next st of rnd 15, 1sc in next 6 sts of rnd 15, 1sc in blo of next st of rnd 15, 1sc in flo of next st of rnd 15) x 6 times. (12 sc flo, 12 sc blo, 36 sc)

Round 18: (sc2tog in next 2 sts, 1sc in next 8 sts) x 6 times. (6 sc2tog, 48 sc)
Rounds 19-20: 1sc in each st around. (54 sc)
Round 21: (sc2tog in next 2 sts, 1sc in next 7 sts) x 6 times. (6 sc2tog, 42 sc)
With color C
Round 22: (1ss in blo of next st, 1ss in flo of next st, 4 picot, skip next 4 sts, 1ss in flo of next st, 1ss in blo of next st) x 6 times. (12 ss flo, 12 ss blo, 6 x 4 picot strings)
With color A
** This round is worked into round 21
Round 23: (1sc in flo of next st of rnd 21, 1sc in blo of next st of rnd 21, 1sc in next 4 sts of rnd 21, 1sc in blo of next st of rnd 21, 1sc in flo of next st of rnd 21) x 6 times. (12 sc flo, 12 sc blo, 24 sc)
Round 24: (sc2tog in next 2 sts, 1sc in next 6 sts) x 6 times. (6 sc2tog, 36 sc)
Rounds 25-26: 1sc in each st around. (42 sc)
Round 27: (sc2tog in next 2 sts, 1sc in next 5 sts) x 6 times. (6 sc2tog, 30 sc)
With color D
Round 28: (1ss in blo of next st, 1ss in flo of next st, 3 picot, skip next 3 sts, 1ss in flo of next st) x 6 times. (12 ss flo, 6 ss blo, 6 x 3 picot strings)
With color A
** This round is worked into round 27
Round 29: (1sc in flo of next st of rnd 27, 1sc in blo of next st of rnd 27, 1sc in next 3 sts of rnd 27, 1sc in blo of next st of rnd 27) x 6 times. (6 sc flo, 12 sc blo, 18 sc)
Round 30: 1sc in each st around. (36 sc)
Round 31: (sc2tog in next 2 sts, 1sc in next 4 sts) x 6 times. (6 sc2tog, 24 sc)
Rounds 32-33: 1sc in each st around. (30 sc)
Round 34: (sc2tog in next 2 sts, 1sc in next 3 sts) x 6 times. (6 sc2tog, 18 sc)
With color B
Round 35: (1ss in blo of next st, 1ss in flo of next st, 2 picot, skip next st, 1ss in flo of next st) x 6 times. (12 ss flo, 6 ss blo, 6 x 2 picot strings)
* Start stuffing with fiberfill at this point and stuff as you go.
With color A
** This round is worked into round 34
Round 36: (1sc in flo of next st of rnd 34, 1sc in blo of next st of rnd 34, 1sc in next st of rnd 34, 1sc in blo of next st of rnd 34) x 6 times. (6 sc flo, 12 sc blo, 6 sc)
Round 37: (sc2tog in next 2 sts, 1sc in next 2 sts) x 6 times. (6 sc2tog, 12 sc)
Rounds 38-39: 1sc in each st around. (18 sc)
Round 40: (sc2tog in next 2 sts, 1sc in next st) x 6 times. (6 sc2tog, 6 sc)
With color C
Round 41: (1ss in blo of next st, 1ss in flo of next st, 2 picot, skip next st, 1ss in flo of next st) x 3 times. (12 ss flo, 6 ss blo, 3 x 2 picot strings)
With color A
** This round is worked into round 40
Round 42: (1sc in flo of next st of rnd 40, 1sc in blo of next st of rnd 40, 1sc in next st of rnd 40, 1sc in blo of next st of rnd 40) x 3 times. (3 sc flo, 6 sc blo, 3 sc)
Round 43: (sc2tog in next 2 sts) x 6 times. (6 sc2tog)
Finish stuffing if needed. Fasten off, stitch the opening shut and leave a 25cm (10”) tail.
Sew the bead to the top of the tree with the tail.
What Yarn Is Best For Making a Mini Crochet Christmas Tree?
When making crochet home decor, I like using cotton yarn because it’s more durable and will last longer. Cotton is sturdy and most important much more ecological.
For my Tiny Garland Christmas Tree pattern, I used Comfy Fingering yarn, it’s 75% Pima cotton and 25% acrylic. It’s sturdy but soft and nice to work with and comes in beautiful colors.
More Free Crochet Patterns to Love
Did you try this out? Share your project!
– Let me know how it went and leave a comment below.
– Tag me on Instagram @madebygootie
– Join and share in our FB Community
Want to save this post for later? Go ahead and PIN it!
I thought this was the blanket wrap pattern.
Hi Pam, which blanket wrap pattern are you referring to?