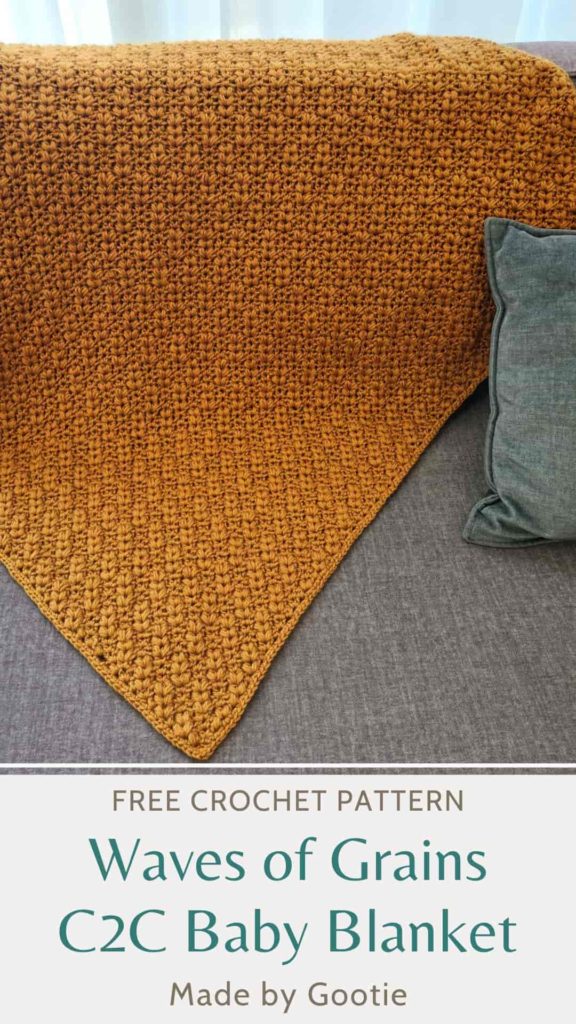
Waves of Grain Corner to Corner Baby Blanket Pattern
Last Updated on June 11, 2024
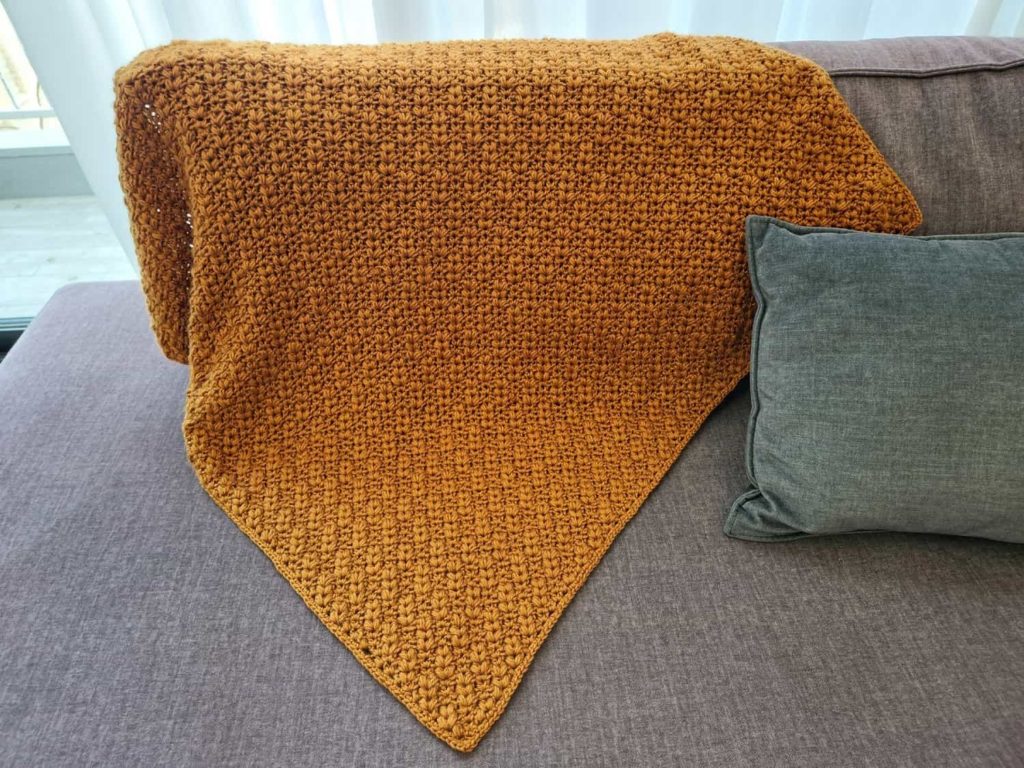
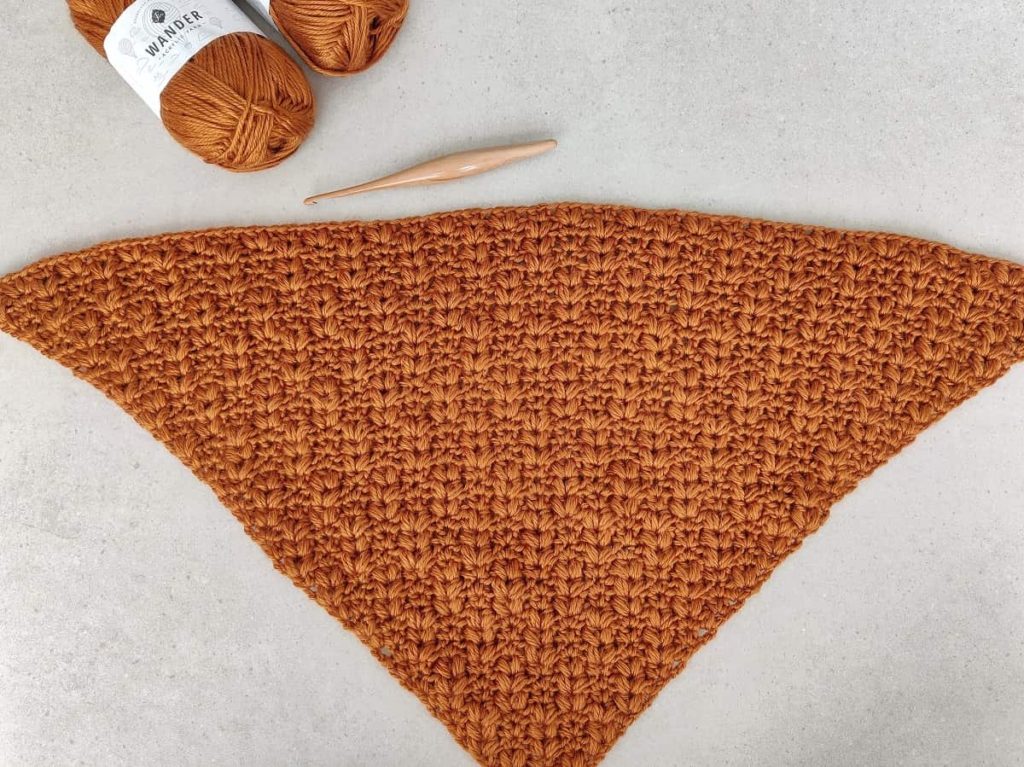
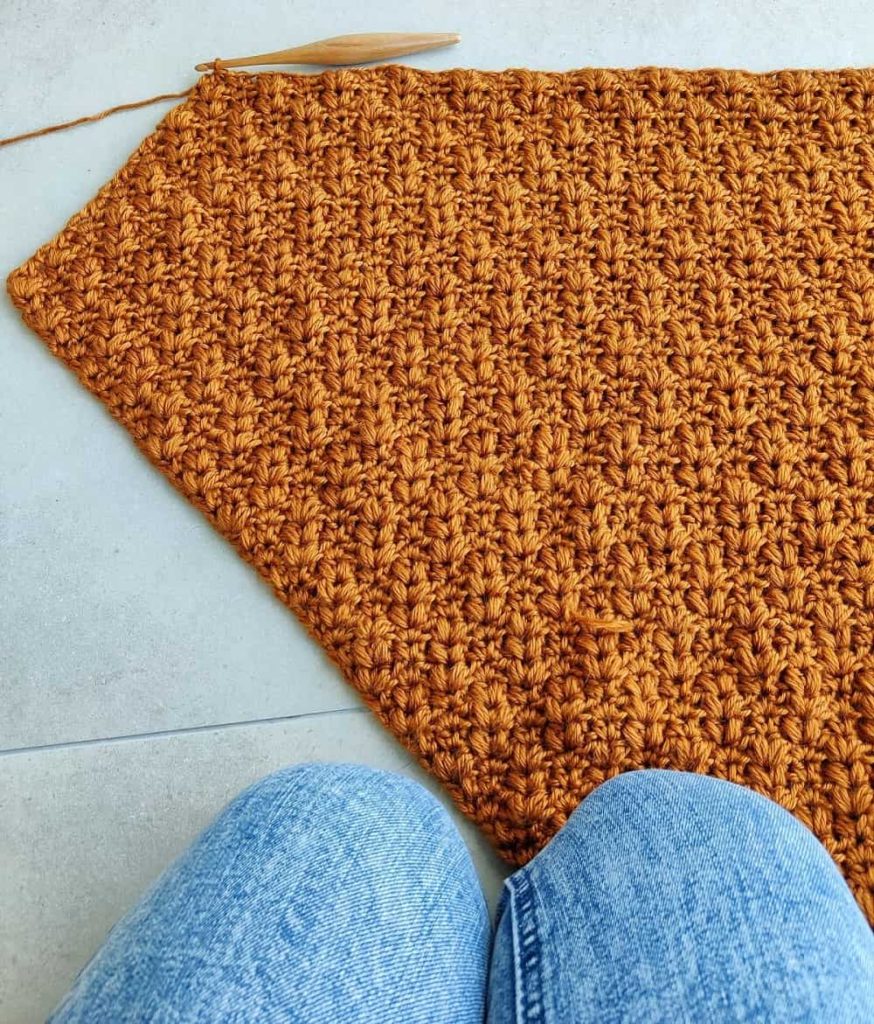
This corner to corner baby blanket (also known as C2C) is super soft, with an amazing texture. I designed this blanket for a friend who was about to have a little girl, and used the soft Furls Wander yarn, and I knew I was going to use the C2C method for this one!
The Waves of Grain Blanket is made with a different C2C crochet stitch than the classic C2C. With no foundation chain and counting stitches, I’m sure you are going to love this crochet blanket pattern!
The pattern has a detailed photo tutorial and video tutorial, to go along with the written instructions.
** Some of the links in this post may include affiliate links. Making a purchase through one of these links pays me a small referral fee at no added cost to you. View our disclosure and privacy policy for more information.
If you are new to the corner to corner (C2C) method, don’t worry, it’s not as hard and intimidating as it sounds.
Working a crochet blanket from corner to corner means, that you don’t start with a long foundation chain (which is easier!), and you just start working your crochet stitch from one corner and keep increasing until you reach the desired size, and then start decreasing.
I also used the C2C crochet method in the Across the Way Blanket, with the Cluster stitch.
And if you are looking for another ‘no-foundation-chain’ blanket, you might also like the Mitered Tulips Blanket.
Want to save this post for later? Go ahead and PIN it!
About the Waves of Grain Design – Using Different C2C Stitches
The beautiful thing about the C2C method is that it can be used in other crochet stitches, and not just the classic C2C stitch!
For this corner to corner baby blanket, I used a variation of the C2C V Stitch and added some puff stitches for the grains and wheat ears look, alternating these stitches. I also used this stitch in my Waves of Grain C2C Table Runner.
But you can use other different corner to corner crochet stitches to make a blanket, like the C2C Wattle stitch, or the C2C Suzette stitch, and also the C2C Moss stitch is perfect as a blanket stitch!
The Yarn I Used For My Crochet Baby Blanket
For my blanket, I used the Wander Acrylic yarn in Thatch which was generously provided to me by Furls as part of the 2022 Crochet Foundry Blog Hop. This is a Worsted (#4) weight yarn, it’s really soft and shiny, and comes in beautiful colors.
Because this blanket is worked in the C2C method, you can also use a thinner yarn with a suitable crochet hook, because the gauge is not crucial for this pattern.
When choosing a yarn for a baby blanket, make sure the yarn is very soft on the skin. It’s also advised to use cotton or acrylic yarns, to avoid any allergic reactions to animal fiber, since if there are, they are not known yet.
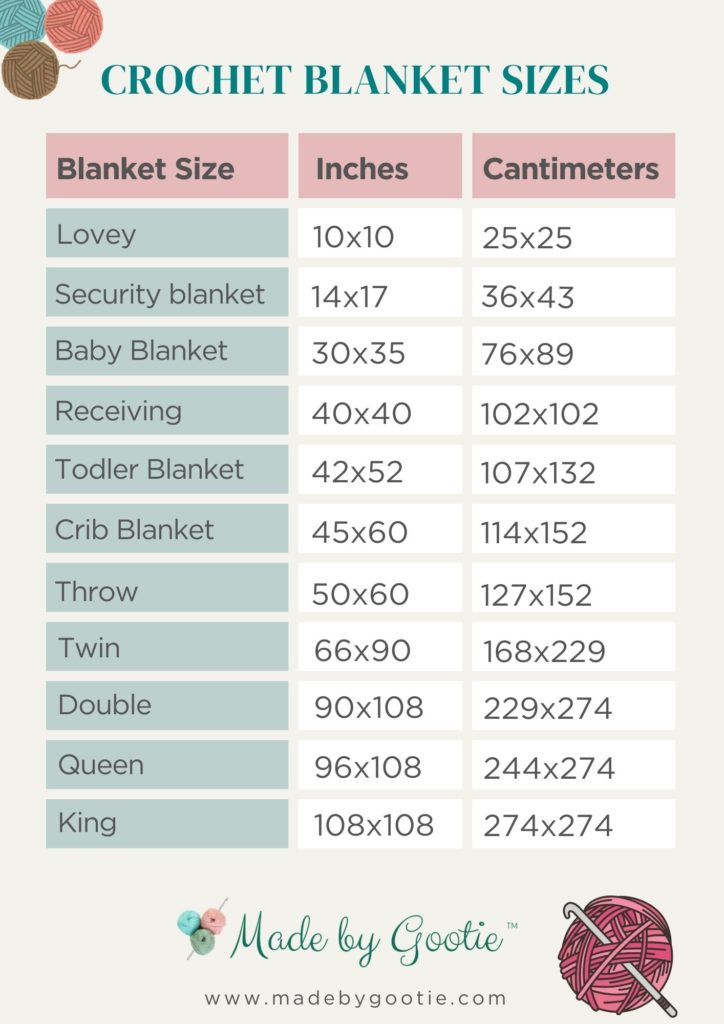
How to Adjust The Size Of This C2C Blanket
The instructions are guiding you to make a 35×35″ (89×89 cm) blanket.
What I like about the C2C technique, is that you can work your blanket as big as you’d like, as a square or a rectangle, without counting the stitches and making calculations ahead.
You can find the instructions for a rectangle-shaped blanket in the premium PDF pattern.
To make your blanket in a different size than the pattern suggests, just keep increasing until you reach the desired width, and then move on and start decreasing.
Here’s a blanket sizes chart, this is just a guideline, you can adjust the sizes to your preference.
For the free crochet pattern, please scroll down.
If you prefer the ad-free, full photo tutorial PDF pattern, you can purchase it on one of my shops below:
Corner to Corner Blanket Video Tutorial – Waves of Grain Blanket
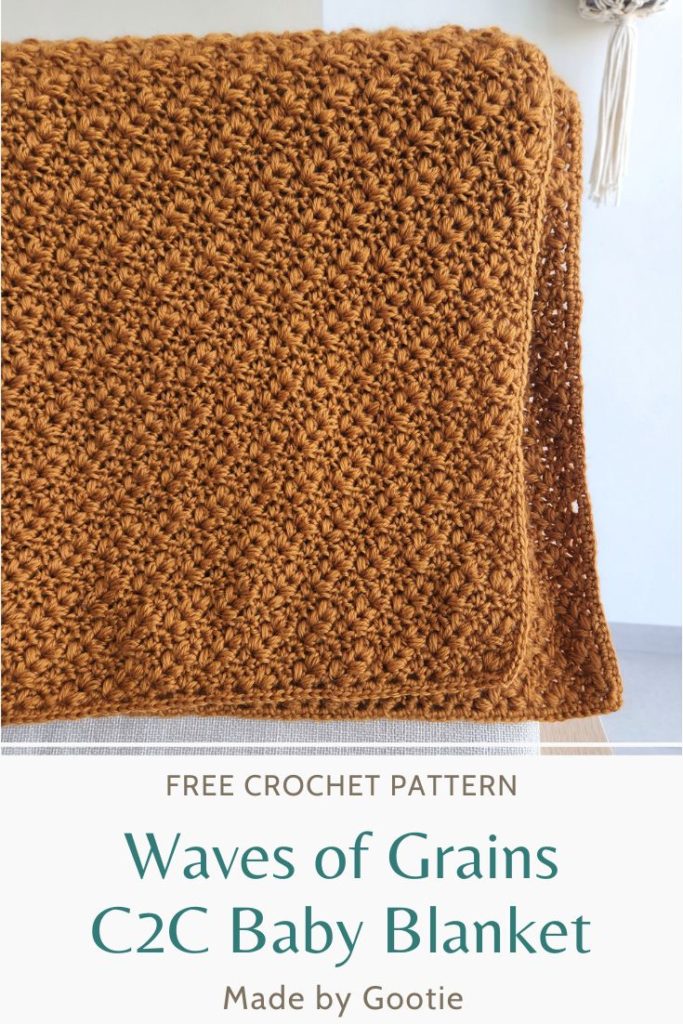
Waves of Grains – Corner to Corner Baby Blanket Free Pattern
* Want to save this post for later? Go ahead and PIN it!
* Add this pattern to your Ravelry queue HERE!
Skill Level – Intermediate
Materials
– 5.5 mm / I crochet hook (I used Streamline Wooden Furls Hook)
– Worsted (#4) weight yarn (I used Wander Acrylic in Thatch)
Total amount of yarn needed: 1,000gr/1,090m/1,200yds
Abbreviations (US)
ch – chain
hdc – half double crochet
hdc2tog – half double crochet 2 together: yo, insert hook into next st, yo and pull up a loop, yo, insert hook into next st, yo and pull up a loop, yo and pull through all 5 loops on hook.
PM – place marker
Puff – (yo, insert hook into indicated st, yo and pull up a loop) x 3 times working into same st, yo and pull through all 7 loops on hook
SV-Spuff – side small V-puff: [1Spuff, ch1, 1hdc]
Spuff – small puff: (yo, insert hook into next st, yo and pull up a loop) x 2 times working into same st, yo and pull through all 5 loops on hook
st – stitch
sc – single crochet
sp – space
V-hdc – [1hdc, ch1, 1hdc] in same stitch
V-puff – [1puff, ch1, 1puff]
yo – yarn over
Gauge (in half double crochet) – 15 sts and 8 rows = 4 in/10 cm with 5.5mm / I hook.
Finished size – 35×35” (89×89 cm)
Do you prefer a full-photo tutorial? Get the premium, ad-free, full photo-tutorial, printable PDF version onRavelry or Etsy!
Notes
- To make it easier to find the ch3 / ch2 spaces at the end of the row, place a stitch marker when you ch3/ch2 at the beginning of each row.
- Every 3 rows, the V-puff’s and V-hdc are being shifted.
- This blanket is based on my C2C V stitch pattern, you can find the photo tutorial on my HERE.
- The blanket can also be made as a rectangle, you can the rectangle instructions in the PDF version on Ravelry and Etsy.
This pattern is part of the Fireside Comforts Blog Hop which is hosted by Kristine from Ambassador Crochet.
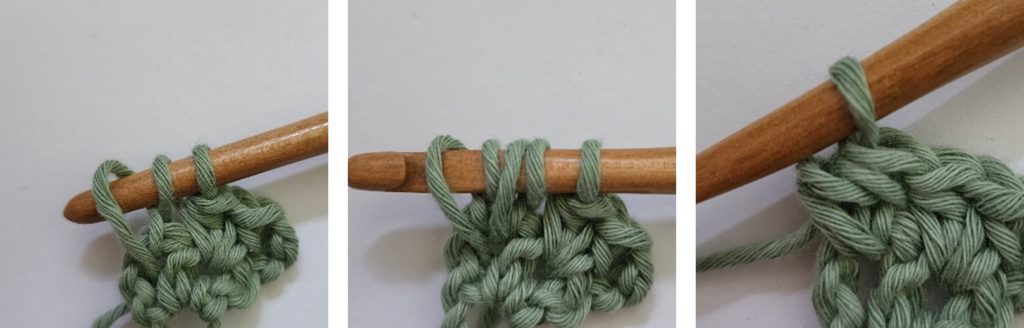
How to Crochet the Puff stitch:
(yo, insert hook into next st, yo and pull up a loop) x 3 times working into same st, yo and pull through all 7 loops on hook.
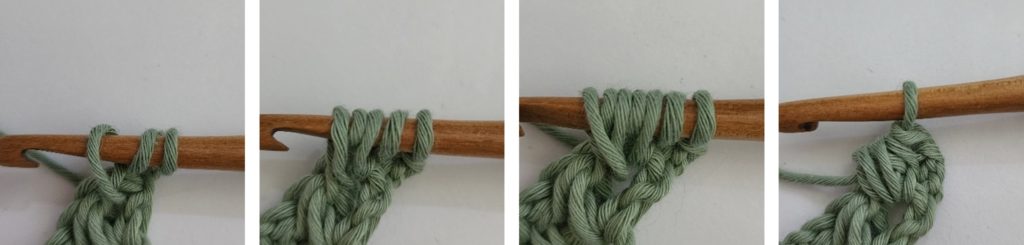
How to Crochet the Small Puff Stitch (Spuff):
(yo, insert hook into next st, yo and pull up a loop) x 2 times working into same st, yo and pull through all 5 loops on hook.
Waves of Grains C2C Baby Blanket Instructions
C2C Increase
Ch4
Row 1: V-hdc in 4th ch from hook, turn.
Row 2: ch3-PM, skip 1st st, V-hdc in next ch-1 sp, skip next st, SV-Spuff in ch-3 sp, turn.
Row 3: ch3-PM, skip 1st st, V-puff in next ch-1 sp, skip next 2 sts, V-hdc in next ch-1 sp,
SV-Spuff in ch-3 sp, turn.
Row 4: ch3-PM, skip 1st st, V-puff in next ch-1 sp, skip next 2 sts, V-hdc in next ch-1 sp, skip next 2 sts, V-puff in next ch-1 sp, V-hdc in ch-3 sp, turn.
Row 5: ch3-PM, skip 1st st, V-puff in next ch-1 sp, skip next 2 sts, V-hdc in next ch-1 sp
* Skip next 2 sts, V-puff in next ch-1 sp, skip next 2 sts, V-hdc in next ch-1 sp; repeat from * to ch-3 sp, SV-Spuff in ch-3 sp, turn.
Row 6: ch3-PM, skip 1st st, V-puff in next ch-1 sp.
* Skip next 2 sts, V-hdc in next ch-1 sp, skip next 2 sts, V-puff in next ch-1 sp; repeat from * to ch-3 sp, V-hdc in ch-3 sp, turn.
Row 7: ch3-PM, skip 1st st, V-hdc in next ch-1 sp, skip next 2 sts, V-puff in next ch-1 sp.
* Skip next 2 sts, V-hdc in next ch-1 sp, skip next 2 sts, V-puff in next ch-1 sp; repeat from * to ch-3 sp, V-hdc in ch-3 sp, turn.
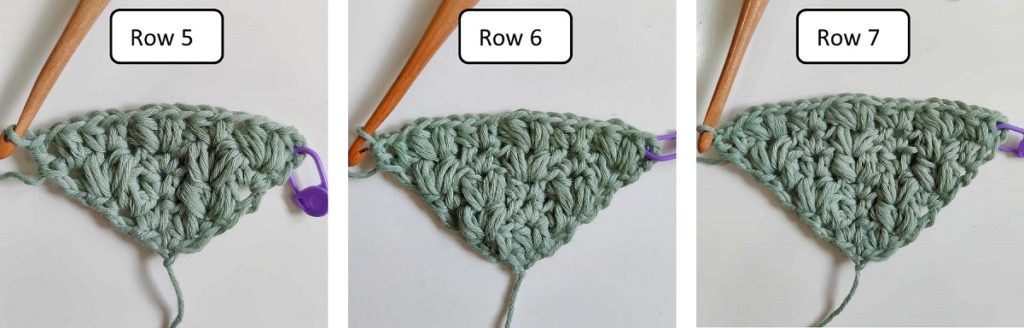
Row 8: repeat row 6.
Row 9: repeat row 7
Row 10: ch3-PM, skip 1st st, V-hdc in next ch-1 sp.
* Skip next 2 sts, V-puff in next ch-1 sp, skip next 2 sts, V-hdc in next ch-1 sp; repeat from * to ch-3 sp, SV-Spuff in ch-3 sp, turn.
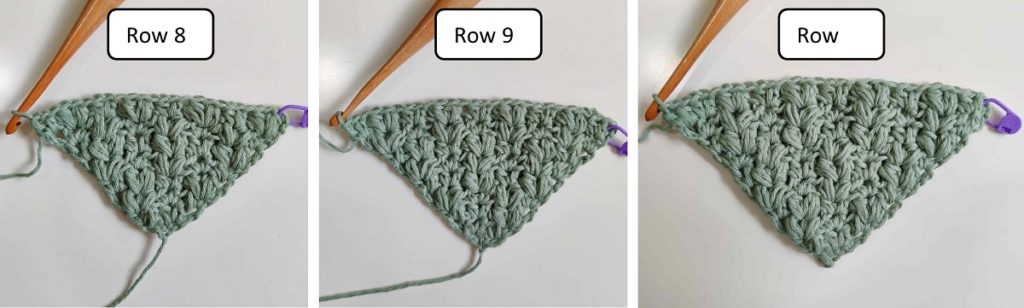
Row 11: repeat row 7
Row 12: repeat row 10
Row 13: repeat row 5
Row 14: ch3-PM, skip 1st st, V-hdc in next ch-1 sp.
* Skip next 2 sts, V-puff in next ch-1 sp, skip next 2 sts, V-hdc in next ch-1 sp; repeat from * to ch-3 sp, SV-Spuff in ch-3 sp, turn.
Row 15: repeat row 5
Row 16: repeat row 6
Repeat rows 5-16 until you reach 35” (89cm) or your desired length, finishing with row 16.
Now start decreasing.
Want to make this blanket as a rectangle? Get the premium, ad-free, full photo-tutorial, printable PDF version onRavelry or Etsy!
C2C Decrease
Row 17: ch2-PM, skip 1st hdc, 1hdc in next ch-1 sp.
* Skip next 2 sts, V-hdc in next ch-1 sp, skip next 2 sts, V-puff in next ch-1 sp; repeat from * to last V-puff (of prev. row), hdc2tog in last ch-1 sp (of V-puff) & ch-3 sp, turn.
Row 18: ch2-PM, skip next hdc2tog & 1puff, V-puff in next ch-1 sp.
* Skip next 2 sts, V-hdc in next ch-1 sp, skip next 2 sts, V-puff in next ch-1 sp; repeat from * to last V-hdc (of prev. row), hdc2tog in last ch-1 sp (of V-hdc) & ch-2 sp, turn.
Row 19: ch2-PM, skip next hdc2tog & 1puff, V-puff in next ch-1 sp, skip next 2 sts, V-hdc in next ch-1 sp.
* Skip next 2 sts, V-puff in next ch-1 sp, skip next 2 sts, V-hdc in next ch-1 sp; repeat from * to last V-puff (of prev. row), hdc2tog in last ch-1 sp (of V-puff) & ch-2 sp, turn.
Row 20: ch2-PM, skip next hdc2tog & hdc, V-puff in next ch-1 sp.
* Skip next 2 sts, V-hdc in next ch-1 sp, skip next 2 sts, V-puff in next ch-1 sp; repeat from * to last V-puff (of prev. row), hdc2tog in last ch-1 sp (of V-puff) & ch-2 sp, turn.
Row 21: repeat row 19
Row 22: ch2-PM, skip next hdc2tog & hdc, V-hdc in next ch-1 sp.
* Skip next 2 sts, V-puff in next ch-1 sp, skip next 2 sts, V-hdc in next ch-1 sp; repeat from * to last V-puff (of prev. row), hdc2tog in last ch-1 sp (of V-puff) & ch-2, turn.
Row 23: ch2-PM, skip next hdc2tog & hdc, V-puff in next ch-1 sp, skip next 2 sts, V-hdc in next ch-1 sp.
* Skip next 2 sts, V-puff in next ch-1 sp, skip next 2 sts, V-hdc in next ch-1 sp; repeat from * to last V-hdc (of prev. row), hdc2tog in last ch-1 sp (of V-hdc) & ch-2 sp, turn.
Row 24: repeat row 22
Row 25: ch2-PM, skip next hdc2tog & hdc, V-hdc in next ch-1 sp, skip next 2 sts, V-puff in next ch-1 sp.
* Skip next 2 sts, V-hdc in next ch-1 sp, skip next 2 sts, V-puff in next ch-1 sp; repeat from * to last V-hdc (of prev. row), hdc2tog in last ch-1 sp (of V-hdc) & ch-2 sp, turn.
Row 26: ch2-PM, skip next hdc2tog & 1puff, V-hdc in next ch-1 sp.
* Skip next 2 sts, V-puff in next ch-1 sp, skip next 2 sts, V-hdc in next ch-1 sp; repeat from * to last V-hdc (of prev. row), hdc2tog in last ch-1 sp (of V-hdc) & ch-2 sp, turn.
Row 27: repeat row 25
Row 28: repeat row 18
Row 29: ch2-PM, skip next hdc2tog & 1puff, V-hdc in next ch-1 sp, skip next 2 sts, V-puff in next ch-1 sp.
* Skip next 2 sts, V-hdc in next ch-1 sp, skip next 2 sts, V-puff in next ch-1 sp; repeat from * to last V-puff (of prev. row), hdc2tog in last ch-1 sp (of V-puff) & ch-2 sp, turn.
Repeat rows 18-29 until you have only 3 V-sts (finishing with row 28) and continue to row 30.
Row 30: ch2-PM, skip next hdc2tog & 1puff, V-hdc in next ch-1 sp, skip next 2 sts, V-puff in next ch-1 sp, hdc2tog in last ch-1 sp (of V-puff) & ch-2 sp, turn.
Row 31: ch2-PM, skip next hdc2tog & 1puff, V-puff in next ch-1 sp, hdc2tog in last ch-1 sp (of V-hdc) & ch-2 sp, turn.
Row 32: ch1, skip next hdc2tog & 1puff, hdc2tog in last ch-1 sp (of V-puff) & ch-2 sp. Do not fasten off.
Corner to Corner Baby Blanket Border
For this blanket I chose to make only one round on single crochet stitches for a clean look, I wanted to keep the blanket texture in the center, and not overcome it with a big border.
Turn the blanket in 90 degrees.
Ch1 and start working 2sc in each side of each hdc and hdc2tog (you will be working 2sc in each row’s side), continue working until corner, work corner: [1sc, ch1, 1sc] into the corner.
Continue working each side of the blanket.
On the last side of the blanket, when you reach the corner work corner: [1sc, ch1, 1sc] into the beginning ch-1, ss to 1st sc. Fasten off and weave in the ends.
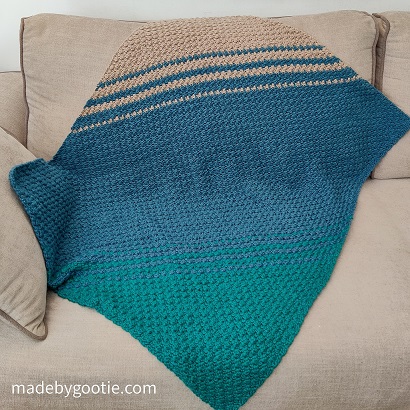
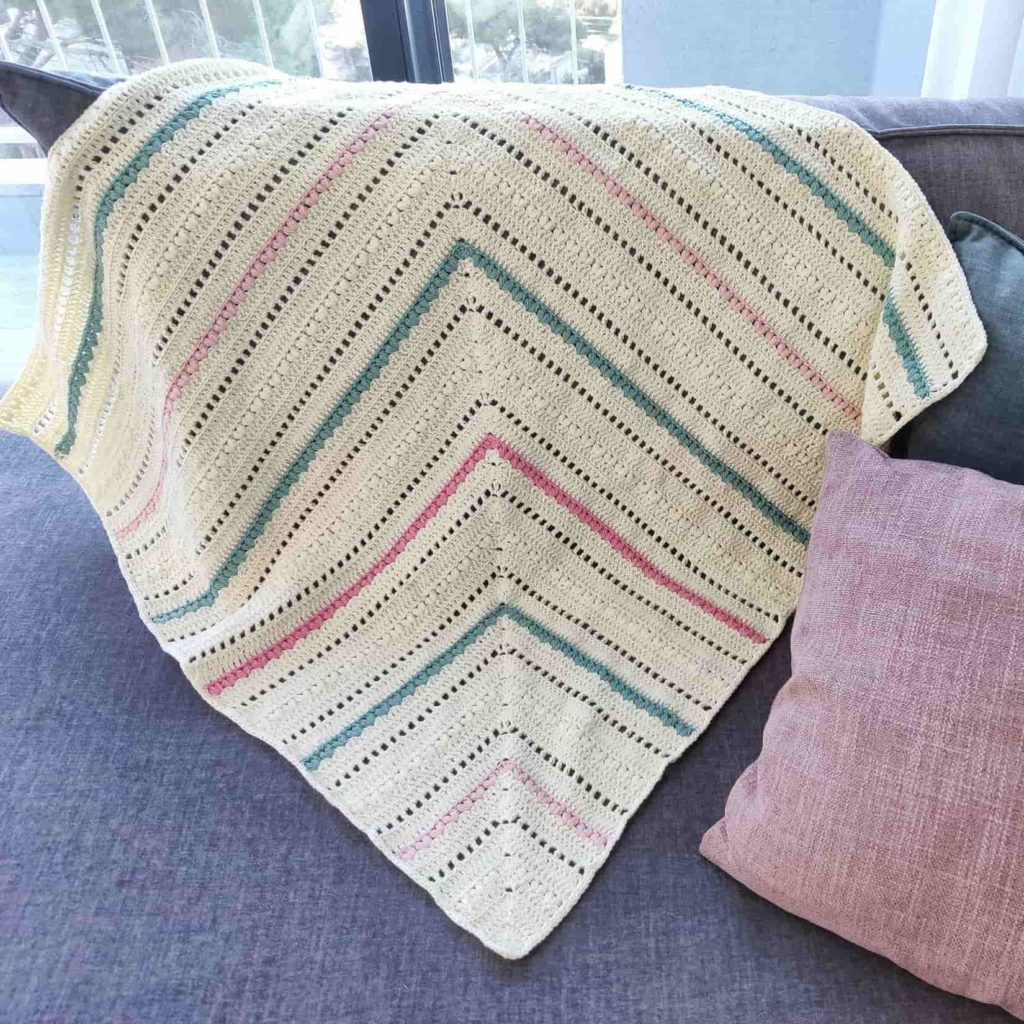
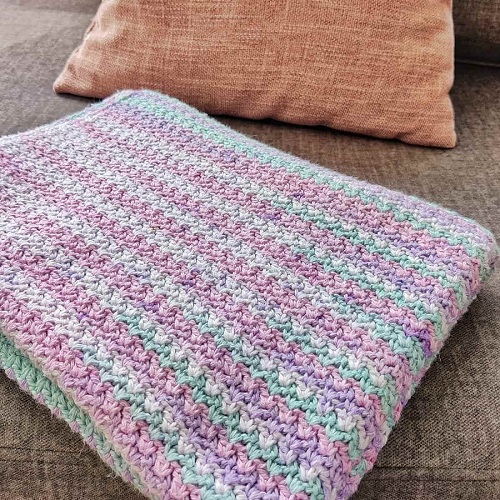
More Free Crochet Blankets to Love
Did you try this out? Share your project!
– Let me know how it went and leave a comment below.
– Tag me on Instagram @madebygootie
– Join and share in our FB Community
Want to save this post for later? Go ahead and PIN it!
Beautiful!! Can’t wait to try this one.
Thank you, Peggy! I hope you will enjoy this pattern 🙂
This is absolutely gorgeous! I can’t wait to try this stitch! I’ve never seen anything like this and it’s so unique! Thank you for the beautiful pattern!
Thank you so much Debbi! I’m so happy you love this pattern, and can’t wait to see how your blanket turns out!
What a beautiful blanket! The stitches used make it look like a field of wheat and your colour choice is perfect for that image. Thank you for sharing this spectacular pattern. I just want to drop everything else and make this blanket.
Oh, thank you so much Trish!
I would love to see your blanket if you get to make it 🙂
How do you make the pattern rectangle please
Hi Maygan,
The general idea for making the blanket a rectangle is to work the increase to the desired width, then start decreasing only on one side and continue increasing on the other side until you reach the length you want, and then start decreasing on both sides.
I don’t have written instructions for a rectangle, but I’m currently working on them and they will be released in a couple of weeks.
I can’t get to the free pattern. I have signed up for Grow and I logged in but it doesn’t display any patterns I previously looked at with Grow and it won’t display this one.
I just checked with my account, and I think there’s an issue with Grow. I’m reaching out to them now.
Thank you for bringing this to my attention!
What is GROW going to do with my INFO?? I really don’t want to give out my info. anymore b/c of CRAZY emails I’ve recently been receiving. I LOVE your work though. It is ALWAYS something amazing.
Hi Susie,
Thank you so much for your kind words!
Grow is an app that helps you save all your favorite posts, and bookmark them in an easy way.
Your information won’t be shared, and you won’t get any extra emails (just from me if you sign up to my newsletter, but can unsubscribe anytime).
Due to changes to privacy on browsers, it works best for me to share my free patterns through the Grow platform, which is free to sign up and use.
I get that not everyone wants to sign up and set up an account, and I can understand that, but in order to keep providing free content, this is what works best for me at this time.
You also have an option to watch the free video tutorial which is linked to this post before the pattern 🙂