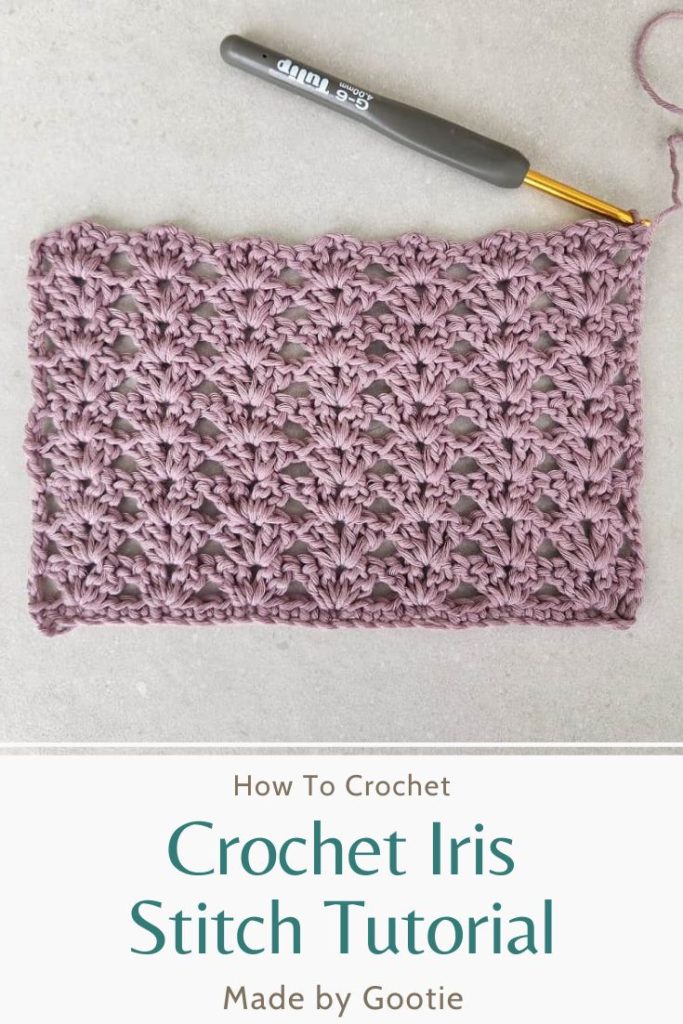
Iris Stitch Crochet Free Tutorial
Last Updated on September 22, 2023
I love the Iris stitch, it’s one of my favorite crochet stitches. It has a beautiful texture, it’s super easy and works up quickly.
In this tutorial, you will learn how to crochet the Iris stitch with a detailed photo tutorial. I will also show you how to start the stitch with a row of single crochet, for a smoother edge.
Scroll down to find the Iris stitch crochet photo tutorial and written instructions.
** Some of the links in this post may include affiliate links. Making a purchase through one of these links pays me a small referral fee at no added cost to you. These small fees add up and help me keep the blog running. View our disclosure and privacy policy for more information.
Want to save this post for later? Go ahead and PIN it!
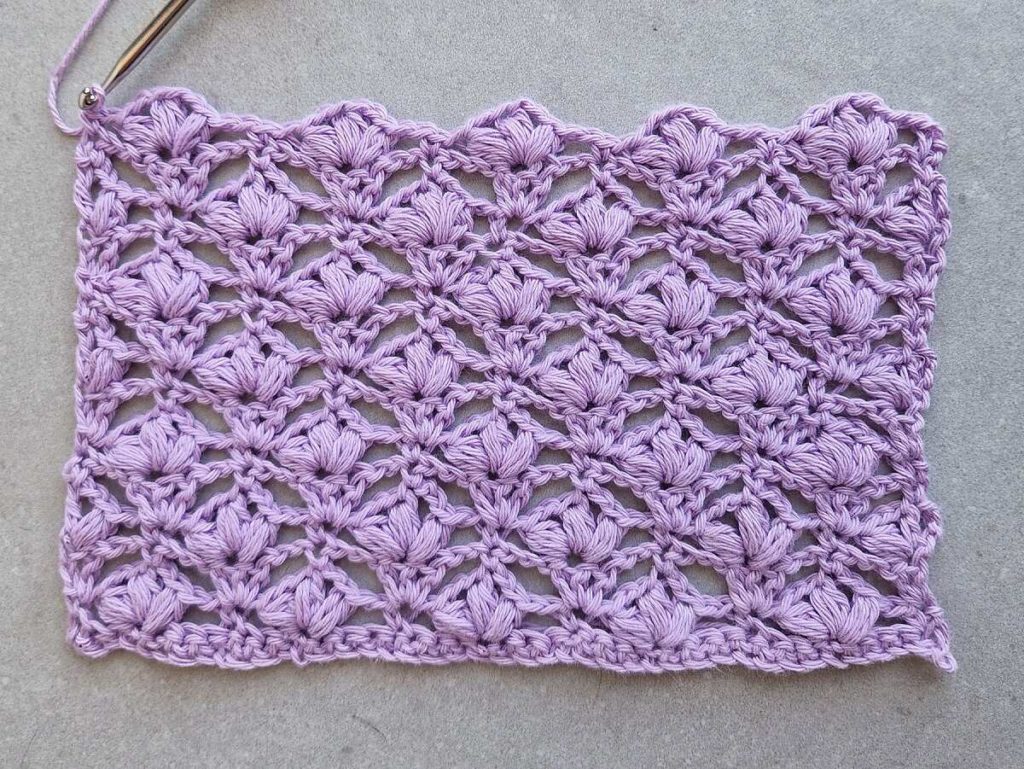
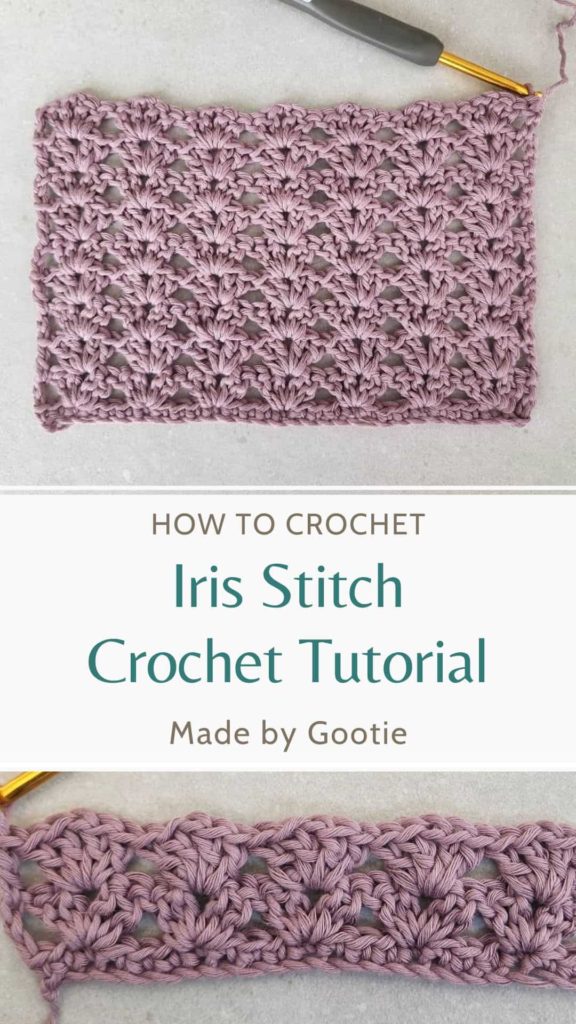
Crochet Iris Stitch – Double V Stitch
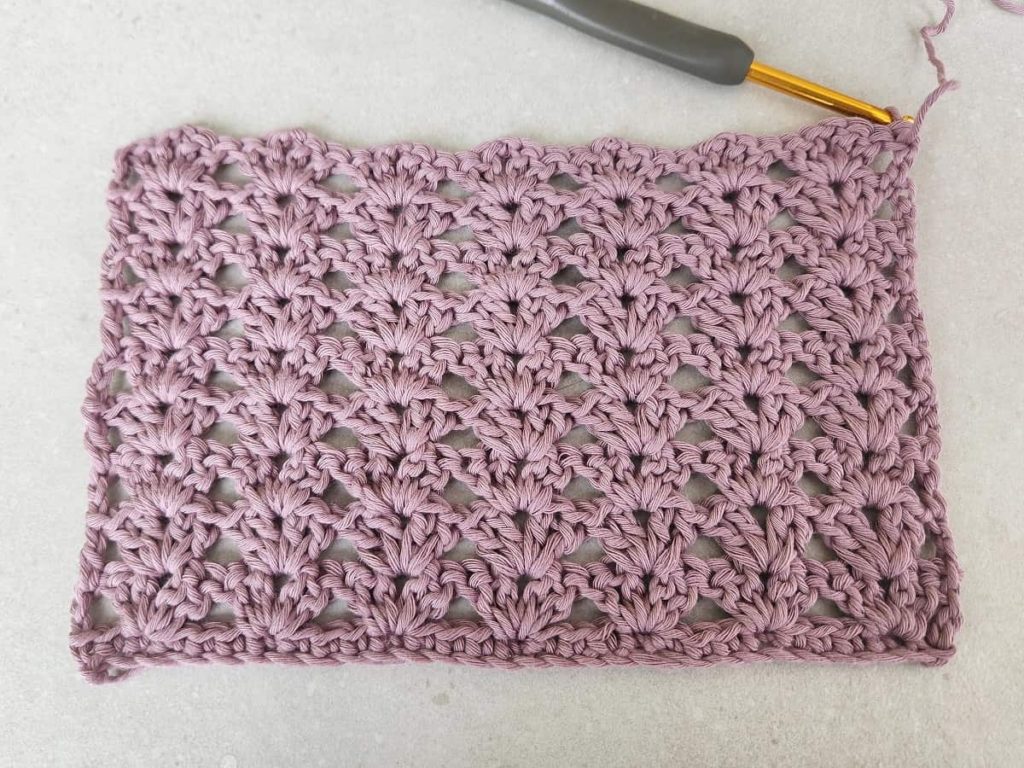
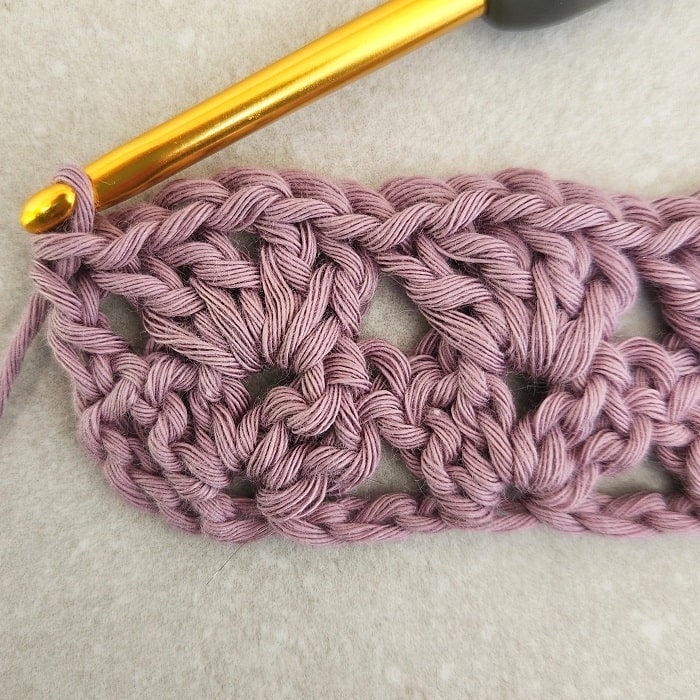
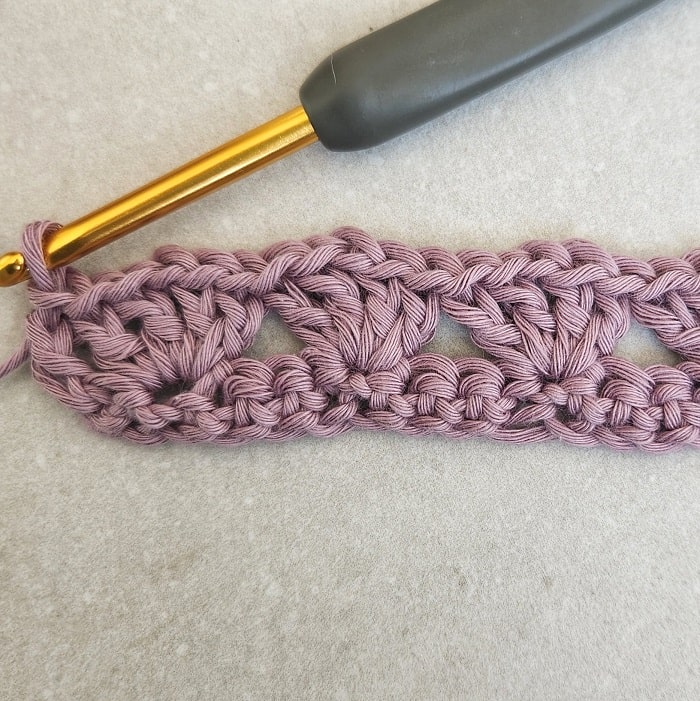
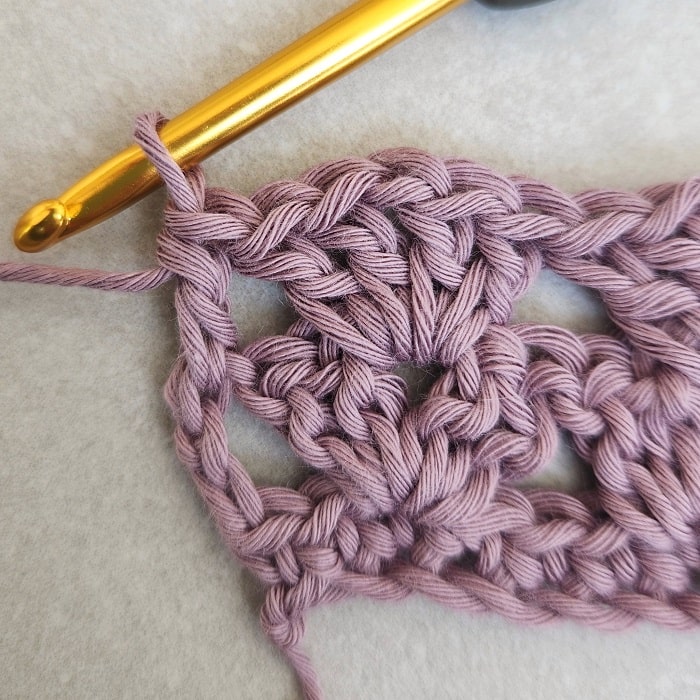
The crochet Iris stitch is a V stitch made from double crochet stitches separated by a chain, while on each side of the V we have 2 double crochet stitches = [2dc, ch1, 2dc].
The use of 2 double crochet stitches creates some kind of a double V stitch look. Each Iris stitch is crocheted into the ch-1 space of the Iris stitch from the previous row.
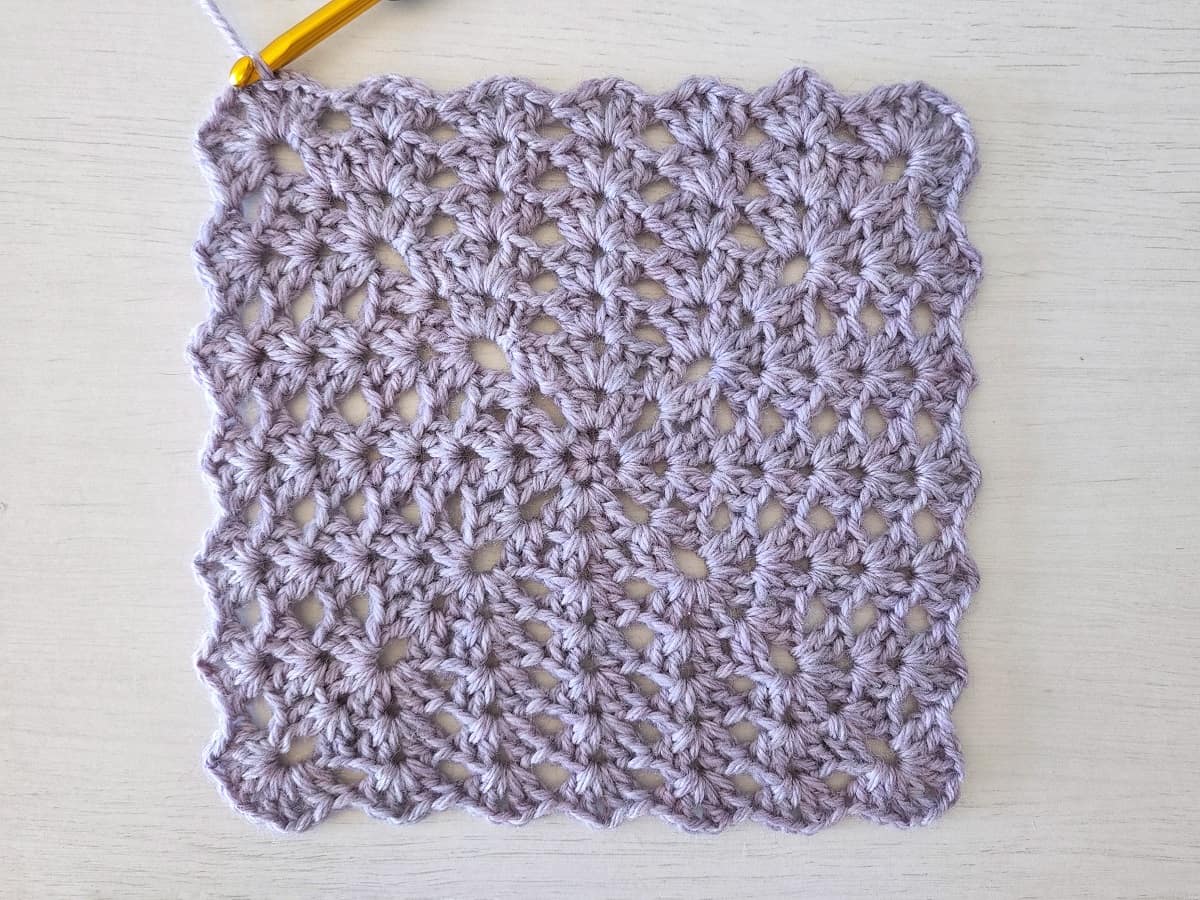
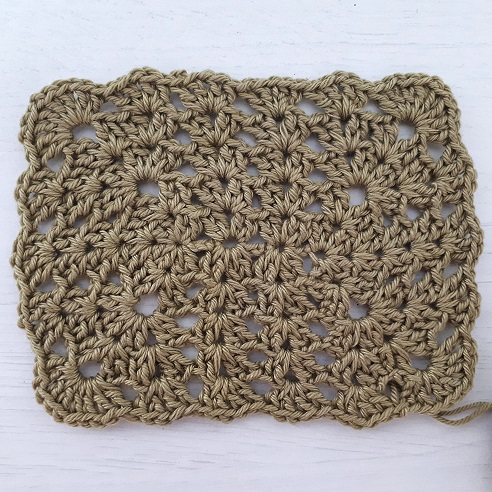
This stitch is also very pretty when it’s worked in the round! You can find tutorials for how to work the Iris stitch in a square and in a rectangle.
Crochet Project Ideas with Iris Crochet Stitch
Because of the simplicity and the beautiful texture of the Iris stitch, it can be used in so many projects!
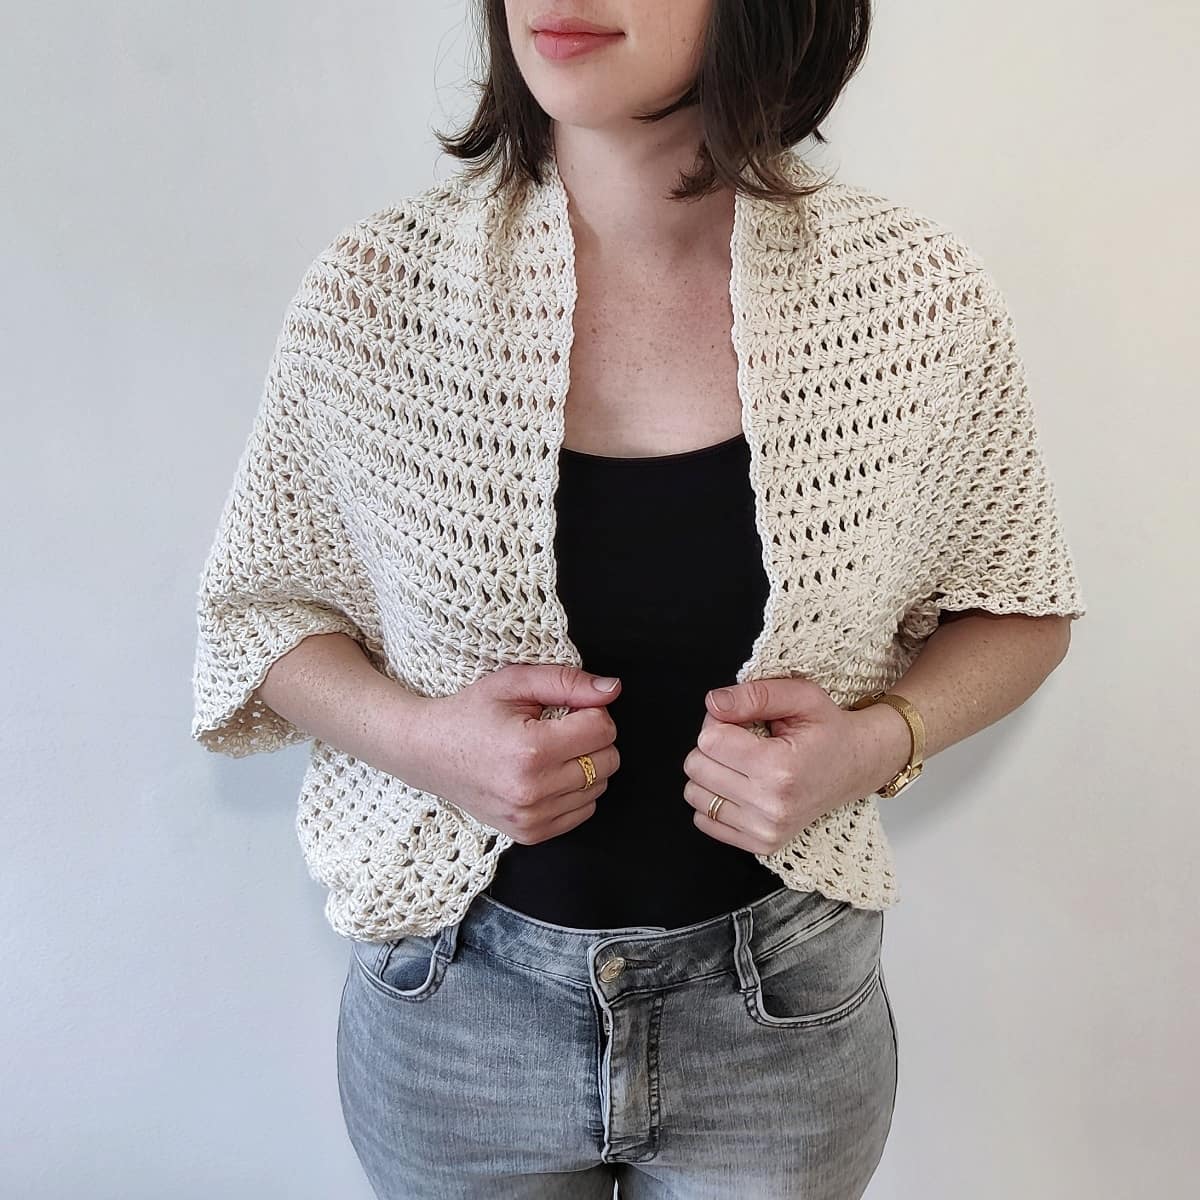
- Garments – I used it in my Iris Cocoon Shrug.
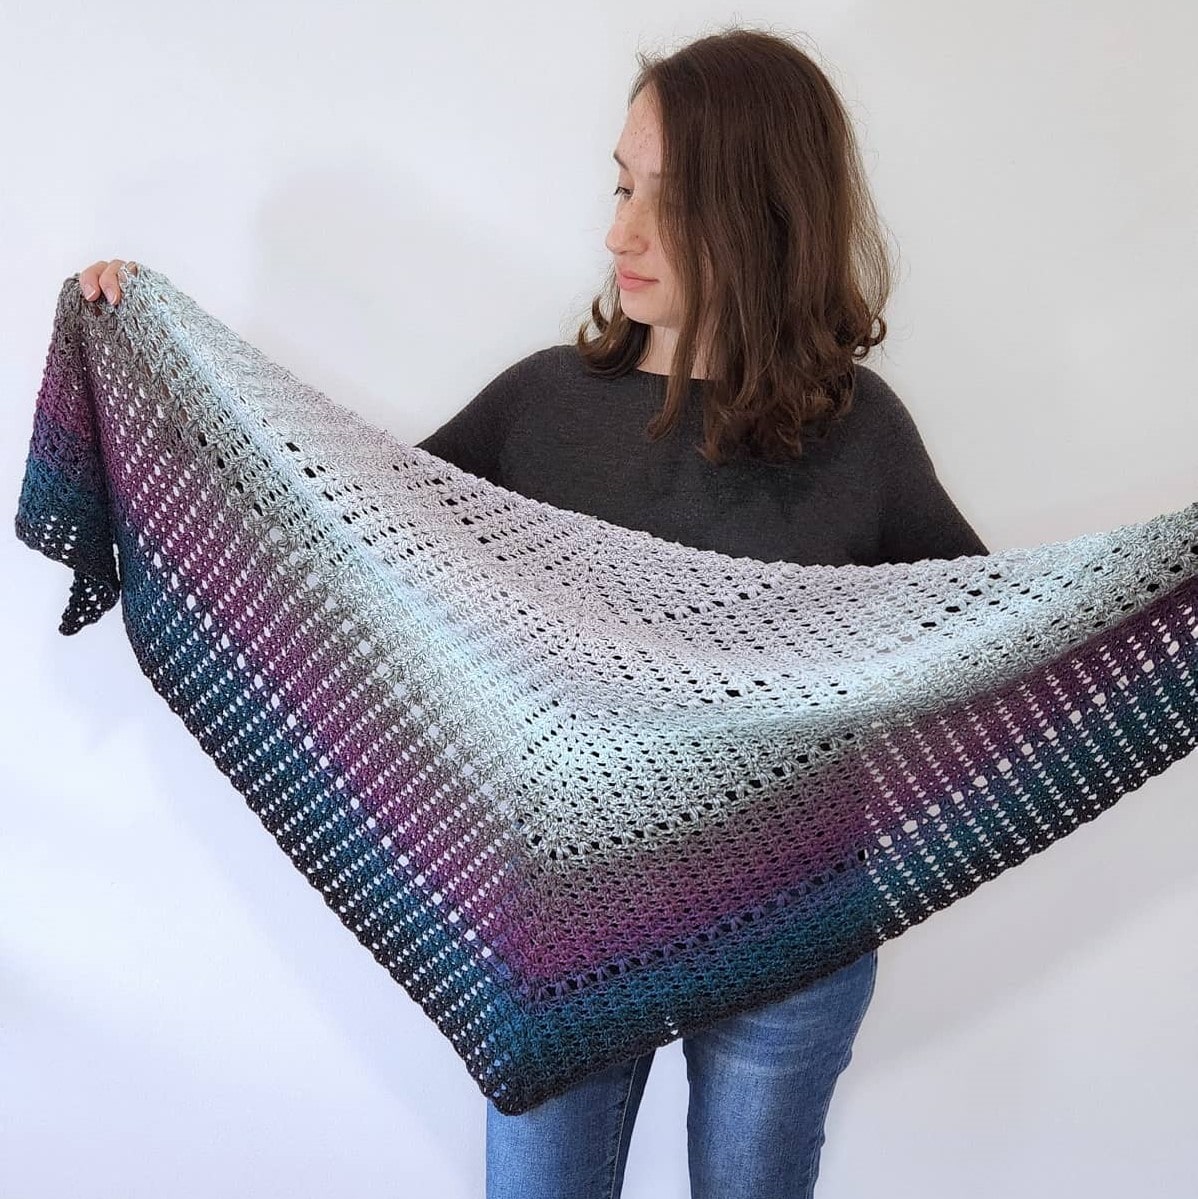
- Shawls – beautiful texture and works up fast – I used it in my Iris Triangle Shawl.
- Pillows – It will make a beautiful pillow cover.
- Blankets – This stitch is perfect for soft and quick blankets! Whether worked in rows, or in a square such as Ella’s Lullaby Blanket.
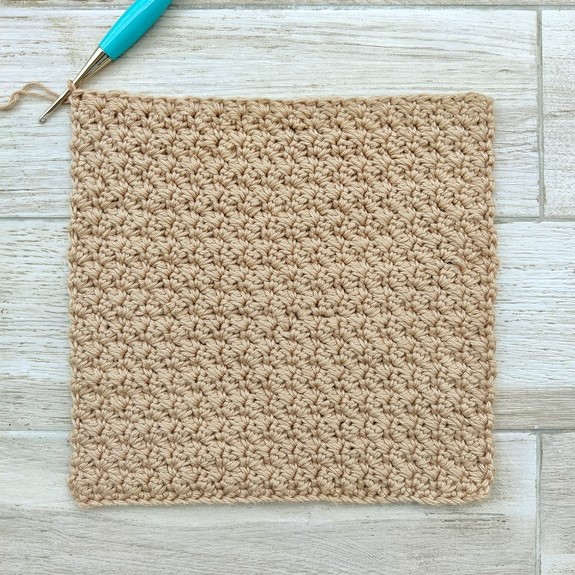
- Hotpads – if you’re looking for a quick make or just a small project to learn this new stitch.
iris stitch crochet blanket pattern
If you want to make a blanket with this Iris stitch crochet tutorial, I would use a DK (#3) or Worsted (#4) weight yarns in order to get the best texture.
If you want to use the Iris stitch in rows (back and forth), scroll down to the photo tutorial. I prefer starting with a single crochet row, as shown in the second tutorial for better tension and smooth edging.
Looking for More Crochet Stitch Tutorials? Check out the other free stitch tutorials on the blog:
Materials I Used in This Tutorial
– Crochet hook 4 mm / G (I love the Etimo and Clover Hooks).
– DK (#3) weight yarn – I used Fibra Natura – Cottonwood.
Abbreviations (US)
ch – chain
dc – double crochet
sc – single crochet
sp – space
Notes
- Ch3 at the beginning of the row counts as 1 dc.
- […] – crochet the instructions within brackets into the same indicated stitch/space.
Iris Stitch Crochet Photo Tutorial
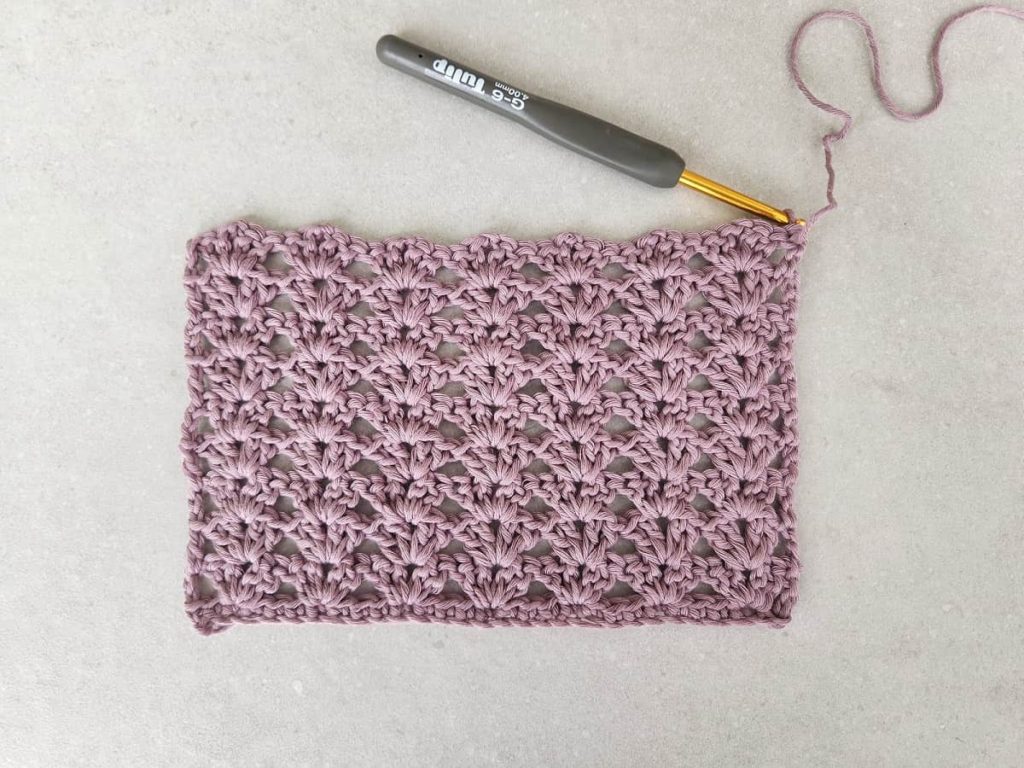
The classic Iris stitch tutorial is worked straight into the foundation chain. I prefer to start with a row of single crochet, and then work the Iris stitch, it creates a smoother edging.
I will show you these 2 ways to crochet the Iris stitch.
Iris Stitch (without a sc row)
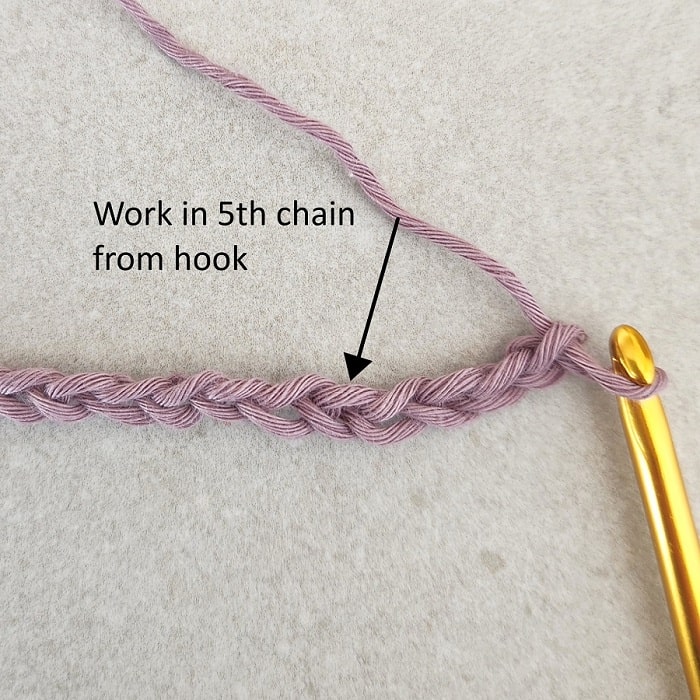
Chain a multiple of 4+3 (for my sample I chained 31 = 4×7 +3).
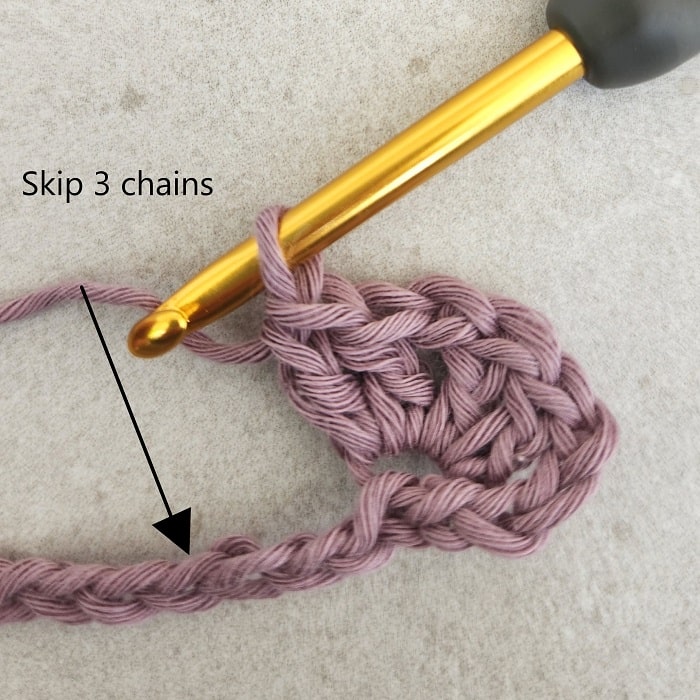
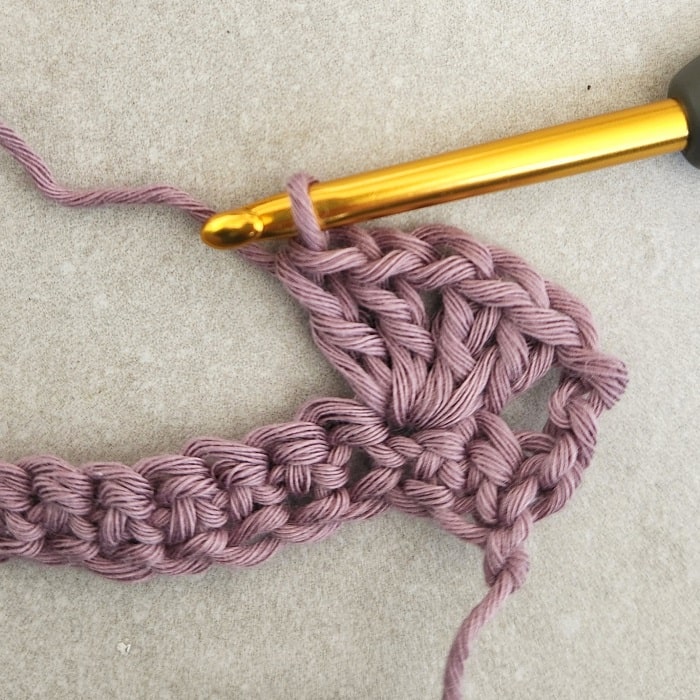
Row 1: [2dc, ch1, 2dc] in 5th from hook (ch4 counts as ch1 (part of the foundation ch + 1dc)).
* skip next 3 ch, [2dc, ch1, 2dc] in next ch; repeat from * until last 2 ch, skip next ch, 1dc in last ch, turn.
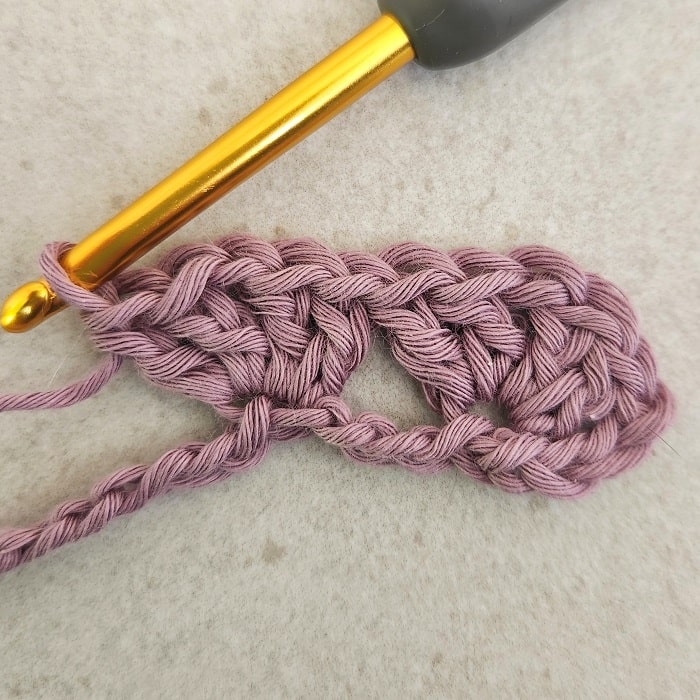
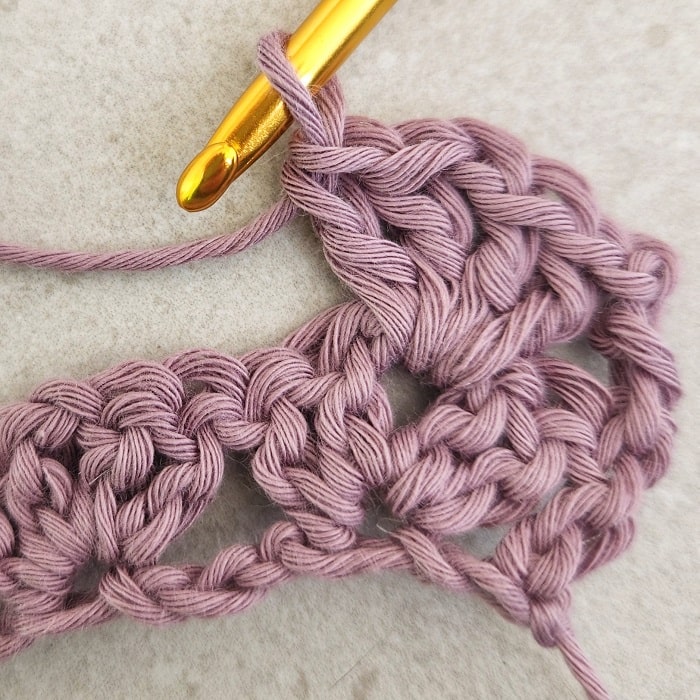
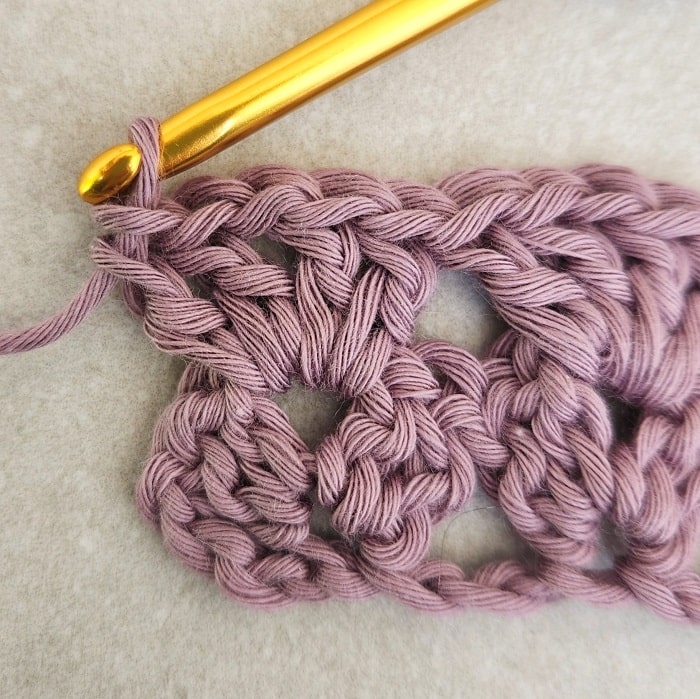
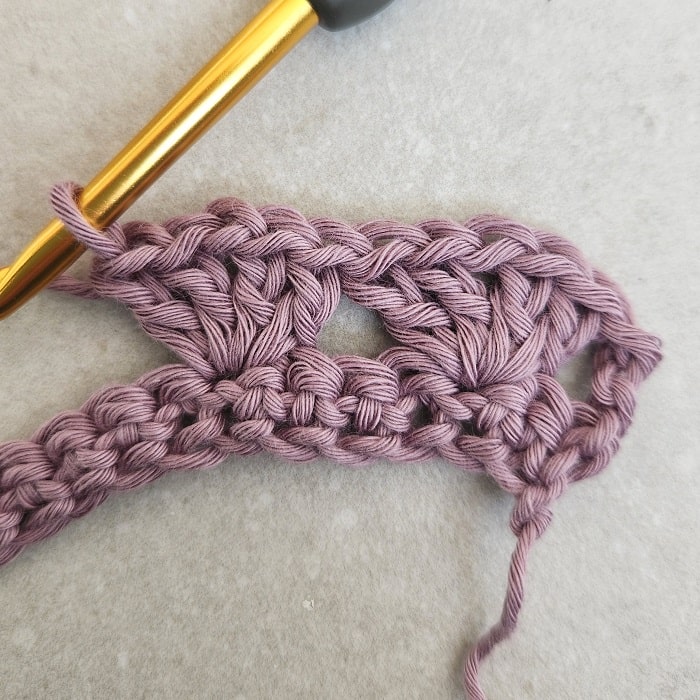
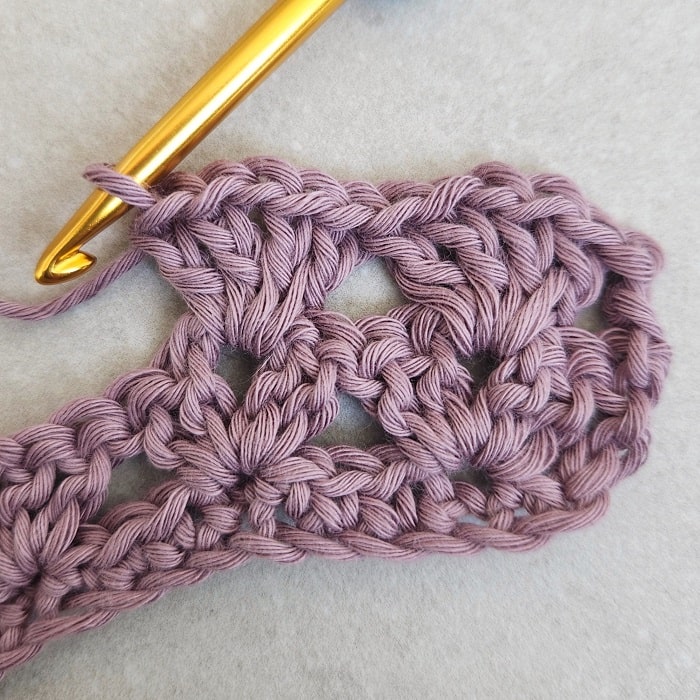
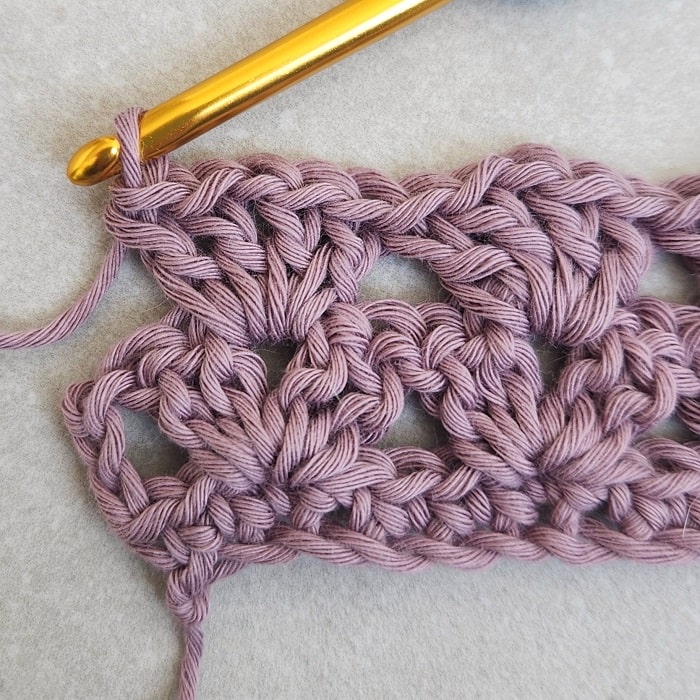
Row 2: ch3 (counts as 1 dc here and throughout), skip next 2 dc, [2dc, ch1, 2dc] in next ch-1 sp.
* skip next 4 dc, [2dc, ch1, 2dc] in next ch-1 sp; repeat from * until last 3 dc, skip next 2 dc, 1dc in last dc (this is the top of the beginning ch3), turn.
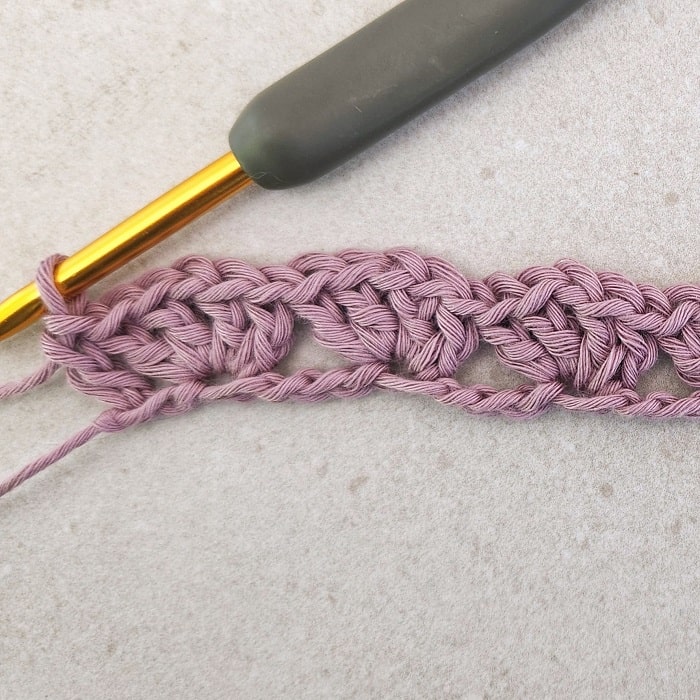
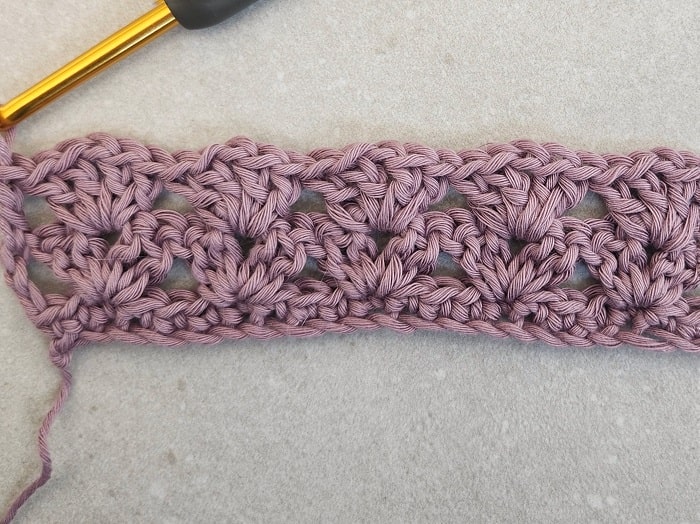
Repeat row 2 until the desired length.
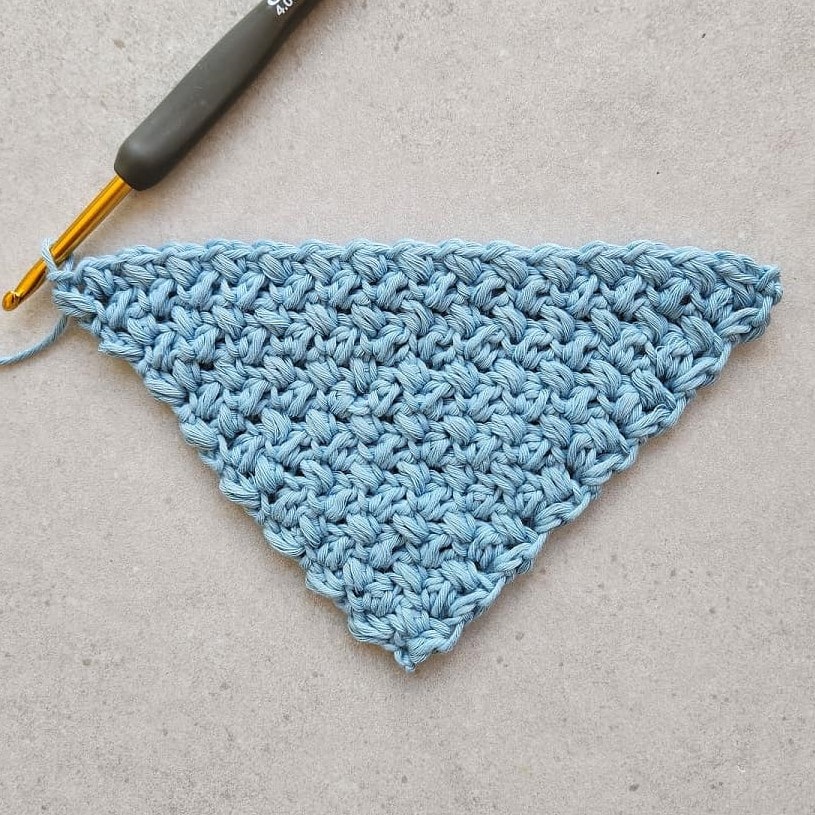
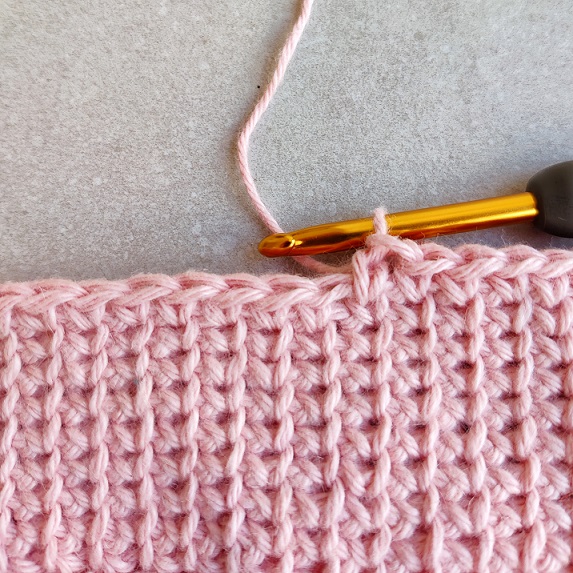
Iris Stitch with a single crochet row
Chain a multiple of 4+1 (for my sample I chained 29 – 4×7 +1).
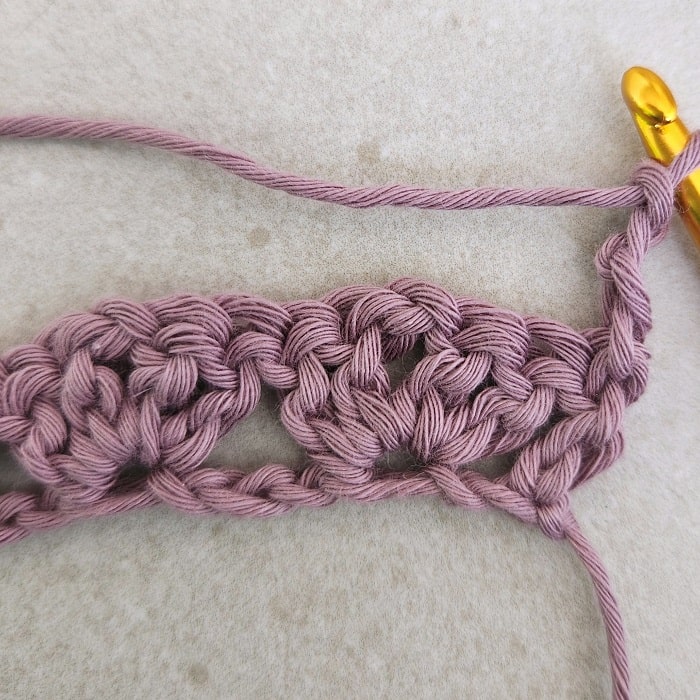
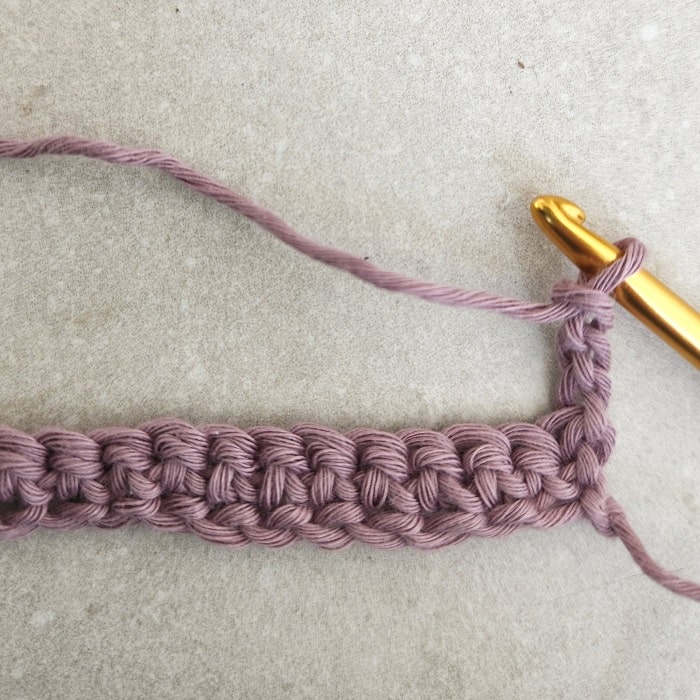
Row 1: 1sc in 2nd ch from hook, 1sc in each ch across, turn.
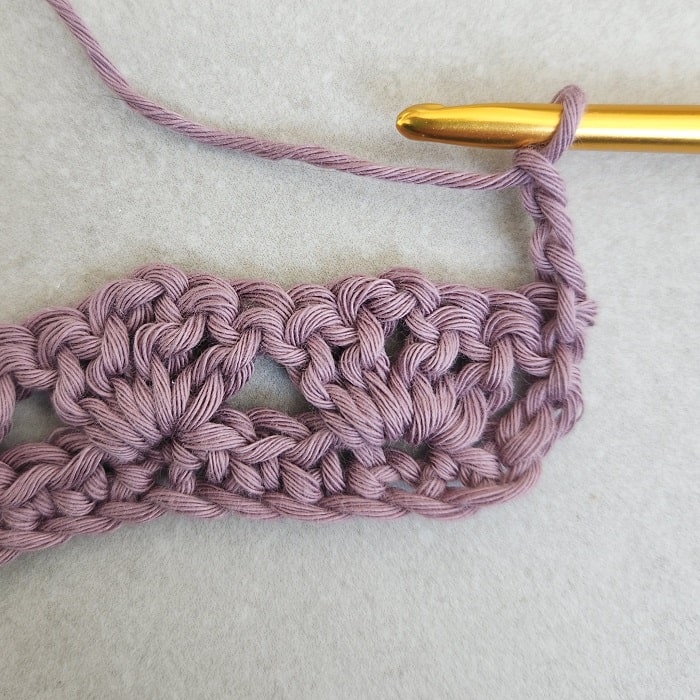
Row 2: ch3 (counts as 1 dc here and throughout), skip next sc, [2dc, ch1, 2dc] in next sc.
* skip next 3 sc, [2dc, ch1, 2dc] in next sc; repeat from * until last 2 sc, skip next sc, 1dc in last sc, turn.
Row 3: ch3, skip next d sc, [2dc, ch1, 2dc] in next ch-1 sp.
* skip next 4 dc, [2dc, ch1, 2dc] in next ch-1 sp; repeat from * until last 3 dc, skip next 2 dc, 1dc in last dc (this is the top of the beginning ch3), turn.
Repeat row 3 until the desired length.
Did you try this out? Share your project!
– Let me know how it went and leave a comment below.
– Tag me on Instagram @madebygootie
– Join and share in our FB Community
Want to save this post for later? Go ahead and PIN it!