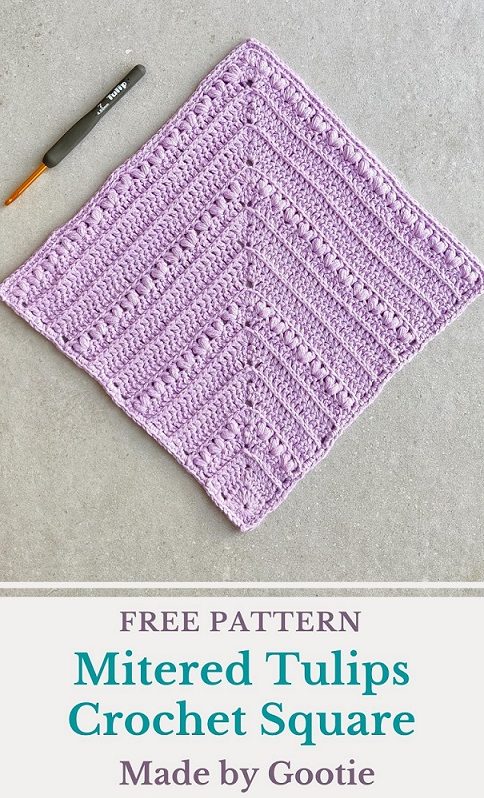
Mitered Tulips Crochet Afghan Square Free Pattern
Last Updated on July 23, 2024
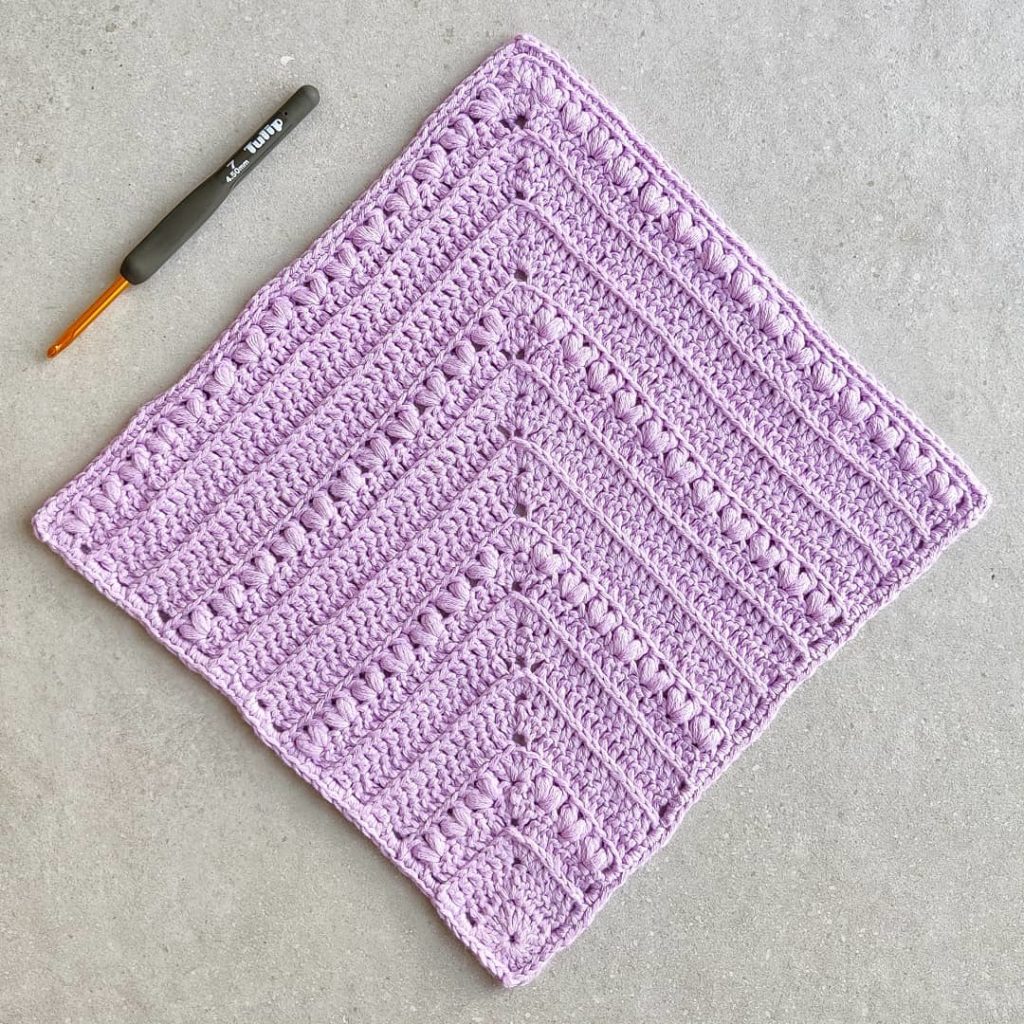
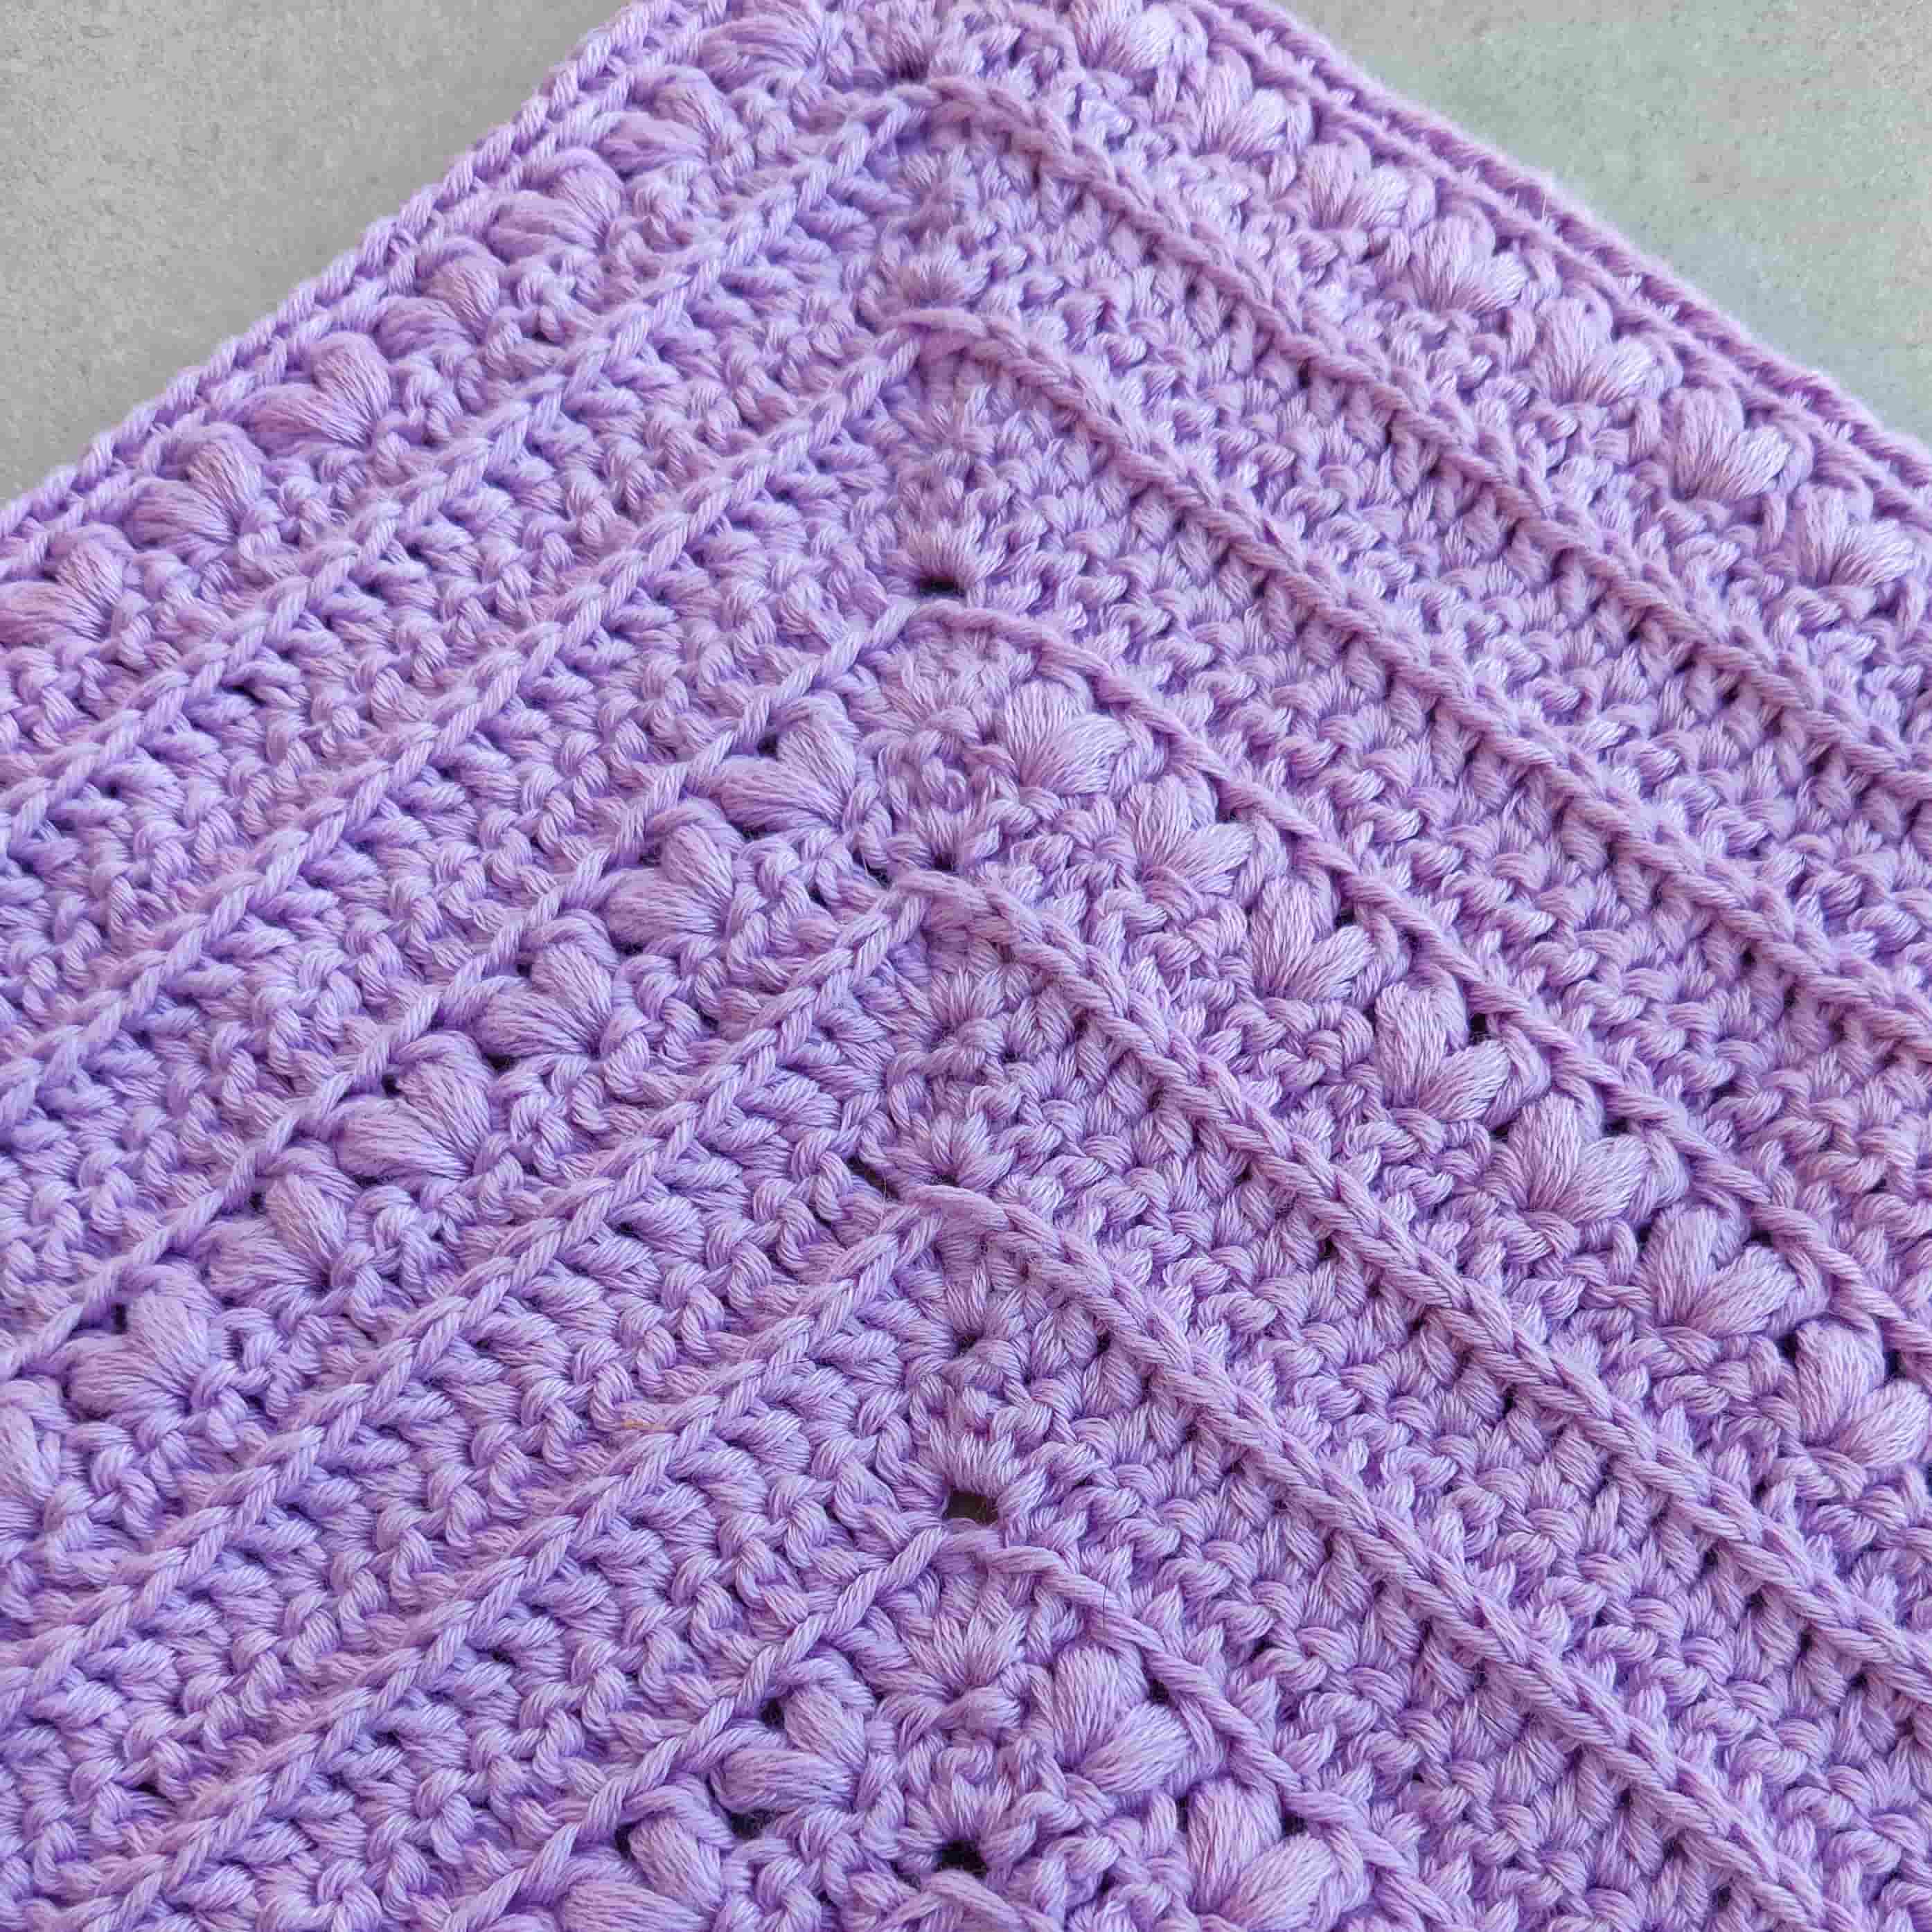
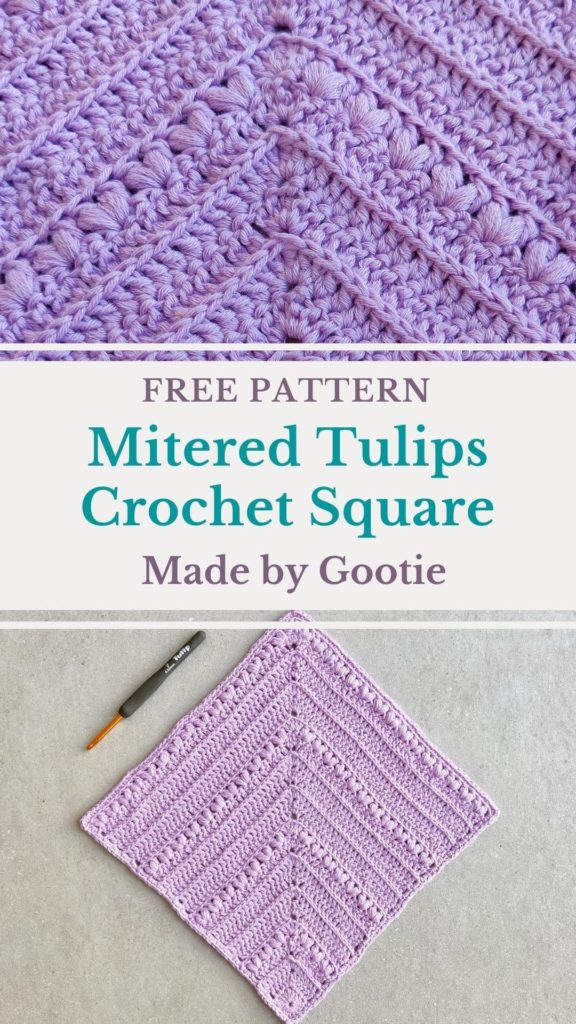
The Mitered Tulips square is a fun crochet afghan square with a beautiful texture. It is crocheted using the Mitered square crochet method, which means that it starting from one corner and is worked in diagonal to the other corner, so you can make it as big as you’d like.
The Mitered Tulips square was designed especially for the Bouquet of Flowers Afghan crochet along (CAL).
Some of the links in this post may include affiliate links. Making a purchase through one of these links pays me a small referral fee at no added cost to you. These small fees add up and help me keep the blog running. For more details, view our disclosure and privacy policy.
What is the Bouquet of Flowers Blanket Crochet Along (CAL)?
The Bouquet of Flower Blanket CAL is hosted by Helen from Sunflower Cottage Crochet, and is held through Feb 28th – Apr 15th, where a new square pattern is released every Monday and Wednesday, and the PDF pattern will be available with a code you’ll find on the round-up post.
This crochet along is a collaboration of 19 crochet designers, each designer has contributed a crochet square pattern to form a beautiful throw size blanket. The blanket consists of 20 floral themed 10” (25cm) crochet squares, which are then joined togehter.
The Mitered Tulips Square will be available on Ravelry as a free PDF pattern on Feb 2nd, visit the CAL round up post to find the code and come back here to download the pattern!

The Bouquet of Flowers Blanket Pattern Bundle
If you don’t want to wait for each square to be released, and want to work this CAL on your own pace, you can get all the square patterns now!
The Bouquet of Flowers Afghan CAL is available as a bundle, you can purchase all 20 squares for only $12.99 (that’s only $0.65 per square)!
About the Mitered Tulips Crochet Afghan Square Design
A crochet mitered square is worked from one corner of the square to the other while increasing in the corner of the square, it’s a bit like the corner to corner method, but without having to decrease.
To fit the flower theme, I added rows of tulips-like flowers that are worked with puff stitches.
Because the nature of this crochet afghan square, as it’s not worked from the middle, or in flat rows, it will need blocking to adjust the size and shape, don’t skip that step!
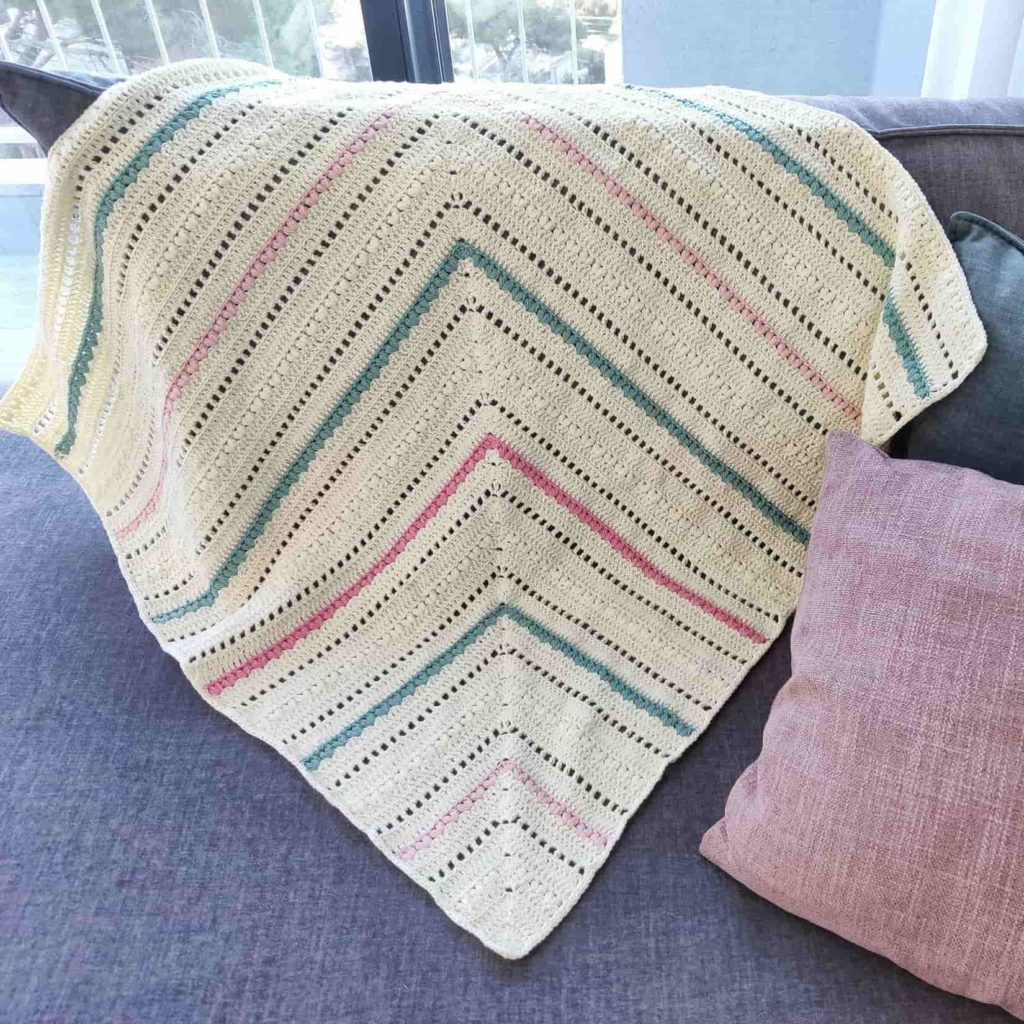
After I finished this square design, I was so please with the outcome and decided to create one big blanket inspired by this square design, the Mitered Tulips Blanket.
Want to save this post for later? Go ahead and PIN it!
You can find the Mitered Tulips Crochet Square ad-free PDF pattern with the full photo-tutorial at one of my shops below:


The Yarn I Used For My Crochet Blanket Square
The Bouquet of Flowers Blanket CAL calls for a DK (#3) weight yarn in order to obtain the correct gauge. For my mitered square I used Lion Brand Coboo yarn, this yarn is super soft and shiny, it’s made of 50% cotton and 50% bamboo and is perfect for blankets.
But you can use any type of DK yarn you would like!
How to Crochet the Mitered Tulips Square
Materials
– 3.5 mm / E crochet hook (I used Tulip Etimo).
– DK (#3) weight yarn. For this pattern I used Lion Brand Coboo yarn.
Total amount of yarn needed: 70gr/162yds/184m
More great yarn options for this pattern:
Knit PIcks – CotLin
Premier Anti-PIlling Everyday DK
Paintbox Yarn Baby DK
– 1 stitch marker
Skill Level – Intermediate
Gauge – Work until row 2, the length in the center of the square should be 1.5in / 3.8cm.
Finished Size – 6×6 in (15×15 cm)
Abbreviations (US)
RS – right side
WR – wrong side
PM – place marker
ch – chain
ss – slip stitch
sc – single crochet
sp – space
blo – through back loop only
flo – through front loop only
dc – double crochet
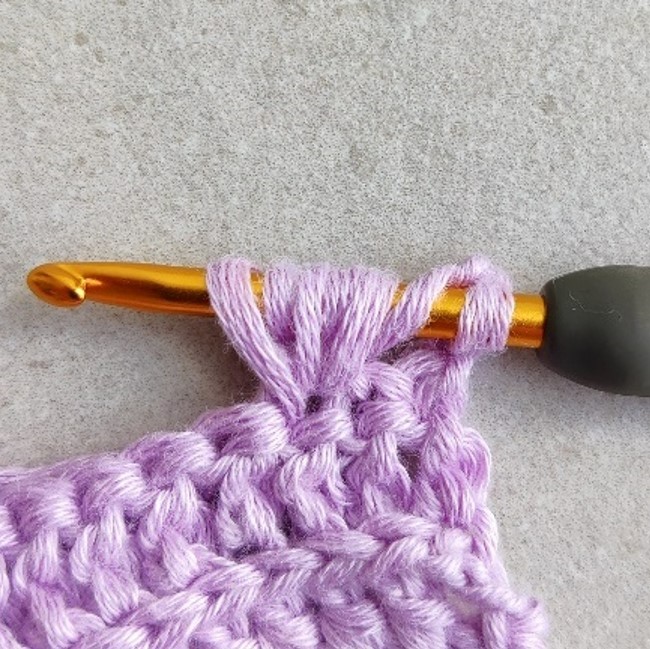
in 3rd loop – work st into third loop (the loop is below top 2 loops).
tr – treble crochet
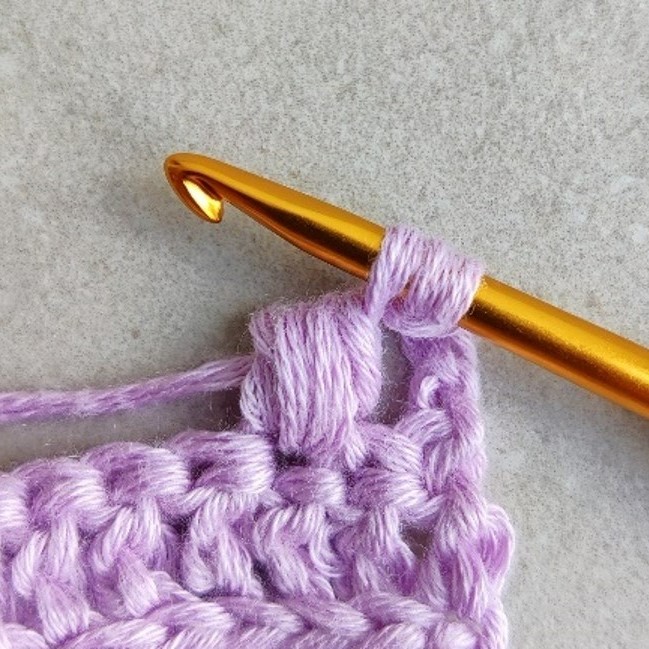
Puff – (yo, insert hook into next st, yo and pull up a loop) x 3 times working into same st, yo and pull through 6 loops, yo again and pull through 2 remaining loops.
Tulip – [1puff, ch1, 1puff] in same stitch
Notes
- ch3 at the beginning of the row counts as 1dc.
- The square is worked from one corner to corner (similar to the C2C method, but without the decreasing).
- Place marker in the corner stitch (tr) and move marker along the rows to make it easier to find the corner.
- This square needs a blocking to obtain its final shape, don’t skip this step.
Stitch counting:
- Each tulip row adds a total of 8 tulips (4 at each side).
- Each dc row adds a total of 4 dc (2 at each side). When working a dc row after a tulip row, you add a total of 8 dc in compared to the last dc row
Mitered Tulips Square Crochet Instructions
Setup Section
Make a magic ring
Row 1 (RS): ch4 (counts as 1tr), working into the ring: 3dc, (1tr, 3dc) x3 times, ss to top of ch-4. Pull the ring tight, turn. (12dc, 3 tr)
Row 2 (WS):
ch3 (counts as 1dc here and throughout), 1dc in next 3 dc, [2dc, 1tr-PM, 2dc] in next tr, 1dc in next 3 dc, 1dc in next tr, turn. (12 dc, 1 tr)
** To meet gauge, make sure the length in the center of the square is 1.5in / 3.8cm.
Row 3 (RS):
ch3, 1dc in next 5 dc, [2dc, 1tr-PM, 2dc] in next tr, 1dc in next 6 dc, turn. (16 dc, 1 tr)
Row 4 (WS):
ch3, 1dc in 3rd loop in next 7 dc, [2dc, 1tr-PM, 2dc] in 3rd loop in next tr, 1dc in 3rd loop in next 7 dc, 1dc in flo of top ch-3, turn. (20 dc, 1 tr)
Row 5 (RS):
ch3, skip 1 dc, tulip in next dc.
* skip 2 dc, tulip in next dc; repeat from * 1 more time, skip 1 dc, [2dc, 1tr-PM, 2dc] in next tr.
skip 1 dc, tulip in next dc, * skip 2 dc, tulip in next dc; repeat from * 1 more time, skip 1 dc, 1dc in top of ch-3, turn. (6 dc, 1 tr, 6 tulips)
Are you more of a chart-pattern person (like me)? Get the ad-free, printable premium PDF version! Get it onRavelryor Etsy!
Main Section
Row 6 (WS):
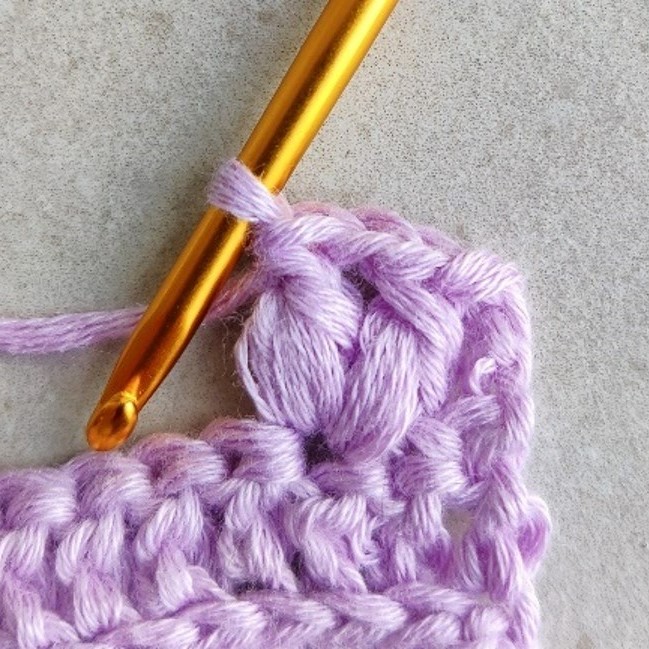
ch3, 1dc in flo of each st (each puff and ch) until marker, [2dc, 1tr-PM, 2dc] in flo of next tr, 1dc in flo of each st to the end of the row, turn. (28 dc, 1 tr)
Row 7 (RS):
ch3, 1dc in each dc until marker, [2dc, 1tr-PM, 2dc] in next tr, 1dc in each dc to the end of the row, turn. (32 dc, 1 tr)
* work row 7 a but looser, to make it easier to work into the 3rd loop on row 8.
Row 8 (WS):
ch3, 1dc in 3rd loop in each dc until marker, [2dc, 1tr-PM, 2dc] in 3rd loop in next tr, 1dc in 3rd loop in each dc to the end of the row, turn. (36 dc, 1 tr)
* Last dc is worked in flo of top ch-3
Row 9-10: Work rows 7-8 (44 dc, 1 tr at row 10)
Row 11 (RS):
ch3, skip 1 dc, tulip in next dc.
* skip 2 dc, tulip in next dc; repeat from * to 1 dc before marker, skip 1 dc, [2dc, 1tr-PM, 2dc] in next tr.
skip 1 dc, tulip in next dc, * skip 2 dc, tulip in next dc; repeat from * to last 2 dc, skip 1 dc, 1dc in top of ch-3, turn. (6 dc, 1 tr, 14 tulips)
Rows 12-23: work rows 6-11 twice (6 dc, 1 tr, 30 tulips at row 23)
Stitch counting:
- Each tulip row adds a total of 8 tulips (4 at each side).
- Each dc row adds a total of 4 dc (2 at each side). When working a dc row after a tulip row, you add a total of 8 dc in compared to the last dc row
* Before working row 23, measure your square, if it’s already 10in, skip the last row and start the border (skip the border instruction to see the alternative border option).
** Don’t turn your work after row 23.
Prefer a detailed step-by-step photo tutorial?
Get the premium, ad free, printable PDF version onRavelryor Etsy!
Border (worked on the right side)
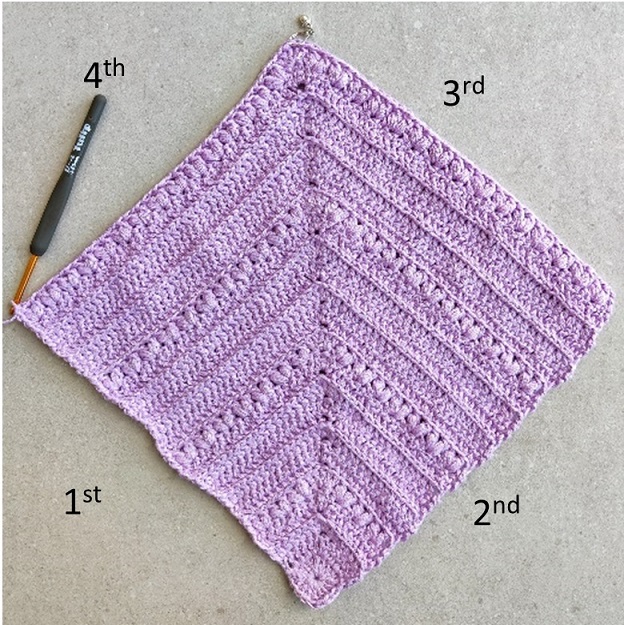
When the right side is facing you, start working the border, turn the square in 90 degrees.
1st side:
ch1 and start working 2sc in each side of a dc (44 sc), when reaching the beginning square work 1 ss in next tr and next 3 dc (4 ss).
Work corner: (1ss, ch1, 1ss) in next tr.
2nd side:
1 ss in next 3 dc and in next tr (4ss).
Work 2sc in each side of a dc (44 sc)
Working the corner: (1sc, ch1, 1sc) in blo of top of ch-3.
3rd side:
1 sc in blo of each st (each puff and ch) until marker (47 sc).
Working the corner: (1sc, ch1, 1sc) in blo of next tr.
4th side:
1 sc in blo of each st (each puff and ch) until last dc (the one you worked in the 1st side) (47 sc).
Working the corner: (1sc, ch1, 1sc) in blo of next dc, ss to 1st sc.
Weave in the ends, soak and block the square
Alternative Border (worked on the right side)

When the right side is facing you, start working the border, turn the square in 90 degrees.
1st side:
ch1 and start working 1 sc in blo of each dc until marker (45 sc).
Work corner: (1ss, ch1, 1ss) in next blo of tr.
2nd side:
1 sc in blo of each dc until last dc (45 sc).
Work corner: (1ss, ch1, 1ss) in blo of last dc.
3rd side:
Work 2sc in each side of a dc (42 sc), when reaching the beginning square (see photos of 1st side at regular border) work 1 ss in next tr and next 3 dc (4 ss).
Work corner: (1ss, ch1, 1ss) in next tr.
4th side:
1 ss in next 3 dc and in next tr (4ss).
Work 2sc in each side of a dc (42 sc)
Working the corner: (1sc, ch1, 1sc) in blo of top of ch-3, ss to 1st sc.
Weave in the ends, soak and block the square.
Looking for more crochet blanket ideas? Check out these other stitch tutorials on the blog:
- Mitered Tulips Blanket
- Across the Way C2C Blanket
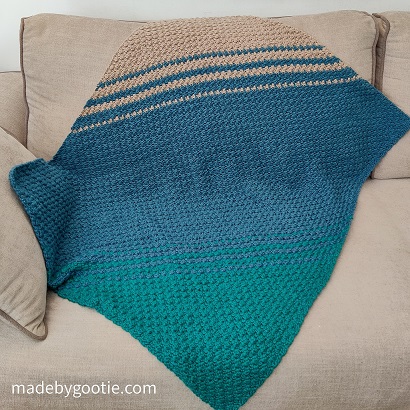
- Moss Stitch (in 3 different ways – perfect for blankets)
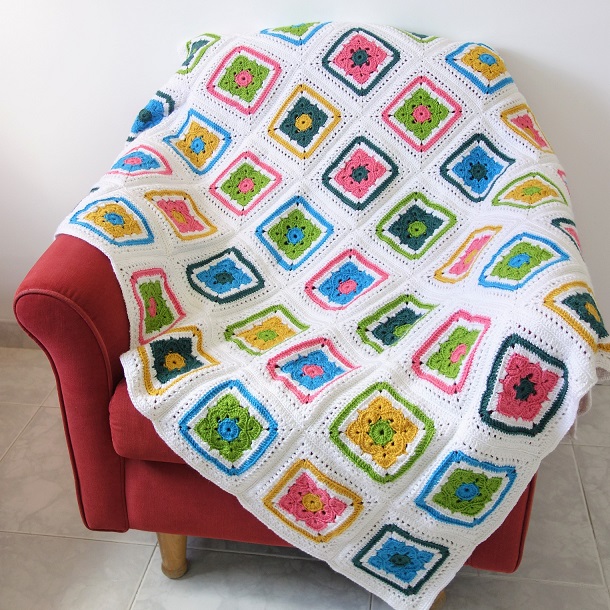
- Flower Granny Square Blanket
Did you try this out? Share your project!
– Let me know how it went and leave a comment below
– Tag me @madebygootie
– Join and share in our FB Community
Want to save this post for later? Go ahead and PIN it!
Thank you for the free pattern, I will share my results upon finishing…..thanks again !!
You are welcome, I’m looking forward to seeing your square!
I think there is some errors in the beginning of this pattern. Can you please look into especially row 3
Row 1 shouldn’t there be 4 tr and 12 dc
Yes, you are right. Thank you for letting me know!
I checked and didn’t find anything wrong with row 3.
Can you be more specific?