Stacked Single Crochet – How to Crochet Straight Edges
Last Updated on November 13, 2024
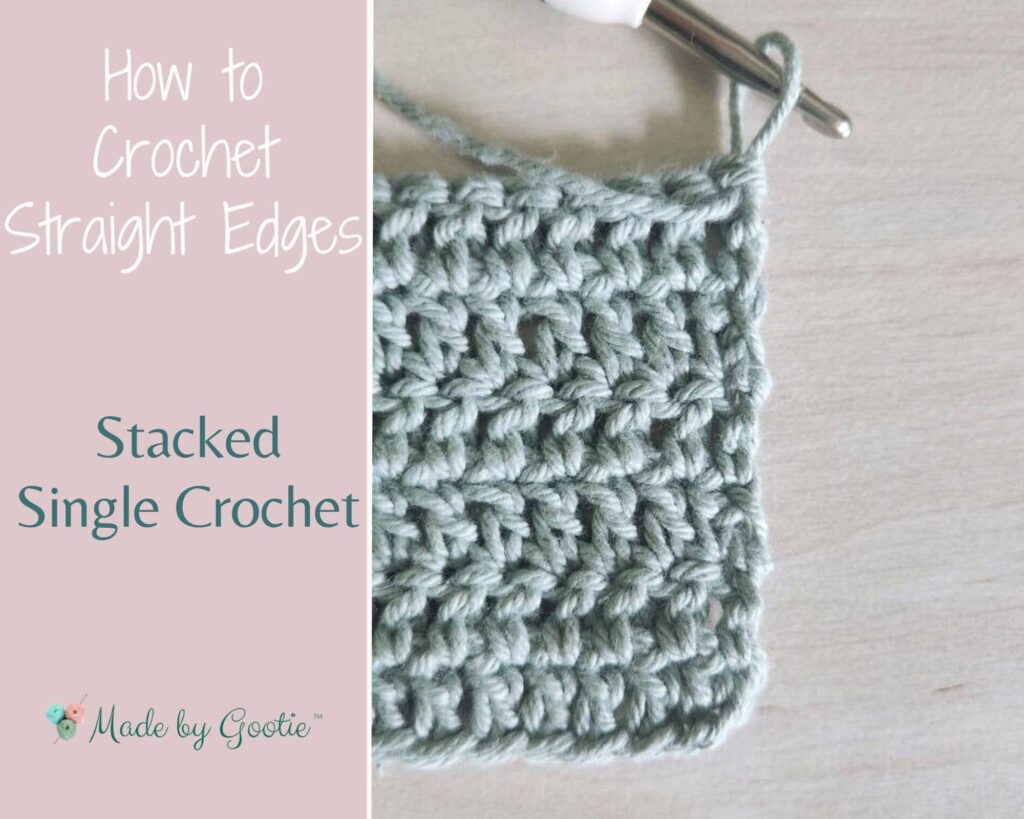
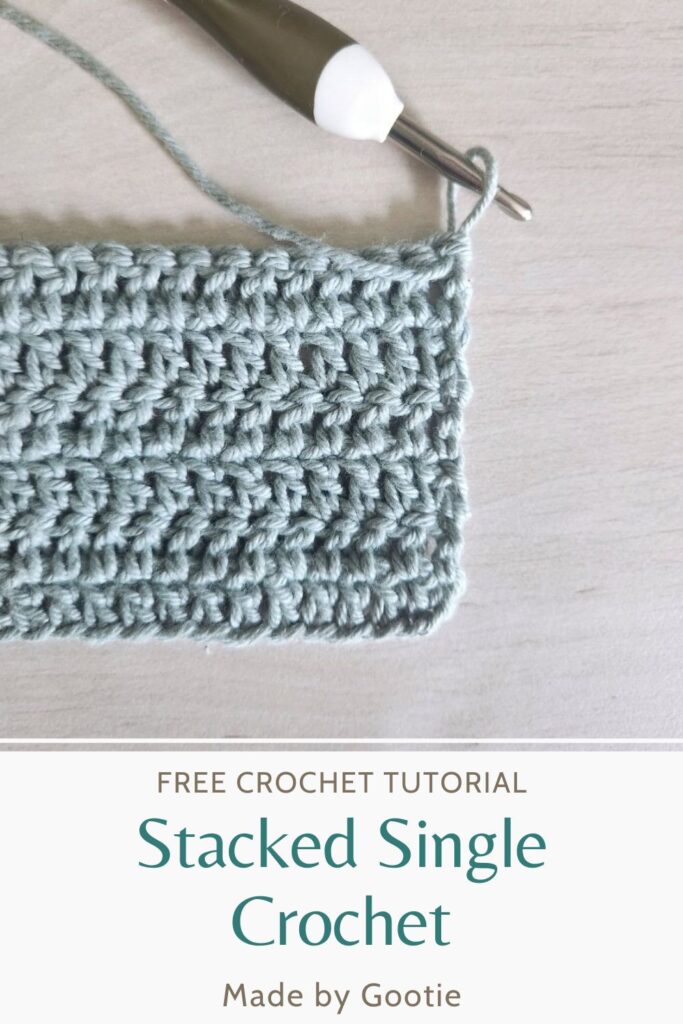
The Stacked Single Crochet Stitch is an easy way to create a straight edging for your crochet project.
It’s a great stitch for the beginning of a row of double crochet stitches or a stitch with an equivalent height.
In this post, you will find both written instructions and a step-by-step photo tutorial.
** Some of the links in this post may include affiliate links. Making a purchase through one of these links pays me a small referral fee at no added cost to you. These small fees add up and help me keep the blog running. View our disclosure and privacy policy for more information.
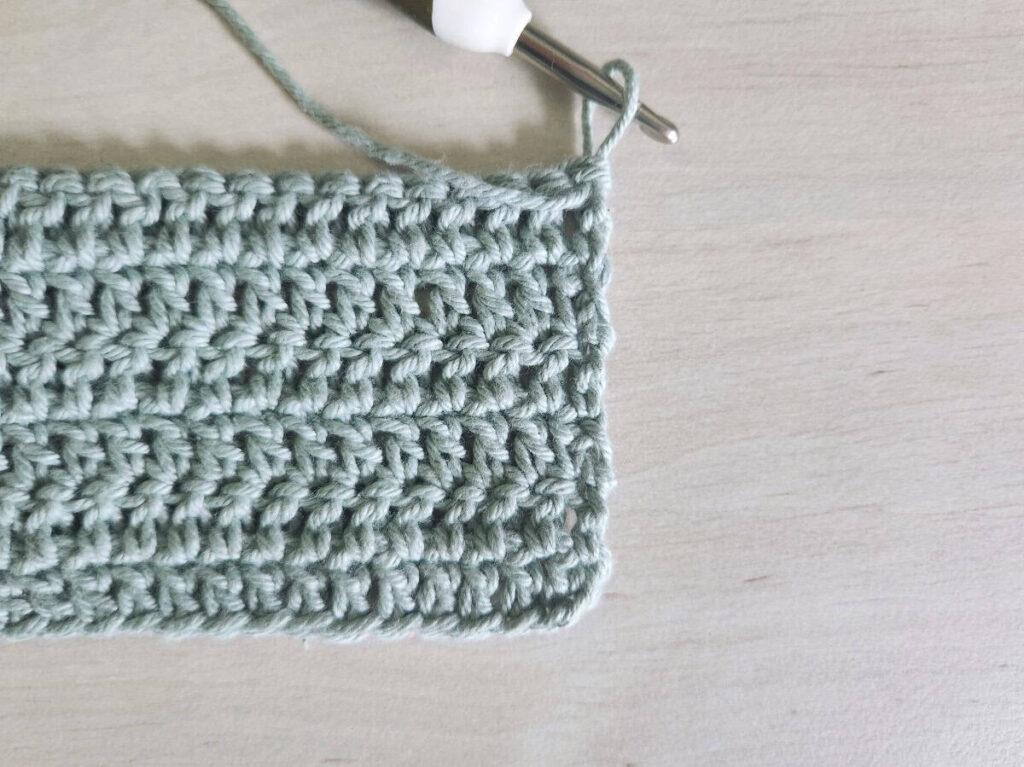
The stacked single crochet is a fabulous alternative stitch for turning chains. It creates beautiful, straight edges in crochet projects.
It replaces the beginning chain 2 + double crochet, or the chain 3 that counts as a double crochet at the beginning of the row. This way we don’t have a “bump” at the beginning of the row when starting with ch2 + dc, or a “hole” when we start with ch3 instead of a dc.
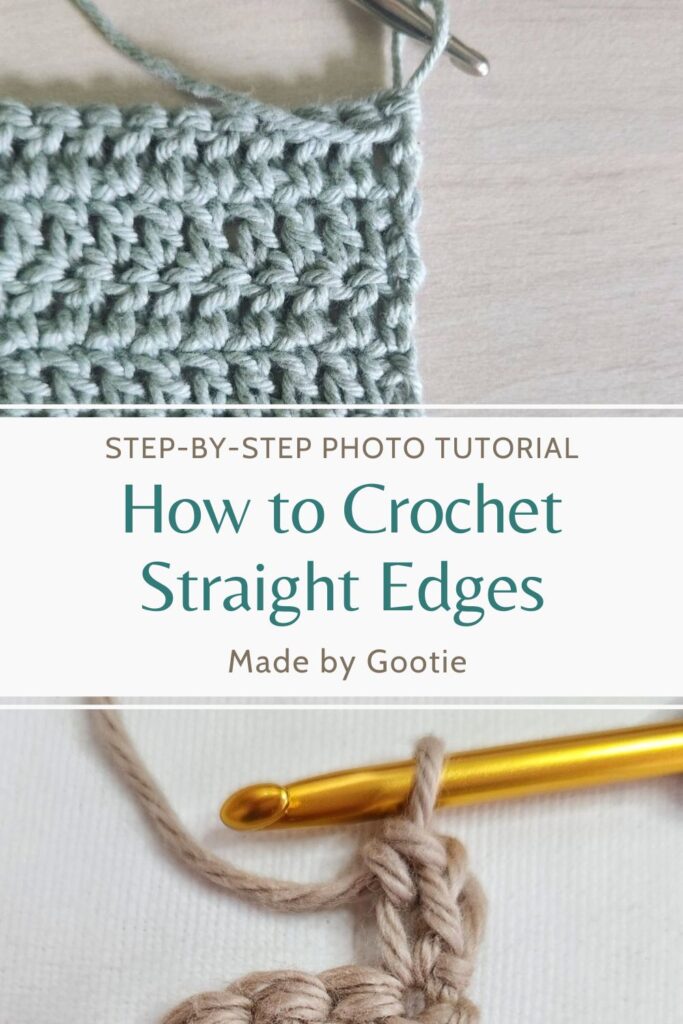
Want to save this post for later? Go ahead and PIN it!
Pin this for later HERE.
Skill level – Easy (requires some experience)
Materials I Used in This Tutorial
– Crochet hook 5.0 mm / H (I love the Tulip Etimo crochet hooks).
– Worsted (#4) weight yarn – I used Knit Picks – Dishie yarn.
Abbreviations (US)
ch – chain
sc – single crochet
How to Crochet Straight Edges with Stacked Single Crochet
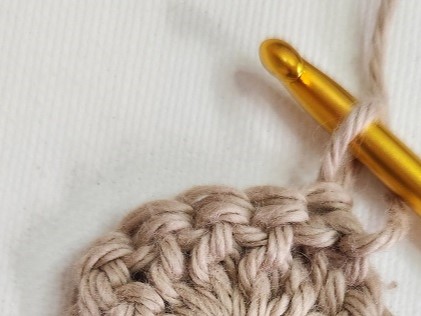
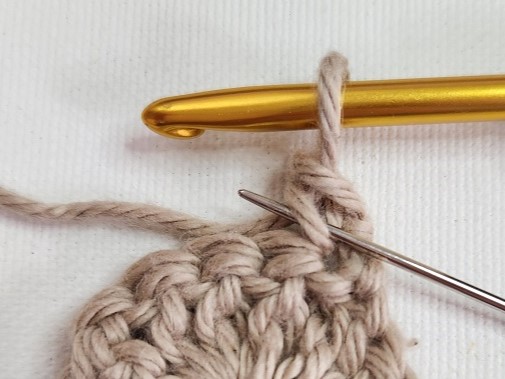
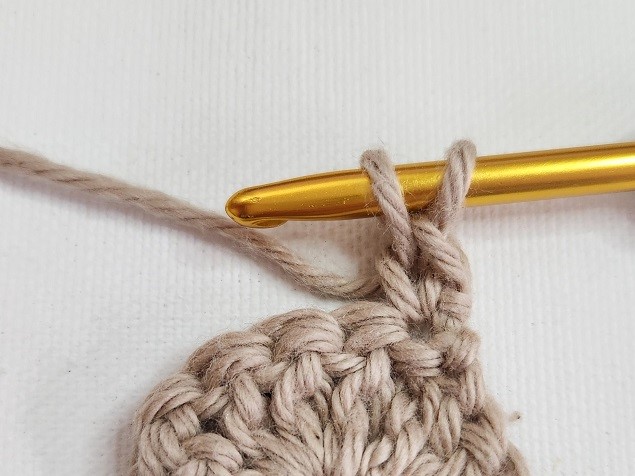
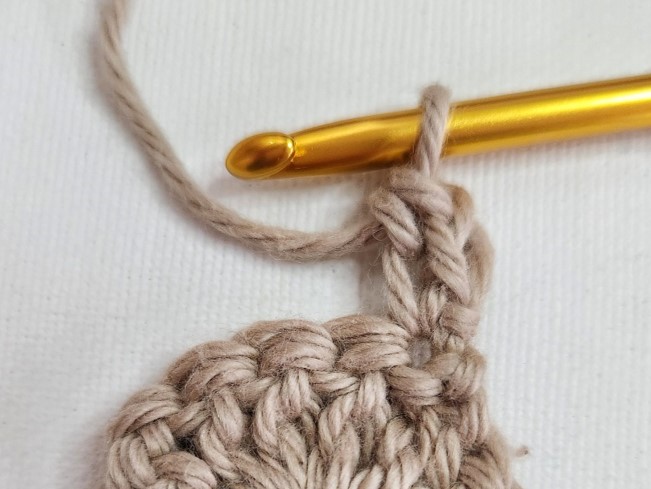
At the beginning of the row, do not chain, keep your yarn behind your hook and work 1 single crochet in the first stitch, then work another single crochet into the left leg of the single crochet you just worked (see where the needle is inserted).
Did you try this out? Share your project!
– Let me know how it went and leave a comment below.
– Tag me on Instagram @madebygootie
– Join and share in our FB Community
Want to save this post for later? Go ahead and PIN it!
Easy peasy. Thank you. Works great. Same technique can be used when you are doing crochets at the end of a row, too!
I never thought of using it at the end of the row!