Guide to How to Crochet Corner to Corner (C2C)
Last Updated on December 20, 2024
In this guide, you will learn the basics of how to crochet Corner to Corner. The Corner to Corner Method (also called C2C), is most of the time refers to the boxed-like stitch which is the most commonly used stitch in the C2C method.
Although, this guide is for the Corner to Corner technique which can be used in so many other crochet stitches!
The crochet C2C is a fun and useful crochet method to add to your skills, and can be used in a lot of different projects!
** Some of the links in this post may include affiliate links. Making a purchase through one of these links pays me a small referral fee at no added cost to you. These small fees add up and help me keep the blog running. View our disclosure and privacy policy for more information.
What is Corner to Corner Crochet?
As I mentioned above, if you search for how to crochet corner to corner, you will probably end up with a C2C ‘boxed-stitch’ tutorial, instead of the general method.
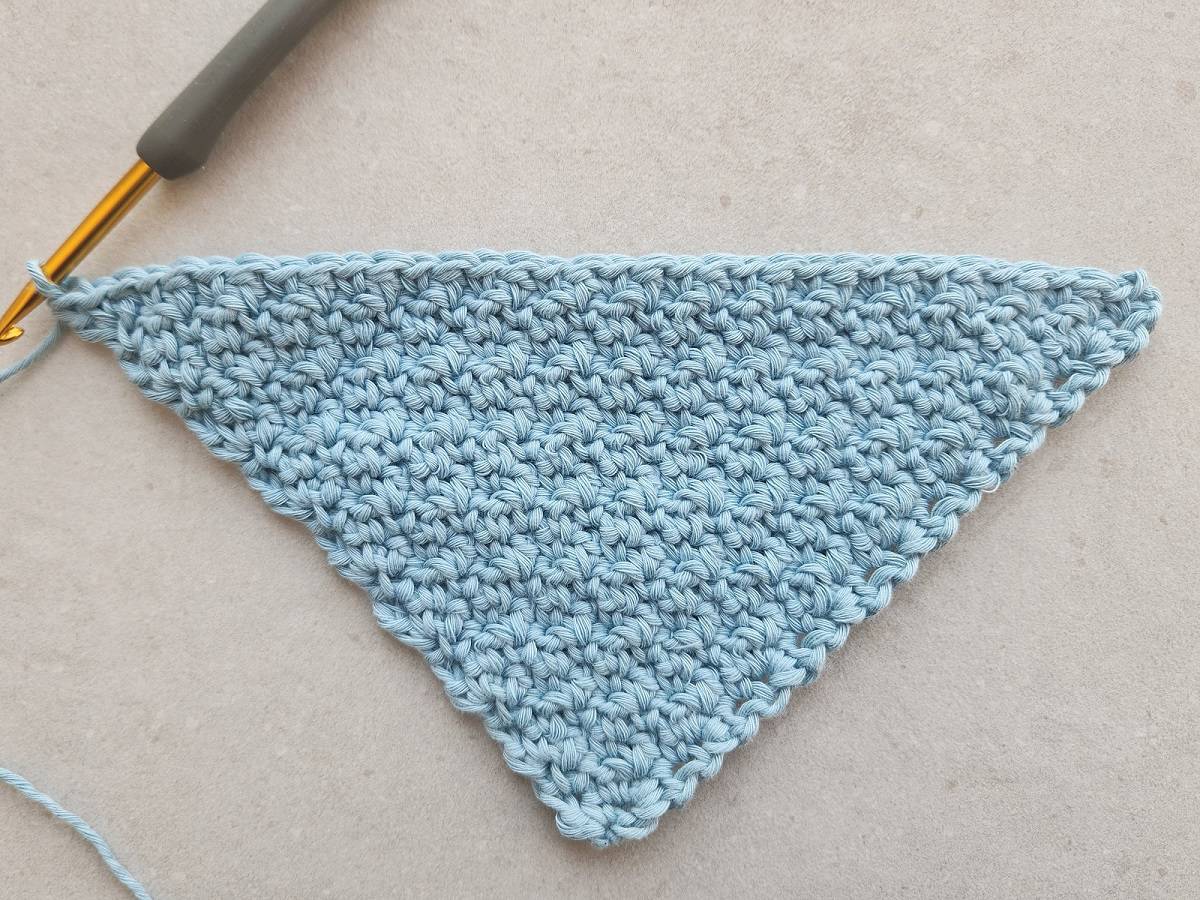
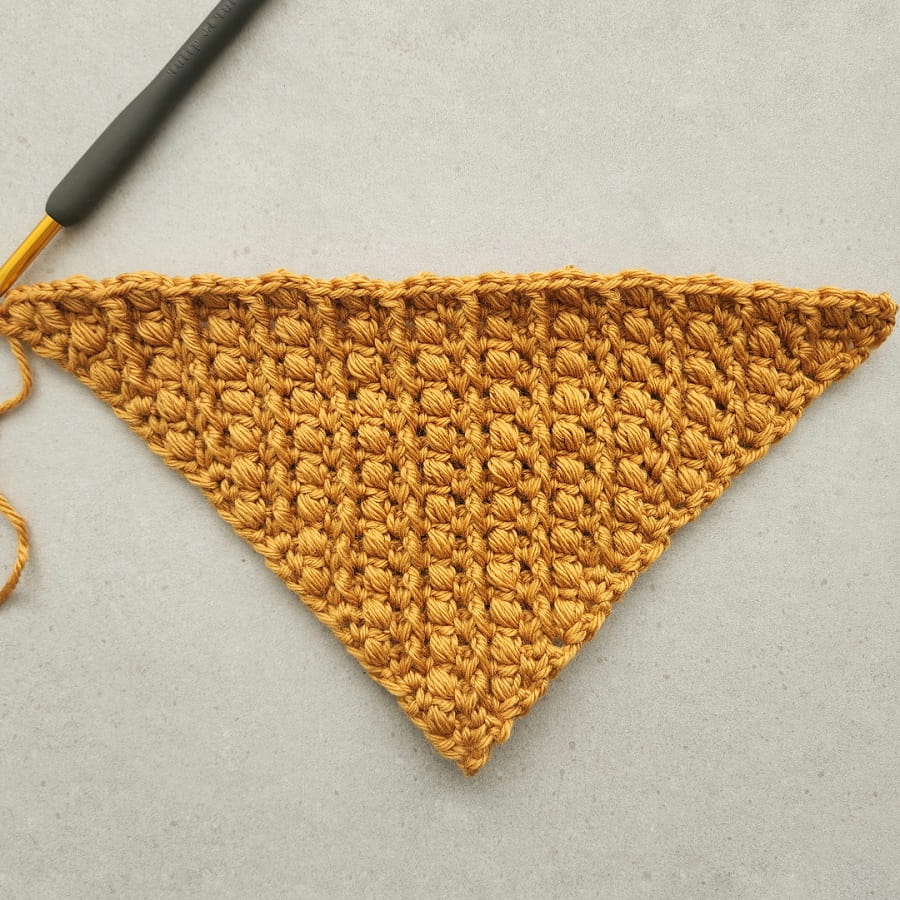
Although the Corner to Corner crochet is basically the method of taking any crochet stitch and working it from one corner in a diagonal, increasing to the point where you reach the desired length or width. Then you start decreasing continuing working in a diagonal until you reach the other corner.
And yes, you can create both a square and a rectangle in the C2C method.
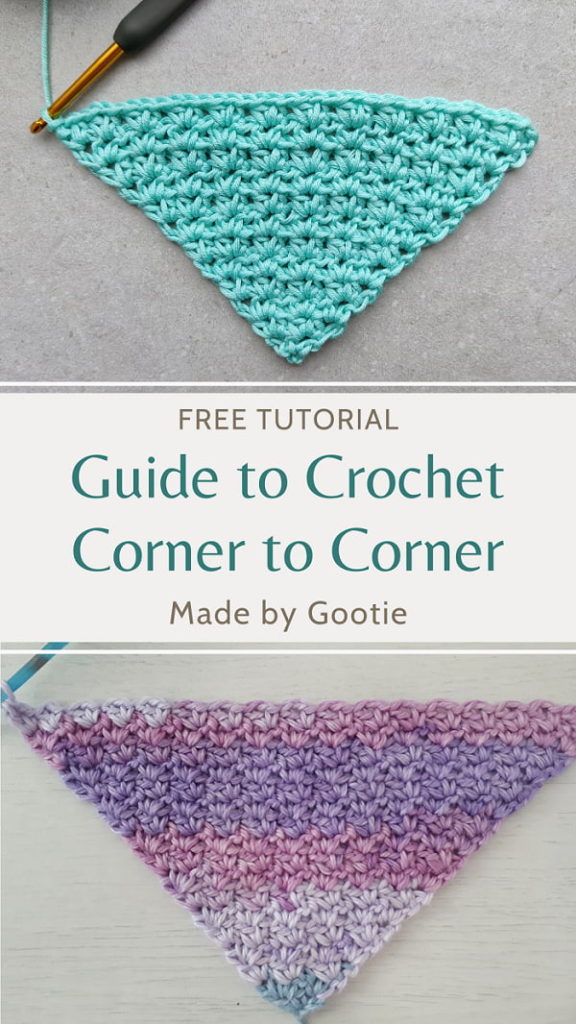
Want to save this post for later? Go ahead and PIN it!
What Can You Make With Corner to Corner Crochet?
Well, you can use this method to make anything you want, from blankets to pillows and even scarves!
If you want to practice and start with a small item, a dishcloth is a great project to start with.
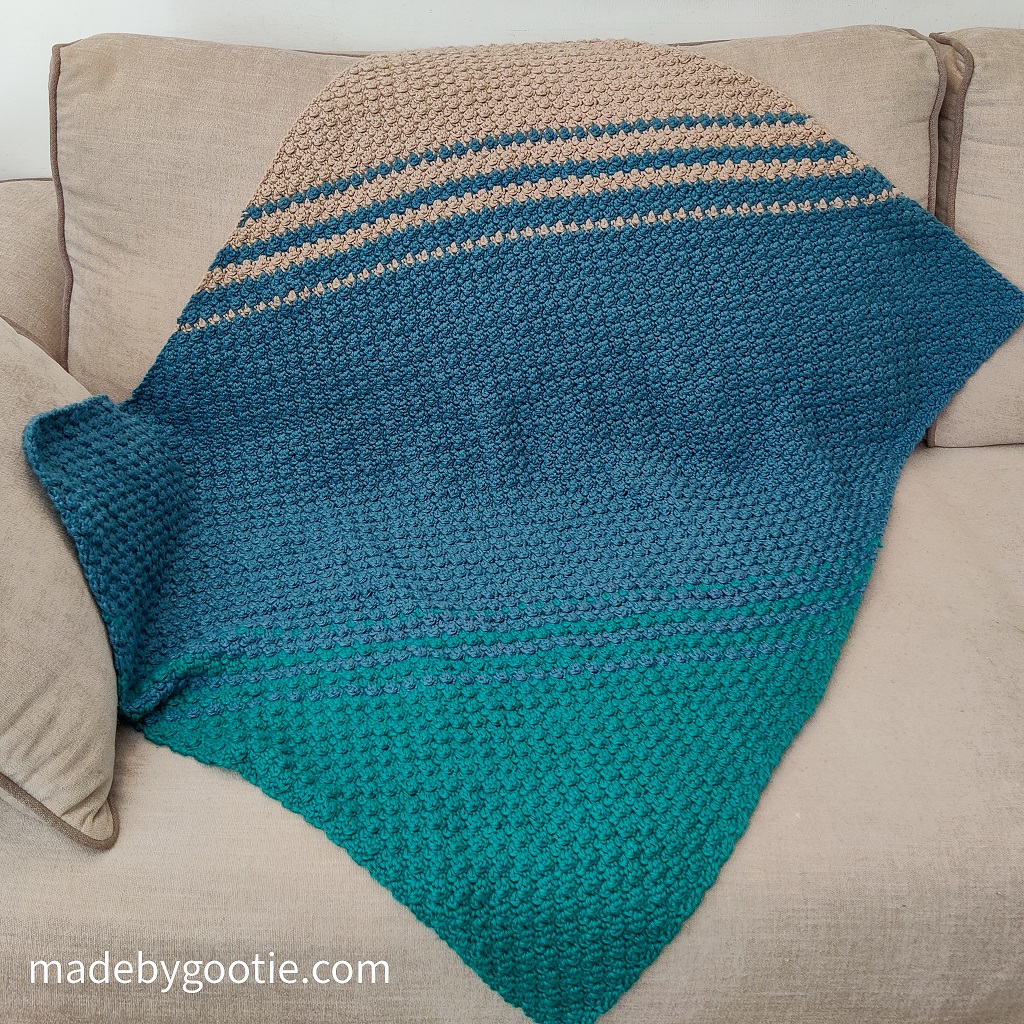
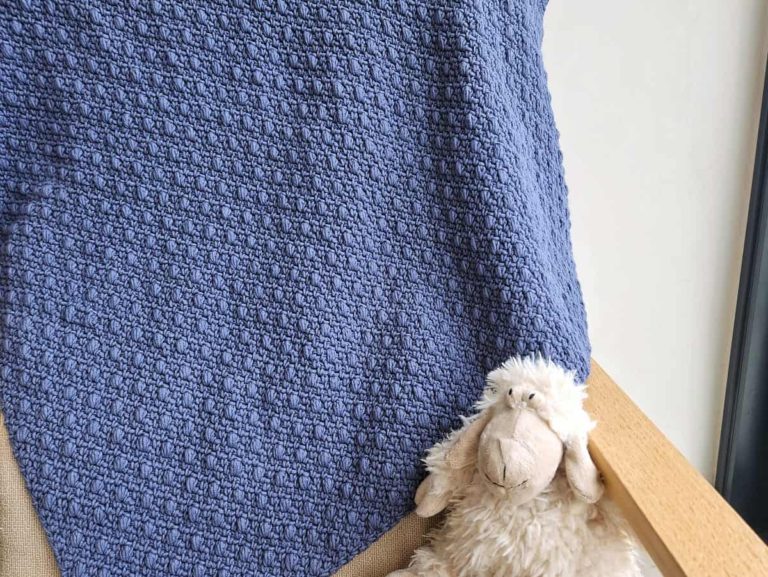
Blanket! This is the most popular item to make with this technique. I used the C2C Cluster Stitch in the Across the Way C2C Blanket which creates a super soft and squishy texture. The Waves of Grains C2C Blanket is a combination of the C2C V stitch with puff stitches.
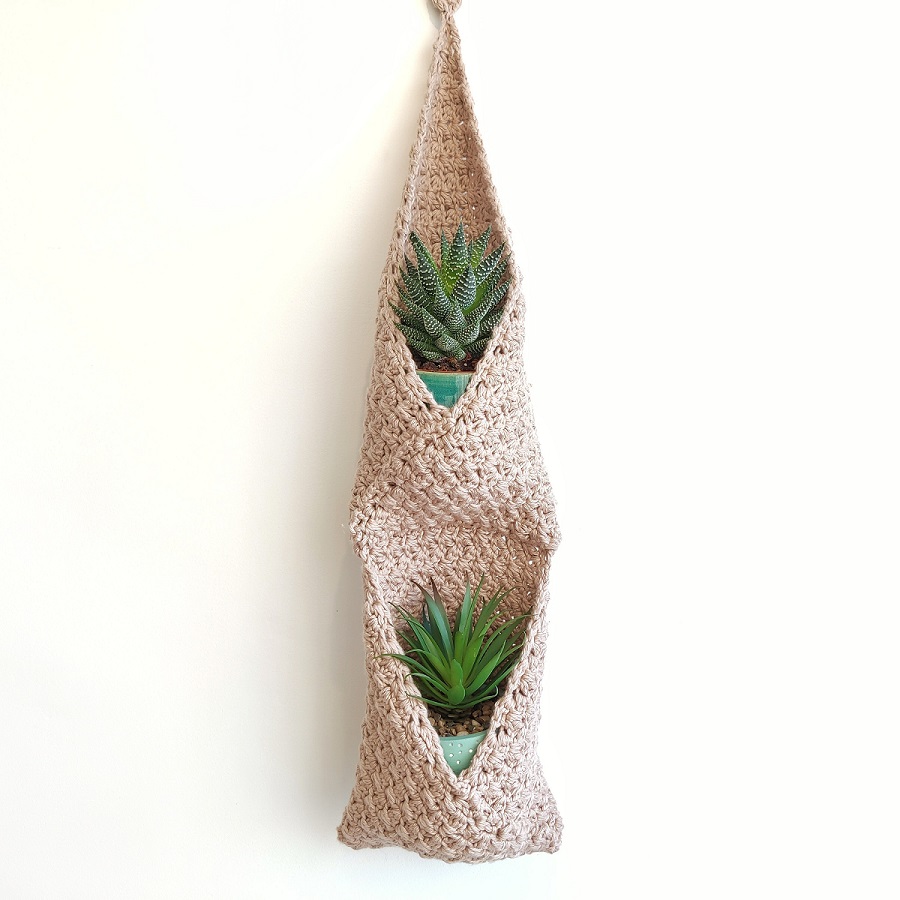
And for the Suzette Double Hanging Basket, I used the C2C Suzette Stitch, for easy and unique construction.
More patterns using the C2C method:
1) Across the Way Blanket
2) Suzette Double Hangin Basket
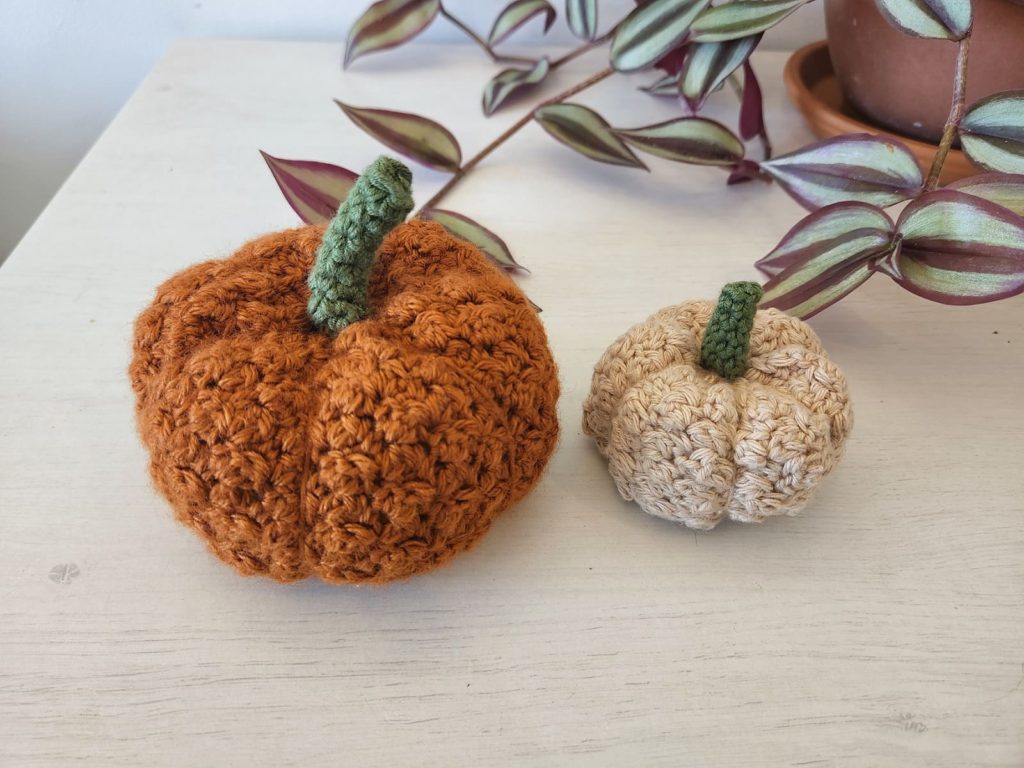
3) C2C Cluster Pumpkin
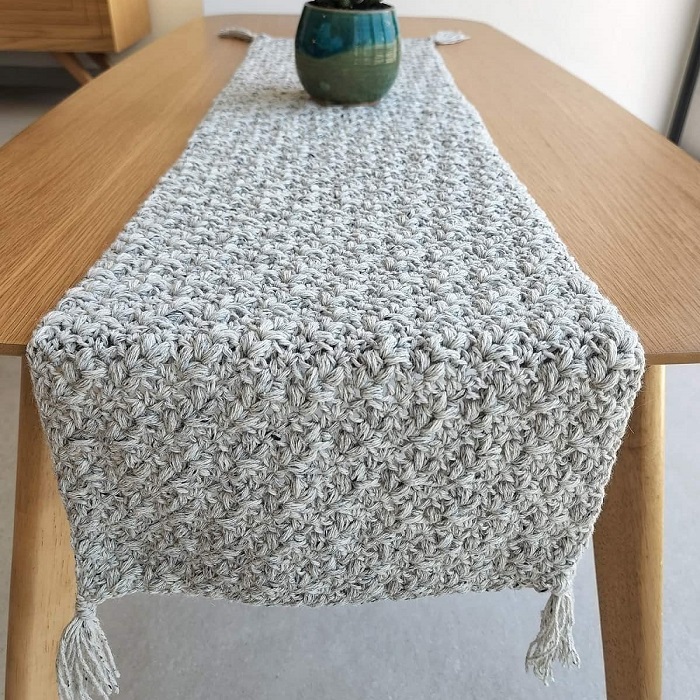
4) Waves of Grain C2C Table Runner
Is corner to corner easy to crochet?
Yes! Most of the C2C stitch patterns are using basic crochet stitches.
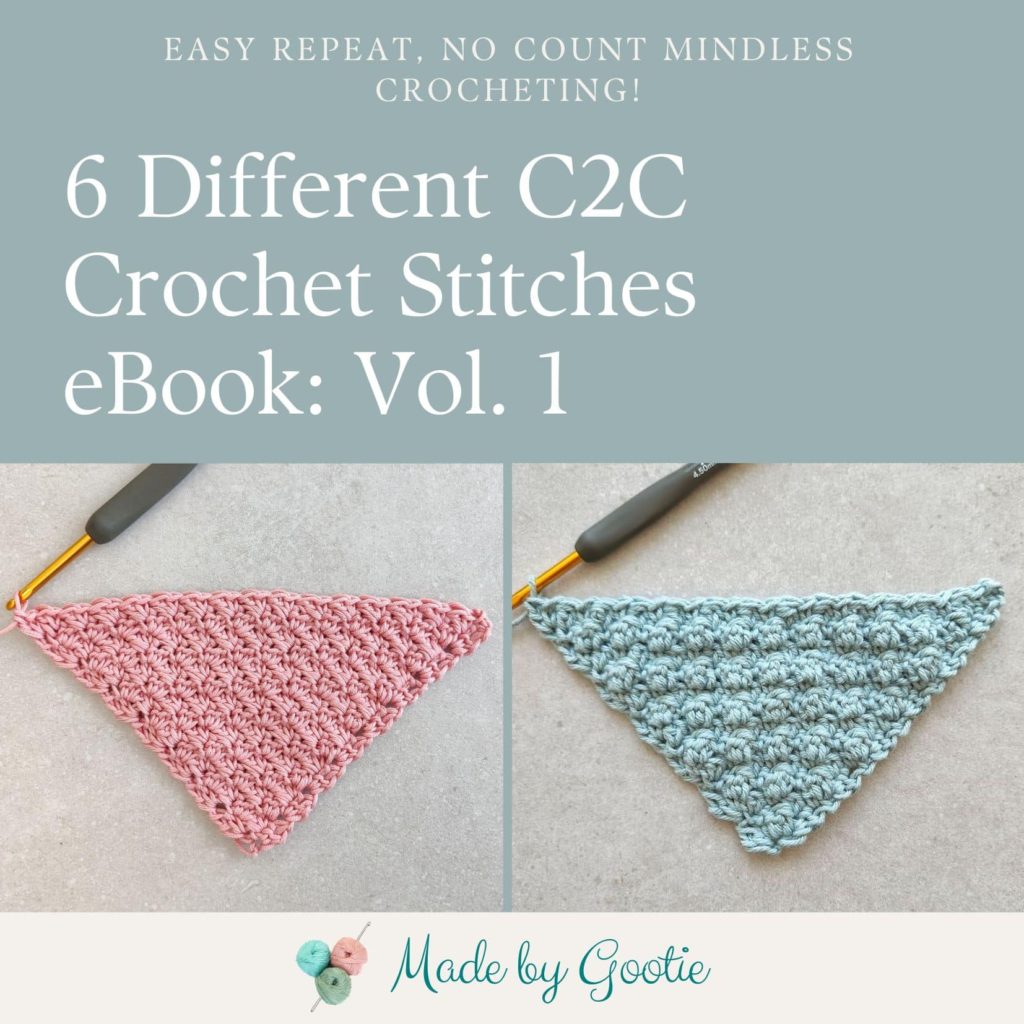
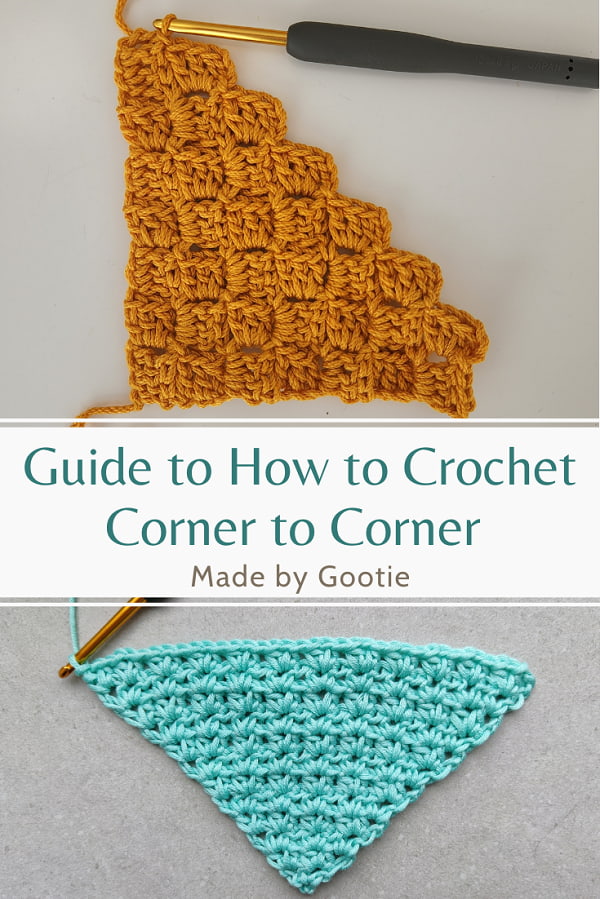
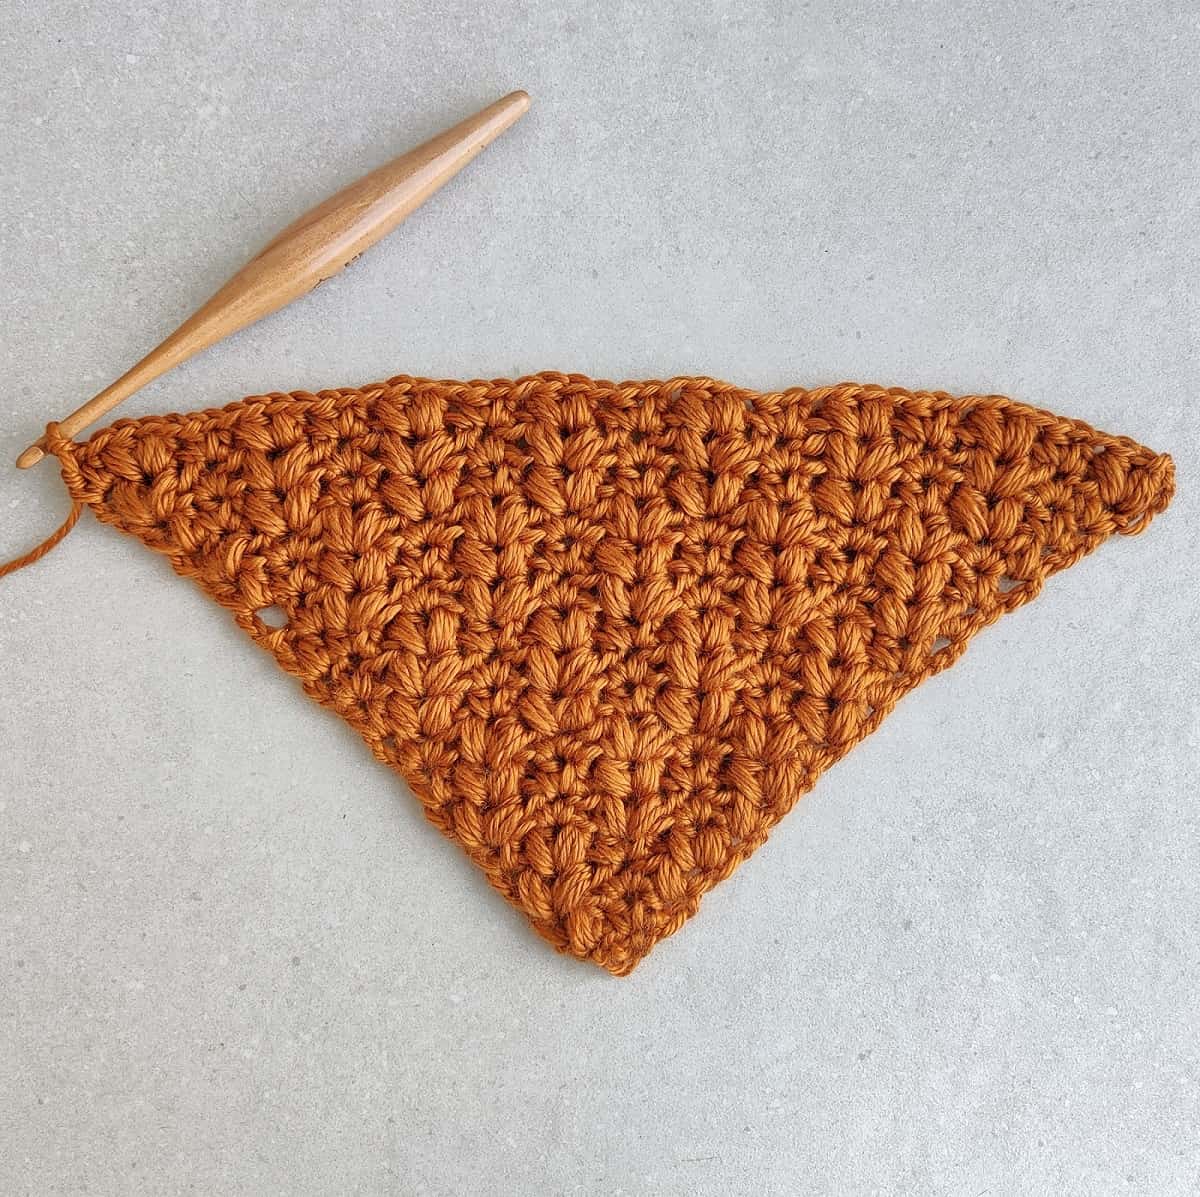
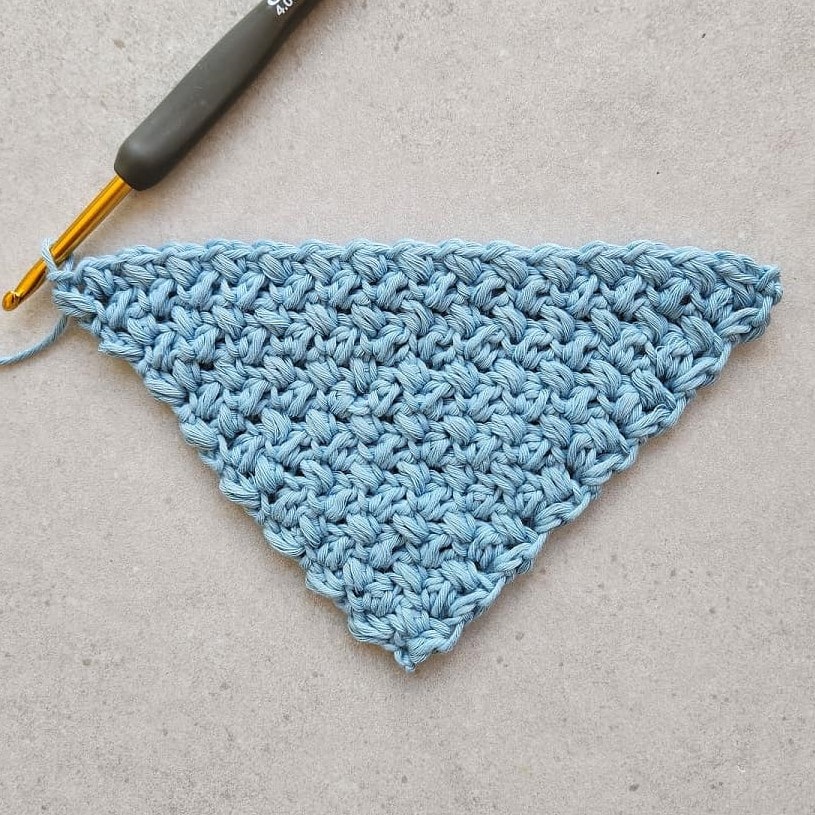
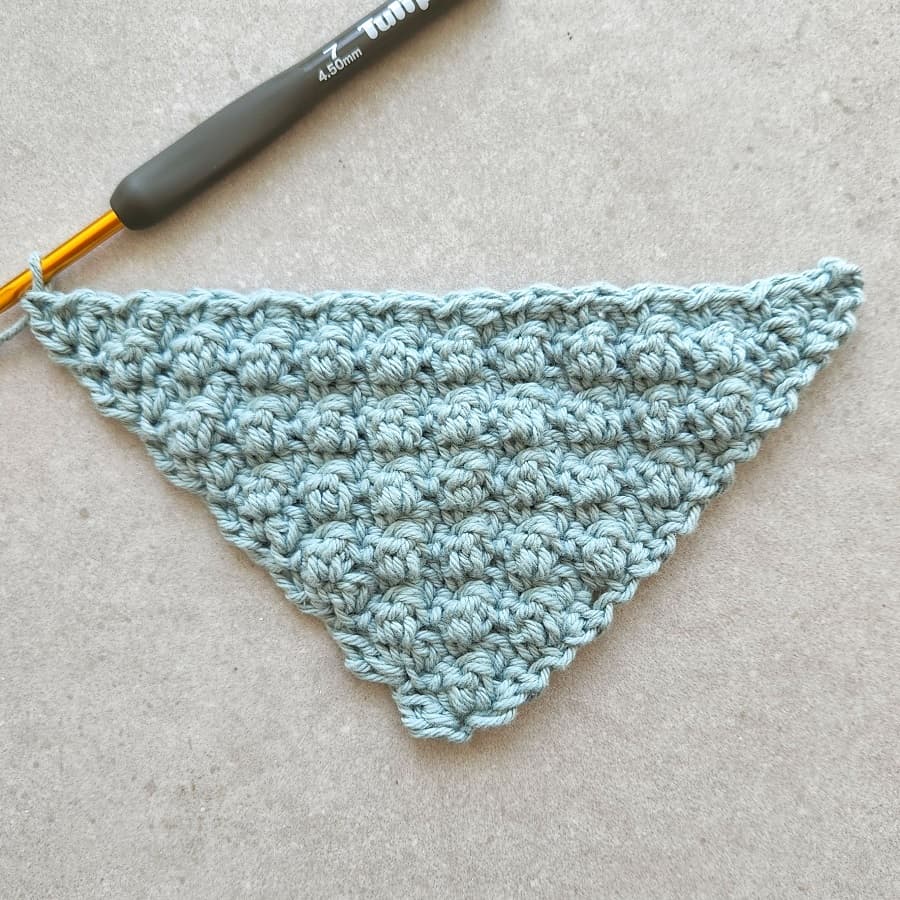
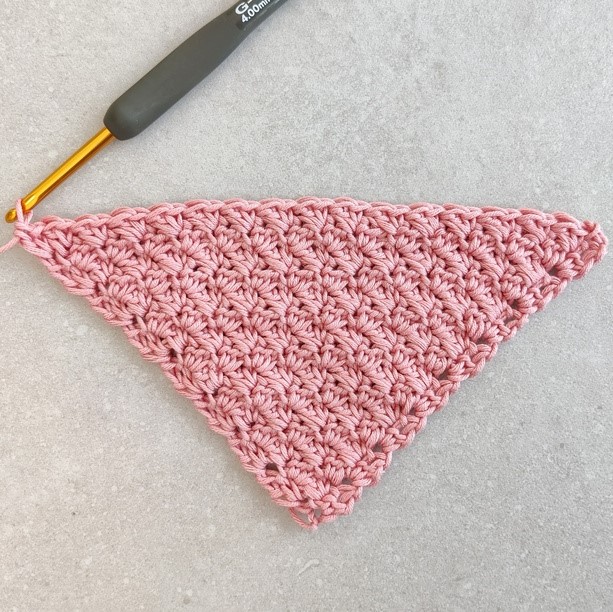
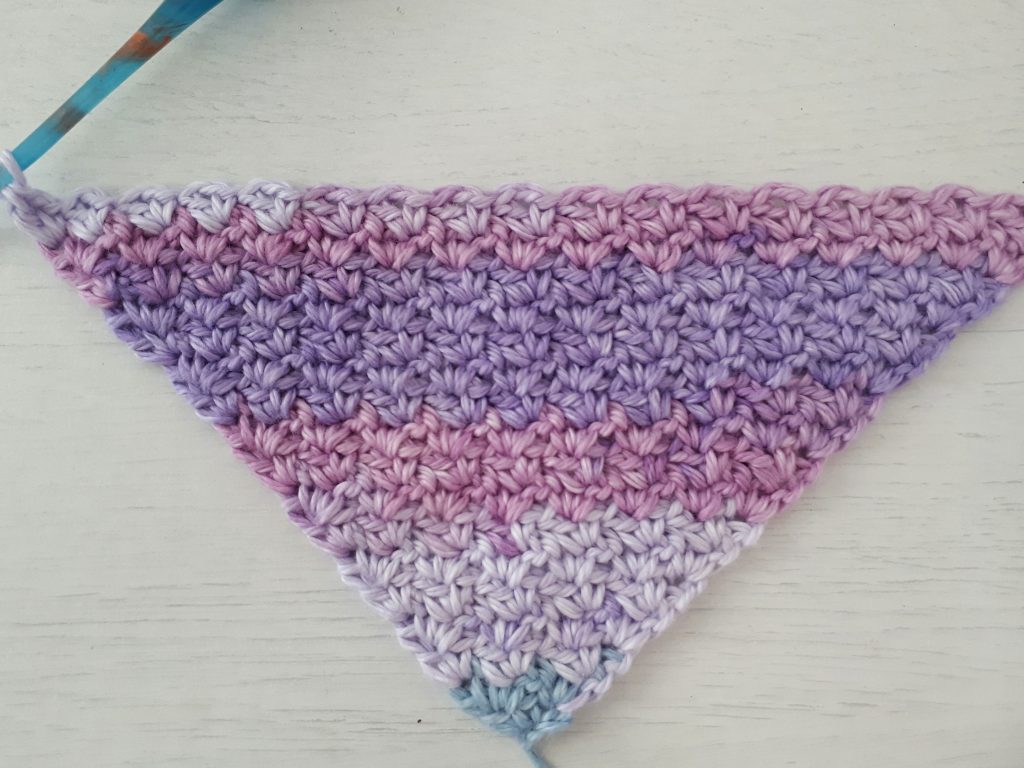
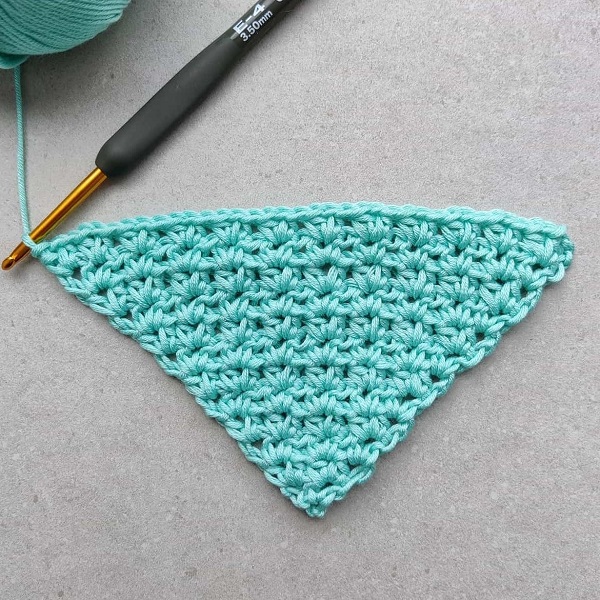
Whether you crochet the classic ‘boxed’ C2C stitch, or different C2C stitches (which is easier in my opinion), like the C2C Wattle Stitch or C2C Moss Stitch.
All the C2C stitches are one-row repeat patterns. So once you get a hang of how to increase and decrease it’s a fun mindless project, perfect to keep your hands busy while watching TV!
What crochet stitches can be used for C2C?
I will have to split this answer into 2 sections because it depends on the type of C2C method you are using (each method uses a different technique for increase / decrease).
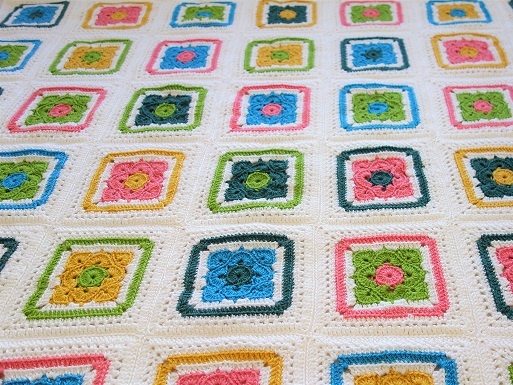
- If you work in the classic C2C method, which is creating little “boxes” or “tiles” then the technique is using double crochet for the classic stitch, and half double crochet for the Mini C2C Stitch to create those tiles.
- If you work with different C2C crochet stitches, then there are many more options for the stitches you are using.
Most of the different corner to corner stitch patterns use a combination of 2-3 stitches. Using only 2-3 stitches helps build a 90 degrees angle triangle when increasing so you will end up with a perfect square at the end.
Here’s a list of different corner to corner crochet stitches:
How to Crochet Corner to Corner?
So, after the long introduction to the corner to corner method, let’s talk about some practical things. As I mentioned in the previous paragraph, there are 2 methods for C2C, the “Classic C2C Stitch” and the “Different C2C Stitches”, each has a different method for increasing and decreasing.
We will go over both C2C methods for increasing and decreasing.
Classic Corner to corner Increase
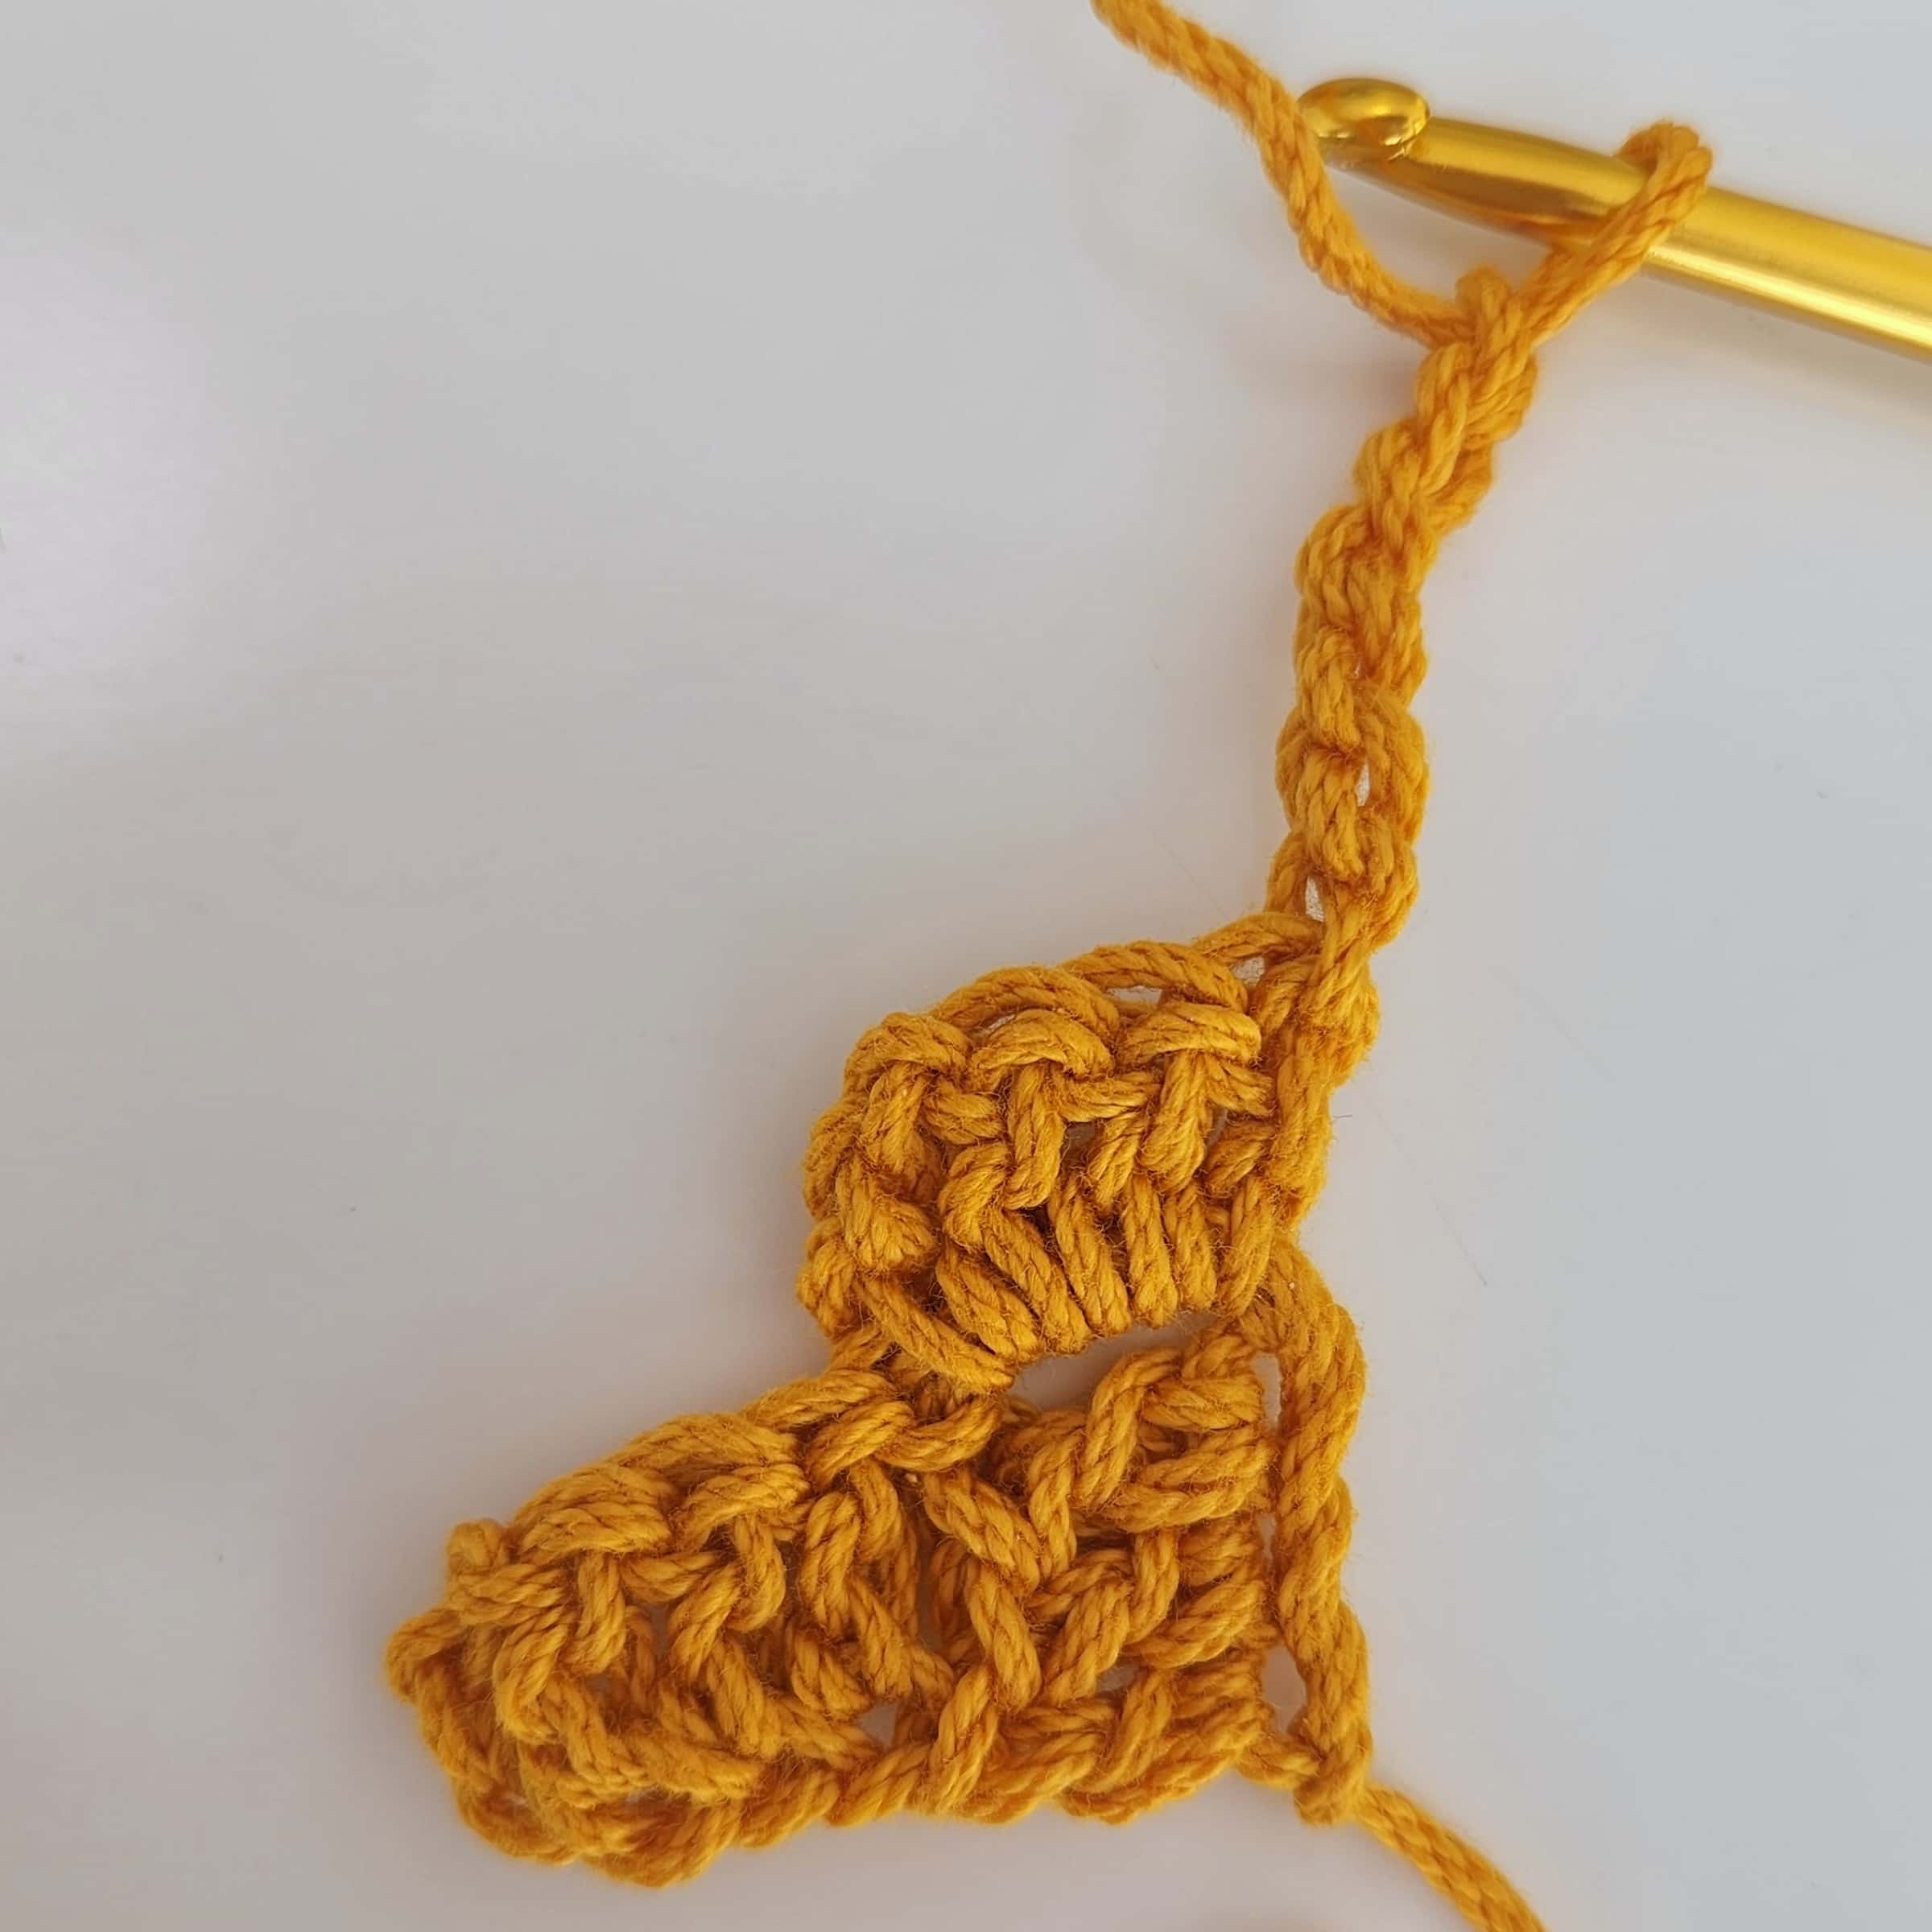
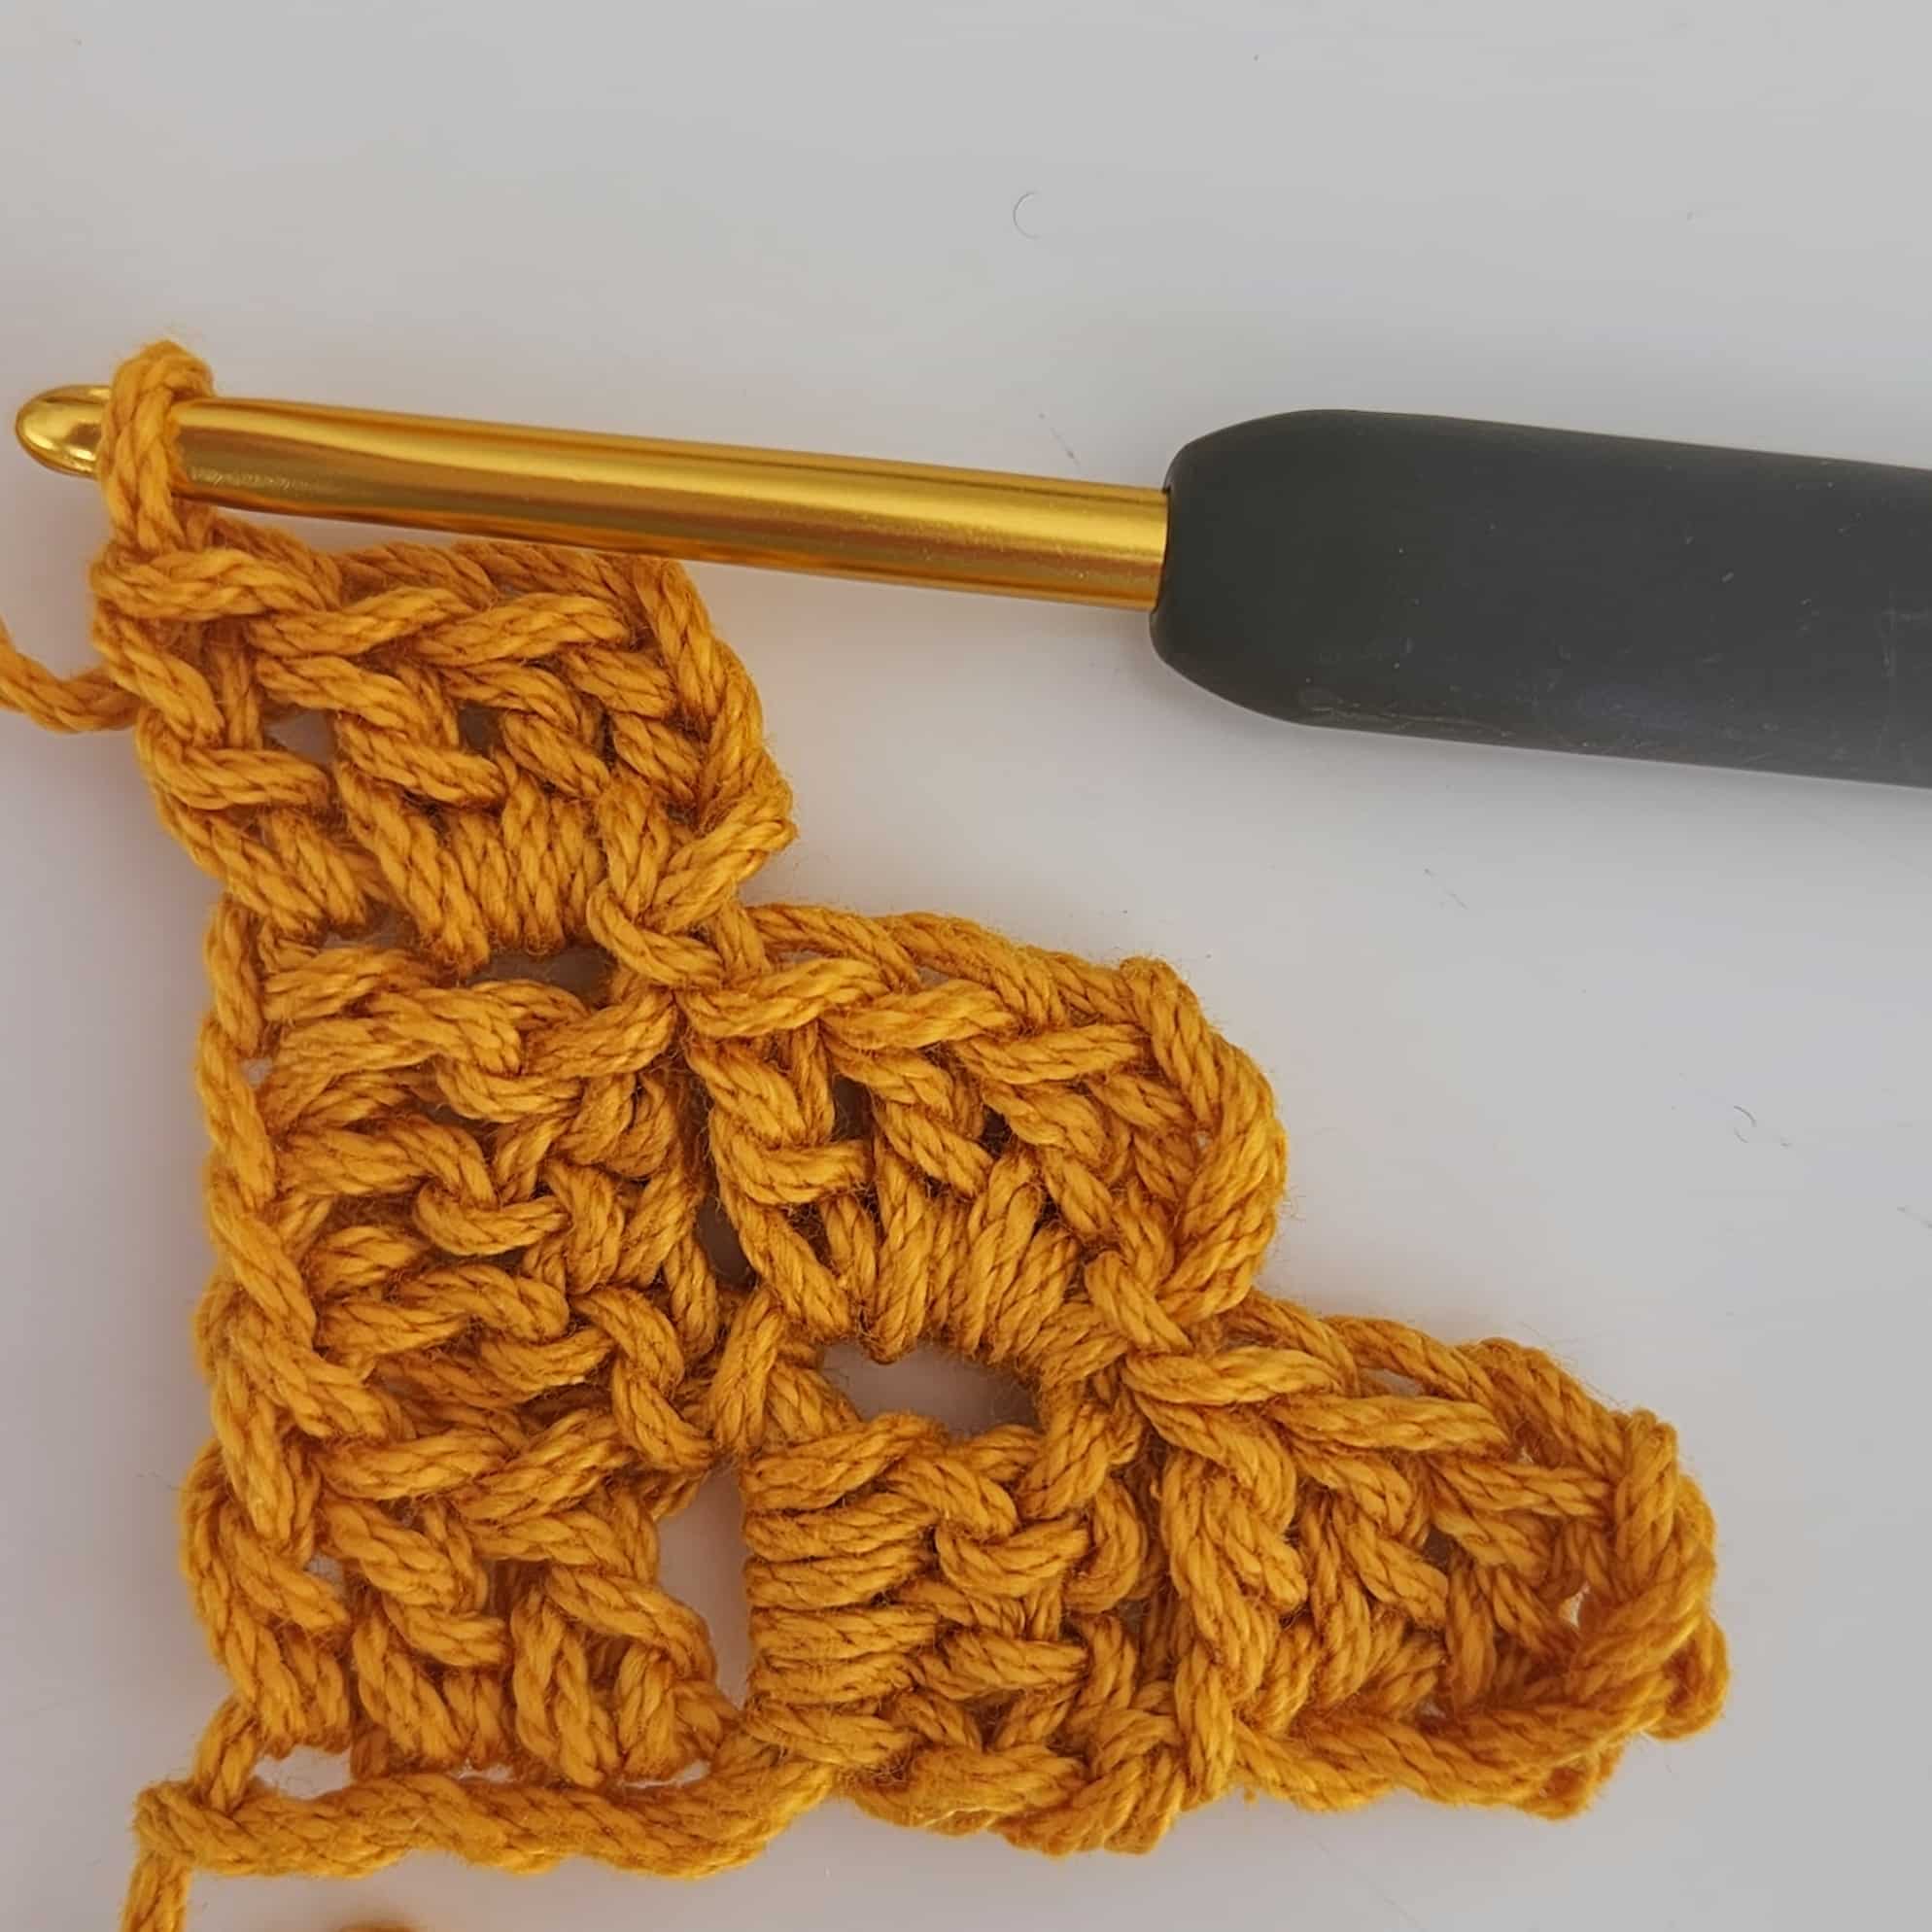
The classic C2C stitch is built from little “tiles”. The pattern starts with one tile, and is increased by adding one tile at the start of the row and another “tile” at the end of the row.
The increase is made by chaining 6 and working a tile from the 3rd chain.
The tiles are made from a chain 3 and 3 double crochet stitches (ch2 + 3hdc if working the Mini C2C).
Classic Corner to corner decrease
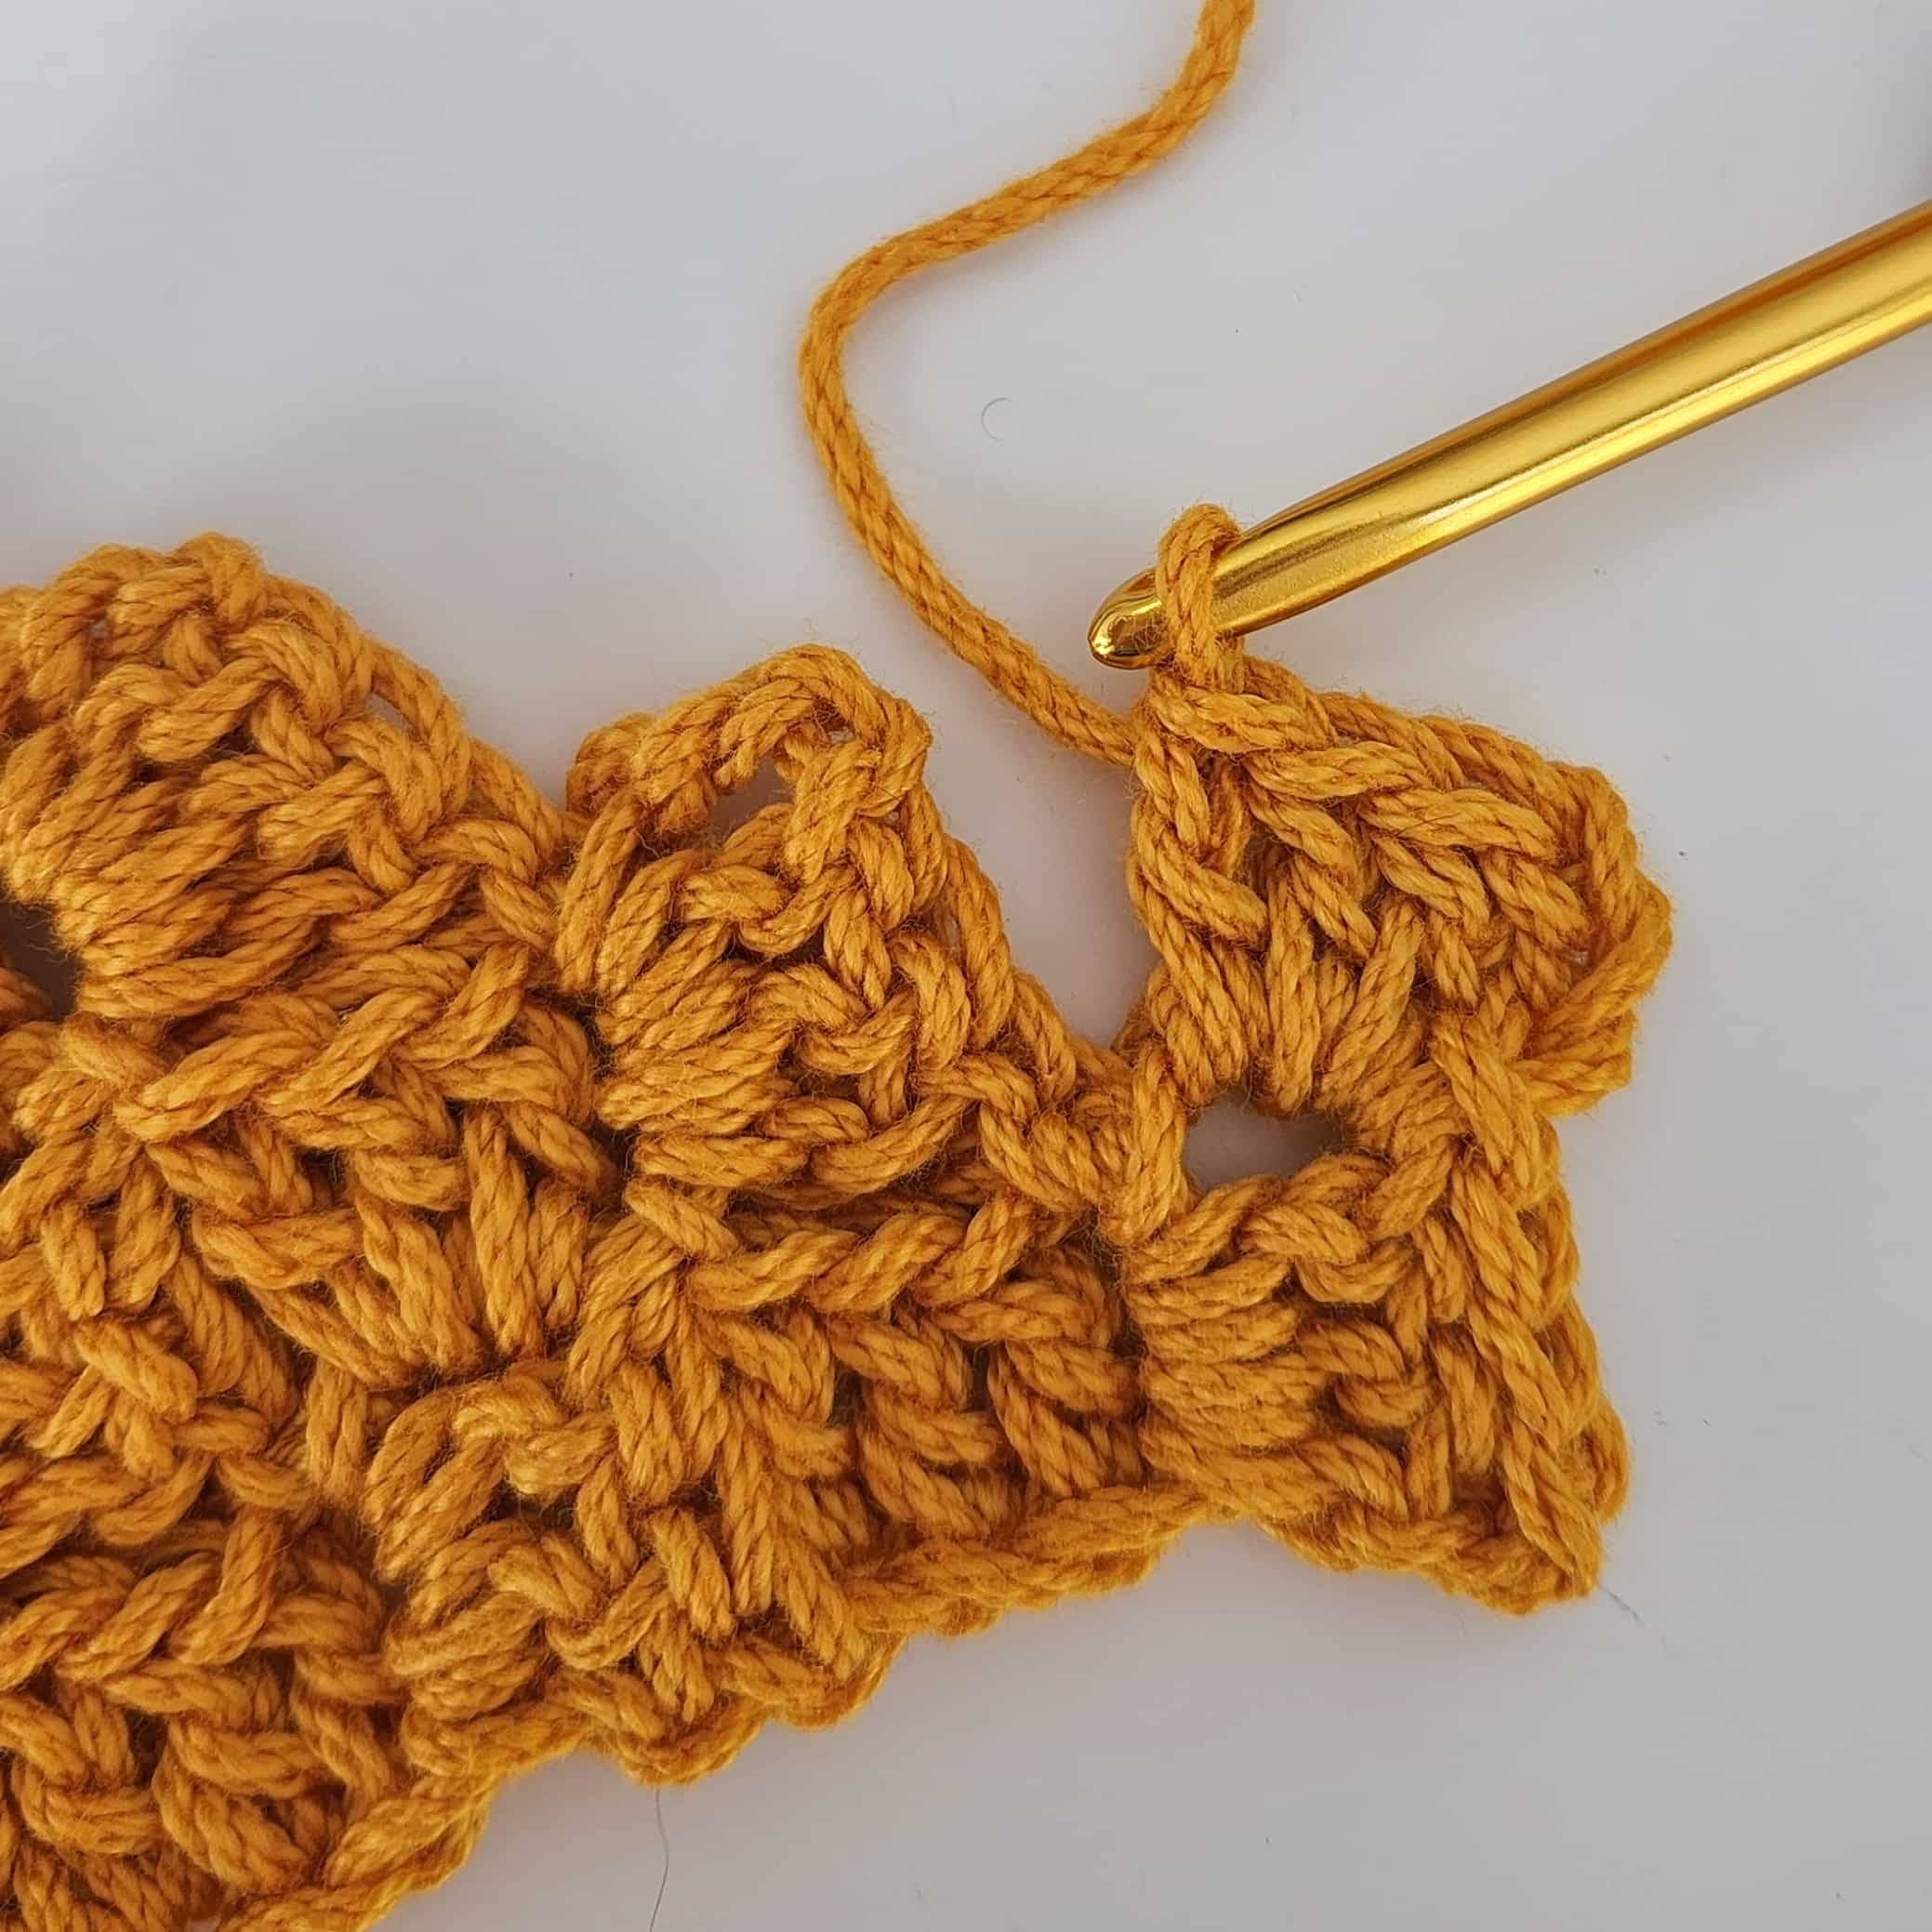
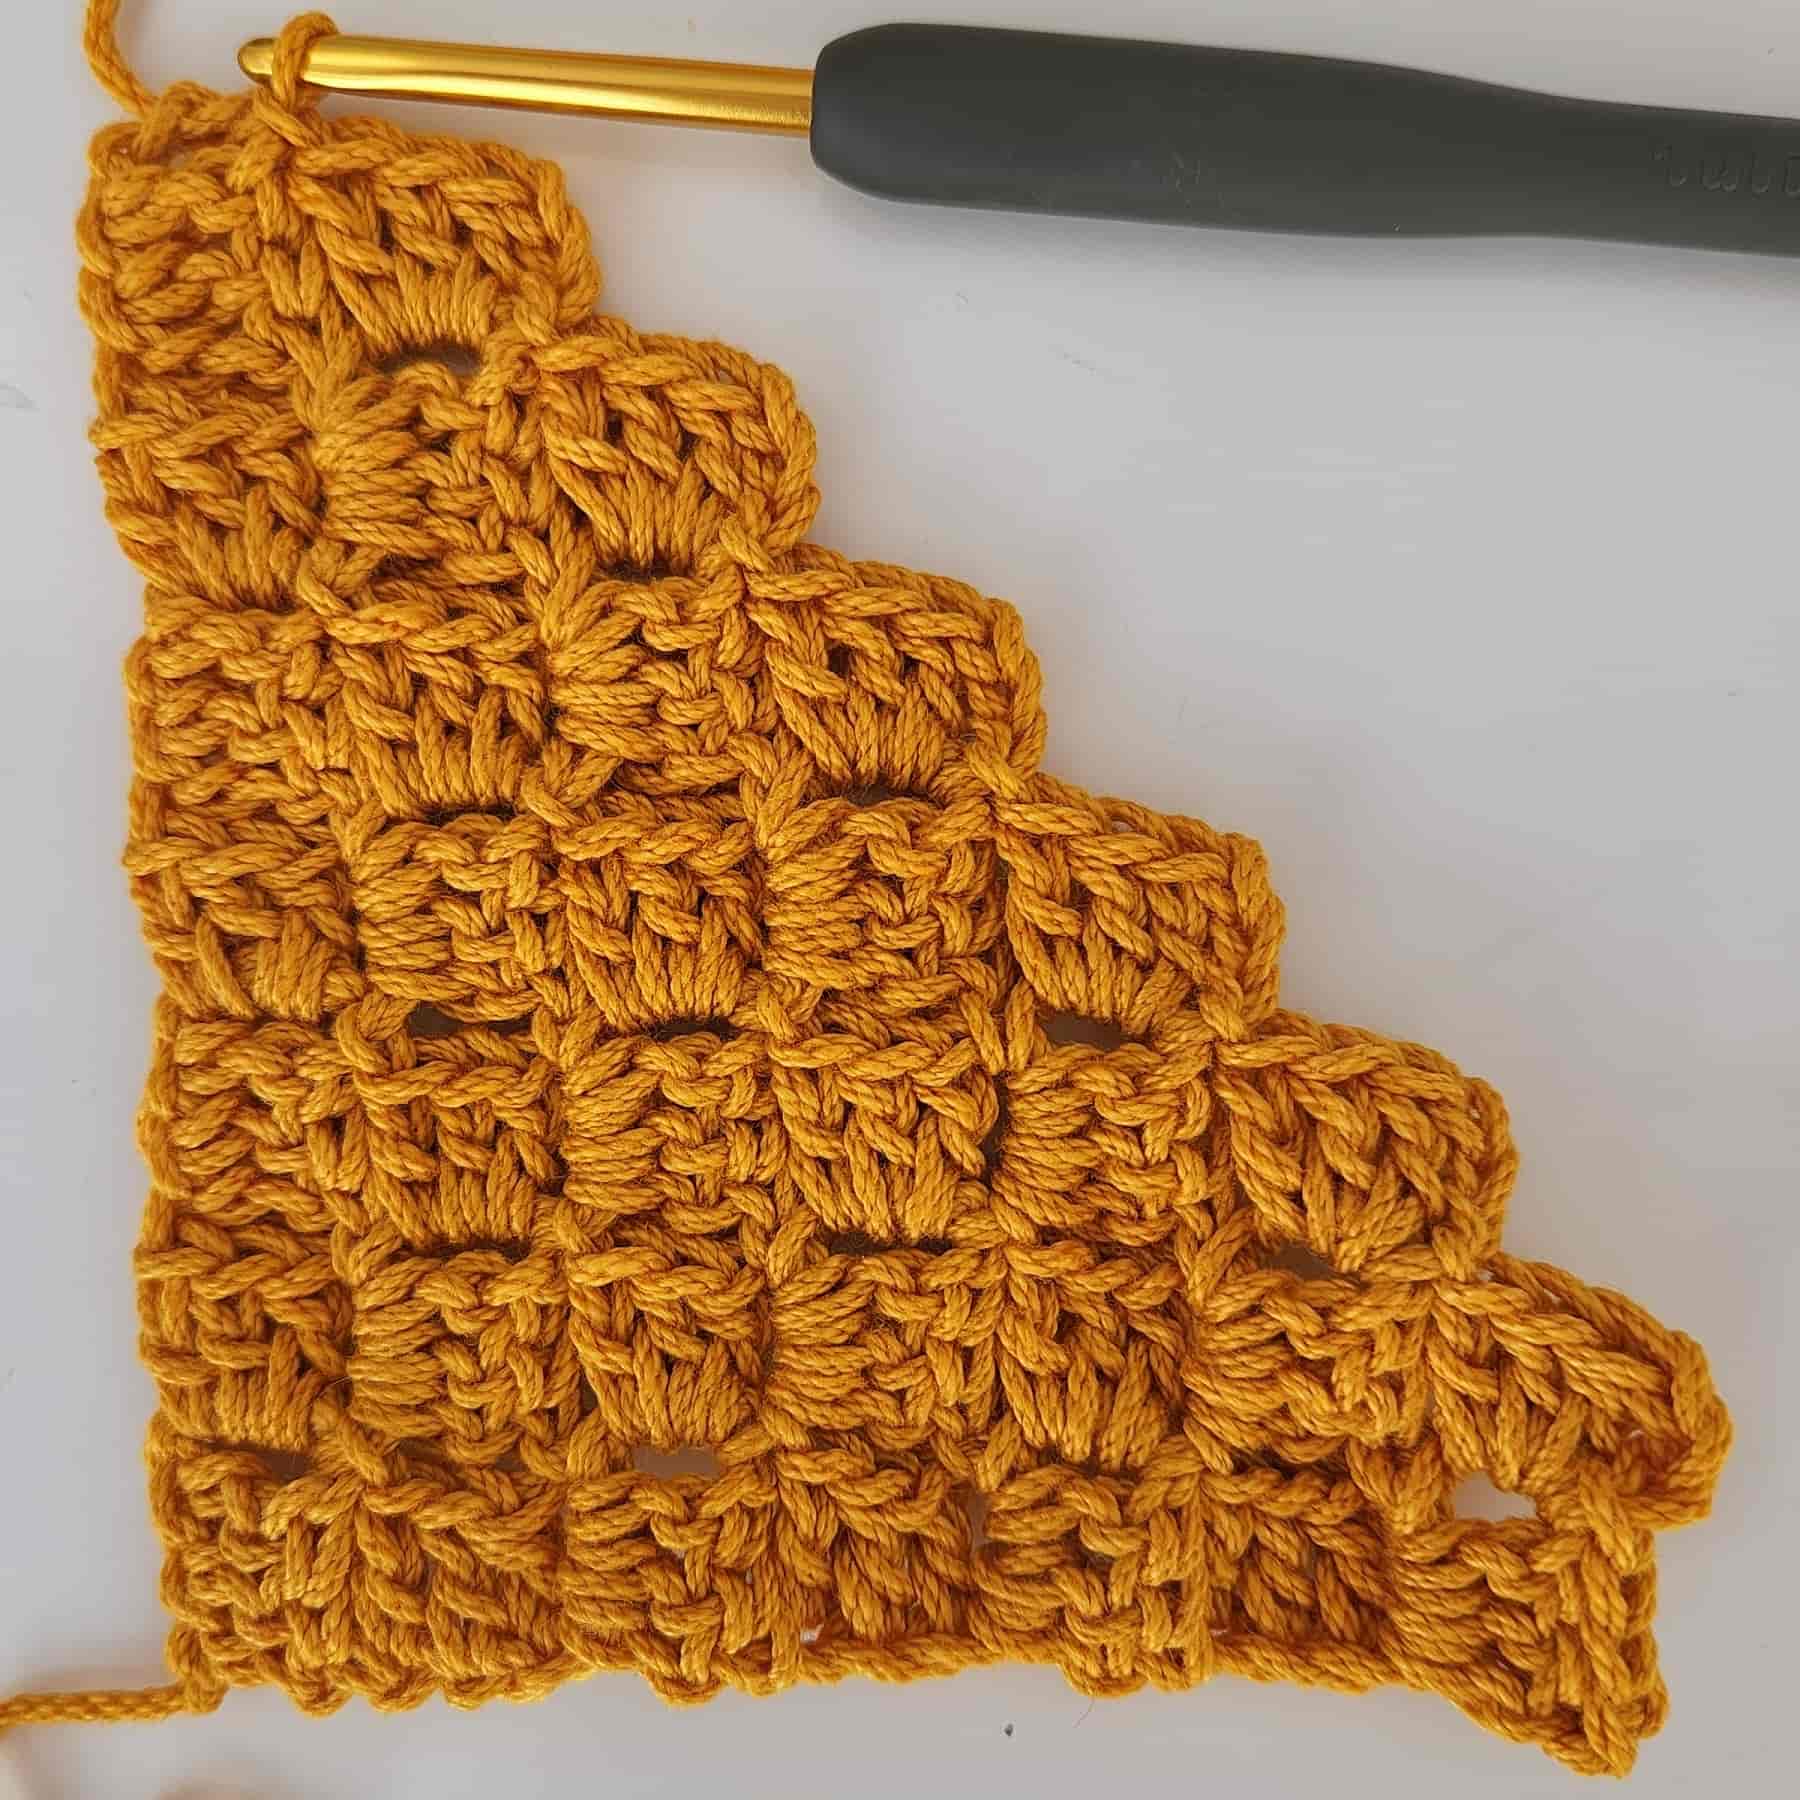
When you reach to point you want to start decreasing, the logic is simple, if we increased 2 “tiles” at the increasing section, we now need to omit 2 tiles.
So, in each row, you are omitting one tile at the beginning of the row and one tile at the end of the row, until reaching the corner.
Different Corner to corner Stitches Increase
When using different stitches to create C2C pattern, it’s easier to use simple stitch patterns that use 2-3 basic stitches.
The basic idea is to start with a chain (usually 3 or 4 chains, depending on your stitch), then work your stitch into the first chain you made, creating a chain “loop” which we will be increasing into later.
After this first row, you create a chain loop at the beginning of each row and work a stitch into the loop of the previous row at the end of the row to increase.
Different Corner to corner Stitches decrease
So if we increased by making a “loop” and adding a stitch at the end of the work, for decreasing we won’t make a loop (sometimes we’ll make a shorter chain 2 as a turning chain).
And respectively we won’t have a loop to increase into at the end of the row.
The decrease at the end of the row is worked into the turning chain of the previous row and depends on the nature of the stitch you are using.
It can be just part of the stitch like the C2C Moss Stitch that ends with single crochet, or a decreased stitch like the C2C Cluster Stitch that ends with dc2tog, and the C2C Mini Bean stitch that ends with a Mini Bean decreased stitch.
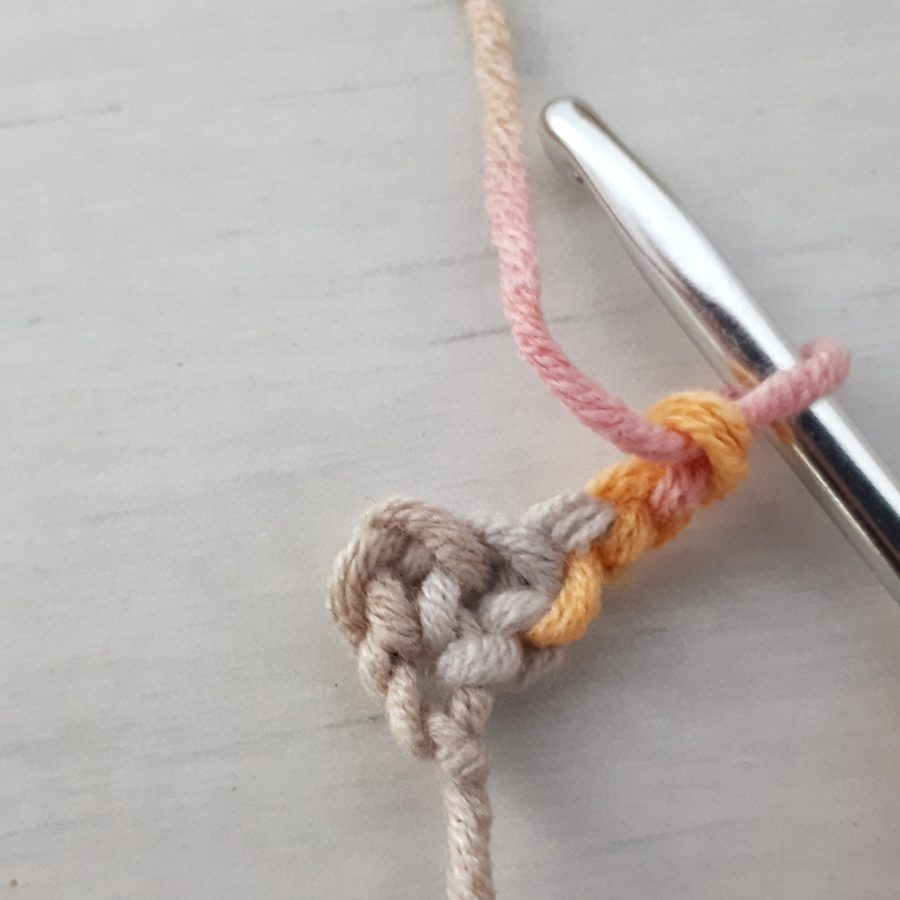
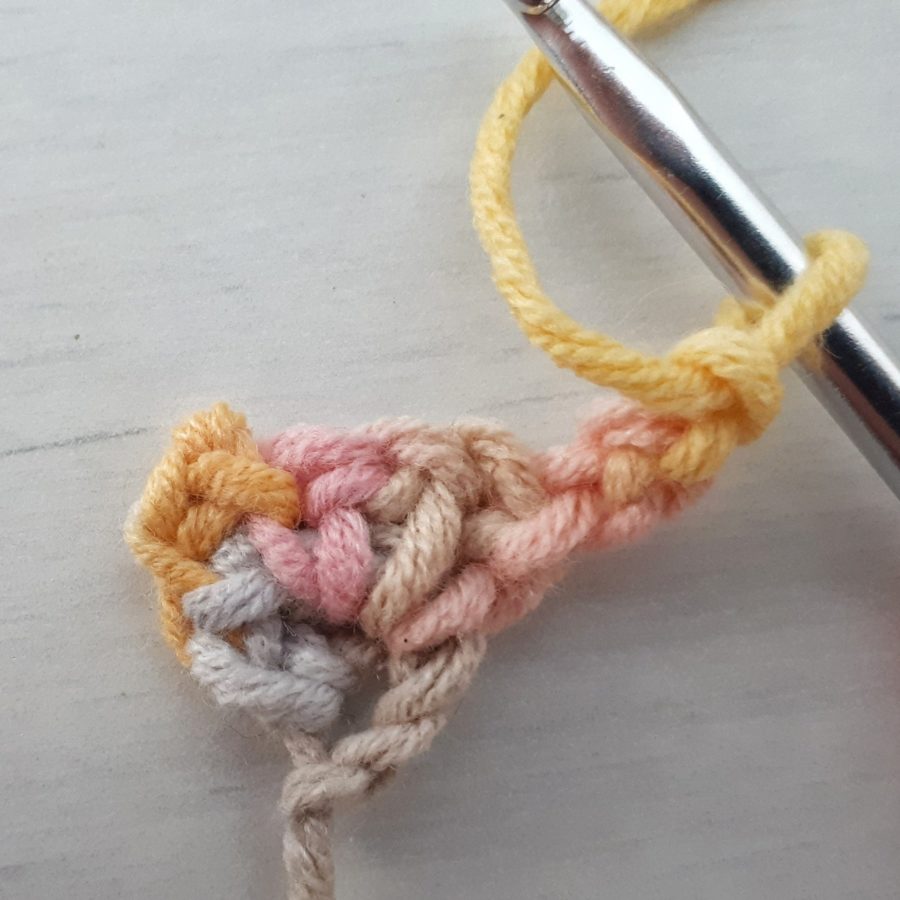
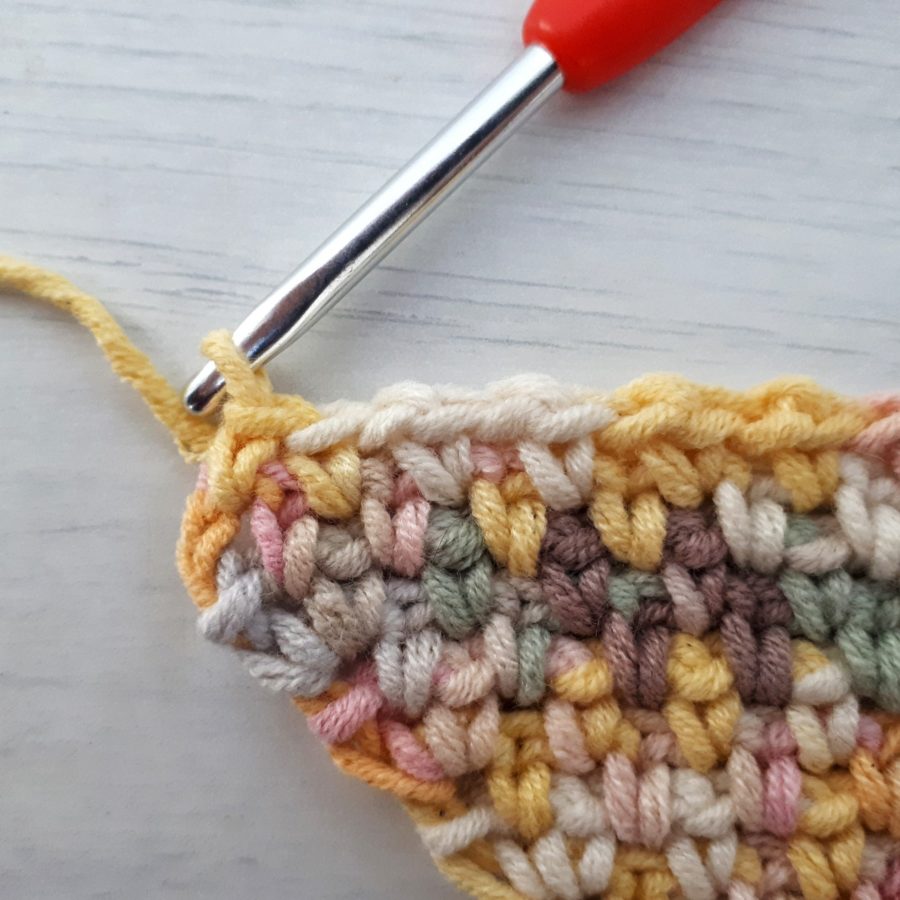
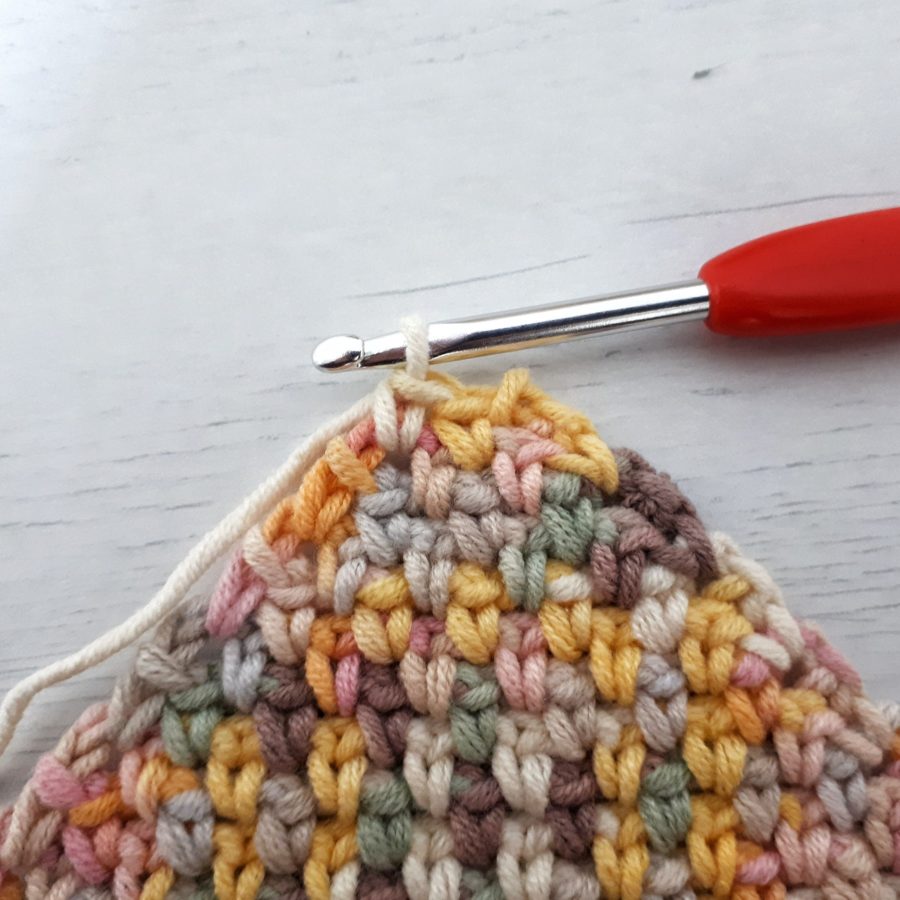
How to Crochet C2C Rectangle?
We already know that C2C crochet does not have to be a square.
The method of turning your C2C square project into a rectangle is pretty simple.
All you have to do is reach the desired width of your project, then start decreasing on one side and keep increasing on the other side, so we actually maintain the same amount of stitches while continuing working until we reach the desired length.
So now you just need to decrease on both sides to reach the other corner.
What is the advantage of C2C crochet?
I love the C2C method so much, and the main reason for that is that it releases you from the need to create a long starting chain and keep counting your stitches.
Another reason is that you don’t need to plan much ahead. You can decide the size of your project as you go.
The third reason is that most of the corner to corner stitches are repetitive and easy, it’s kind of mindless crocheting and is very relaxing.
Did you try this out? Share your project!
– Let me know how it went and leave a comment below.
– Tag me on Instagram @madebygootie
– Join and share in our FB Community
Want to save this post for later? Go ahead and PIN it!



TROP COOL ! BRAVO
Hi, I’m following your moss stitch c2c (greatly enjoying it) but I find if I use the hook size recommended for the yarn the edges are tight and the middle bulges. It’s not bad but you can see it, any suggestions?
Hi Gina,
Maybe try and go up a hook size to a 5.0mm / H hook?
When I click on the link for the C2C Cables and Beans stitch it leads me to the Wattle C2C. How can I get to the correct pattern?
Hi Tanya,
Thank you for bringing this to my attention!
I have fixed all the links now.
Thank you,
Agat
Is it possible to do a c2c waistcoat stitch?
Hi Betty,
I haven’t tried that, but that’s an interesting idea!
Some stitches are more easy to turn into C2C, and some need more modifications to keep that perfect 90 degrees shape, so unfortunately I don’t have a good answer for this one 🙂